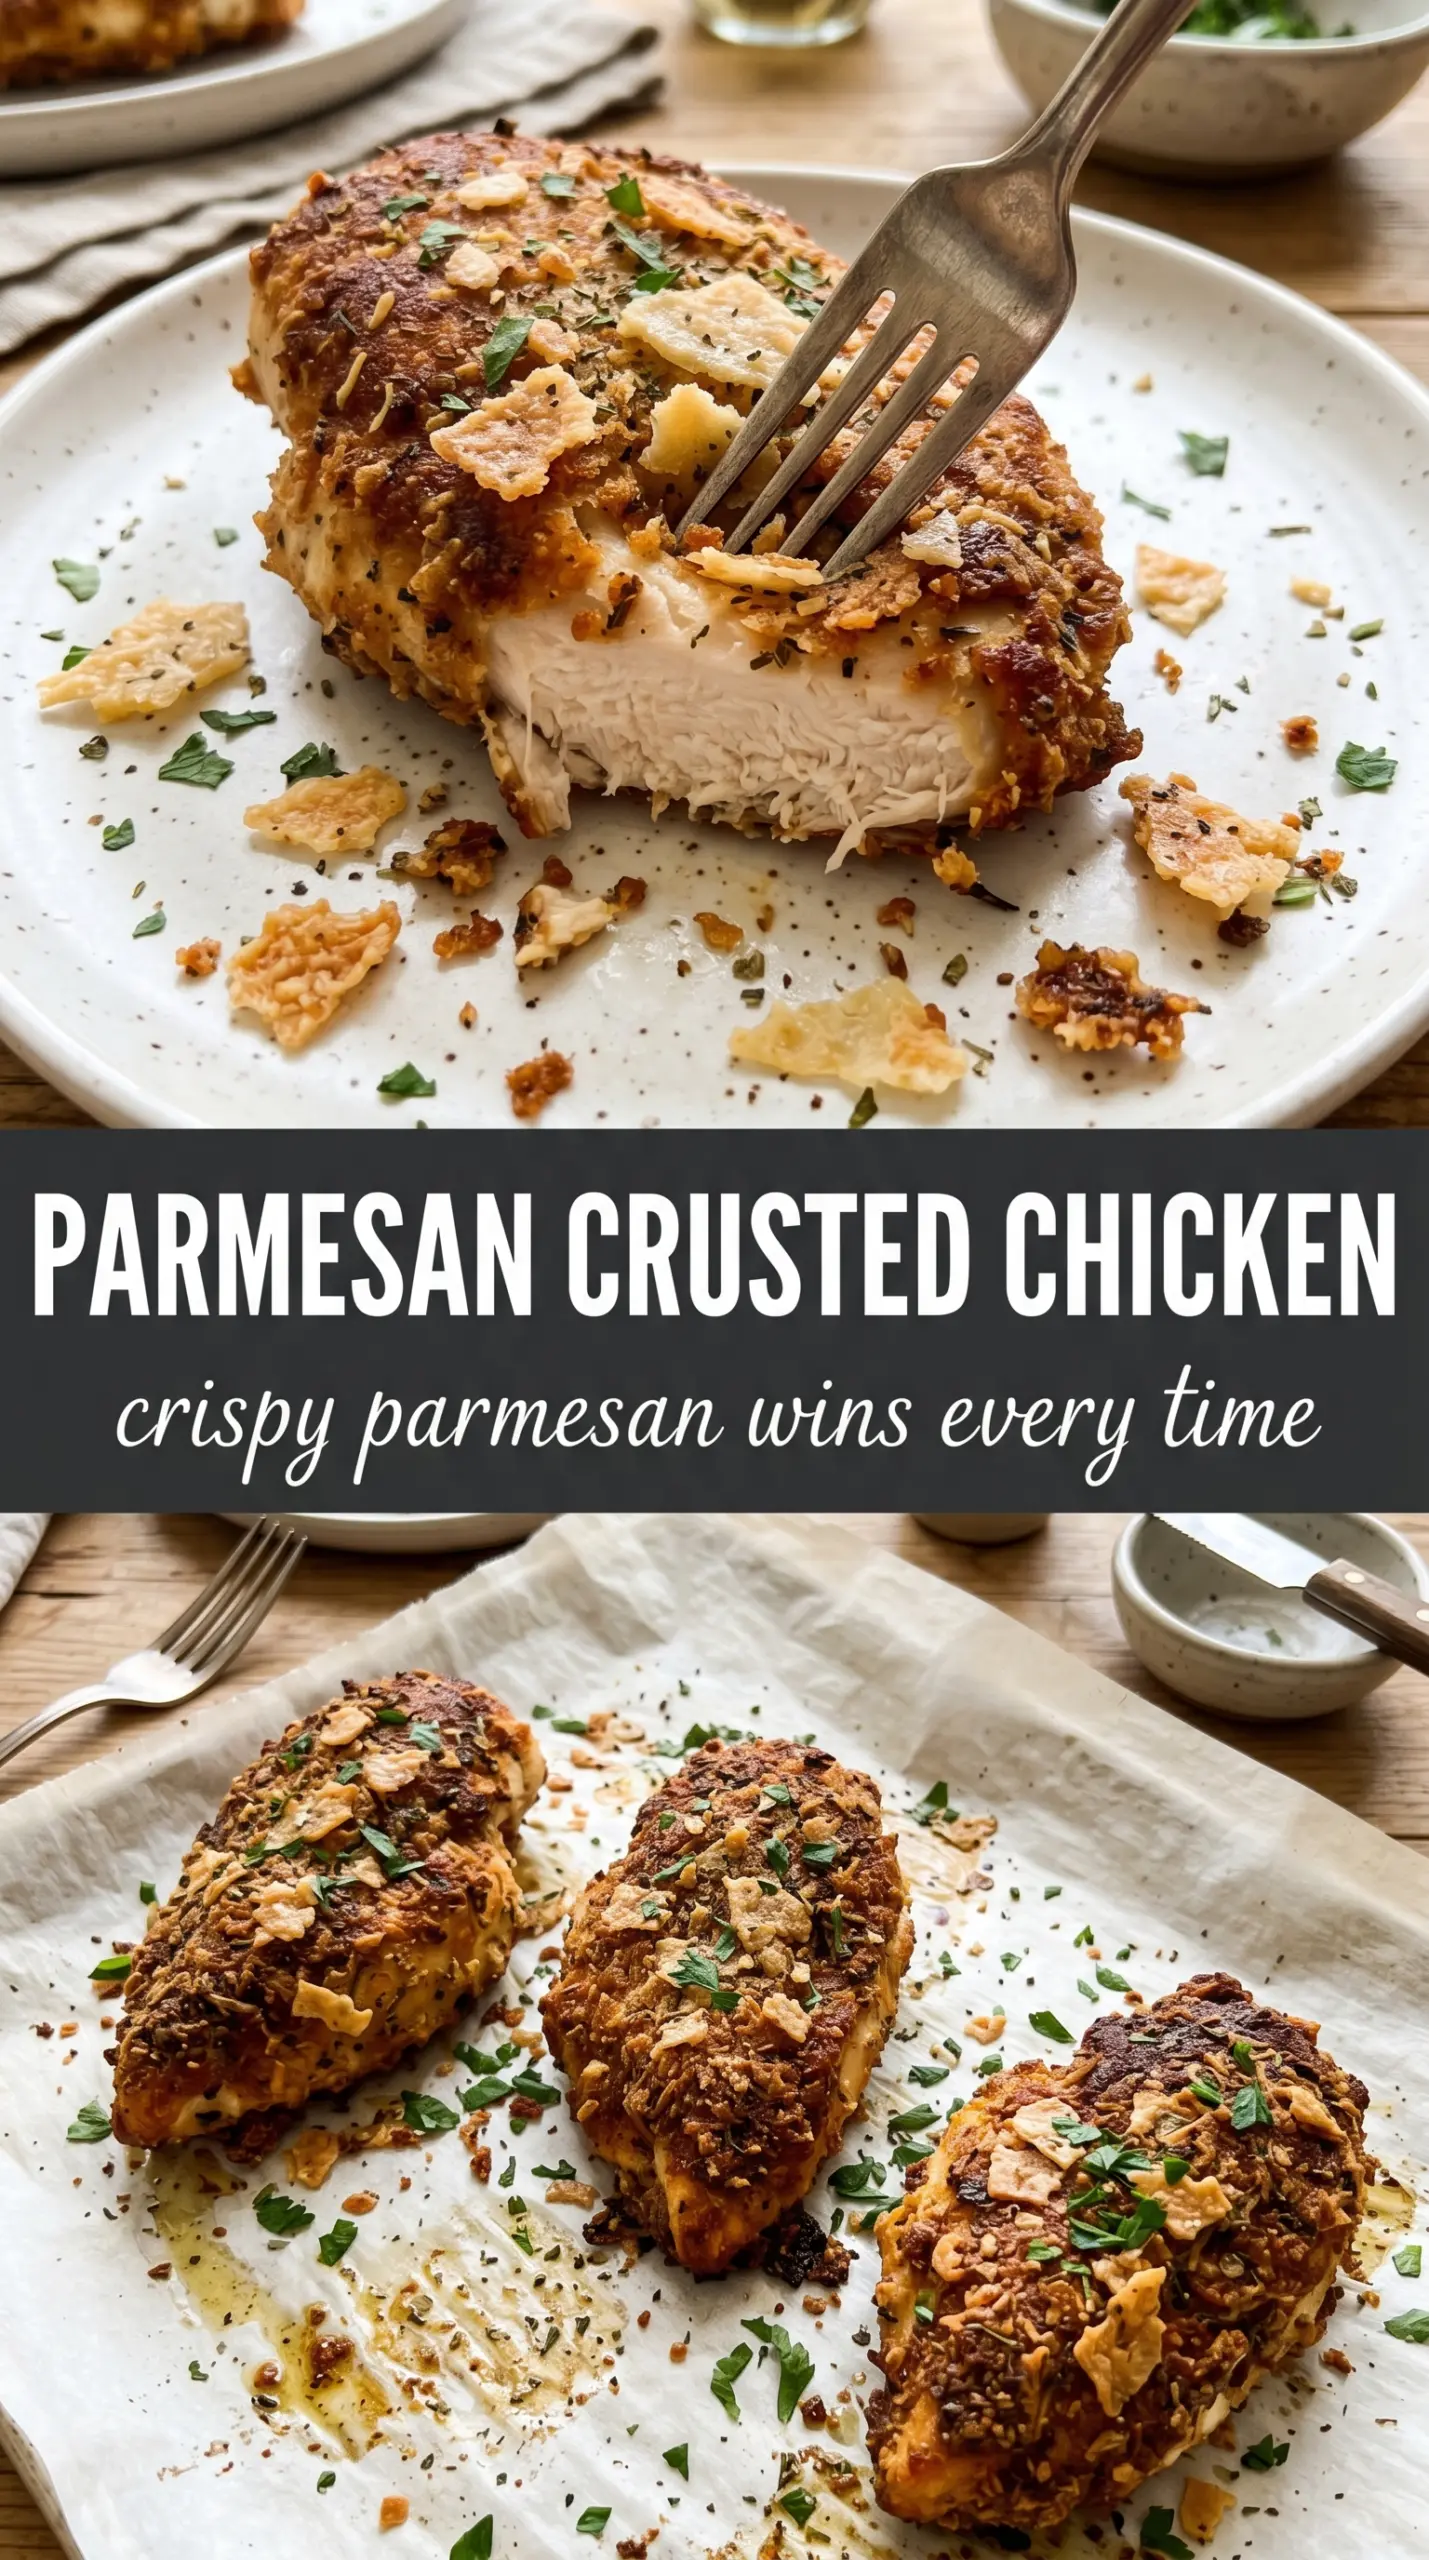
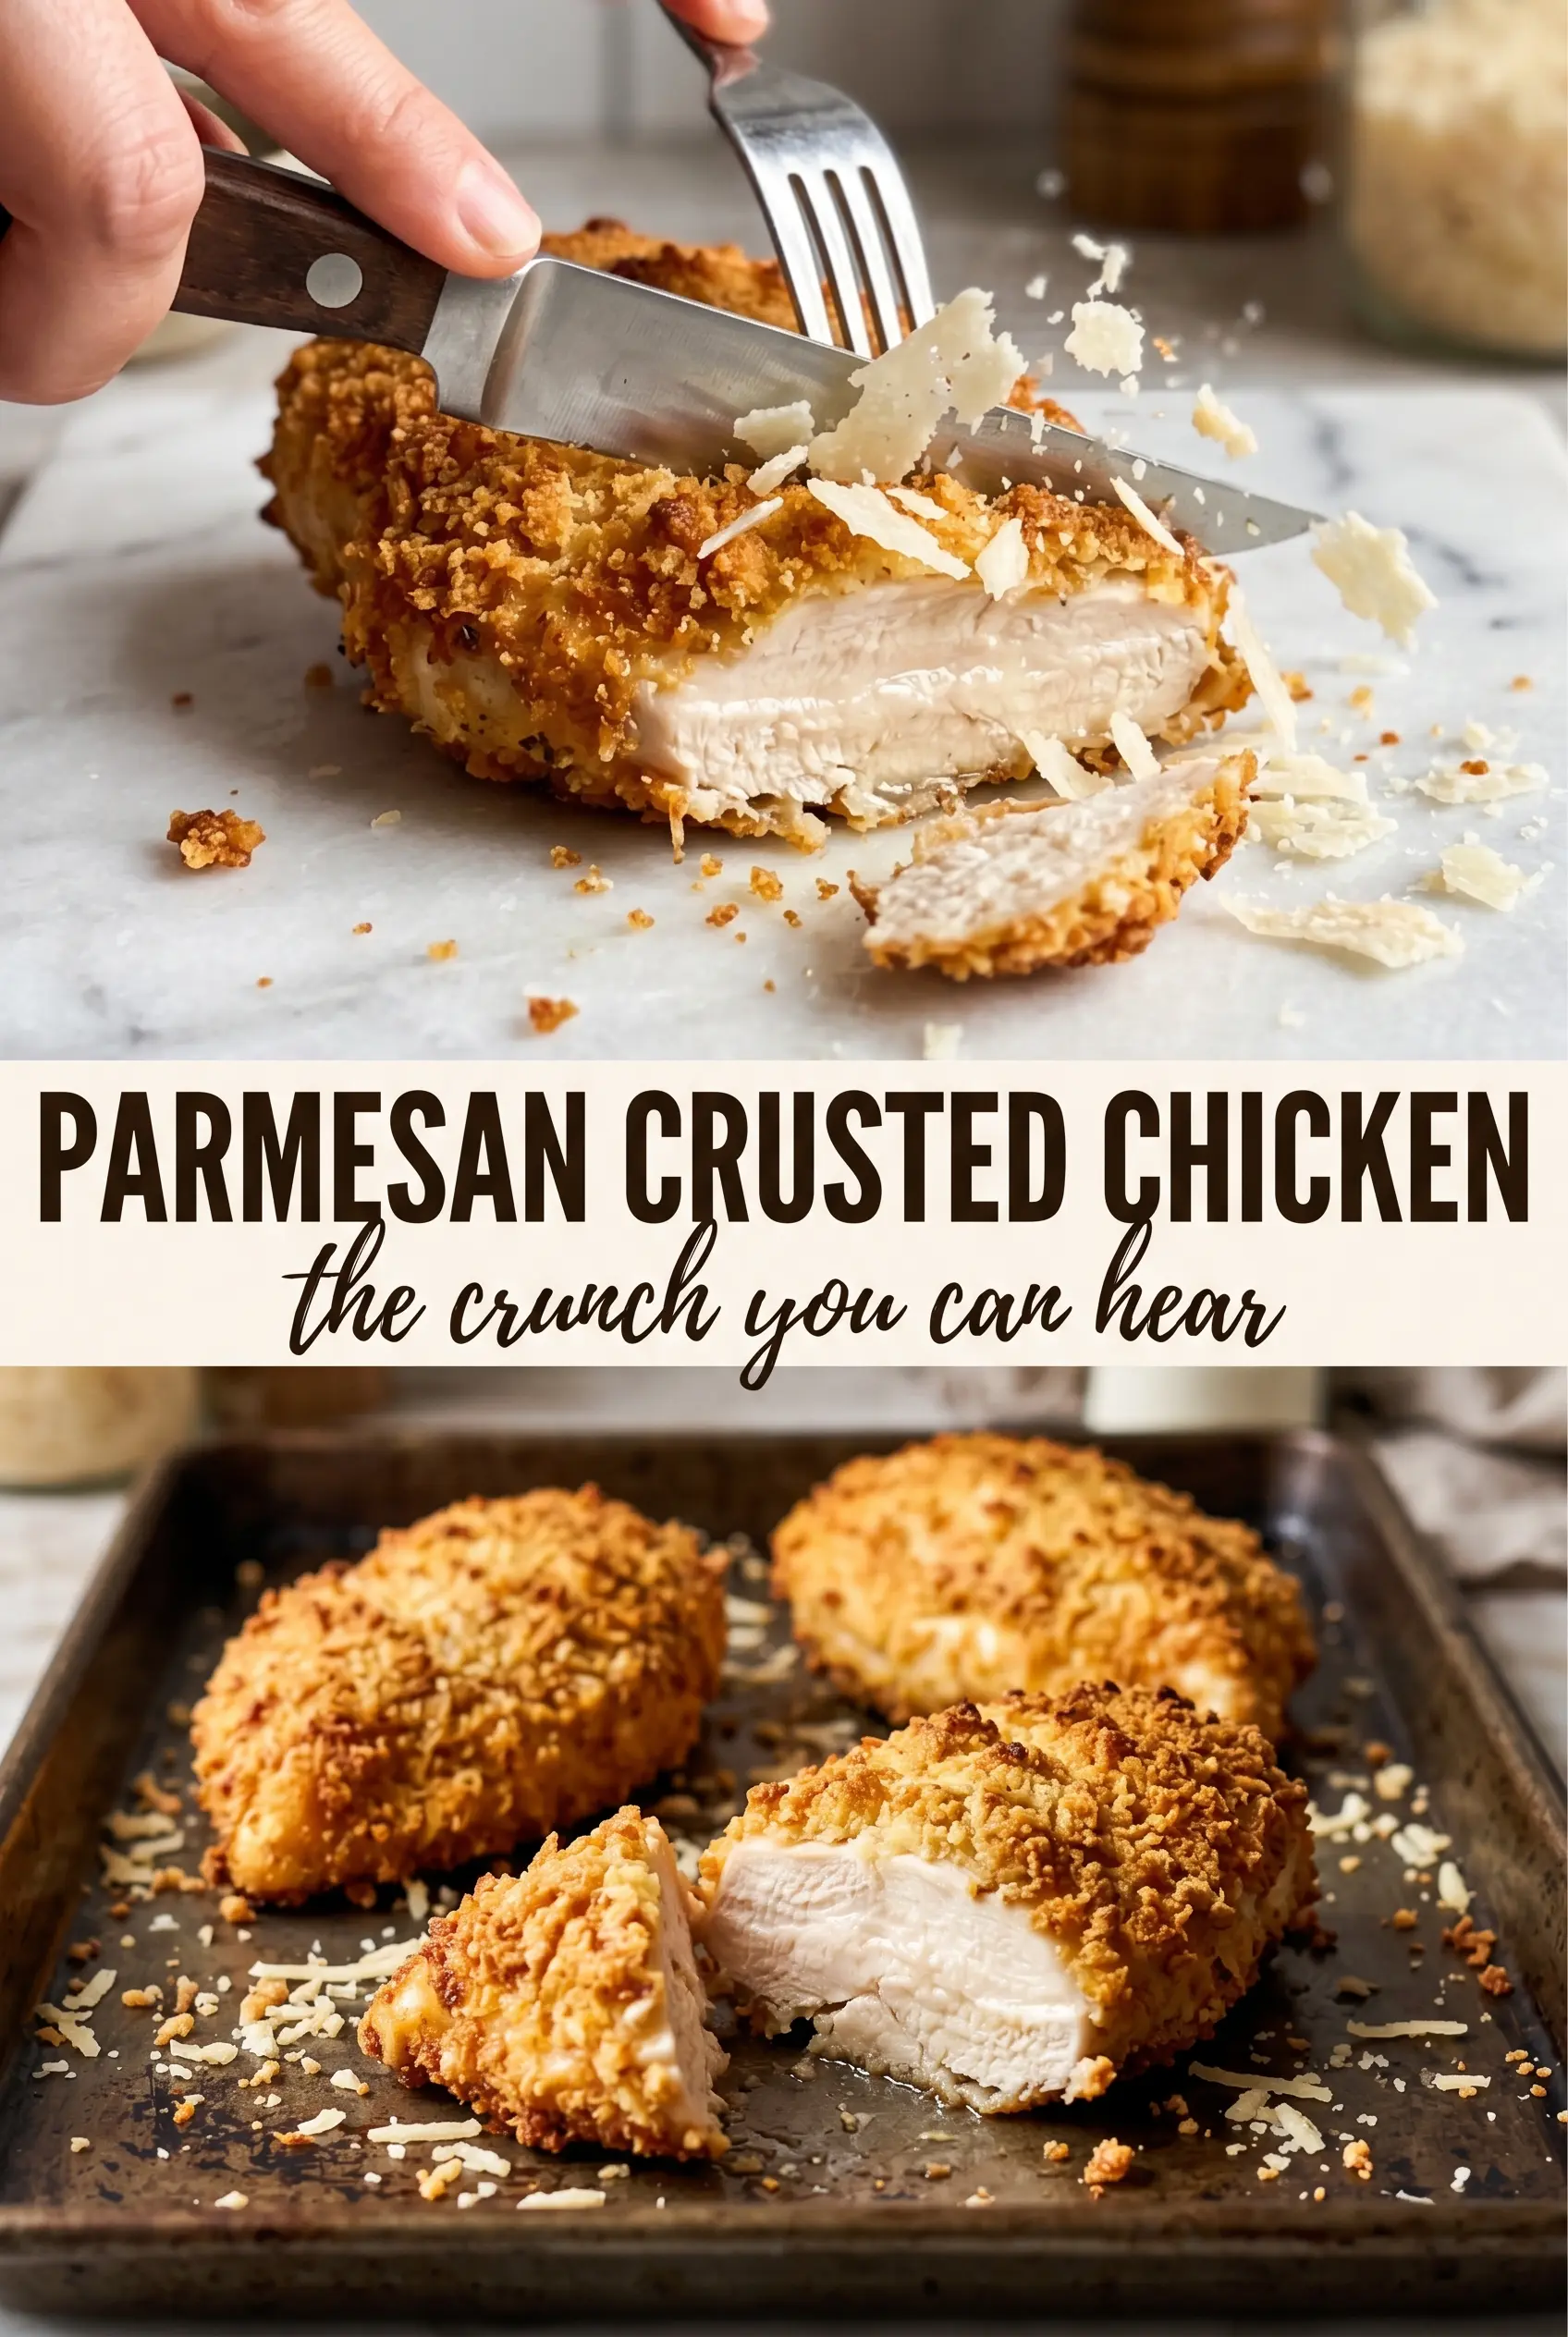
Thick chicken breasts with a shattering Parmesan-panko crust are one of those dinners that look like you spent far longer on them than you did. The coating bakes up crisp instead of soft, the Parmesan turns deeply savory and fragrant, and the chicken inside stays juicy when you pound it to an even thickness before breading. Every bite has that contrast people want from breaded chicken: crackly outside, tender center, clean slices on the plate.
The trick is keeping the breading dry enough to crisp and the chicken thin enough to cook through before the crust overbrowns. Panko gives you the airy crunch, while freshly grated Parmesan melts into the crumbs and helps the coating set into that salty, golden shell. A little smoked paprika adds warmth without pushing the flavor away from classic Italian-American territory.
Below, I’ll walk through the part that matters most: how to get the coating to actually cling, how to bake it on a rack so the bottom stays crisp, and what to change if you need a gluten-free version or want to use chicken cutlets instead of thick breasts.
The crust stayed crisp all the way through dinner, even on the pieces that sat a few minutes before serving. Pounding the chicken even made a huge difference, and the lemon at the end kept it from tasting heavy.
Like this Parmesan Crusted Chicken? Save it for the nights when you want a shatteringly crisp breadcrumb crust and juicy chicken without frying.
The Trick to a Crust That Stays Crisp in the Oven
The failure point in baked breaded chicken is usually moisture. If the coating goes on too wet, the crumbs steam before they can brown, and the bottom turns patchy instead of crisp. This version avoids that by using a flour layer first, which dries the surface just enough for the egg to grip, then a panko-Parmesan mix that can toast cleanly in the oven.
A wire rack matters here. It lets hot air move under the chicken, which keeps the underside from sitting in its own moisture. The olive oil on top is not just for flavor; it helps the crust take on color and gives the Parmesan a chance to turn nutty instead of dusty.
- Even thickness — Pound the breasts to the same thickness so the thinner end doesn’t dry out before the thicker end reaches 165°F.
- Freshly grated Parmesan — The pre-grated shelf-stable kind won’t melt and cling the same way. Freshly grated cheese gives you a better crust and a sharper savory taste.
- Panko — Regular breadcrumbs work, but they make a denser coating. Panko stays lighter and crunches more cleanly.
- Oil on top — A light drizzle or spray is enough. Too much oil will soften the crust instead of helping it brown.
What Each Ingredient Is Doing in the Crust
- Chicken breasts — Thick breasts work well because they stay juicy under the crust, but only if you pound them even. If you skip that step, the outside will overcook before the center is done.
- Flour — This is the dry base that helps the egg stick. You can use a 1:1 gluten-free flour blend here if needed.
- Eggs — They act like glue. Beat them until smooth so you don’t end up with stringy white streaks that keep the coating from pressing on evenly.
- Panko and Parmesan — This is the texture and the flavor. Panko brings the crunch, Parmesan brings the salty, browned edge. If you use finely shredded cheese, the coating can clump less neatly, but it still works.
- Italian seasoning, garlic powder, smoked paprika — These season the crust from the outside in. The paprika isn’t traditional, but it adds a deeper color and a faint warmth that fits the cheese without taking over.
Building the Breading So It Clings and Browns
Set Up the Stations First
Line up the flour, eggs, and Parmesan-panko mixture before you touch the chicken. The process moves fast once you start, and a tidy station keeps your fingers from turning into a sticky mess. Season the chicken itself before it goes through the flour so the meat underneath the crust doesn’t taste flat.
Press the Coating On, Don’t Just Dip and Drop
After the egg, press the chicken firmly into the crumb mixture on both sides and along the edges. That pressure matters. If you only lightly coat it, the crust will look covered but shed in the oven. Patting the crumbs on with your hand helps the Parmesan lock into the panko.
Bake Until the Crust Is Deep Gold
Lay the breaded chicken on the rack and bake until the crust is deeply golden and the thickest part reaches 165°F. If the top is browning too quickly before the center is done, the chicken was either too thick or your oven runs hot. Use an instant-read thermometer instead of guessing, because overbaked chicken turns stringy fast.
Let It Rest Before Slicing
Give the chicken three minutes after it comes out of the oven. That short rest lets the juices settle so they don’t run out onto the cutting board. Slice too soon and the crust can crack unevenly while the meat dries on the plate.
How to Adapt This for Cutlets, Gluten-Free Crumbs, or a Bigger Crowd
Use chicken cutlets for a faster dinner
Cutlets cook faster than thick breasts and give you more crust in every bite. They’re a good choice when you want dinner on the table quickly, but they dry out faster too, so pull them as soon as they hit 165°F.
Make it gluten-free without losing the crunch
Use a gluten-free flour blend in place of the all-purpose flour and swap in certified gluten-free panko. The crust still bakes up crisp, though the crumbs may brown a little faster, so watch the color near the end of the bake.
Add a little heat to the crust
A pinch of cayenne or extra smoked paprika gives the coating a sharper edge without changing the method. Keep it subtle if you’re serving this with lemon, since too much heat can fight the brightness at the end.
Storage and Reheating
- Refrigerator: Store leftovers for up to 3 days. The crust softens a bit in the fridge, but it still reheats well.
- Freezer: Freeze cooked chicken on a tray until solid, then wrap tightly. It will freeze well for about 2 months, though the crust won’t stay as crisp as when fresh.
- Reheating: Reheat on a rack in a 375°F oven until hot through. The microwave will make the breading soggy and pull moisture out of the chicken.
Questions I Get Asked About This Recipe
Parmesan Crusted Chicken
Ingredients
Equipment
Method
- Preheat the oven to 425°F and line a baking sheet with a wire rack; spray the rack with cooking spray so air can circulate under the chicken.
- Season the chicken breasts with salt, pepper, and garlic powder to taste, then set up a three-station breading line for flour, beaten eggs, and the panko-Parmesan mixture.
- Dredge each chicken breast in the all-purpose flour to lightly coat all surfaces, then shake off excess so the crust stays crisp.
- Dip the floured chicken into the beaten eggs, letting any extra drip off for a better crunch layer.
- Press the chicken firmly into the panko-Parmesan mixture so it fully adheres on all sides for a deep golden crust.
- Drizzle or spray the olive oil over the breaded chicken on the prepared rack to promote browning and crisping.
- Bake at 425°F for 20-22 minutes until the crust is deep golden and the internal temperature reaches 165°F, watching for a crisp, fragrant cheese crust.
- Rest the chicken for 3 minutes so the juices settle and the crust stays shatteringly crisp.
- Garnish with fresh parsley and serve with lemon wedges for a bright finish alongside the crunchy Parmesan crust.