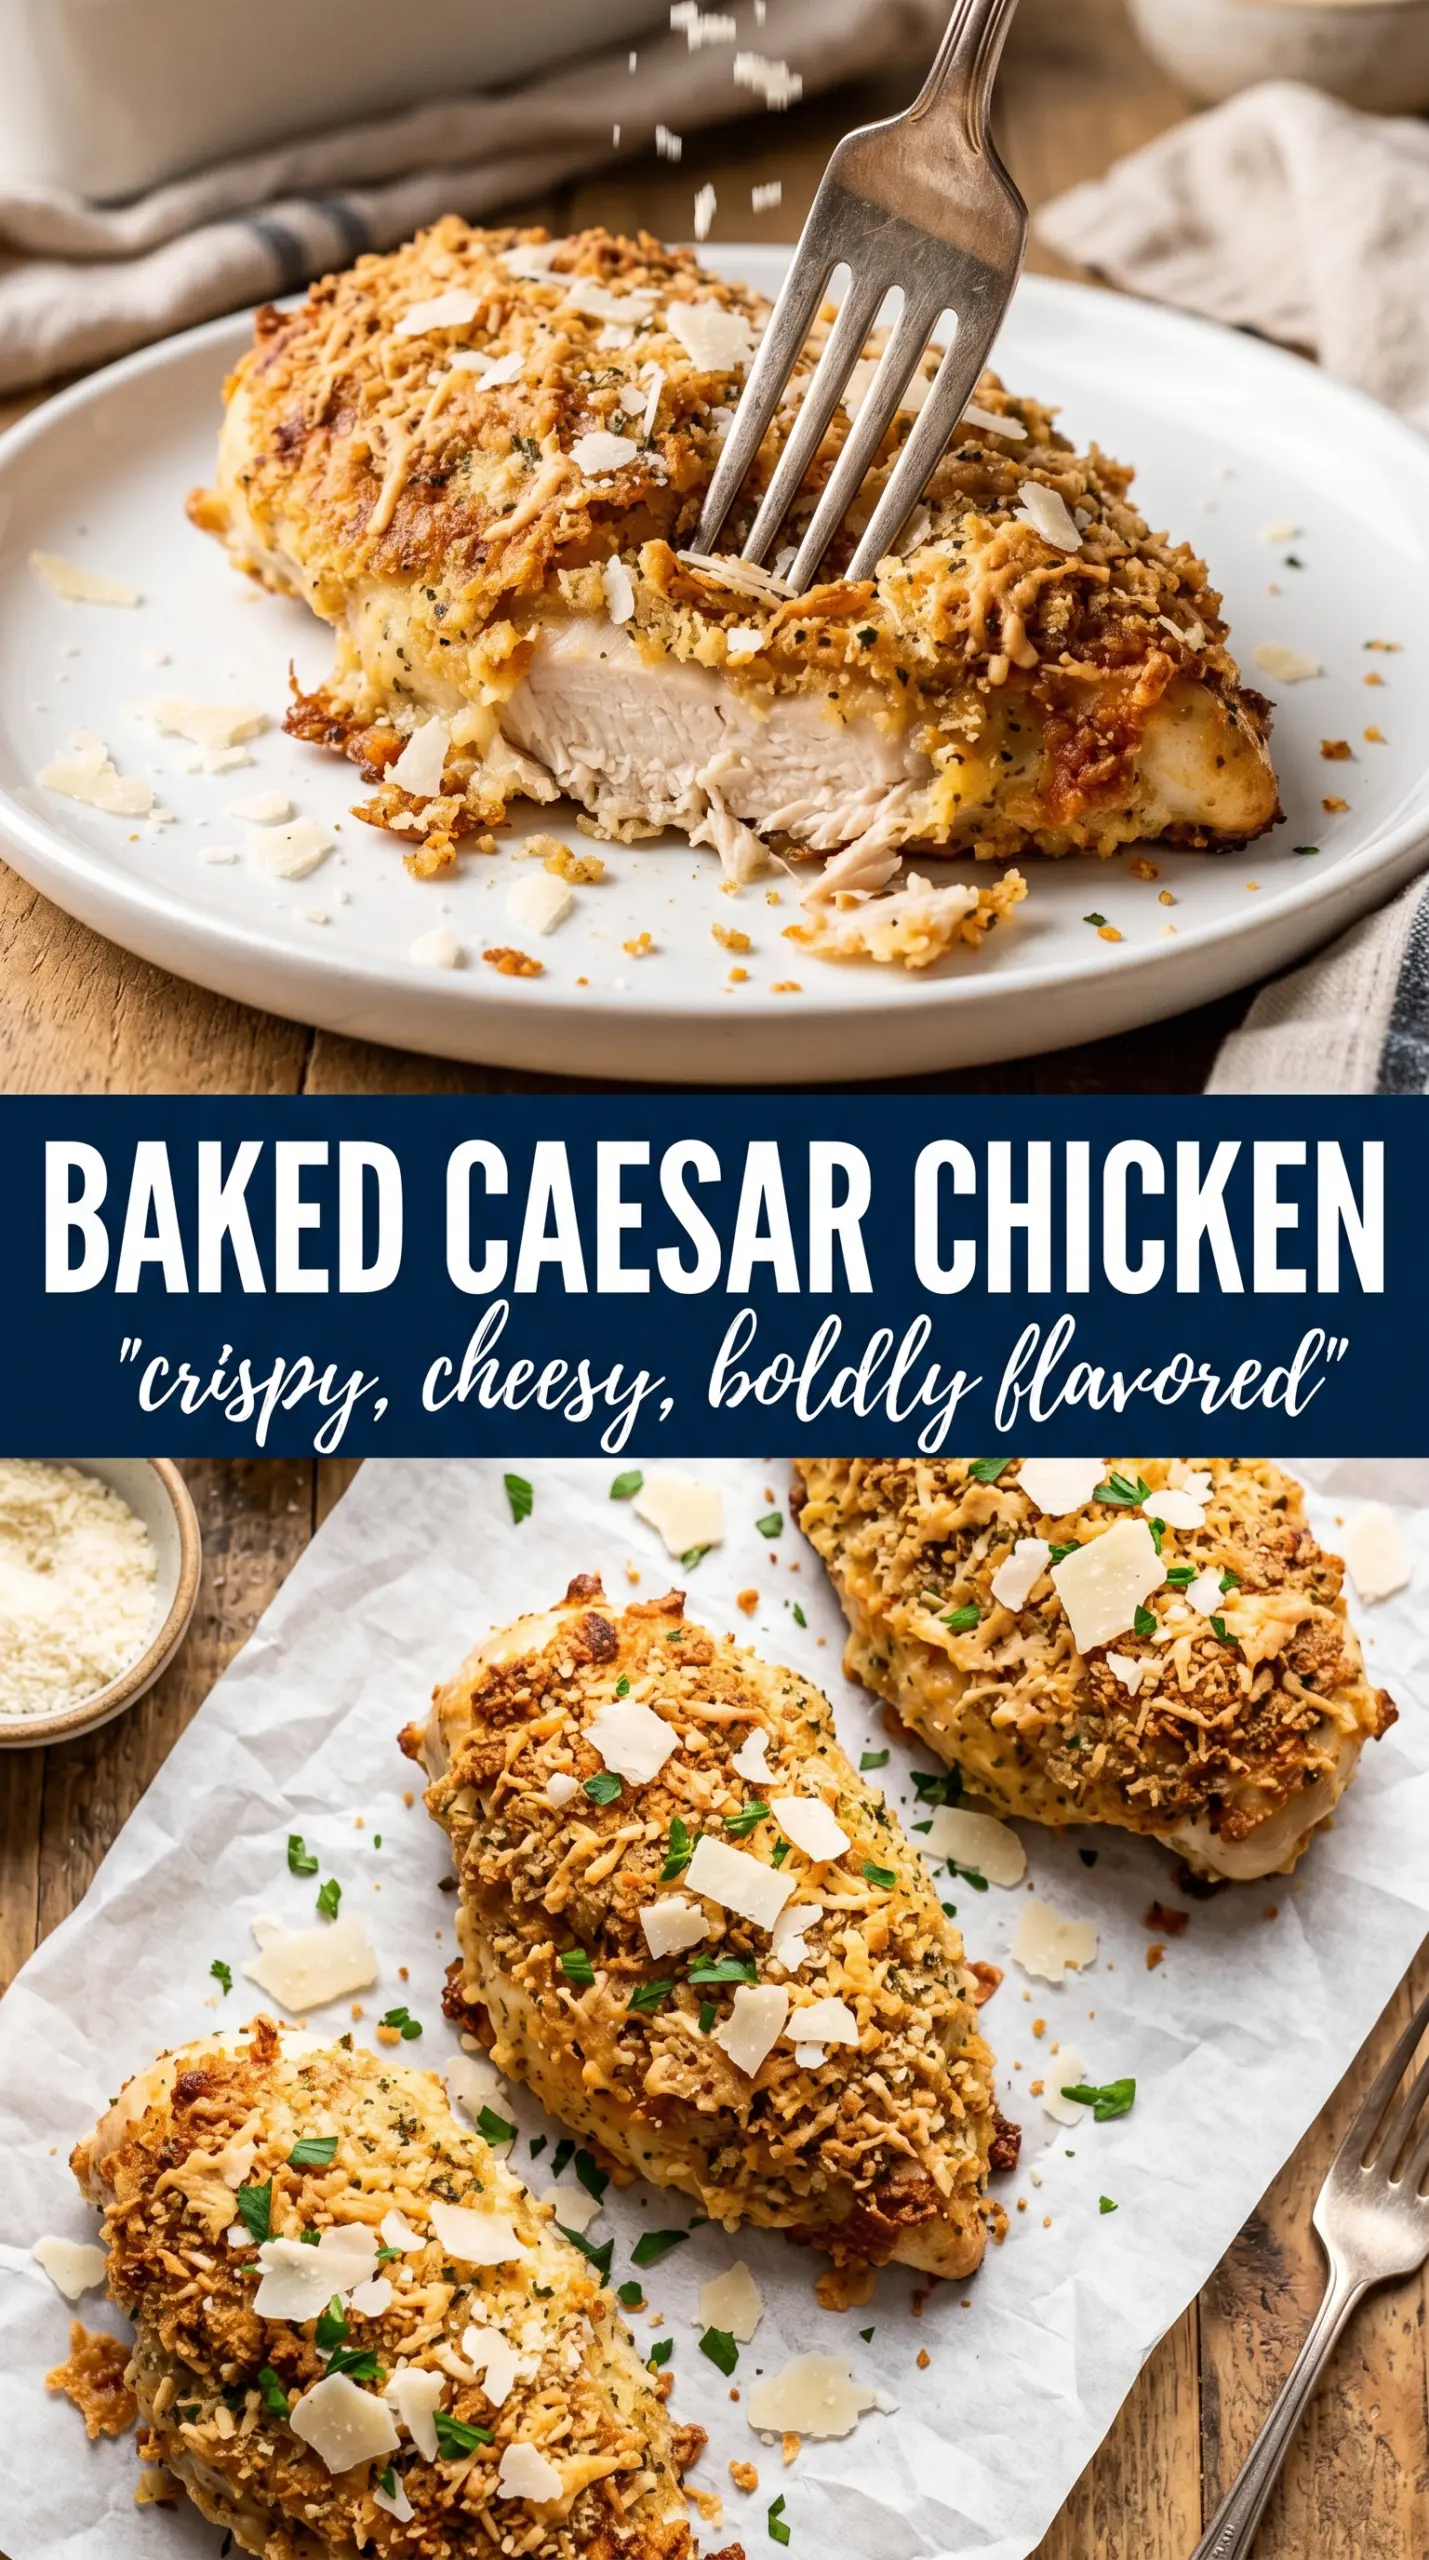
Golden, savory baked Caesar chicken lands on the plate with a crust that tastes like the best part of a Caesar salad and a baked chicken dinner had the right idea and finally got together. The top turns crackly and browned, the chicken stays juicy underneath, and every bite has that familiar mix of Parmesan, garlic, and tangy dressing that makes people go back for seconds without needing much convincing.
The trick here is using Caesar dressing as both the marinade and the flavor base. It seasons the chicken all the way through, while a layer of panko and Parmesan on top gives you actual texture instead of a soft, one-note bake. Fresh lemon zest wakes up the dressing so the finished dish tastes bright instead of heavy, and a short marinating window is enough to help the chicken pick up flavor without turning mushy.
Below, you’ll find the small details that keep the crust crisp, the chicken juicy, and the whole dish easy to pull together on a weeknight. There’s also a simple way to serve it so it feels complete without adding much work.
The chicken came out tender and the Parmesan-panko top got crisp instead of soggy. I loved that the Caesar flavor went all the way through, and the lemon zest kept it from tasting too rich.
Save this baked Caesar chicken for the nights when you want a crisp Parmesan crust, juicy chicken, and almost no cleanup.
The Secret to Keeping Caesar Chicken Crispy Instead of Damp
The usual failure with baked Caesar chicken is simple: the topping turns soft before the chicken finishes cooking. That happens when too much dressing sits on top and the breadcrumb layer never gets a chance to toast. The fix is to treat the dressing like a marinade base, then press the panko-Parmesan mixture on last so it bakes directly into the heat instead of dissolving into it.
That short marinating time matters. Caesar dressing brings salt, fat, and acid, and all three start working fast. Twenty minutes gives the chicken enough flavor without making the surface slippery. If you leave it much longer, the texture can get a little too soft around the edges, which works against the crust you’re trying to build.
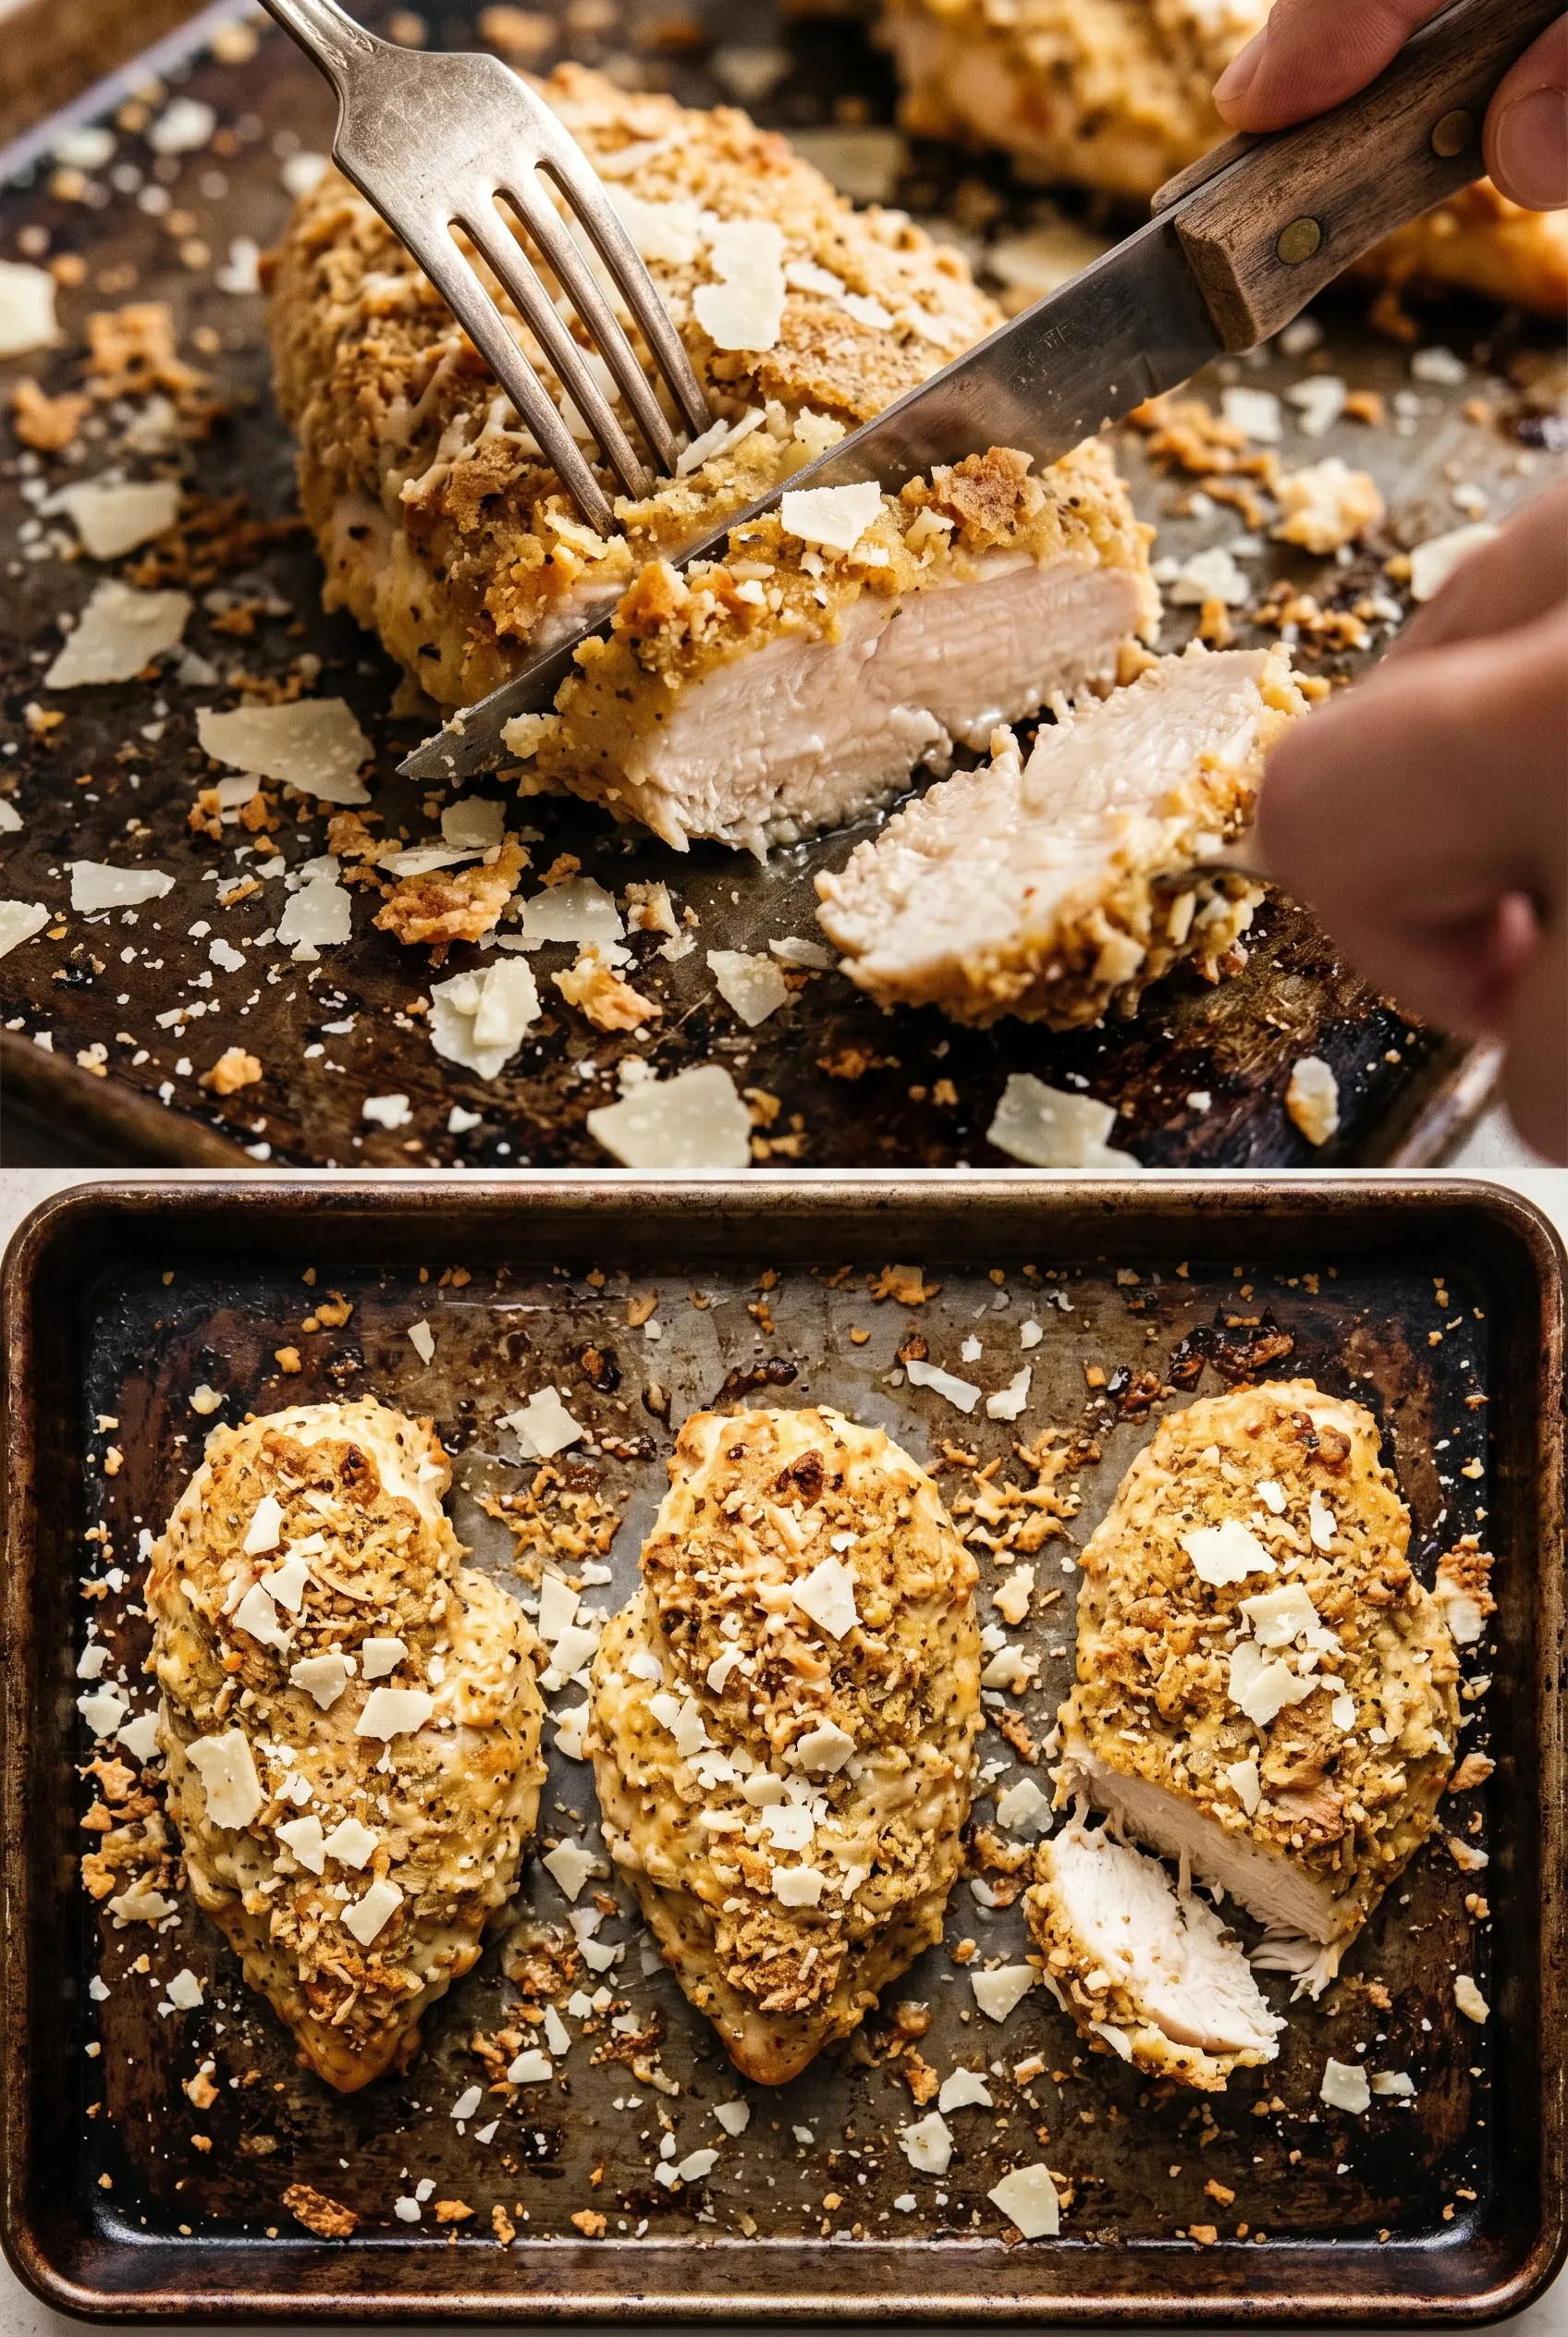
A hot oven helps the top brown before the chicken dries out. You want the crust to look deeply golden and the juices to run clear, with the thickest part reaching 165°F. If the top is browning too quickly, cover it loosely with foil near the end, but only after the crust has already set.
What Each Ingredient Is Doing in the Bake
- Caesar dressing — This is the flavor engine and the marinade base. Store-bought works fine here if it tastes good on its own, but a thicker, creamier dressing clings better to the chicken and helps the topping stay in place.
- Parmesan cheese — Freshly grated Parmesan melts and browns more cleanly than the pre-shredded kind. If you use the bagged version, the crust can end up a little drier and less cohesive.
- Panko breadcrumbs — Panko is what gives the top its crunch. Regular breadcrumbs will work in a pinch, but they bake up finer and less crackly, so the finish won’t have the same texture.
- Lemon zest — This keeps the dish from feeling heavy. You don’t taste lemon in a bright, obvious way; it just sharpens the Caesar flavor and makes the cheese taste fuller.
- Chicken breasts — Use evenly sized breasts so they finish cooking at the same time. If one is much thicker, pound it lightly so the top doesn’t burn before the center is done.
Building the Crust Before the Chicken Overcooks
Mix the marinade first
Stir the Caesar dressing, half the Parmesan, garlic powder, and lemon zest together before adding the chicken. That gives you an even coating and keeps the seasoning from clumping in one spot. The mixture should look thick and spoonable, not runny. If it feels loose, the chicken will slide around and the topping won’t stay put later.
Let the chicken take on flavor
Coat the chicken breasts and let them sit for 20 minutes. This is long enough for the seasoning to settle in, but short enough to protect the texture of the meat. While it rests, preheat the oven and grease the baking dish so the chicken goes straight from marinating to baking.
Press on the topping, don’t scatter it
Mix the remaining Parmesan with the panko, then press that mixture firmly over each breast. Pressing matters. If you just sprinkle it on, it’ll fall off before it has time to toast. A light, even press helps the crust fuse with the dressing underneath and bake into one solid layer.
Watch for the right finish
Bake until the top is deeply golden and the thickest part of the chicken reaches 165°F, usually 22 to 25 minutes. Pull it the moment the crust looks set and the juices are no longer pink. If the chicken is done but the top needs a little more color, slide it under the broiler for a brief minute and keep a close eye on it so the Parmesan doesn’t scorch.
Make It Gluten-Free with a Crunchy Swap
Use gluten-free panko or crushed gluten-free crackers in place of the regular panko. The texture stays crisp, though crackers will give you a slightly denser, more savory crust. Keep the layer light so it browns instead of turning heavy.
Dairy-Free Version with Less Creamy Richness
Use a dairy-free Caesar dressing and swap the Parmesan for a dairy-free Parmesan-style topping if you have one that melts well. The flavor will be a little less nutty and sharp, but the dressing still gives the chicken enough salt and tang to stand on its own.
Chicken Thighs for a Juicier Bake
Boneless skinless thighs work well if you want a richer result and a little more forgiveness in the oven. They usually need a few extra minutes, and the crust may not brown quite as evenly, but the meat stays especially tender.
Storage and Reheating
- Refrigerator: Store leftovers in an airtight container for up to 3 days. The crust softens a bit, but the flavor holds well.
- Freezer: It freezes, but the topping loses some crunch after thawing. If you freeze it, wrap tightly and thaw in the refrigerator before reheating.
- Reheating: Reheat in a 350°F oven until warmed through, uncovered, so the crust can firm back up. The biggest mistake is microwaving it, which turns the topping soggy and can dry out the chicken.
Questions I Get Asked About This Recipe
Baked Caesar Chicken
Ingredients
Equipment
Method
- Mix Caesar dressing, 1/2 cup Parmesan, garlic powder, and lemon zest in a bowl until combined. Season with salt and pepper to taste, then coat the chicken and marinate for 20 minutes.
- Preheat the oven to 400°F and grease a baking dish. Place the marinated chicken in the dish in an even layer.
- Mix the remaining 1/4 cup Parmesan with panko breadcrumbs, then press the mixture over the top of each breast. Make sure the crust is firmly adhered so it caramelizes during baking.
- Bake for 22-25 minutes, until the crust is golden and crackled and the chicken reaches an internal temperature of 165°F. Let it rest briefly for 1-2 minutes before serving for cleaner slices.
- Serve each chicken breast topped with chopped romaine, croutons, and an extra drizzle of Caesar dressing. Finish with shaved Parmesan so it melts slightly from the hot chicken.