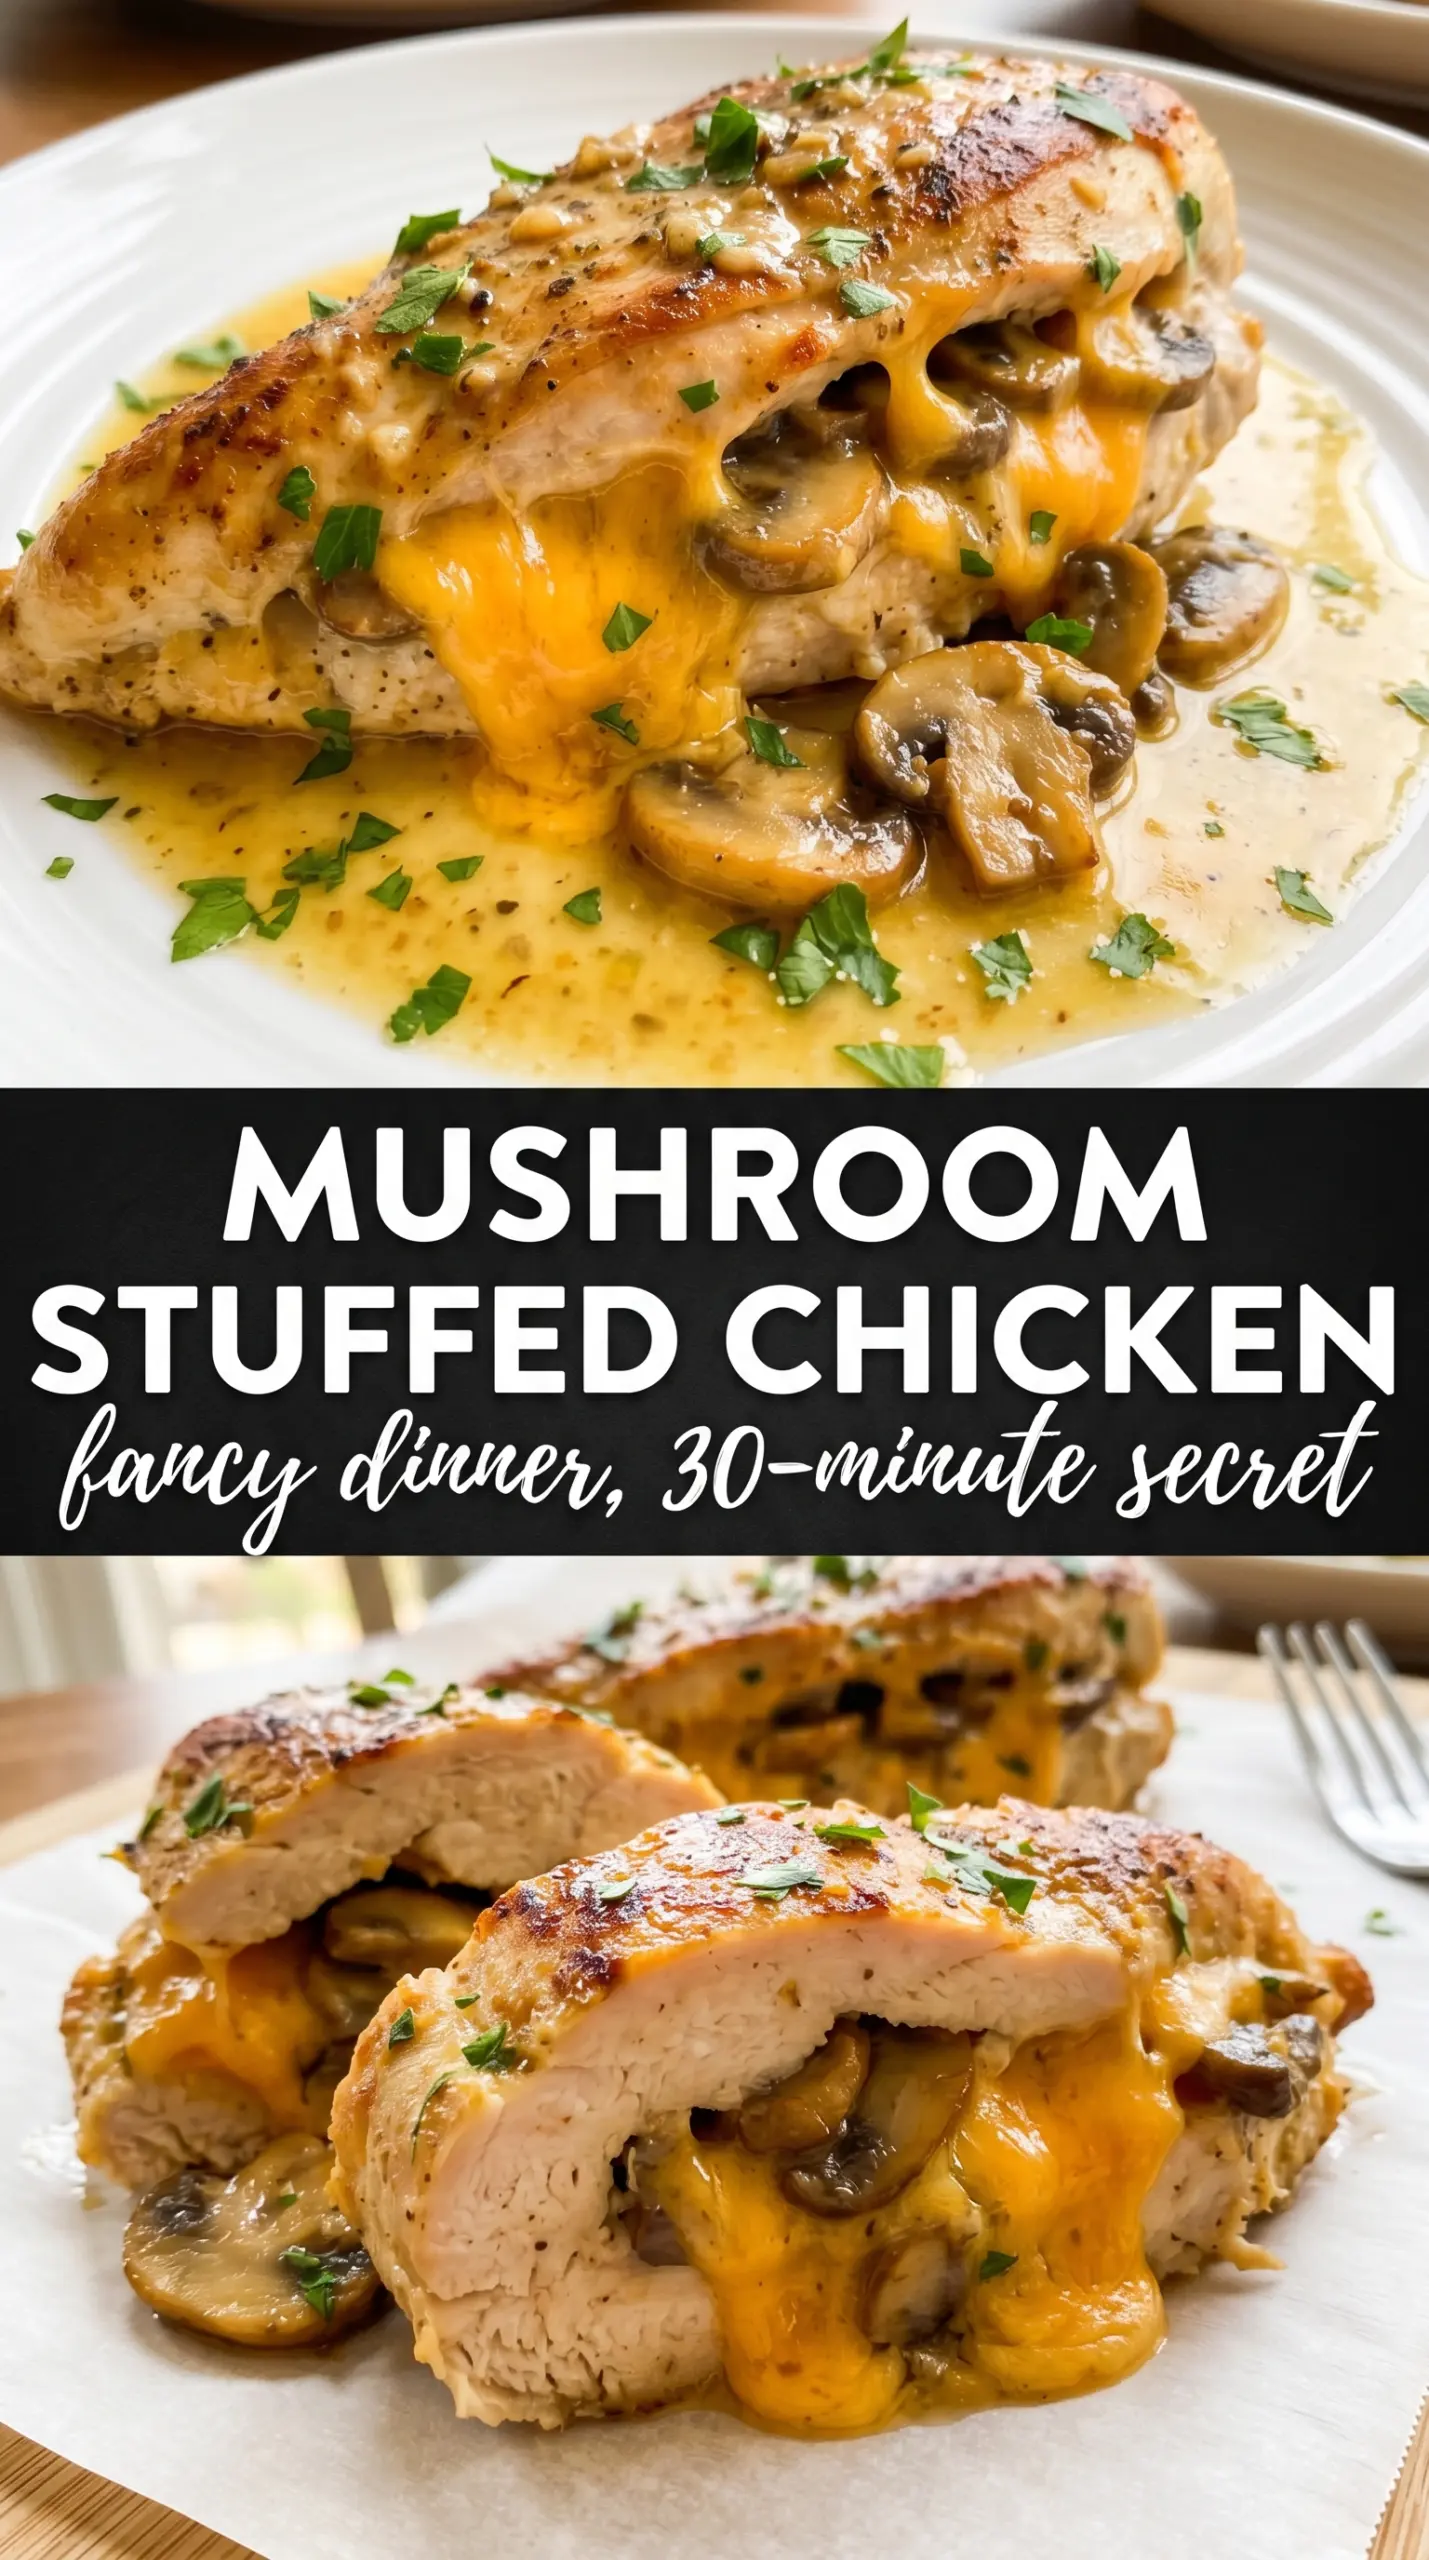
Golden-seared chicken breast with a hot, savory mushroom-and-cheese center is the kind of dinner that feels a lot fancier than the work it takes. The outside gets deeply browned in the skillet, the filling stays creamy and garlicky, and every slice gives you that satisfying moment where the cheese starts to spill out onto the plate.
What makes this version work is patience in the pan. The mushrooms need to cook until their moisture is gone, not just until they look soft, because any extra water will thin the filling and make it slide out of the chicken. Cooling the mushroom mixture before you stir in the cheese also helps it stay thick enough to stuff cleanly. Then the chicken gets a good sear first, which builds flavor and gives the breast a head start before it finishes in the oven.
Below, I’ve broken down the small details that keep stuffed chicken from turning watery or bland, plus the swaps that still give you a rich, cheesy filling without losing the texture that makes this dish worth making.
I cooked the mushrooms until the pan was almost dry, and the filling stayed put inside the chicken instead of leaking everywhere. The mozzarella got all melty and the garlic butter on top made it taste like restaurant chicken.
Save this cheesy garlic butter mushroom stuffed chicken for the night you want a crisp sear, a molten filling, and a dinner that slices open beautifully.
The Mushroom Filling Has to Lose Its Water First
The biggest mistake with stuffed chicken is rushing the filling. Mushrooms hold a lot of moisture, and if that water stays in the pan, the stuffing turns loose and the chicken breasts split or leak while they cook. Cook the diced mushrooms in butter until they give off their liquid and that liquid evaporates completely; the pan should look almost dry before the garlic goes in.
That extra minute or two changes everything. Once the mushrooms are concentrated and savory, they can carry the cheese instead of watering it down. Let the mixture cool for a few minutes before adding the mozzarella and Parmesan so the cheese softens into the filling instead of melting into a greasy puddle.
What Each Ingredient Is Actually Doing in This Chicken
- Cremini mushrooms — These bring the deep, earthy base flavor. White button mushrooms will work, but cremini taste fuller and hold up better after cooking down.
- Mozzarella — This gives you the stretch and that molten center. Use low-moisture shredded mozzarella, not fresh mozzarella, or the filling can turn watery.
- Parmesan — Parmesan sharpens the filling and keeps it from tasting flat. The grated kind blends in well; a block you grate yourself melts and tastes better than the pre-shredded stuff.
- Butter and garlic — Butter carries the mushrooms and makes the filling taste rich, while garlic gives the dish its signature edge. Fresh garlic matters here because it gets cooked briefly and keeps its punch.
- Chicken breasts — Thick, even breasts are easier to stuff without tearing. If one side is much thicker, pound it slightly so the pocket cooks more evenly.
- Extra garlic butter — This is the finish that makes the dish taste complete. A little drizzled over the sliced chicken adds shine and brings the garlic flavor back to the top.
From Pocket to Plate Without Losing the Filling
Build the Stuffing First
Cook the mushrooms in butter over medium-high heat until they collapse, then keep going until the pan looks dry. Stir in the garlic and thyme for just a minute; any longer and the garlic can turn bitter. Once the mixture cools slightly, fold in the cheeses so the filling thickens enough to scoop cleanly into the chicken pockets.
Cut Deep, But Not Through
Slice a pocket into the thick side of each breast with a sharp knife, keeping the opening fairly narrow and the cut deep enough to hold the filling. Season the inside and outside well, because the center of stuffed chicken often tastes bland if you only season the surface. Pack the filling in firmly, then secure the opening with toothpicks so it stays closed in the skillet.
Sear for Color Before the Oven Finishes the Job
Use an oven-safe skillet and get the olive oil hot before the chicken goes in. You want a golden crust after 3 to 4 minutes per side, not a pale surface that steams and sticks. If the breasts are browning too fast, lower the heat slightly; the goal is color first, then a gentle finish in the oven so the filling heats through without the exterior drying out.
Let It Rest Before Slicing
Bake until the chicken reaches 165°F in the thickest part, then pull it out and let it rest for 5 minutes. That rest keeps the juices in the meat instead of running straight onto the cutting board. Remove the toothpicks, drizzle with garlic butter, and slice on a slight angle so the filling shows at the cut edge.
How to Adapt This for Different Kitchens and Different Nights
Make It Gluten-Free Without Changing the Texture
This recipe is naturally gluten-free as written, so there’s nothing to replace. Just check that your Parmesan and garlic butter ingredients are plain and not mixed with starches or fillers, which can occasionally sneak into packaged products.
Swap in Chicken Thighs for a Richer Result
Boneless thighs can be stuffed if they’re large enough, but they’re harder to form into neat pockets and usually cook a little unevenly because of their shape. The payoff is a juicier, more forgiving bite, especially if you like dark meat and don’t mind a less dramatic slice.
Use a Different Melt for a Sharper Filling
If you want a stronger cheese flavor, swap half the mozzarella for fontina, provolone, or Monterey Jack. Mozzarella gives the best pull, so keep some of it in the mix unless you want the filling to set more firmly instead of stretching when sliced.
Storage and Reheating
- Refrigerator: Store leftovers in an airtight container for up to 3 days. The filling stays tasty, though the chicken will firm up a bit after chilling.
- Freezer: Freeze cooked stuffed chicken for up to 2 months, wrapped tightly and sealed well. The texture of the cheese filling softens after thawing, but it still reheats nicely if you don’t overcook it the first time.
- Reheating: Warm it covered in a 325°F oven until heated through, or use short bursts in the microwave at reduced power. High heat dries out the chicken fast and can make the cheese separate, so go low and slow.
Answers to the Questions Worth Asking
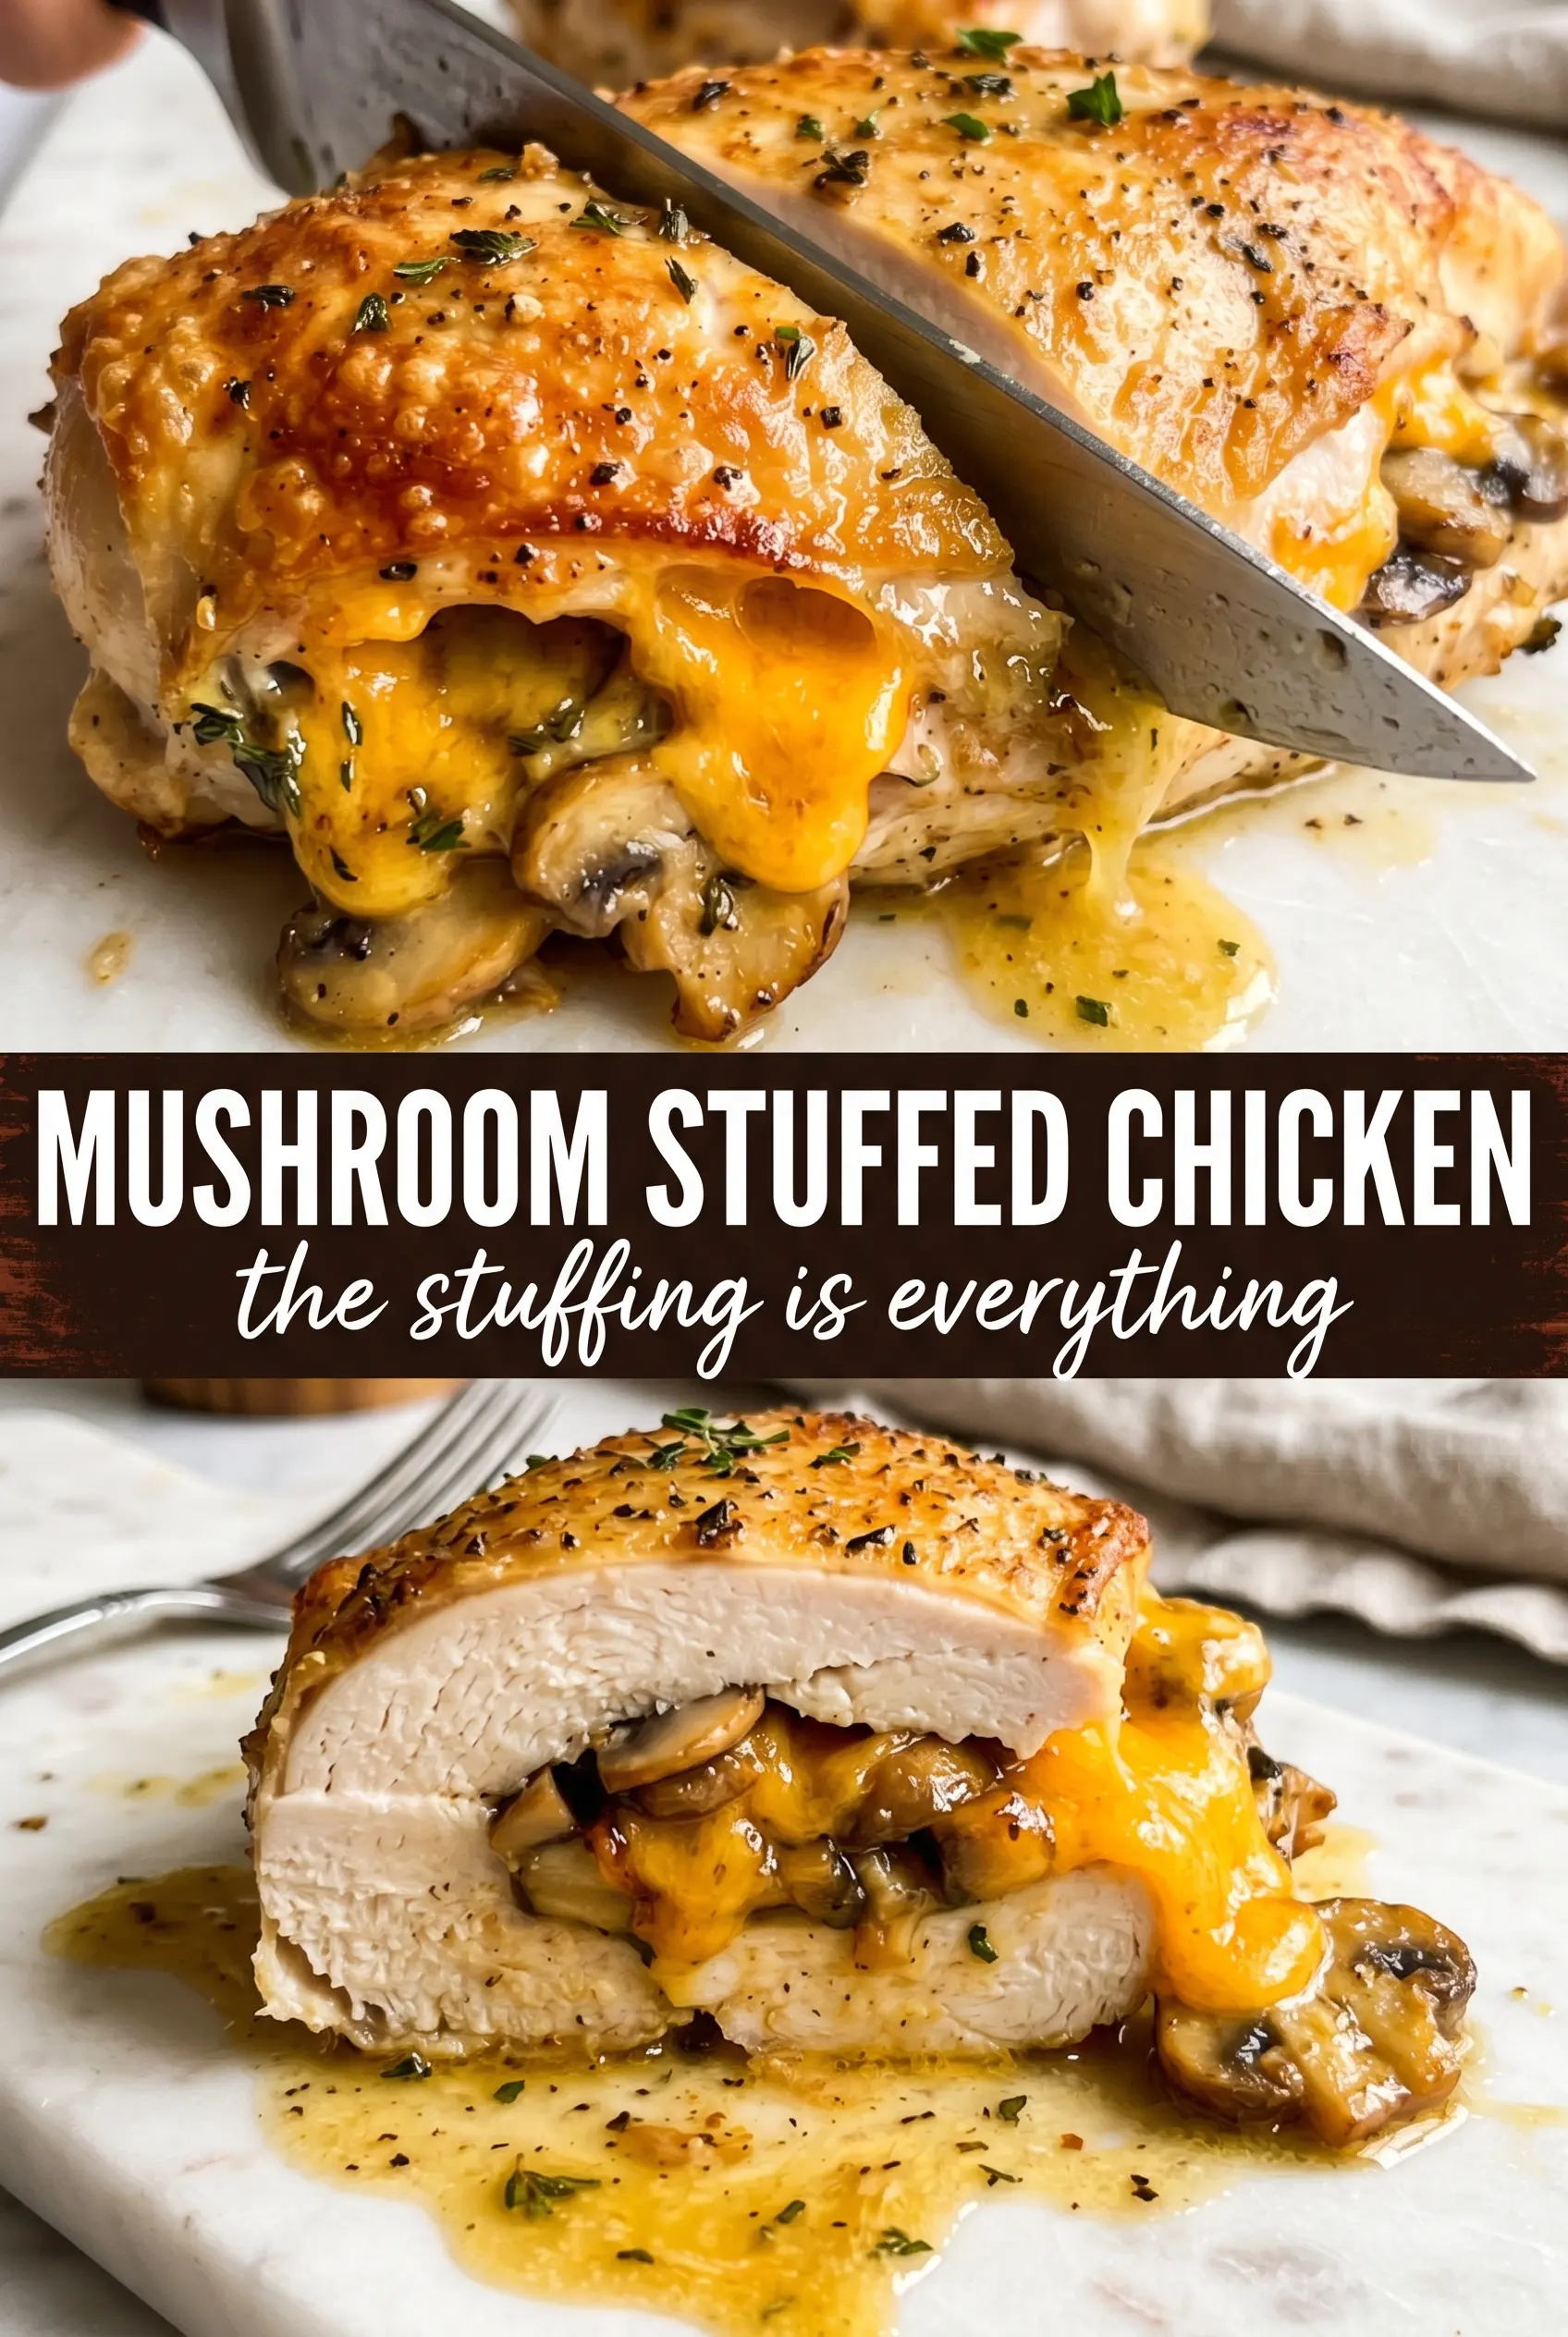
Cheesy Garlic Butter Mushroom Stuffed Chicken
Ingredients
Equipment
Method
- Cook diced cremini mushrooms in butter over medium-high heat for 5-6 minutes until all moisture has evaporated, stirring so they dry out and start to caramelize. You should see the pan steam fade and the mushrooms look reduced and glossy, not wet.
- Add minced garlic and fresh thyme leaves, then cook for 1 minute until fragrant. The aroma should turn sharp and fragrant within about 60 seconds.
- Cool the mushroom mixture slightly for 2-3 minutes so the dairy won’t seize when added. Let it rest just until it’s warm, not hot.
- Stir in shredded mozzarella cheese and grated Parmesan cheese until melted and cohesive. The filling should look thick and creamy with cheese strands visible as you stir.
- Cut a deep pocket in each boneless skinless chicken breast, keeping the bottom intact. The opening should be large enough to spoon in filling.
- Season inside the pockets and the outside of the chicken breasts generously with salt, pepper, garlic powder, and smoked paprika. The surface should look speckled and evenly dusted.
- Fill each pocket with the mushroom cheese mixture and secure the opening with toothpicks. The filling should sit just below the surface without overflowing.
- Heat olive oil in an oven-safe skillet over medium-high heat and sear the stuffed chicken for 3-4 minutes per side until golden. Use visual cues: deep brown color and a crisp sear ring around the chicken.
- Bake at 400°F for 18-22 minutes until the internal temperature reaches 165°F. The chicken should look set and the juices should run clear when pierced.
- Remove toothpicks, drizzle with extra garlic butter, and rest 5 minutes before slicing. The resting period helps the molten filling thicken slightly so it won’t flood out instantly.


