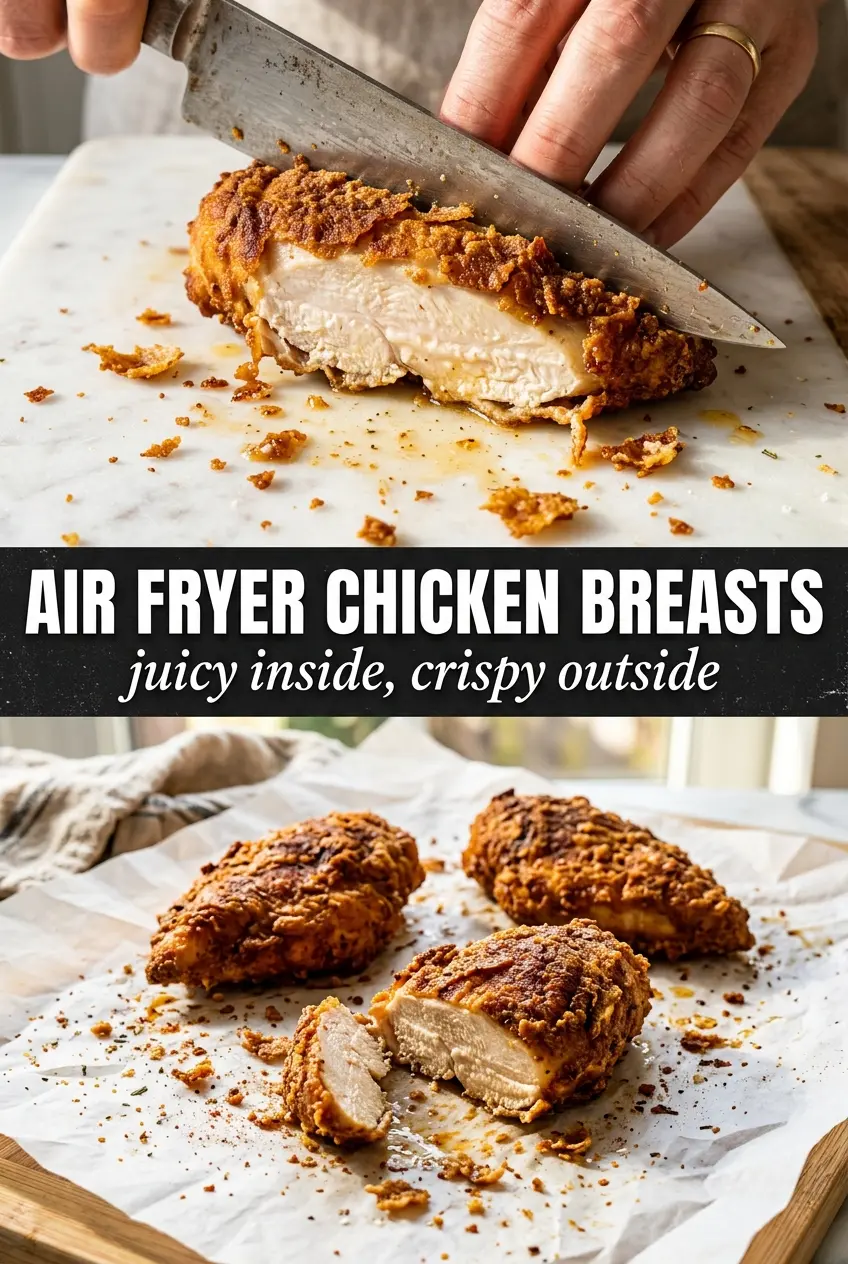
Air fryer chicken breasts come out with the kind of golden crust that makes you cut into them the second they hit the plate. The outside turns seasoned and lightly crisp, while the inside stays juicy enough to slice cleanly instead of shredding into dry bits. That balance is the whole reason this version earns a regular spot in my dinner rotation.
The trick is getting the chicken to an even thickness before it ever goes into the basket. Uneven breasts cook unevenly, which is how you end up with one end dry and the other still catching up. A simple spice rub, a light coat of oil, and a hot air fryer give you a savory crust in under 20 minutes without dragging out dinner.
Below, I’ve included the small details that matter most: how to keep the chicken from drying out, what the seasoning actually does, and how to adjust the recipe if your chicken breasts are on the thick side. If you’ve had air fryer chicken turn out bland or rubbery before, this version fixes both problems.
The chicken stayed unbelievably juicy, and pounding them to an even thickness made a huge difference. Mine were done right at 17 minutes with a nice seasoned crust, not dry at all.
Love these juicy air fryer chicken breasts? Save them to Pinterest for an easy weeknight dinner with a crisp seasoned crust and tender slices every time.
The Part Most People Get Wrong: Thickness Before Timing
Air fryer chicken breasts fail for the same reason over and over: the outside finishes before the center catches up. The basket heat moves fast, which is great for browning, but only if the chicken starts at an even thickness. A thick end and a thin end on the same breast are a recipe for dry meat on one side and underdone meat on the other.
Pounding the chicken to about 3/4-inch thick isn’t busywork. It gives you one cooking target instead of two or three, and it keeps the final texture tender from edge to edge. If your breasts are especially large, split them horizontally instead of trying to force a longer cook time; dragging the cook out is what dries them out.
- Even thickness — This matters more than almost anything else. A uniform piece cooks at the same rate, so the outside doesn’t overbrown while you wait for the center to hit 165°F.
- Olive oil — You don’t need much, but you do need some. It helps the seasoning cling and encourages that caramelized surface instead of a chalky, dry coating.
- Smoked paprika — This brings color and a subtle roasted note. Regular paprika works, but smoked paprika gives the chicken a deeper, more cooked-through flavor in a short air fryer time.
- Italian seasoning — It adds enough herb flavor to keep the chicken from tasting one-note. If you don’t have it, dried oregano plus a little thyme does the job.
What Each Seasoning Is Doing on the Chicken

- Garlic powder and onion powder — These build the savory base without burning the way fresh garlic can in hot circulating air. They’re the backbone of the rub.
- Smoked paprika — This gives the chicken that warm, bronzed look and a little depth. It’s one of the reasons the crust tastes more developed than the short ingredient list suggests.
- Italian seasoning — This keeps the flavor balanced and familiar. If your blend is heavy on rosemary, crush it between your fingers first so it doesn’t land in sharp little piney bits.
- Salt and pepper — The salt seasons the meat all the way through, not just the surface. Cracked black pepper gives the crust a little bite, especially after the chicken rests and the juices settle.
Getting the Crust Right Without Drying Out the Chicken
Preheating the Basket
Start with a fully preheated air fryer at 390°F. That hot basket helps the outside set quickly, which is what gives you color before the chicken loses too much moisture. If you skip preheating, the chicken spends too long in a gentle heat and the exterior never gets that same seasoned crust.
Seasoning and Oiling the Meat
Brush the chicken with oil first, then rub on the spice mix so it sticks evenly. You want the surface coated, not drenched, because too much oil can make the seasoning slide off and pool in the basket. The chicken should look lightly glossy, not wet.
Cooking to Temperature, Not the Clock Alone
Air fry for 16 to 18 minutes, flipping halfway through, but use the clock as a guide and the thermometer as the final answer. Pull the chicken when the thickest part reaches 165°F. If the outside is already deep golden before the center is done, your breasts were too thick; next time flatten them a little more or reduce the size by slicing them in half.
Resting Before Slicing
Let the chicken rest for 5 minutes before cutting. That pause keeps the juices inside the meat instead of flooding the cutting board. If you slice too soon, even perfectly cooked chicken can seem dry because the moisture hasn’t settled back into the fibers yet.
How to Adapt These Chicken Breasts for Different Dinners
Dairy-Free and Naturally Gluten-Free
This recipe already fits both of those needs as written. Just keep an eye on your seasoning blends if you swap anything in; some packaged spice mixes sneak in anti-caking agents or added starches, though that rarely affects the result here.
Using Chicken Breasts That Are Very Thick
Butterfly them first, then pound the thicker side until the whole piece is close to the same thickness. That gives you a faster, more even cook and keeps the outside from going too dark before the center is safe to eat.
Changing the Seasoning Profile
Swap the Italian seasoning for chili powder and a pinch of cumin if you want a warmer, Tex-Mex direction, or use lemon pepper for a brighter finish. Keep the same oil amount so the spices cling, and don’t overload the chicken with extra dry seasoning or the surface can taste dusty.
Storage and Reheating
- Refrigerator: Store in an airtight container for up to 4 days. The crust softens a little, but the chicken stays juicy if you don’t slice it until you’re ready to eat.
- Freezer: Freeze cooked chicken breasts whole or sliced for up to 2 months. Wrap tightly and thaw in the fridge so the texture stays better than it would with a quick microwave thaw.
- Reheating: Warm gently in the air fryer at 350°F for a few minutes, just until heated through. High heat dries out cooked chicken fast, so stop as soon as the center is warm.
Answers to the Questions Worth Asking
Air Fryer Chicken Breasts
Ingredients
Equipment
Method
- Preheat the air fryer to 390°F so it’s hot and ready for crisping.
- Pound the chicken breasts to an even 3/4-inch thickness if needed for uniform cooking.
- Brush both sides of the chicken with olive oil.
- Mix garlic powder, onion powder, smoked paprika, Italian seasoning, salt, and cracked black pepper, then rub the seasoning evenly over both sides.
- Air fry the chicken for 16 minutes at 390°F, then flip halfway through for even browning.
- Continue air frying for 0 to 2 more minutes at 390°F until the internal temperature reaches 165°F and the outside is golden-brown, with a visibly caramelized surface.
- Rest the chicken for 5 minutes before slicing so the juices settle and the interior stays tender.
- Garnish with fresh parsley and serve with lemon wedges for bright finishing flavor.