Amish apple fritter bread bakes up with a tender crumb, caramelized apple pockets, and a cinnamon-sugar ribbon that tastes like the best part of an apple fritter without any frying. The top turns glossy with glaze, the center stays soft, and every slice gives you a little swirled sweetness with the apples still holding their shape.
What makes this version work is the balance between the batter and the fruit. The apples get tossed with part of the cinnamon sugar first, which pulls out a little juice and helps create that bakery-style swirl instead of a wet, heavy middle. The batter itself is rich enough to stay moist for days, but not so dense that it sinks around the apples.
Below, I’m walking through the part that matters most: how to layer the batter so the bread bakes evenly, not soggy in the center, and which apple choices give you the best texture. If you’ve ever had quick bread turn gummy around the fruit, this is the version that fixes that.
The cinnamon sugar sank into the apples just enough to make those jammy pockets on top, and the loaf sliced cleanly after it cooled. I glazed it while it was still warm and the whole kitchen smelled like an apple fritter shop.
Save this Amish apple fritter bread for the days when you want a soft cinnamon loaf with caramelized apple layers and a warm glaze on top.
The Trick to Keeping the Apples from Sinking and Going Mushy
Quick breads can get weighed down fast when the fruit is too wet or cut too large. That’s the main reason this loaf works: the apples are diced small enough to soften into the crumb, but not so small that they disappear, and part of the cinnamon sugar goes on before the top layer so the fruit gets flavored from the inside out. The result is a loaf with distinct apple pockets instead of a soggy ribbon at the bottom.
Butter and sugar are beaten until light, which gives the bread a little lift before the dry ingredients go in. Once the flour is added, stop mixing as soon as the batter comes together. Overmixing develops too much gluten, and that’s how a tender breakfast loaf turns tight and chewy.
What the Apples, Butter, and Cinnamon Are Each Doing Here
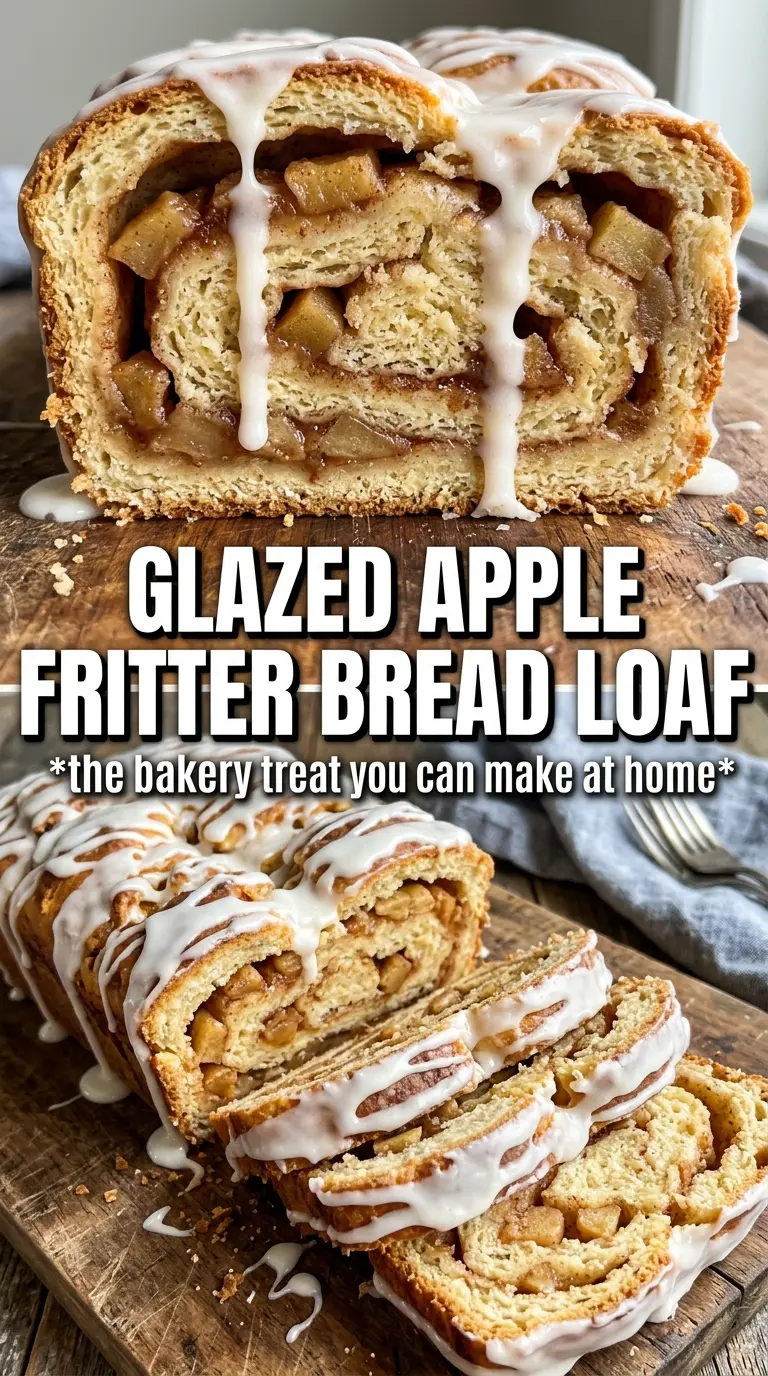
- Apples — Use a firm baking apple if you can. Granny Smith, Honeycrisp, or a mix of both hold their shape better than mealy apples and keep the bread from turning into applesauce. Peel them, then dice them fine so they bake through in the time the loaf needs.
- Brown sugar and cinnamon — This is what gives you the fritter-style swirl. Brown sugar melts into the apples and creates those sticky pockets on top and through the middle. Don’t skip tossing part of it with the fruit first; that step makes the flavor taste layered instead of just sprinkled on.
- Butter — Softened butter gives the crumb its rich, cake-like texture. Cold butter won’t whip properly, and melted butter changes the structure completely, so let it sit out until it presses easily but still holds its shape.
- Milk — Whole milk keeps the batter smooth and helps it bake up tender. You can use 2% in a pinch, but the loaf is a little less plush. I wouldn’t use non-dairy milk here unless that’s what you have, because the texture is best with the fat from real milk.
Building the Batter and Layering the Swirl
Whipping the Butter and Sugar
Beat the softened butter and granulated sugar until the mixture looks pale and fluffy, not just combined. That air you whip in now gives the loaf a lighter crumb later. Add the eggs one at a time so the batter stays smooth, then mix in the vanilla. If the batter looks slightly curdled after the eggs, it usually comes back together once the dry ingredients go in.
Keeping the Batter Tender
Whisk the flour, baking powder, baking soda, and salt together before adding anything liquid. Alternate the dry ingredients with the milk so the batter stays even and doesn’t get overworked. Stop mixing when the flour streaks disappear. If you keep beating past that point, the loaf gets dense and the top can dome oddly instead of baking flat and even.
Layering for the Best Swirl
Spread half the batter into the pan first, then add half the apples and some of the cinnamon sugar. That middle layer melts into the bread as it bakes and gives you the classic fritter effect without needing to marble anything. Finish with the remaining batter and apples on top. The top layer should look crowded; the fruit settles as it bakes and creates those caramelized pockets people go back for.
Baking Until the Center Sets
Bake until a toothpick comes out clean or with just a few moist crumbs from the center. If the top browns too quickly before the middle is done, tent it loosely with foil for the last 15 minutes. Don’t pull it early just because the top looks set; the apple layer can hide a wet center. Let the loaf cool in the pan briefly before lifting it out so it doesn’t tear while it’s still fragile.
How to Adapt This Amish Apple Fritter Bread Without Losing the Good Part
Gluten-Free Version
Use a good 1:1 gluten-free baking flour in place of the all-purpose flour. The loaf will still be tender, but it may need an extra 5 to 10 minutes in the oven because gluten-free batters often hold more moisture. Let it cool completely before slicing so the crumb has time to set.
Dairy-Free Swap
Replace the butter with a plant-based baking stick and use an unsweetened non-dairy milk with some body, like oat milk. The loaf will still bake up moist, but the flavor is a little less rich, so don’t skip the glaze. That top layer helps bring back the bakery-style finish.
Extra-Spiced Version
Add a pinch of nutmeg or cardamom to the cinnamon sugar if you want a warmer, more aromatic loaf. Keep it restrained or the spices will take over the apples. This variation is best when you want the bread to taste a little closer to apple fritter pastry than plain cinnamon quick bread.
Storage and Reheating
- Refrigerator: Store covered for up to 4 days. The glaze will soften a little, but the loaf stays moist.
- Freezer: Freeze slices tightly wrapped for up to 2 months. I like to freeze without the glaze if I know I’ll want the best texture later.
- Reheating: Warm slices in the microwave for 10 to 15 seconds or in a low oven until just heated through. Don’t overheat it or the apples turn soft and the crumb dries out around the edges.
Answers to the Questions Worth Asking
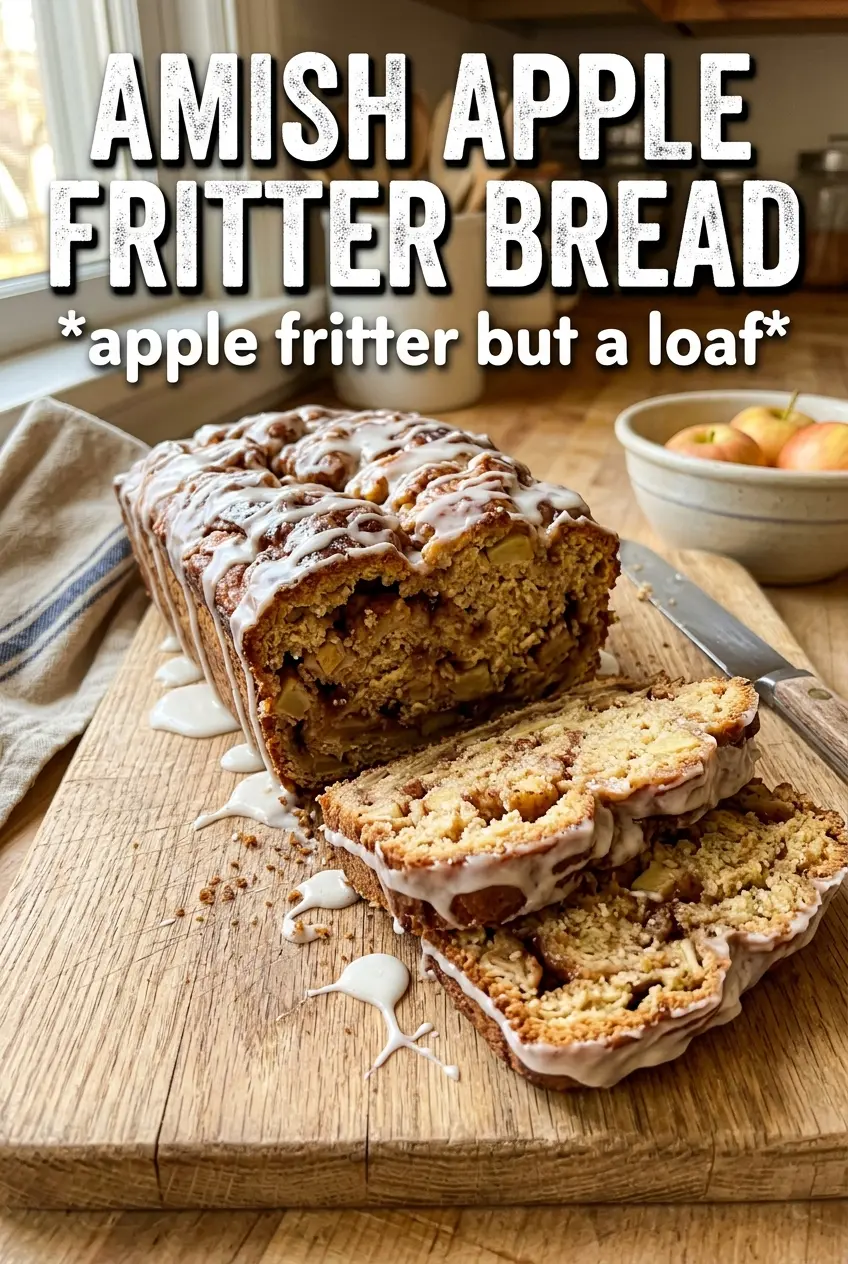
Amish Apple Fritter Bread
Ingredients
Equipment
Method
- Preheat your oven to 350F, then grease a 9x5 loaf pan so the bread releases easily.
- Mix the brown sugar and cinnamon together, then toss half with the diced apples and set the coated apples aside.
- Set the remaining cinnamon-brown sugar aside for later layering and topping.
- Beat the softened butter and granulated sugar until light and fluffy, then add the eggs and vanilla and beat until combined.
- Whisk the flour, baking powder, baking soda, and salt together.
- Alternate adding the dry mixture and the whole milk to the butter mixture, mixing just until the batter is smooth.
- Pour half the batter into the prepared loaf pan.
- Layer half the apple mixture over the batter, then sprinkle the remaining cinnamon-brown sugar over the apples.
- Pour the remaining batter on top and arrange the remaining apples over the surface.
- Bake for 55-60 minutes at 350F until a toothpick comes out clean.
- Whisk powdered sugar with milk to make a pourable glaze, then drizzle it over the warm loaf.


