Individual apple crumbles bake up with bubbling fruit at the edges and a thick, oat-studded topping that stays crisp instead of sinking into the filling. The ramekin size changes the whole dessert in a good way: every serving gets its own buttery lid, its own caramelized corners, and its own spoonful of warm apples underneath.
The trick is cooking the apples briefly before they go into the oven. That extra five to seven minutes on the stove gives the cornstarch a head start, so the filling thickens into glossy juices instead of turning watery in the ramekins. Cold butter in the crumble matters just as much. It creates those irregular clumps that bake into crunchy pockets, which is what keeps this from tasting like plain baked oats.
Below, I’ve included the small details that make these turn out the same every time, plus a few ways to adapt them if you want a different fruit, a gluten-free version, or an easier make-ahead plan.
The filling thickened up beautifully in the skillet, and the topping stayed crisp all the way to the last bite. I loved having the crumbles in individual ramekins because everyone got those browned edges and nobody had to fight over the crunchy part.
Save these individual apple crumbles for the nights when you want crisp oat topping, tender cinnamon apples, and a scoop of melting vanilla ice cream in every ramekin.
The Part That Keeps the Filling Thick Instead of Soupy
Apple crumble fails when the fruit goes into the oven raw and starts leaking juice before the starch has had time to do its job. By the time the topping browns, the filling can still be thin and the bottom of the ramekin ends up watery. Cooking the apples first changes that completely. The cornstarch hydrates in the skillet, the sugar draws out the fruit juices, and the mixture turns glossy before it ever hits the oven.
That pre-cook also lets you taste the filling. If your apples lean tart, the sugar balances them. If they’re already sweet, the cinnamon and nutmeg still carry the flavor without making the dessert cloying. You want the apples softened just enough to lose their raw edge, not cooked down into applesauce.
- Cooked apple filling — This is what gives you a spoonable dessert instead of a puddle. The filling should look thick and shiny when it goes into the ramekins.
- Cornstarch — Flour works in a pinch, but cornstarch gives a cleaner, smoother set. If you swap it, use a little more flour and expect a less glossy finish.
- Fresh lemon juice — It keeps the apples tasting bright and helps balance the brown sugar in the topping. Bottled juice works, but fresh tastes cleaner here.
What Each Ingredient Is Actually Doing in the Crumble
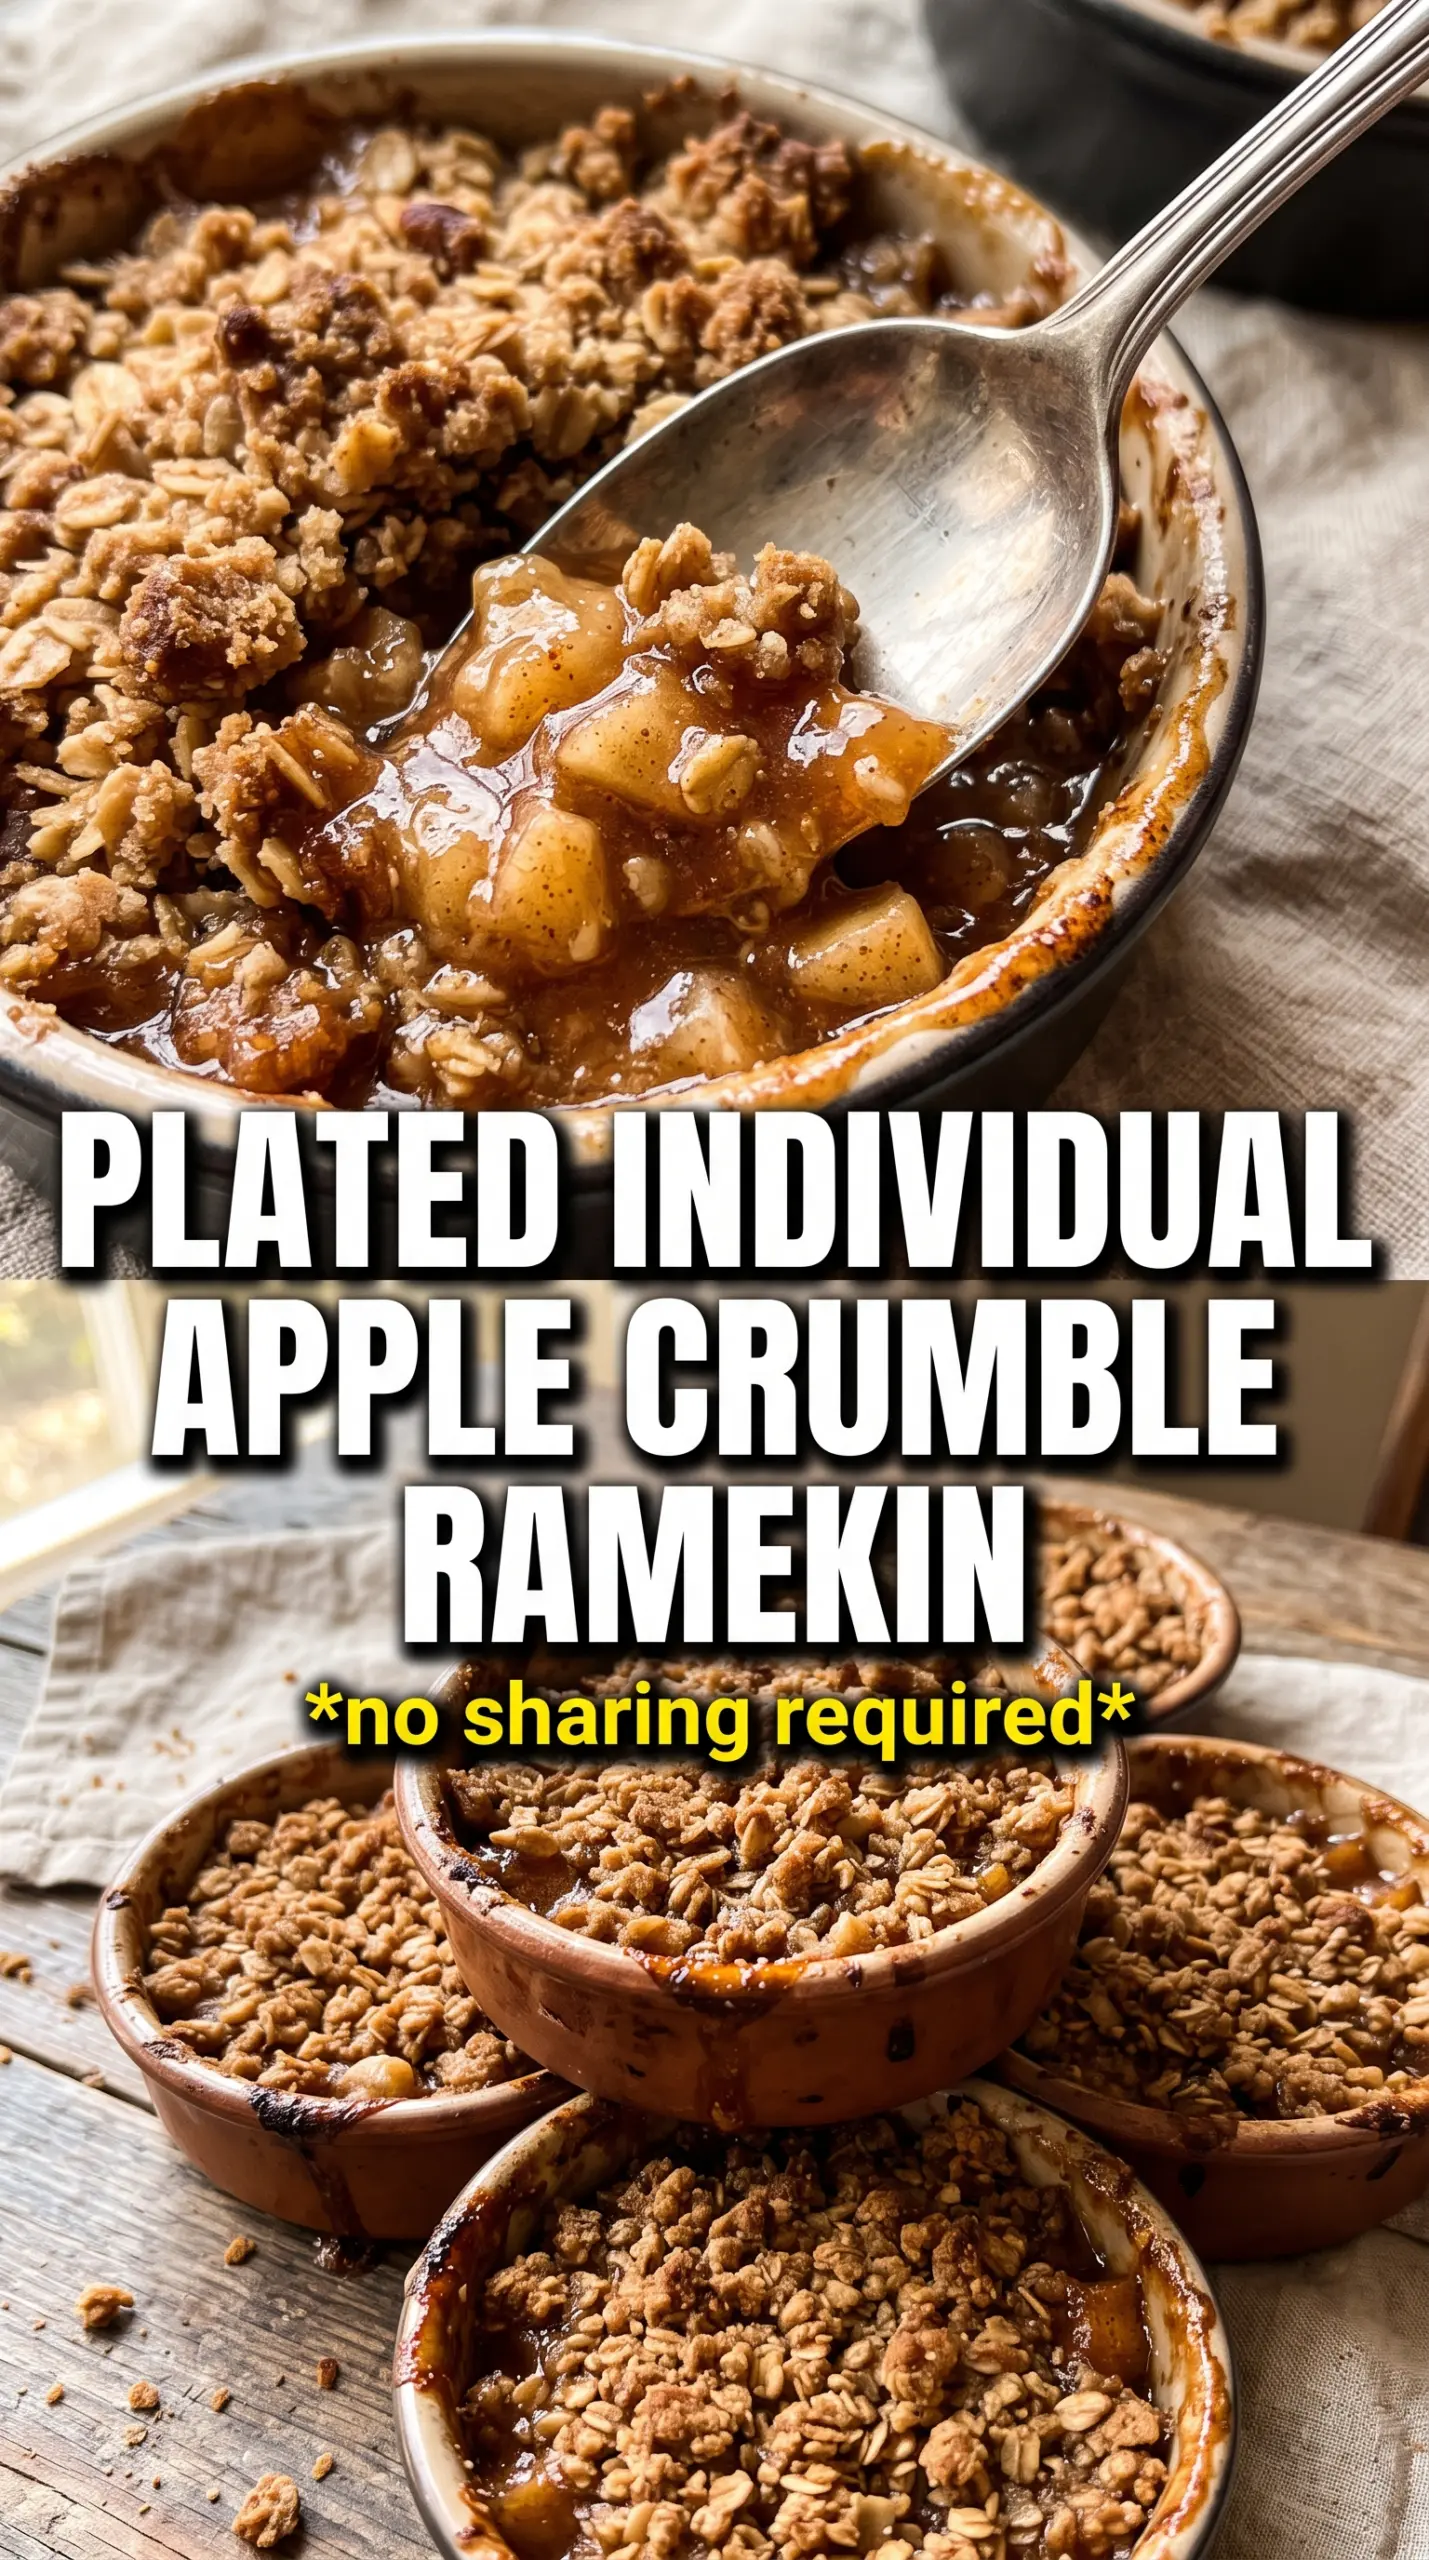
- Rolled oats — They give the topping its craggy, rustic texture. Quick oats will work, but the crumble turns tighter and less crunchy.
- All-purpose flour — This helps the topping hold together in clumps. If you want to make it gluten-free, use a good 1:1 gluten-free flour blend and certified gluten-free oats.
- Brown sugar — This is what makes the topping taste caramel-like instead of just sweet. Packed brown sugar gives the right moisture for those chunky bits.
- Cold butter — Cold butter is non-negotiable here. It should stay in small pieces as you cut it in, because those pieces melt in the oven and create a crisp, layered topping.
- Cinnamon in both layers — Using cinnamon in the filling and the crumble keeps the flavor from feeling flat. It ties everything together without needing extra spices.
Building the Ramekins So Nothing Bakes Unevenly
Softening the Apples First
Start the apples in a skillet with the butter, sugar, cinnamon, nutmeg, cornstarch, and lemon juice over medium heat. Stir often and watch for the juices to go from thin and shiny to thick and almost jammy, which usually takes five to seven minutes. If the mixture still looks loose, keep it on the heat a minute longer, because that thin liquid is what makes the filling spill over later. Once it’s thick, divide it right away among the ramekins so it doesn’t keep cooking in the pan.
Making the Crumble by Hand
Mix the oats, flour, brown sugar, cinnamon, and salt, then cut in the cold butter until you have chunky clumps mixed with smaller sandy bits. Don’t grind it into a paste. You want some pieces the size of peas because those are the ones that bake into the best crunchy top. If the mixture feels too dry to hold together, stop and pinch in one more tablespoon of butter rather than adding liquid.
Baking Until the Edges Bubble
Spoon the crumble over the apples generously, then set the ramekins on a baking sheet so any overflow stays contained. Bake until the topping is deep golden and you can see bubbles breaking around the edges of each ramekin. That bubbling matters more than the clock, because it tells you the filling is hot enough to finish thickening. Pull them too early and the topping can look done while the fruit underneath is still loose.
How to Adapt These for Different Needs Without Losing the Good Part
Gluten-Free Crumble
Use certified gluten-free oats and swap the all-purpose flour for a 1:1 gluten-free baking blend. The topping will still clump and crisp, though it may bake a shade more delicately, so watch for deep golden edges rather than relying only on time.
Dairy-Free Version
Swap the butter in both the filling and topping for a plant-based butter that stays solid when cold. The flavor stays close to the original, but the topping may brown a little faster, so start checking it a few minutes early.
Mixing the Fruit
Replace half the apples with pears, peaches, or berries if you want a different finish. Pears behave most like apples, while berries release more juice and need a touch more cornstarch to keep the filling from running thin.
Storage and Reheating
- Refrigerator: Store covered for up to 4 days. The topping softens a bit, but the flavor stays good.
- Freezer: Freeze baked crumbles in the ramekins or transfer to freezer-safe containers for up to 2 months. Thaw overnight in the fridge before reheating for the most even texture.
- Reheating: Warm in a 325F oven until the filling is hot and the topping re-crisps, about 10 to 15 minutes. The microwave heats the fruit fast, but it turns the crumble soft and steamy.
Questions I Get Asked About This Recipe
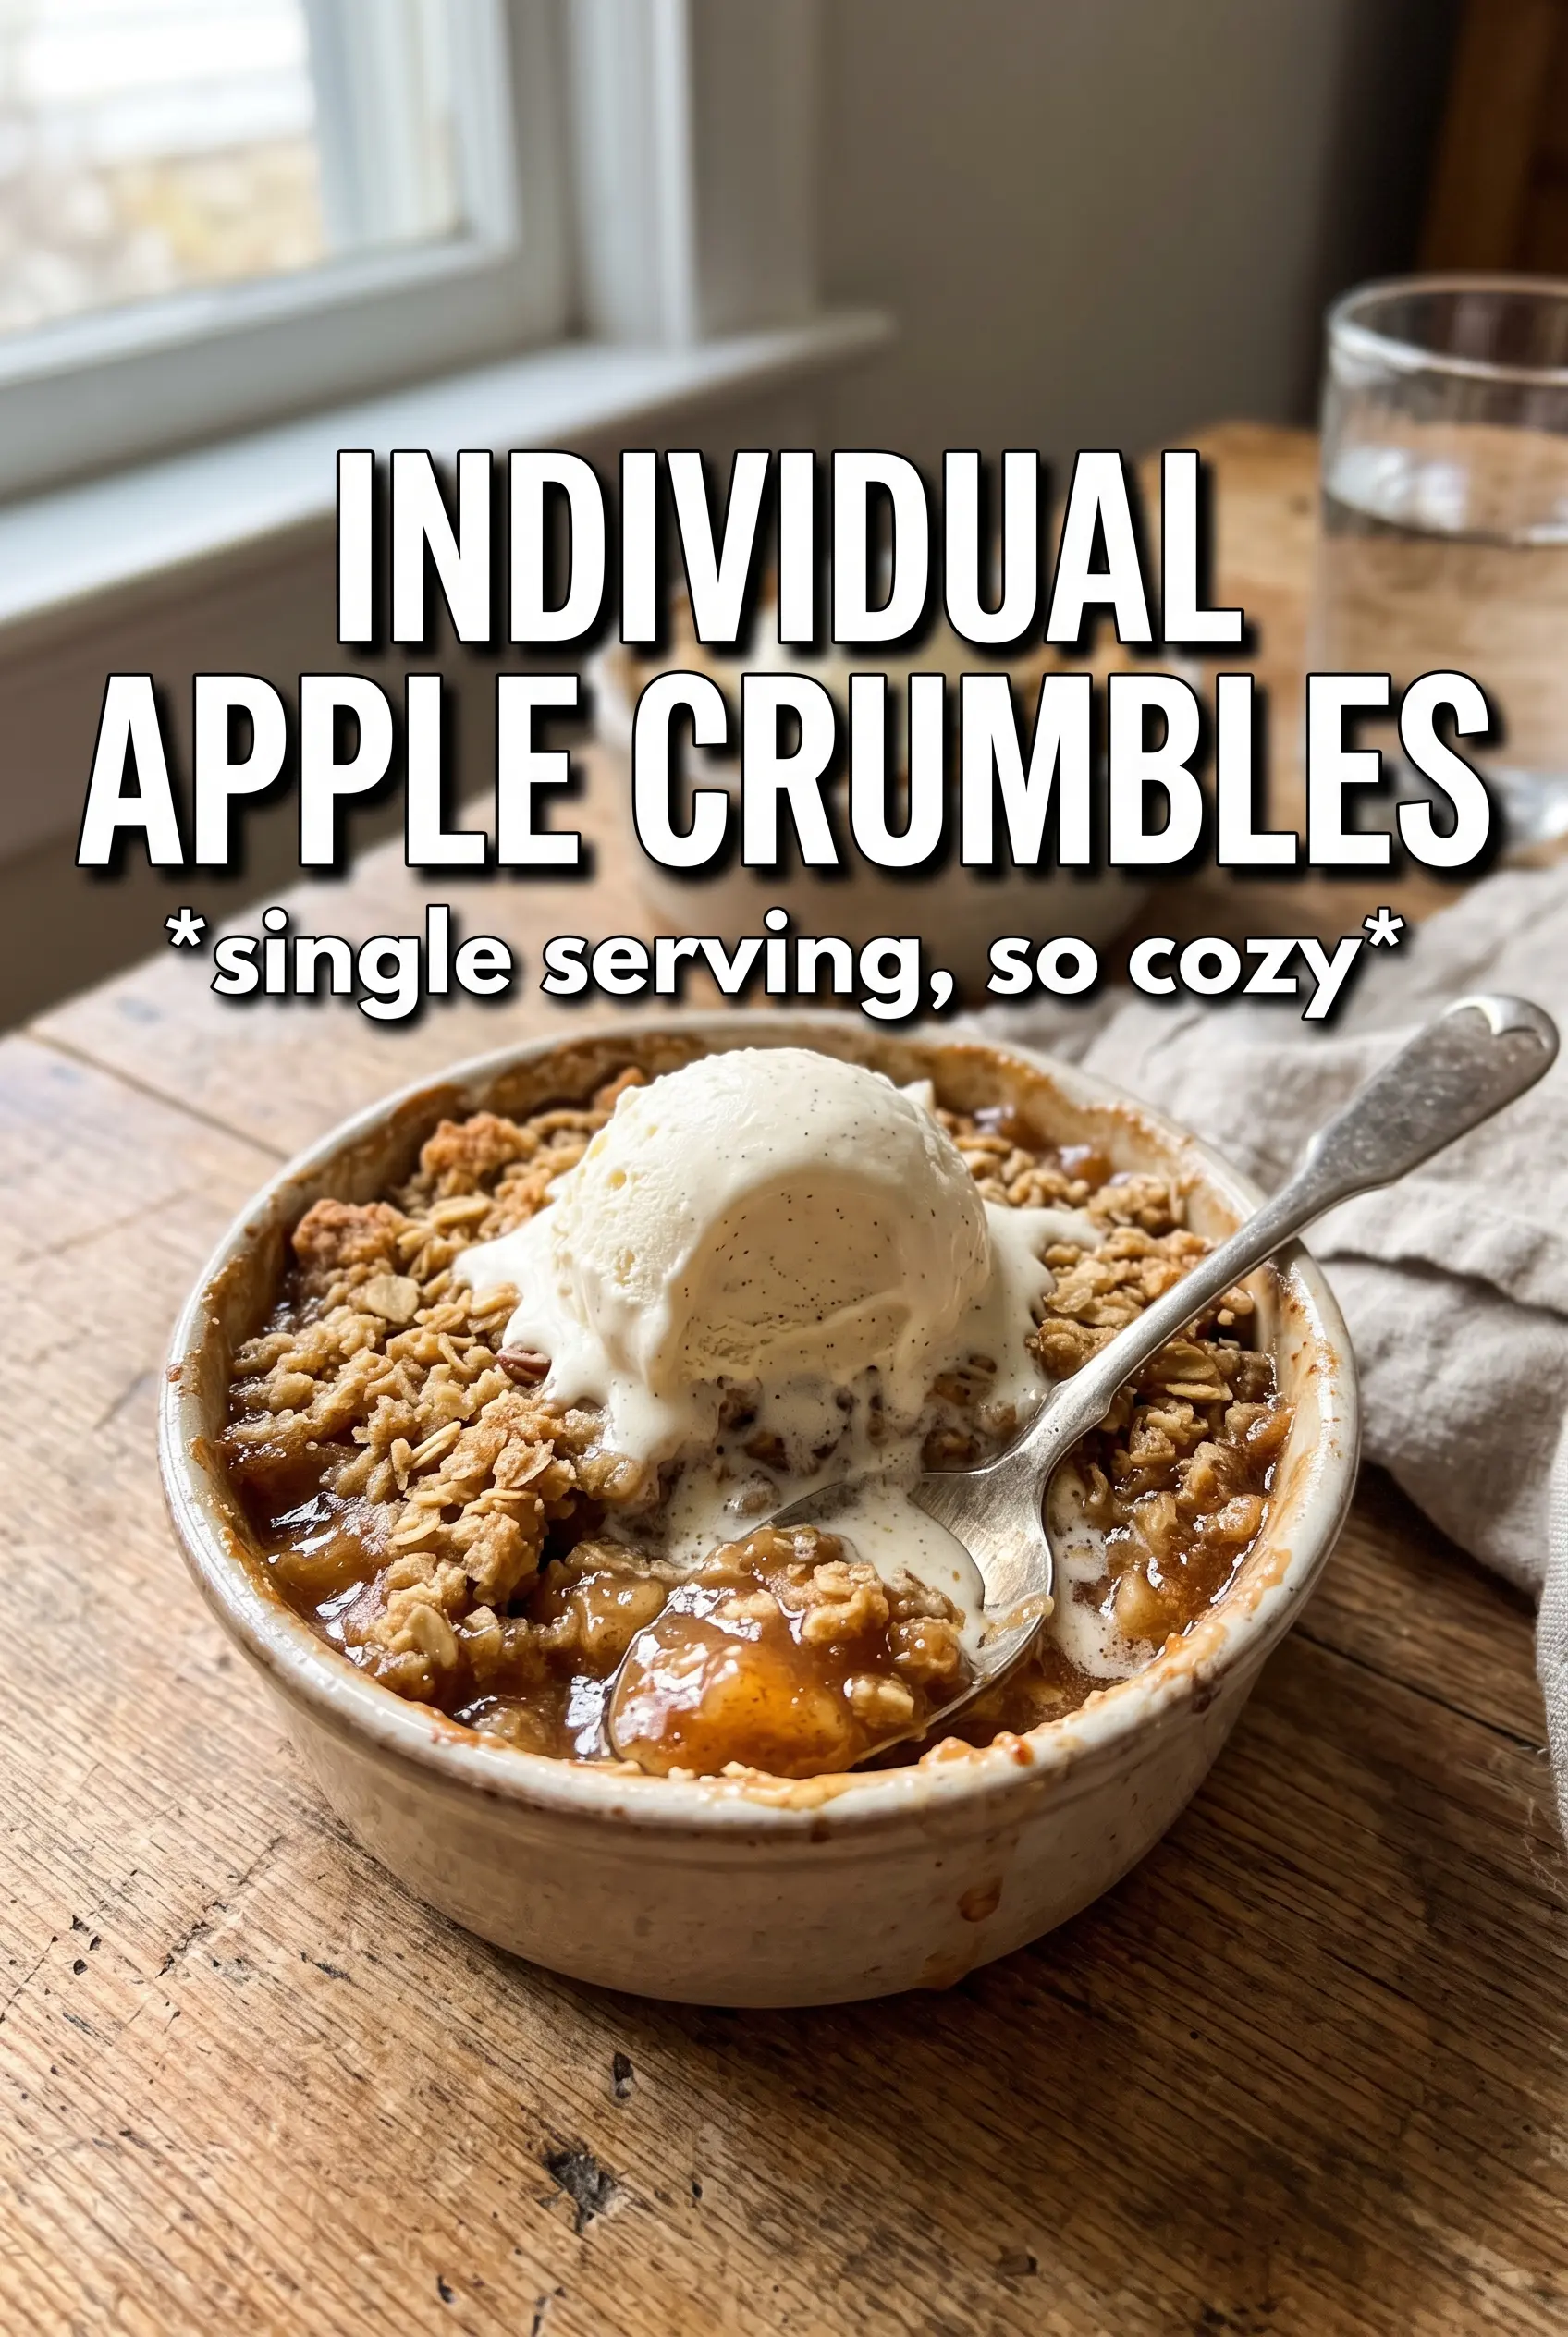
Individual Apple Crumbles
Ingredients
Equipment
Method
- Preheat the oven to 375F. Grease 6 individual ramekins (6-8 oz each) and set them on a baking sheet.
- In a cast iron skillet over medium heat, cook the apples with butter, granulated sugar, cinnamon, nutmeg, cornstarch, and lemon juice for 5-7 minutes, stirring until thickened. Divide the hot filling evenly among the ramekins.
- Combine rolled oats, all-purpose flour, brown sugar, cinnamon, and salt, then cut in the cold cubed butter until chunky clumps form. Spoon the crumble generously over each ramekin.
- Bake on the sheet pan at 375F for 25-30 minutes until the topping is golden and the filling bubbles. Serve warm with vanilla ice cream.


