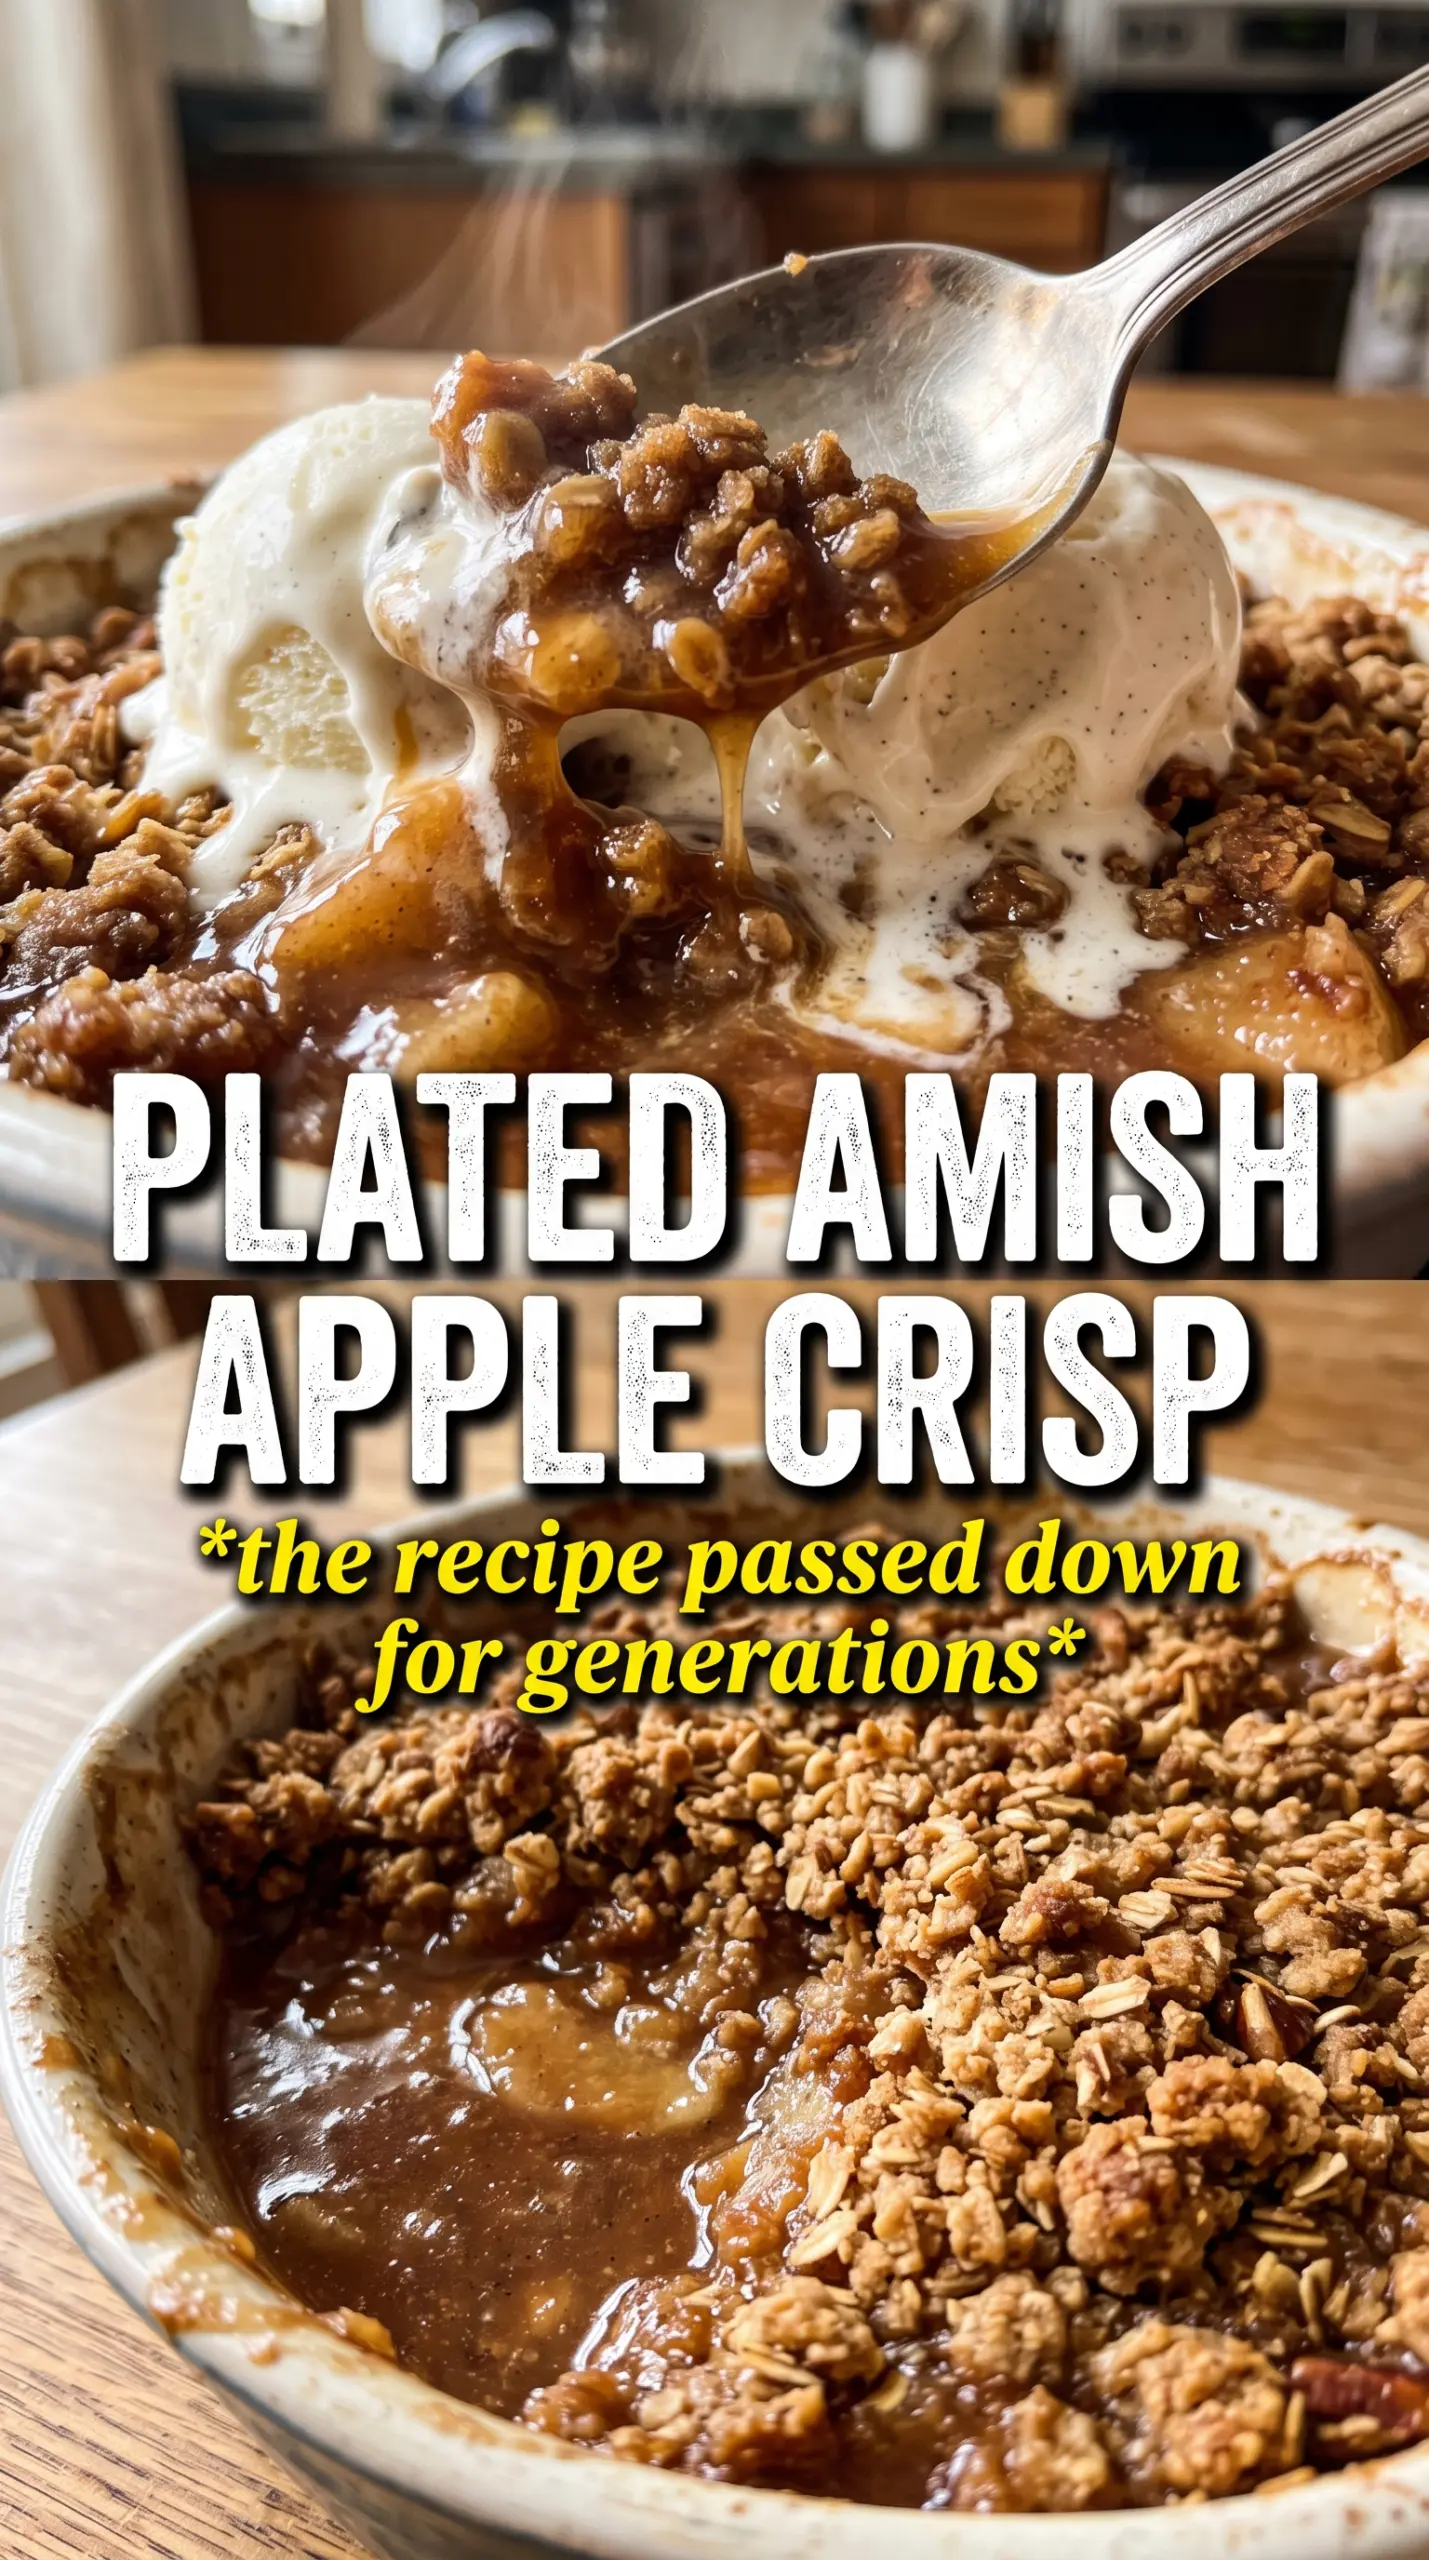
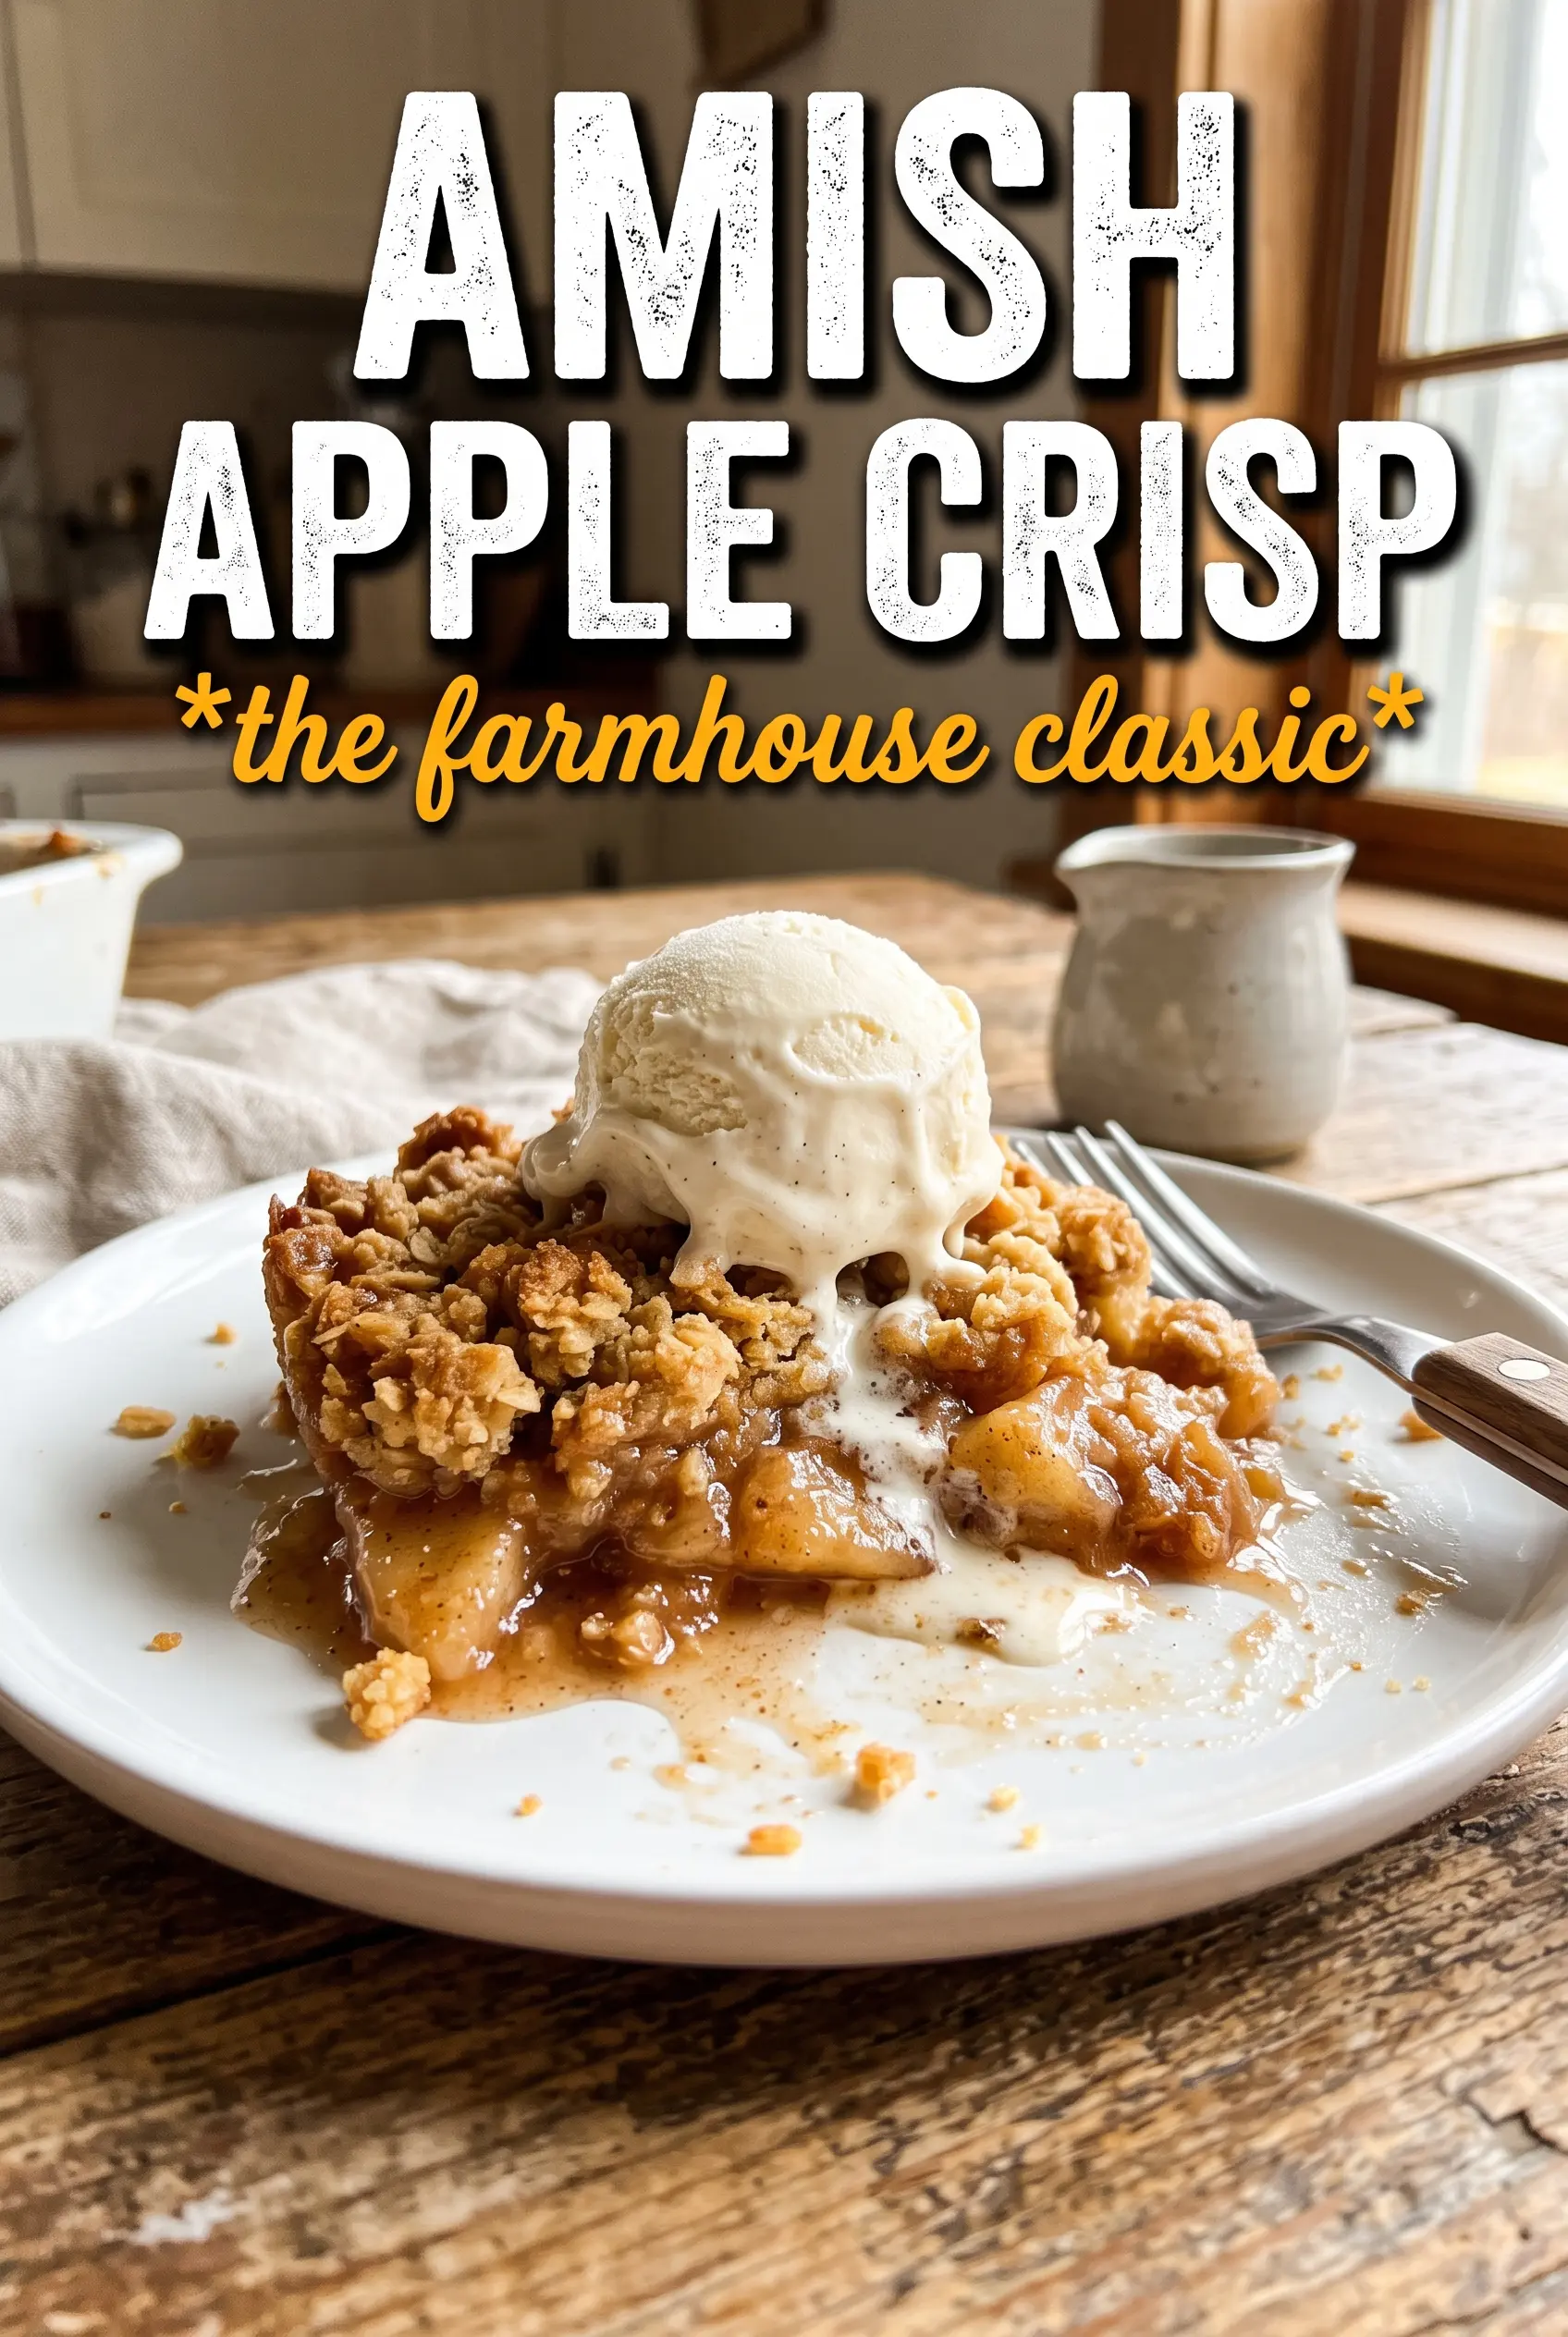
Amish apple crisp bakes into something that sits halfway between pie and streusel: soft, spiced apples underneath, with a thick oat crumble that turns deeply golden and almost candied at the edges. The best part is the contrast. You get tender fruit, a buttery crunch, and enough syrupy filling to spoon up with every bite.
This version leans into a generous crumb topping, which is what makes it feel old-fashioned and substantial instead of skimpy. The apples are tossed with both granulated and brown sugar, plus a little flour, so the juices thicken in the oven instead of pooling at the bottom of the pan. Cold butter is essential here. If it melts before baking, you lose those big craggy clusters that make crisp worth making in the first place.
Below, you’ll find the small details that matter most: how to keep the topping crisp, which apples hold their shape, and how to serve it so the filling sets up just enough before the ice cream hits the top.
The crumble stayed in big buttery clumps and the apples baked down perfectly without getting mushy. I used a mix of Honeycrisp and Granny Smith, and the filling was thick enough to serve clean slices after a 15-minute rest.
Save this Amish apple crisp for the nights when you want a thick oat crumble, warm spiced apples, and a cold scoop of vanilla on top.
The Secret to a Crisp Topping That Stays Craggy, Not Sandy
The biggest mistake with apple crisp is treating the topping like pie dough. It isn’t meant to come together into a smooth mixture. You want uneven clumps, some dry sandy bits, and plenty of larger crumbs that will bake into a rough, crunchy lid. That texture comes from keeping the butter cold and stopping your hands before the mixture turns pasty.
Another thing that matters here is the ratio of oats to flour. The oats give the crumble chew and structure, while the flour helps bind it into those heavy clusters that hold up against the fruit. If the topping looks too dry before baking, it usually isn’t a problem. As long as the butter is worked through in small pieces, the oven will finish the job.
What Each Ingredient Is Actually Doing in the Pan
- Apples — Use a mix with some tartness and some sweetness if you can. Granny Smith holds its shape and keeps the filling bright, while Honeycrisp, Jonagold, or Fuji soften into a sweeter, juicier base. If you use only soft apples, the filling can collapse into applesauce.
- Brown sugar and granulated sugar — The brown sugar adds depth and a little molasses note, while the granulated sugar helps the filling melt cleanly and keep the fruit tasting like apple, not caramel candy. Both matter in the topping too: brown sugar makes the crumble richer, and white sugar helps it bake crisp.
- Flour in the filling — This is what keeps the juices from running all over the pan. It won’t thicken the filling into a gel, but it does turn those apple juices into a spoonable syrup instead of a watery puddle.
- Cold butter and lard — Butter gives flavor; lard gives the old-fashioned flaky, sandy richness that makes this topping feel especially Amish-style. If you skip the lard, use more butter and keep it very cold. Melted fat will give you a dense layer instead of a crumble.
Building the Layers So the Apples Bake Through and the Topping Stays Crisp
Season the apples first
Toss the sliced apples with the sugars, spices, flour, and lemon juice before they go into the pan. That coating starts drawing out a little juice right away, which helps the filling bake evenly instead of leaving dry pockets under the topping. Spread the apples in a deep, even layer. If the fruit mound is packed too tightly, the center steams and stays firm longer than the edges.
Work the crumble until it clumps
Combine the flour, oats, sugars, cinnamon, and salt, then cut in the cold butter and lard with your hands until the mixture forms large, shaggy clumps. Stop when you can squeeze some of it into a crumbly mass but still see loose bits throughout. That uneven texture is what bakes into a thick, rustic lid. If the mixture starts looking greasy or paste-like, the fat is too warm.
Bake until the filling bubbles at the edges
Spread the topping over the apples and press it down very gently, just enough to anchor the crumbs without flattening them. Bake until the top is deeply golden and the apple juices are bubbling around the perimeter of the dish. Those bubbles matter more than the timer. They tell you the fruit has softened and the flour in the filling has thickened enough to set as it cools.
Let it rest before serving
This part is worth the wait. Pulling it apart the second it comes out of the oven gives you runny filling that slides everywhere. A 15-minute rest lets the juices settle and thicken, so each spoonful holds together better under the ice cream and cream.
How to Adapt This Crisp Without Losing the Part Everyone Wants
Make it dairy-free with one smart swap
Use all butter-style plant fat in place of the butter and lard. You still need a cold, solid fat that can be cut into the dry ingredients, or the topping loses its rough, crumbly texture. The flavor shifts a little, but the crisp still bakes up with a sturdy golden crust.
Use all butter if you don’t keep lard on hand
This is the simplest substitution and it works well. The topping will taste a little more straightforward and buttery, with less of that old-fashioned richness, but the texture stays excellent as long as the butter is cold and cubed. Chill the bowl for a few minutes if your kitchen runs warm.
Turn it into a smaller-pan dessert
A 9×13 pan gives you a more even, shallower crisp, while a 10×15 roasting pan makes it thinner and crunchier across a wider surface. If you use a smaller dish, the filling will sit deeper and may need a few extra minutes in the oven. Watch for bubbling edges rather than relying only on time.
Storage and Reheating
- Refrigerator: Keep covered for up to 4 days. The topping softens a little as it sits, but the flavor stays good.
- Freezer: Freeze baked crisp in portions or as a whole pan, tightly wrapped. Thaw overnight in the fridge before reheating; the topping won’t stay as crisp as fresh, but it still works.
- Reheating: Warm uncovered in a 325F oven until the filling is hot and the top dries back out a bit, usually 15 to 20 minutes for a dish and less for individual portions. Microwaving makes the topping soft, so use it only if texture doesn’t matter.
Answers to the Questions Worth Asking
Amish Apple Crisp
Ingredients
Equipment
Method
- Preheat oven to 350F. Grease a large 10x15 roasting pan or 9x13 baking dish.
- Toss apple slices with both sugars, cinnamon, nutmeg, allspice, flour, and lemon juice. Spread the apples in the prepared pan in a deep layer.
- Combine flour, oats, both sugars, cinnamon, and salt for the crumble. Cut in cold butter (and lard if using) until large crumbly clumps form, with visible pieces of butter throughout.
- Spread crumble thickly over the apples, pressing very gently so the topping stays clumpy. Bake 50-55 minutes, until the topping is deeply golden and the apple filling bubbles all around.
- Rest the crisp 15 minutes before serving to set the bubbly filling. Serve warm with vanilla ice cream and a pour of cold heavy cream.


