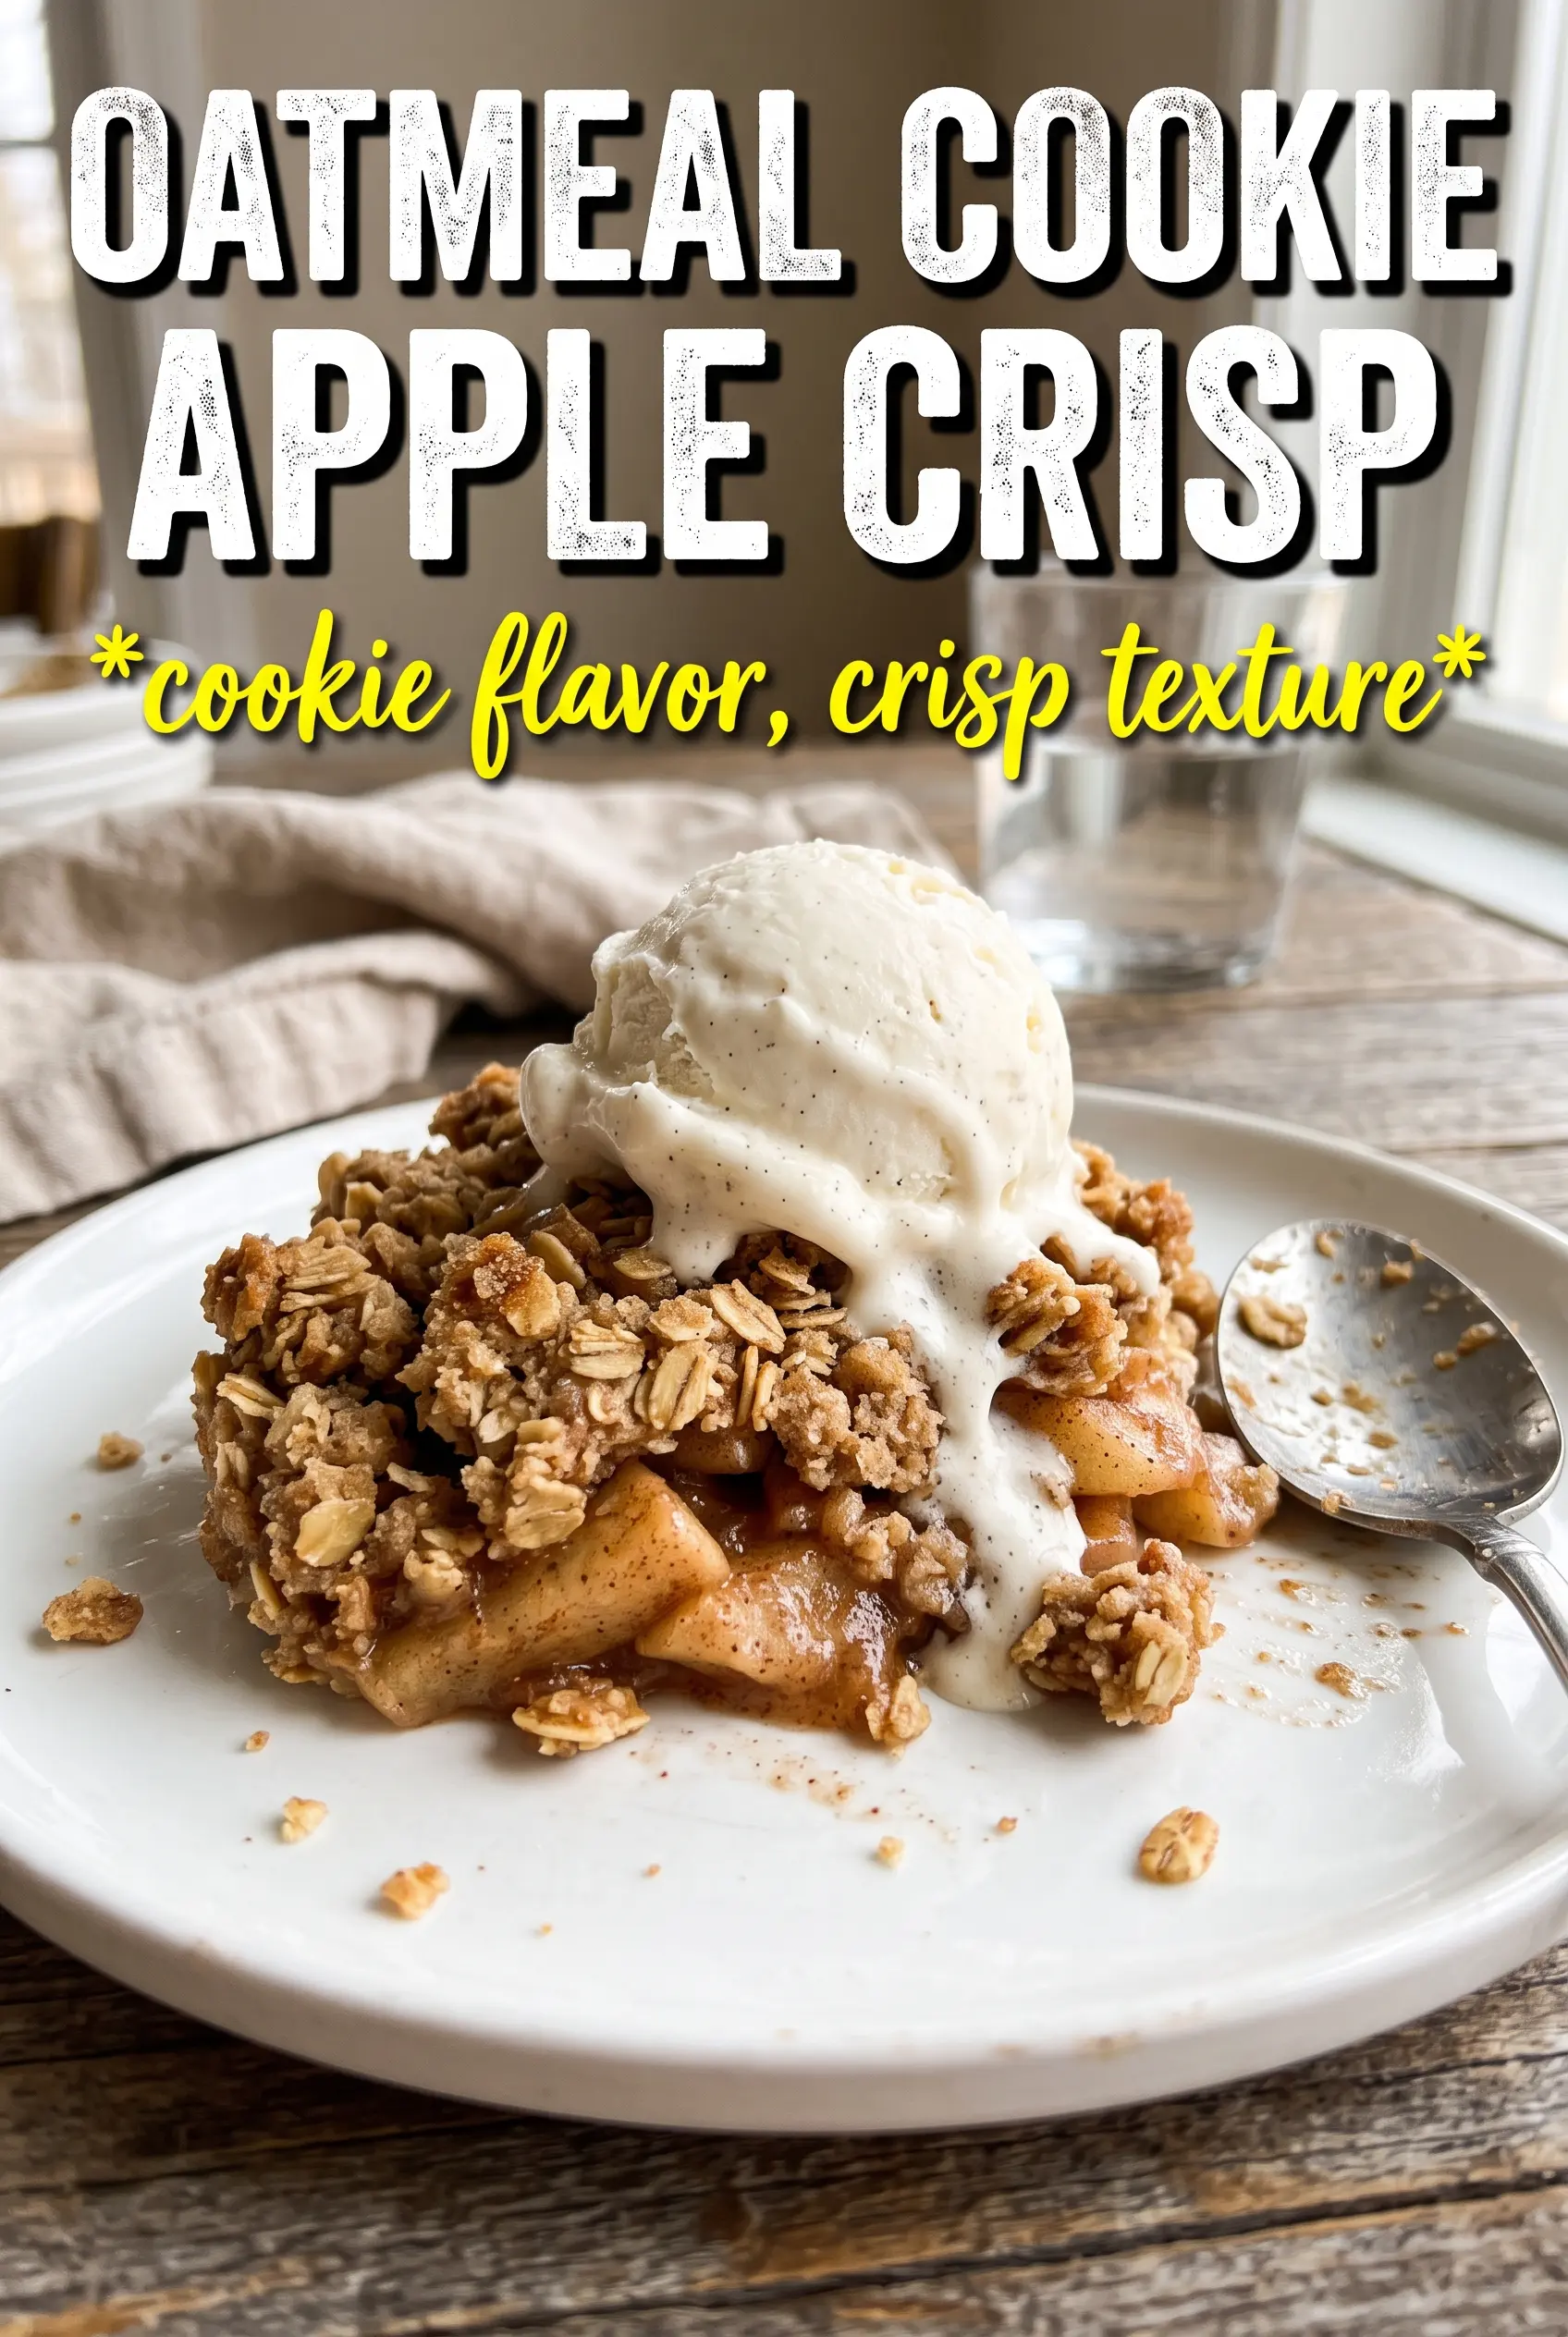
Oatmeal Cookie Apple Crisp brings the best parts of a warm apple dessert and a soft-baked oatmeal cookie into one pan. The topping bakes up golden and craggy, with buttery clusters that stay crisp at the edges while the apples underneath turn soft, jammy, and cinnamon-scented. It’s the kind of dessert that disappears fast because every spoonful gives you a little bit of everything: tender fruit, caramel notes, and that sturdy cookie crumble on top.
The trick here is the crumble. Melted butter, honey, and vanilla coat the oats and flour just enough to create those chunky cookie-like pieces instead of a sandy topping. Cornstarch in the apple layer matters too; it catches the juices and turns them into a glossy filling instead of a puddle in the bottom of the dish. If you’ve ever had a crisp come out loose or soggy, this version fixes both problems without extra fuss.
Below, I’ve included the small details that matter most: how to keep the topping chunky, which apples hold their shape best, and how to tell when the filling is bubbling through the edges and ready to come out of the oven.
The topping baked up in big golden clumps and the apples were perfectly tender without turning mushy. I loved that the filling actually thickened up instead of running all over the plate.
Save this oatmeal cookie apple crisp for the nights when you want a bubbling apple dessert with a chunky, cookie-like crumble on top.
The Secret to a Crisp Top That Stays Craggy, Not Powdery
The most common mistake with apple crisp is treating the topping like dry streusel. That gives you a fine, sandy layer that bakes into a flat lid instead of those chunky golden bits you actually want. Here, the melted butter and honey bind the oats and flour just enough to create uneven clusters, which bake up with crisp edges and a soft, cookie-like center.
The other thing that matters is spacing. Don’t press the topping down over the apples. Scatter it in loose handfuls so heat can move through the crumbs and the fruit can bubble up around the edges. That bubbling is your signal that the cornstarch has done its job and the filling has thickened.
- Rolled oats — These give the topping its chewy, hearty texture. Quick oats turn mushier and lose the cookie-like bite.
- Brown sugar — This adds deep caramel flavor and helps the topping brown. Light or dark brown sugar both work; dark brown sugar gives a stronger molasses note.
- Honey — It helps the crumble hold together in little clusters. Maple syrup works in a pinch, but the topping will bake a little looser.
- Cornstarch — This is what keeps the apple layer from turning watery. Flour won’t thicken the juices as cleanly here.
What the Apples and Crumble Are Each Doing in the Dish
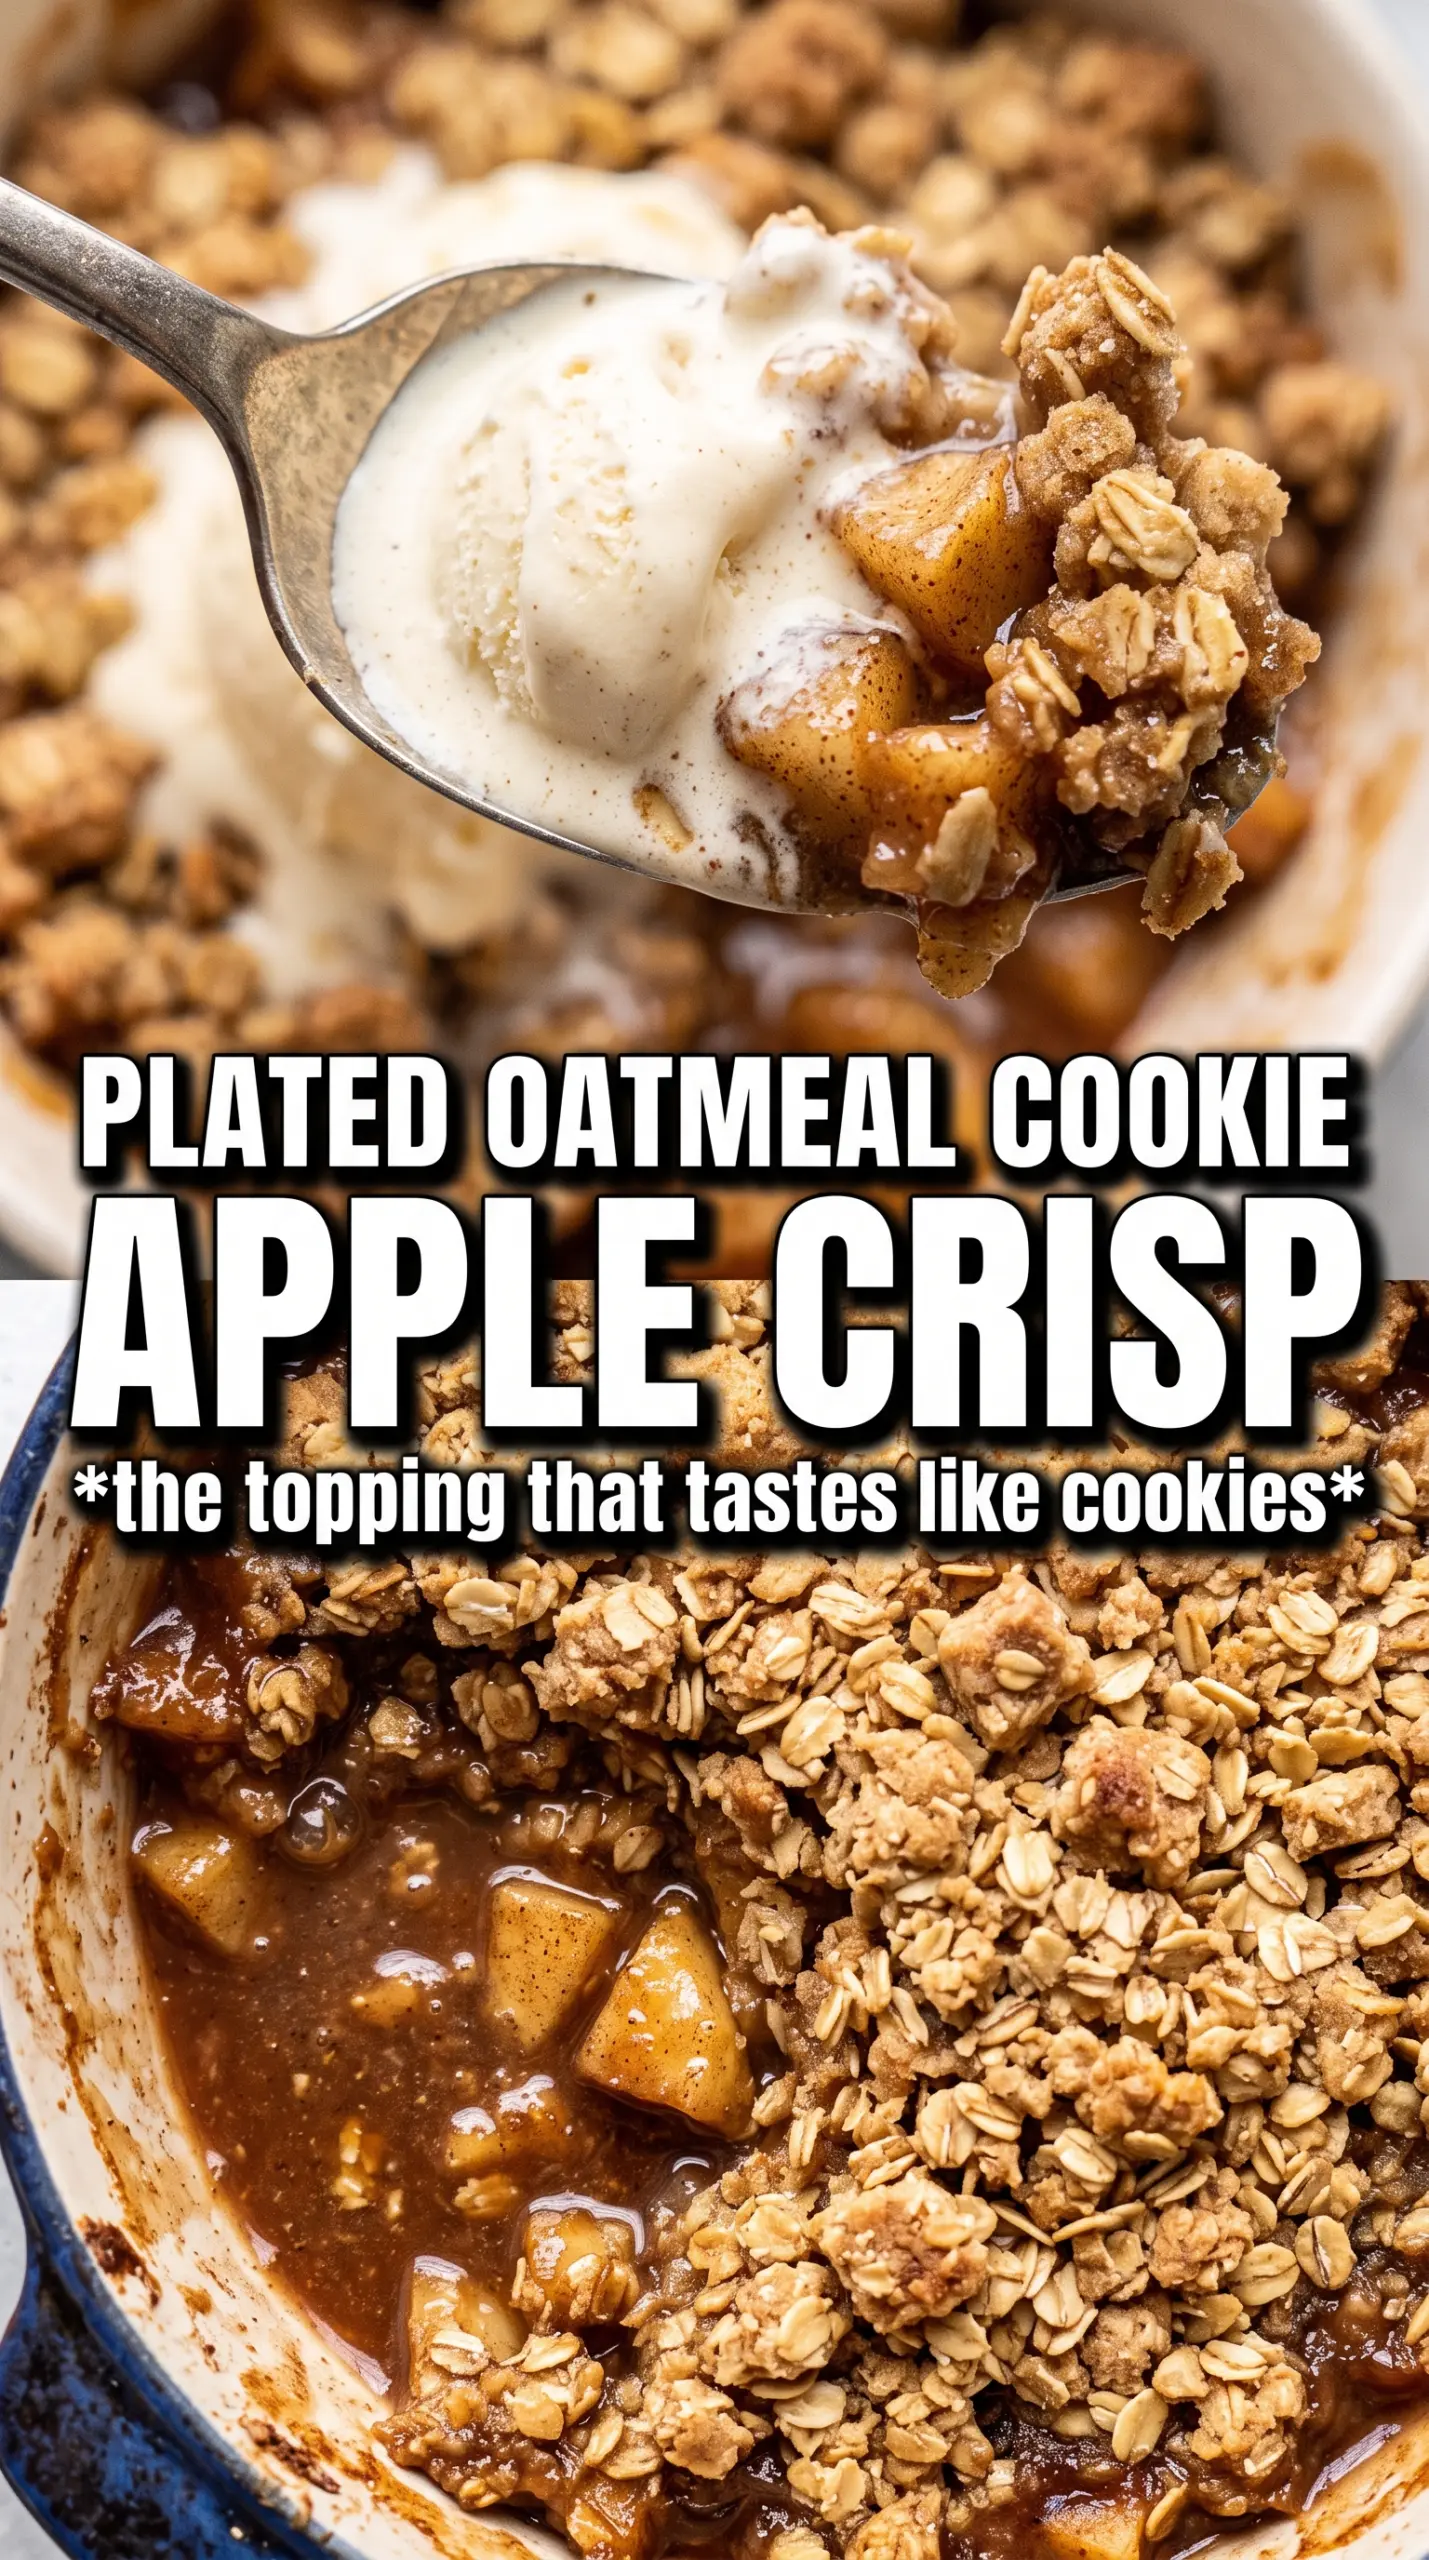
- Apples — Use a firm baking apple so the slices keep some shape after 45 minutes in the oven. Granny Smith, Honeycrisp, Braeburn, or a mix of tart and sweet apples all work well.
- Lemon juice — It keeps the apples bright and helps the filling taste balanced instead of flat. Fresh juice is best, but bottled works here too.
- Cinnamon and nutmeg — Cinnamon gives the familiar warm apple-cake flavor, while nutmeg adds a little depth. Don’t overdo the nutmeg or it starts tasting dusty instead of warm.
- Butter — Melted butter coats the dry ingredients evenly and helps the topping bake into clusters. If you use softened butter instead, you’ll get a softer, more cookie-dough-like finish.
- Raisins or dried cranberries — These are optional, but they add little sweet-tart bites that work well with the apples. If you use them, fold them in after the butter mixture so they stay distributed instead of clumping at the bottom.
How to Build the Crisp So the Filling Bubbles and the Top Turns Golden
Coating the Apples
Toss the sliced apples with sugar, cinnamon, nutmeg, cornstarch, and lemon juice until every slice looks lightly coated. You want the apples glossy, not wet with syrup. If you leave dry pockets of cornstarch behind, those spots bake up chalky instead of turning into a smooth filling. Spread the mixture evenly in the baking dish so the fruit cooks at the same rate.
Making the Oatmeal Cookie Crumble
Mix the oats, flour, brown sugar, cinnamon, baking soda, and salt first so the dry ingredients are evenly distributed. Then pour in the melted butter, honey, and vanilla and toss until the mixture looks like damp pebbles with some larger clumps. That uneven texture is what gives you the cookie-style topping. If it seems too dry, keep tossing for another few seconds before adding anything else; the butter needs time to soak in.
Baking Until the Edges Bubble
Scatter the crumble over the apples in loose chunks, then bake until the top is deep golden and the filling is bubbling at the corners. Those bubbles matter more than the clock. If the top browns too quickly before the fruit is tender, lay a piece of foil loosely over the dish for the last part of baking. Let it rest for 10 minutes before serving so the juices settle and thicken instead of pouring out the moment you scoop.
How to Adapt This Apple Crisp for Different Kitchens and Different Crowds
Make It Gluten-Free
Swap the all-purpose flour for a 1:1 gluten-free baking blend. The topping still bakes into clusters, though it may be a touch more delicate when scooped. Keep the oats certified gluten-free if you’re serving someone with celiac disease.
Skip the Raisins for a Cleaner Apple Flavor
Leave out the raisins or cranberries if you want the apple filling to stay front and center. The crisp still has plenty of texture from the oats, and the topping reads more like a classic oatmeal cookie without the extra chew.
Use Maple Instead of Honey
Maple syrup works well if you’re out of honey or prefer its flavor. The topping will be a little looser and slightly less clustered, but it still bakes into a crisp, sweet shell over the apples.
Storage and Reheating
- Refrigerator: Store covered for up to 4 days. The topping softens in the fridge, but the flavor stays great.
- Freezer: It freezes well after baking. Cool completely, wrap tightly, and freeze for up to 2 months. Thaw overnight in the fridge before reheating.
- Reheating: Warm in a 350°F oven until the filling is hot and the top crisps back up, usually 15 to 20 minutes. The biggest mistake is microwaving it straight from the fridge, which makes the topping soft and the apples unevenly hot.


