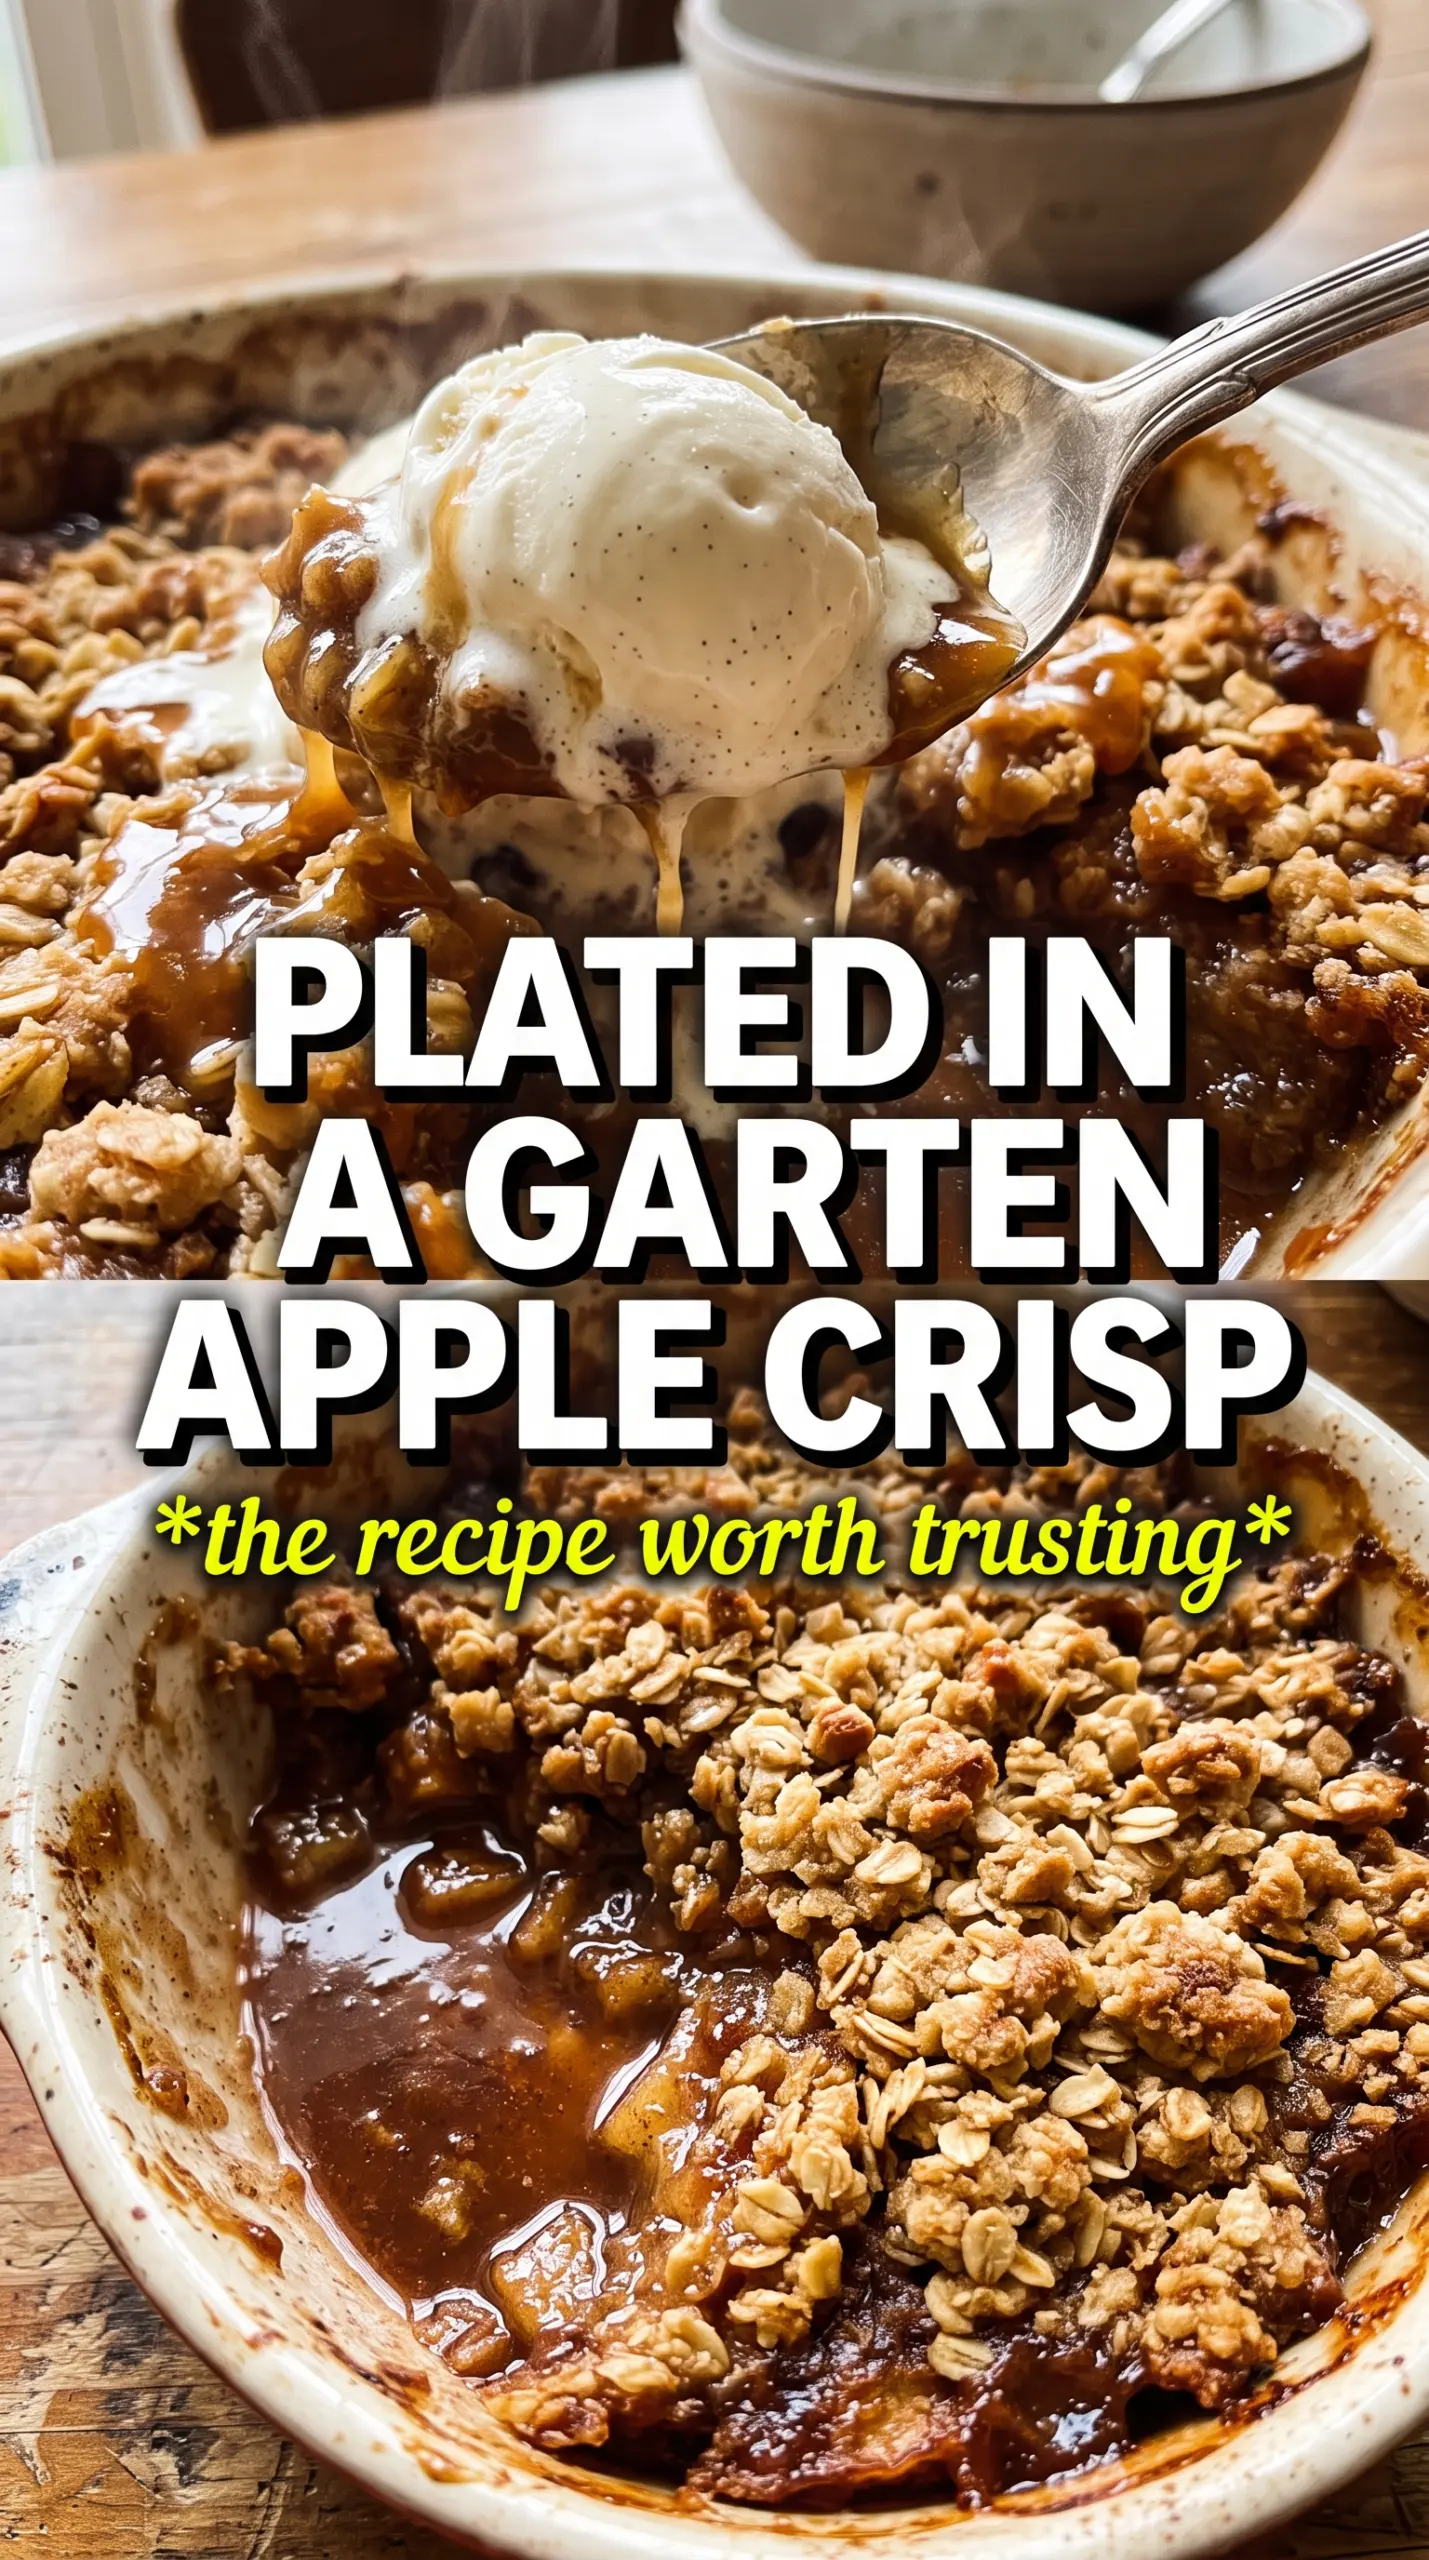
Golden, bubbling apple crisp earns its place on the table when the topping turns deeply crisp and the apples underneath soften into a spoonable filling with just enough structure left to keep each bite interesting. The best version doesn’t taste flat or one-note; it has bright citrus, warm spice, and that buttery oat crumble that shatters a little before melting on your tongue.
What makes this one work is the balance. Macintosh apples soften beautifully, while Braeburns hold their shape a bit longer, so you get a filling that’s tender without turning to applesauce. The orange and lemon zest wake up the fruit in a way plain cinnamon sugar can’t, and the cold butter in the topping stays in rough pieces long enough to bake into craggy, golden clusters instead of disappearing into the flour.
Below you’ll find the detail that matters most for a crisp with a real topping, plus a few smart swaps if you need to work with the apples you’ve got on hand. The goal here is simple: a crisp that serves cleanly, smells incredible, and still has crunch under the ice cream.
The topping stayed crisp even after sitting for a bit, and the apples baked down into that perfect soft-but-not-mushy texture. I used Braeburns like suggested and the citrus made the filling taste bright instead of heavy.
Save this Ina Garten apple crisp for the nights when you want a buttery oat topping and tender cinnamon apples that bake up beautifully every time.
The Part That Keeps the Topping Crisp Instead of Sinking
A crisp can look perfect going into the oven and still come out with a soggy, buttery lid if the topping is handled like cookie dough. The trick here is keeping the butter cold and working it into dry ingredients just until you have clumps the size of peas. Those clumps bake into craggy bits with air pockets, which is what gives the top that jagged, crunchy texture instead of a flat blanket of crumbs.
The other place people go wrong is overloading the filling with liquid. Apples release juice as they bake, and the citrus juice in this recipe helps season the fruit without turning the dish into soup. A 14x9x2-inch baking dish gives the fruit enough surface area so the moisture can evaporate while the edges caramelize, which matters just as much as the topping itself.
What Each Ingredient Is Doing in the Apple Filling and Crumble
- Macintosh or Braeburn apples — Macintosh softens fast and gives you that classic tender filling, while Braeburn holds a little more shape. If you use all Macintosh, the filling will be softer; if you use all Braeburn, expect more structure and a slightly firmer bite.
- Orange zest and lemon zest — The zest does more than perfume the dish. It keeps the filling from tasting heavy and brings brightness that plain sugar and cinnamon can’t mimic. Don’t skip the zest unless you want a flatter, sweeter crisp.
- Orange juice and lemon juice — These sharpen the apple flavor and help the filling taste balanced after baking. Fresh juice matters here because bottled juice can taste dull or harsh.
- Brown sugar and granulated sugar — The white sugar keeps the filling clean and sweet, while the brown sugar in the topping adds depth and helps the crumble brown properly. That mix gives you a topping that tastes toasted instead of just sweet.
- Cold unsalted butter — This is the difference between a crumbly topping and a greasy one. Unsalted butter lets you control the salt, and cold diced butter is what creates those crisp little pockets as the topping bakes.
- Old-fashioned oats — They bring the rustic crunch that makes apple crisp worth making in the first place. Quick oats will work in a pinch, but they’ll make the topping denser and less textured.
Building the Apples and Topping So They Bake at the Same Pace
Tossing the Fruit Until Every Slice Is Coated
Mix the sliced apples with both zests, both juices, sugar, cinnamon, and nutmeg until every piece looks lightly glazed. The fruit should go into the dish evenly coated, not swimming in liquid at the bottom of the bowl. If you see a puddle forming before baking, keep tossing; that syrup belongs on the apples, not underneath them.
Making the Crumble by Hand
Combine the flour, both sugars, salt, and oats first, then work in the cold butter with your fingers until the mixture forms uneven clumps. Stop before it turns pasty. If the butter disappears completely, the topping will bake up sandy instead of crisp and nubby. You want rough pieces, some small and some larger, because that mix gives the finished top its best texture.
Baking Until the Center Bubbles Through
Scatter the topping over the apples and cover every inch generously. Bake until the top is deep golden brown and you can see the filling bubbling at the edges and, ideally, in the center too. If the top browns before the apples soften, lay a loose piece of foil over it for the last stretch and keep baking until the fruit yields easily when pierced.
Serving While the Contrast Is Best
Let the crisp cool just enough to settle, then serve it warm. That short rest helps the filling thicken so it doesn’t run across the plate, but it still keeps the topping crisp. A spoonful of whipped cream or vanilla ice cream turns the warm apples into a proper dessert instead of just a baked fruit dish.
How to Adapt This Crisp for Different Apples and Diets
Use All Braeburns for a Firmer Slice
Braeburns hold their shape better than Macintosh, so the filling stays a little more defined and less spoon-soft. That’s a good swap if you want neat servings, but the crisp will lose some of the jammy texture that makes the original so comforting.
Make It Gluten-Free with a 1:1 Flour Blend
Use a trusted cup-for-cup gluten-free flour in the topping and keep the oats certified gluten-free if needed. The topping will still brown and crisp, though it may feel a touch more delicate when you scoop it.
Use Dairy-Free Butter for a Dairy-Free Version
A solid plant-based butter works here better than oil because the topping needs fat that stays cold and clumps. The flavor will shift a little, but the texture can still be good if the butter substitute is firm and unsalted.
Add Chopped Pecans for a Toastier Topping
Fold in about a cup of chopped pecans with the oats for extra crunch and a deeper, nutty finish. The topping becomes a little richer and more rustic, and it pairs especially well with vanilla ice cream.
Storage and Reheating
- Refrigerator: Store covered for up to 4 days. The topping softens a bit in the fridge, but the flavor stays good.
- Freezer: Freeze baked crisp for up to 2 months, tightly wrapped. The topping won’t stay as crisp after thawing, but it still reheats well.
- Reheating: Warm in a 325F oven until heated through and the topping crisps back up. The microwave will make the crumble soft, so use the oven if you want the texture to come back.
Answers to the Questions Worth Asking
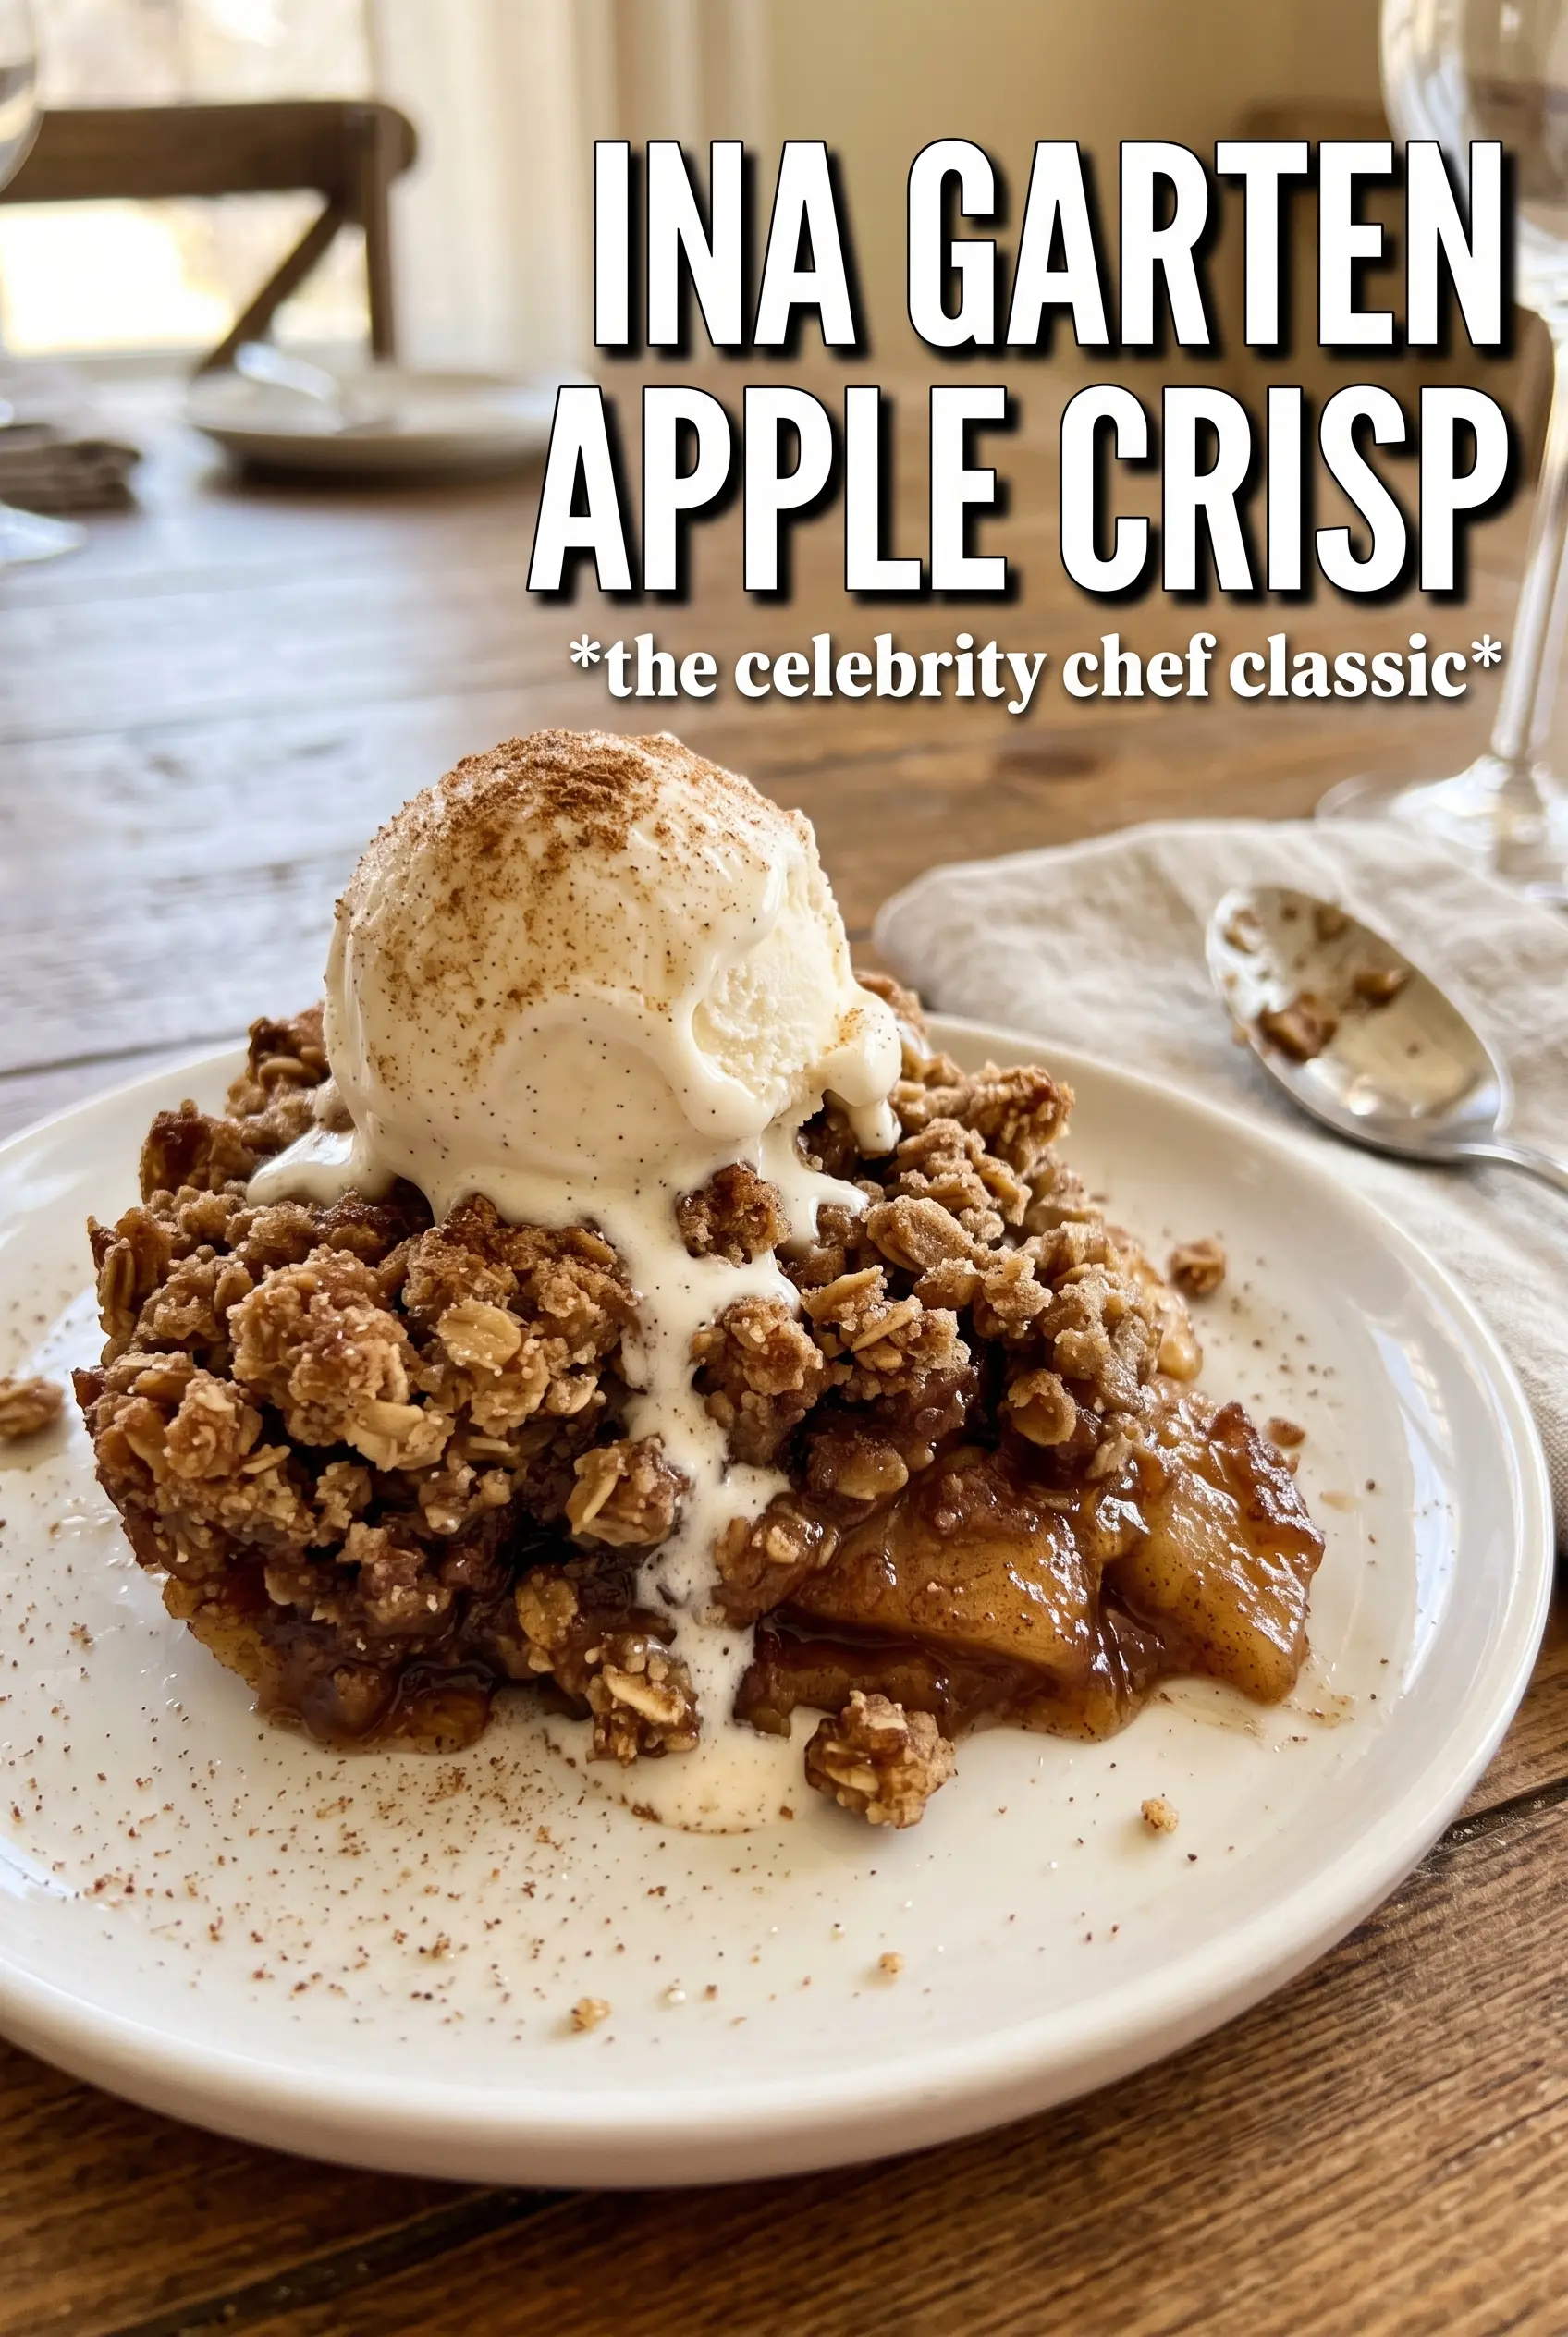
Ina Garten Apple Crisp
Ingredients
Equipment
Method
- Preheat the oven to 350F, with a rack in the middle position so the crisp browns evenly.
- Toss the sliced apples with orange zest, lemon zest, orange juice, lemon juice, granulated sugar, cinnamon, and nutmeg, then spread them in a 14x9x2 inch baking dish.
- Press the apples into an even layer so the juices bubble up across the full surface during baking.
- Combine all-purpose flour, granulated sugar, light brown sugar, kosher salt, and old-fashioned oats in a bowl.
- Add the cold diced butter and work it with your fingers until the mixture forms pea-sized clumps, leaving some larger bits for extra crunch.
- Scatter the crumble topping over the apples, covering every inch generously so no apple peaks through.
- Bake for 55-60 minutes at 350F until the top is golden brown and the apples are tender and bubbling.
- Serve warm with vanilla ice cream or whipped cream.


