Flaky pastry, tender spiced apples, and a thin powdered sugar glaze make these Apple Slices feel like the kind of dessert people keep sneaking back to after dinner. The bottom crust stays sturdy enough to hold neat squares, while the top bakes into a pale golden lid that cracks just slightly when you cut it. You get the comfort of apple pie without the fuss of a full pie shell.
What makes this version work is the layer of crushed cornflakes tucked between the dough and the filling. It sounds old-school, but it keeps the bottom from turning soggy while the apples soften and release their juices. The other thing that matters is the dough: cold butter, minimal mixing, and enough milk just to bring it together. That’s what gives you those flaky layers instead of a tough, bready crust.
Below, I’ve added the spot where these bars usually go wrong, plus the small adjustments that help if your apples are extra juicy or if you want to make them ahead for a gathering.
The crust stayed crisp on the bottom and the glaze set up beautifully after cooling. I used Granny Smith apples and the filling held its shape instead of turning watery.
Save these Apple Slices for a crisp-bottom, spiced apple bar cookie that slices cleanly every time.
The Reason the Bottom Stays Crisp Instead of Going Soft
Apple bars usually fail in one of two ways: the crust turns dense because the dough was worked too much, or the bottom gets damp before the top even finishes browning. This recipe avoids both problems by using a cold, crumbly dough and a thin layer of crushed cornflakes under the apples. That cereal layer is doing real work here. It soaks up extra juice before it can sink into the pastry, which is why the squares cut cleanly after cooling.
The other thing that matters is the apple mixture. Cornstarch needs liquid to activate, so the apples should be coated thoroughly and spread in an even layer. If the filling looks dry in the bowl, don’t add water. The apples will release enough juice as they bake, and the starch will thicken it into a glossy filling instead of a loose puddle.
- Apples — Use a mix with some tartness, like Granny Smith or a blend of tart and sweet apples. Soft apples can work, but they’ll collapse more, which means a looser filling.
- Cold butter — This is what creates the flaky layers in the pastry. Room-temperature butter blends too smoothly and gives you a more cookie-like crust.
- Cornflakes — They’re the quiet fix that keeps the base from turning soggy. Crushed graham crackers won’t give the same dry, crisp barrier.
- Cornstarch — Don’t skip it unless you want the filling to run. It thickens the apple juices as the bars bake and cool.
What Each Ingredient Is Actually Doing in This Recipe
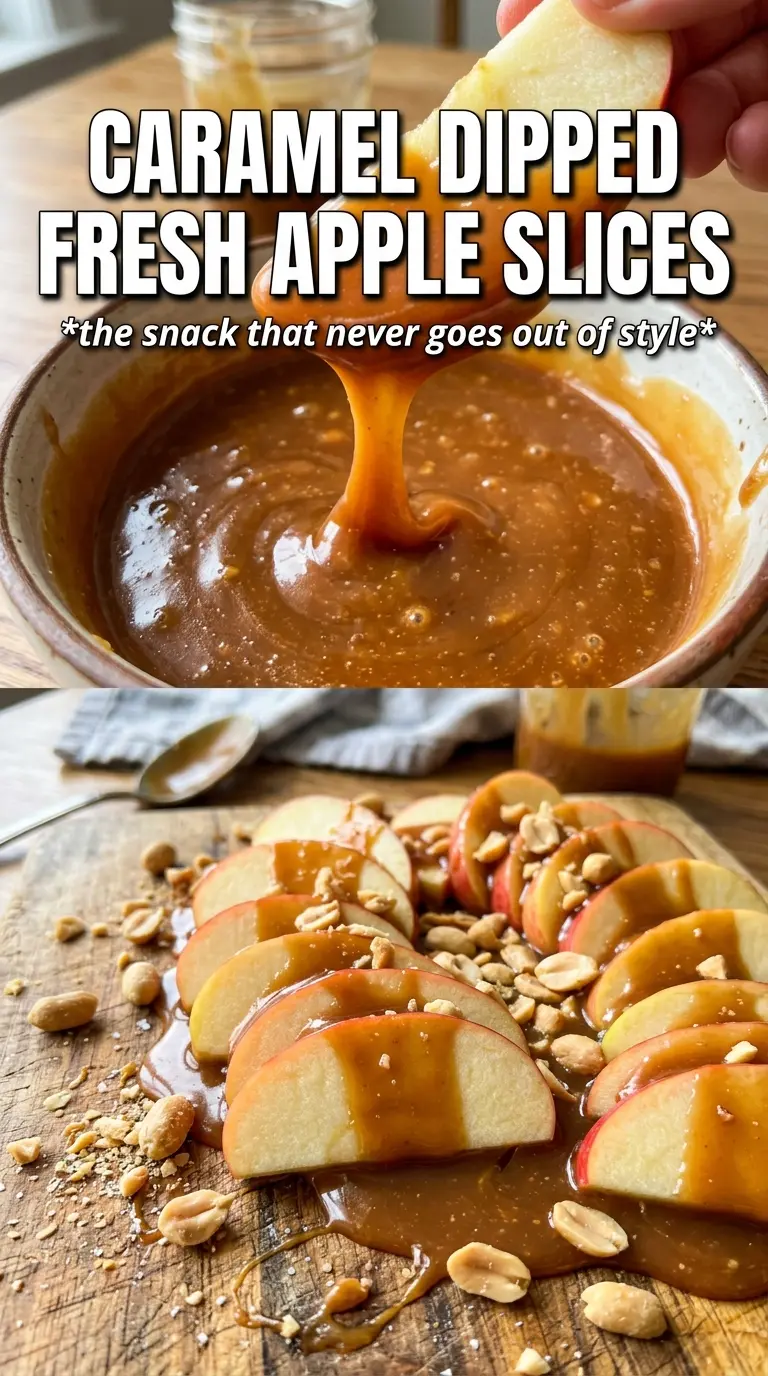
- Primary ingredient (the star) — Quality matters most. Choose the best you can find.
- Cooking medium (oil, butter, or broth) — This carries flavors and prevents dryness.
- Seasonings (salt, pepper, spices, herbs) — Layer flavors so nothing overpowers. Build depth gradually.
- Aromatics (garlic, onion, herbs) — Cook with fat to bloom flavors. Become the foundation.
- Supporting ingredients — Complement the main ingredient without overpowering it.
- Sauce or liquid (if applicable) — Brings flavors together. Balance richness with acid.
- Acid (lemon, vinegar, wine, or other) — Brightens and prevents flat-tasting results.
- Final finish (garnish, glaze, or sauce) — Prevents one-dimensional taste and adds visual appeal.
Building the Layers So the Bars Bake Evenly
Mix the Dough Just Until It Comes Together
Start by cutting the cold butter into the flour, salt, and sugar until the mixture looks sandy with some pea-sized pieces still visible. Those little butter pieces are what melt into flaky pockets in the oven. When you add the egg yolk and milk, stop mixing as soon as the dough holds together. If it looks a little shaggy, that’s fine. Overworking it will make the crust tough and elastic instead of tender.
Press, Scatter, and Fill Without Packing It Down
Press half the dough into the pan in an even layer, but don’t mash it so hard that it becomes dense. A light, even press is enough. Sprinkle the crushed cornflakes over the crust, then spoon the apple filling on top and spread it gently to the corners. If you dump the apples in one mound and try to level them after, the dough underneath can tear and the bars bake unevenly.
Seal the Top Layer and Bake Until the Crust Colors
Roll the remaining dough and lay it over the apples, then press the edges together so the filling stays inside while it bakes. A few small cracks in the top are normal. Bake until the top is golden and the pan smells like cooked butter and cinnamon. If the center still looks pale and doughy, give it more time; underbaked top crust is what makes these bars slice messily later.
How to Adapt These Apple Slices for Different Kitchens
Make Them Gluten-Free
Use a 1:1 gluten-free baking flour that includes xanthan gum, and check that your cornflakes are certified gluten-free. The texture will be a little more delicate, but the bars still hold together well once fully cooled.
Make Them Dairy-Free
Swap the butter for a solid plant-based butter that bakes well. Use a brand you trust for pie crusts, because the flavor and fat content matter here more than in a quick cake.
Use a Different Apple Blend
A mix of tart and sweet apples gives the best balance. If you use all sweet apples, the filling tastes flatter; if you use all tart apples, the bars may need a touch more sugar.
Storage and Reheating
- Refrigerator: Store covered for up to 4 days. The crust softens a bit after the first day, but the flavor holds well.
- Freezer: These freeze well. Wrap cut bars tightly and freeze for up to 2 months, then thaw in the fridge so the glaze doesn’t sweat off.
- Reheating: Warm individual bars in a 300F oven for about 8 minutes if you want the crust to perk up again. The microwave softens the pastry, so use it only if you don’t mind a tender crust.
Questions I Get Asked About This Recipe
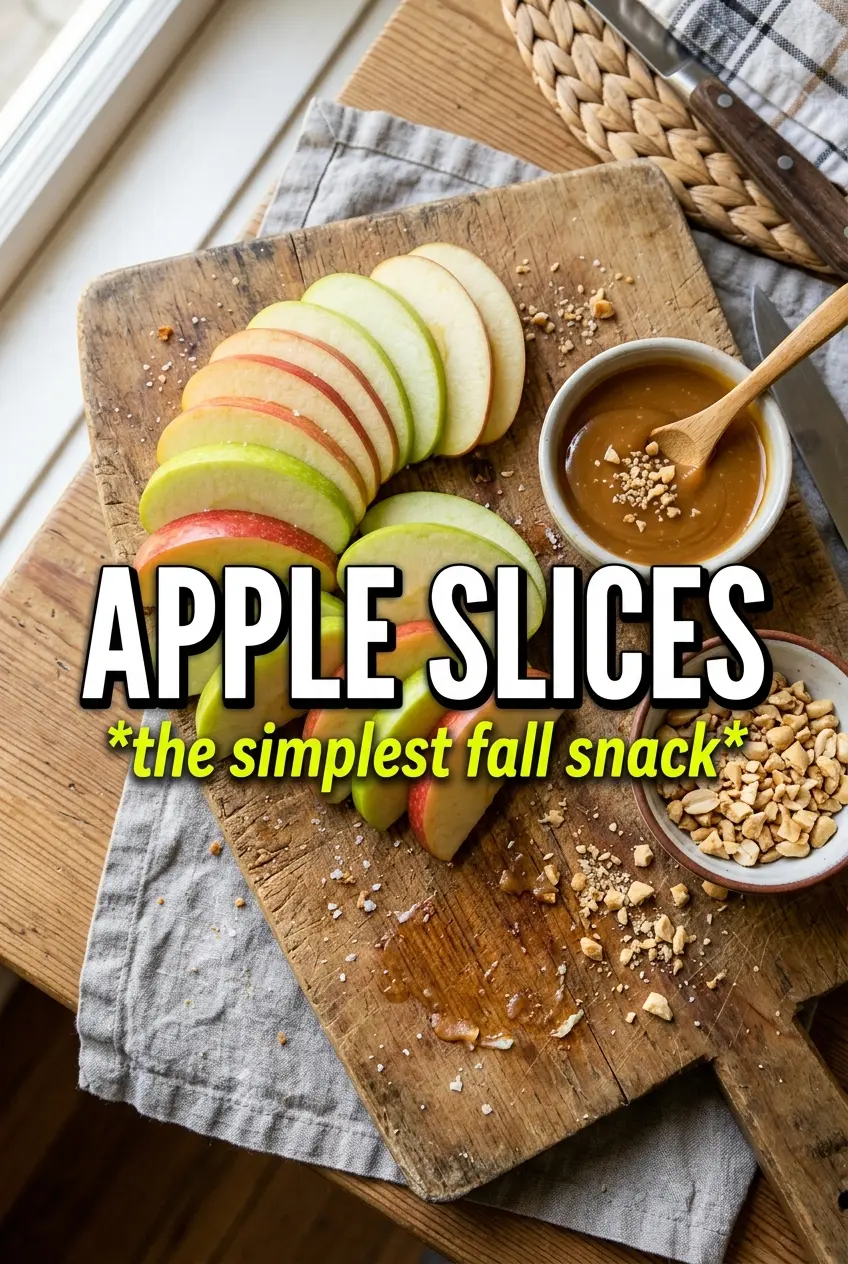
Apple Slices
Ingredients
Equipment
Method
- Preheat the oven to 375F and grease a 15x10 rimmed baking sheet. Set it aside so it’s ready for layering.
- Mix flour, salt, and sugar together. Add cold cubed butter and cut until the mixture looks crumbly.
- Add the egg yolk-milk mixture and mix just until the dough comes together. Stop as soon as you don’t see dry flour.
- Divide the dough in half and press one half into the bottom of the prepared baking sheet. Aim for an even layer with lightly compacted surface.
- Spread the crushed cornflakes over the dough. Press down lightly so they adhere and form a barrier.
- Toss the apple slices with granulated sugar, cinnamon, nutmeg, and cornstarch until evenly coated. The apples should look glossy with a lightly thickened coating.
- Spread the apple mixture over the cornflakes in an even layer. Shake the pan gently so the filling settles.
- Roll the remaining dough and lay it over the apples. Press the edges to seal so the filling stays enclosed.
- Bake for 30-35 minutes at 375F until the top is golden. You should see deep browning at the edges and set filling that doesn’t look wet.
- Cool the bars completely before cutting. This prevents the filling from spilling and keeps the rectangles clean.
- Whisk powdered sugar and milk into a glaze and drizzle it over the cooled bars. Cut into rectangles right after glazing for crisp edges.


