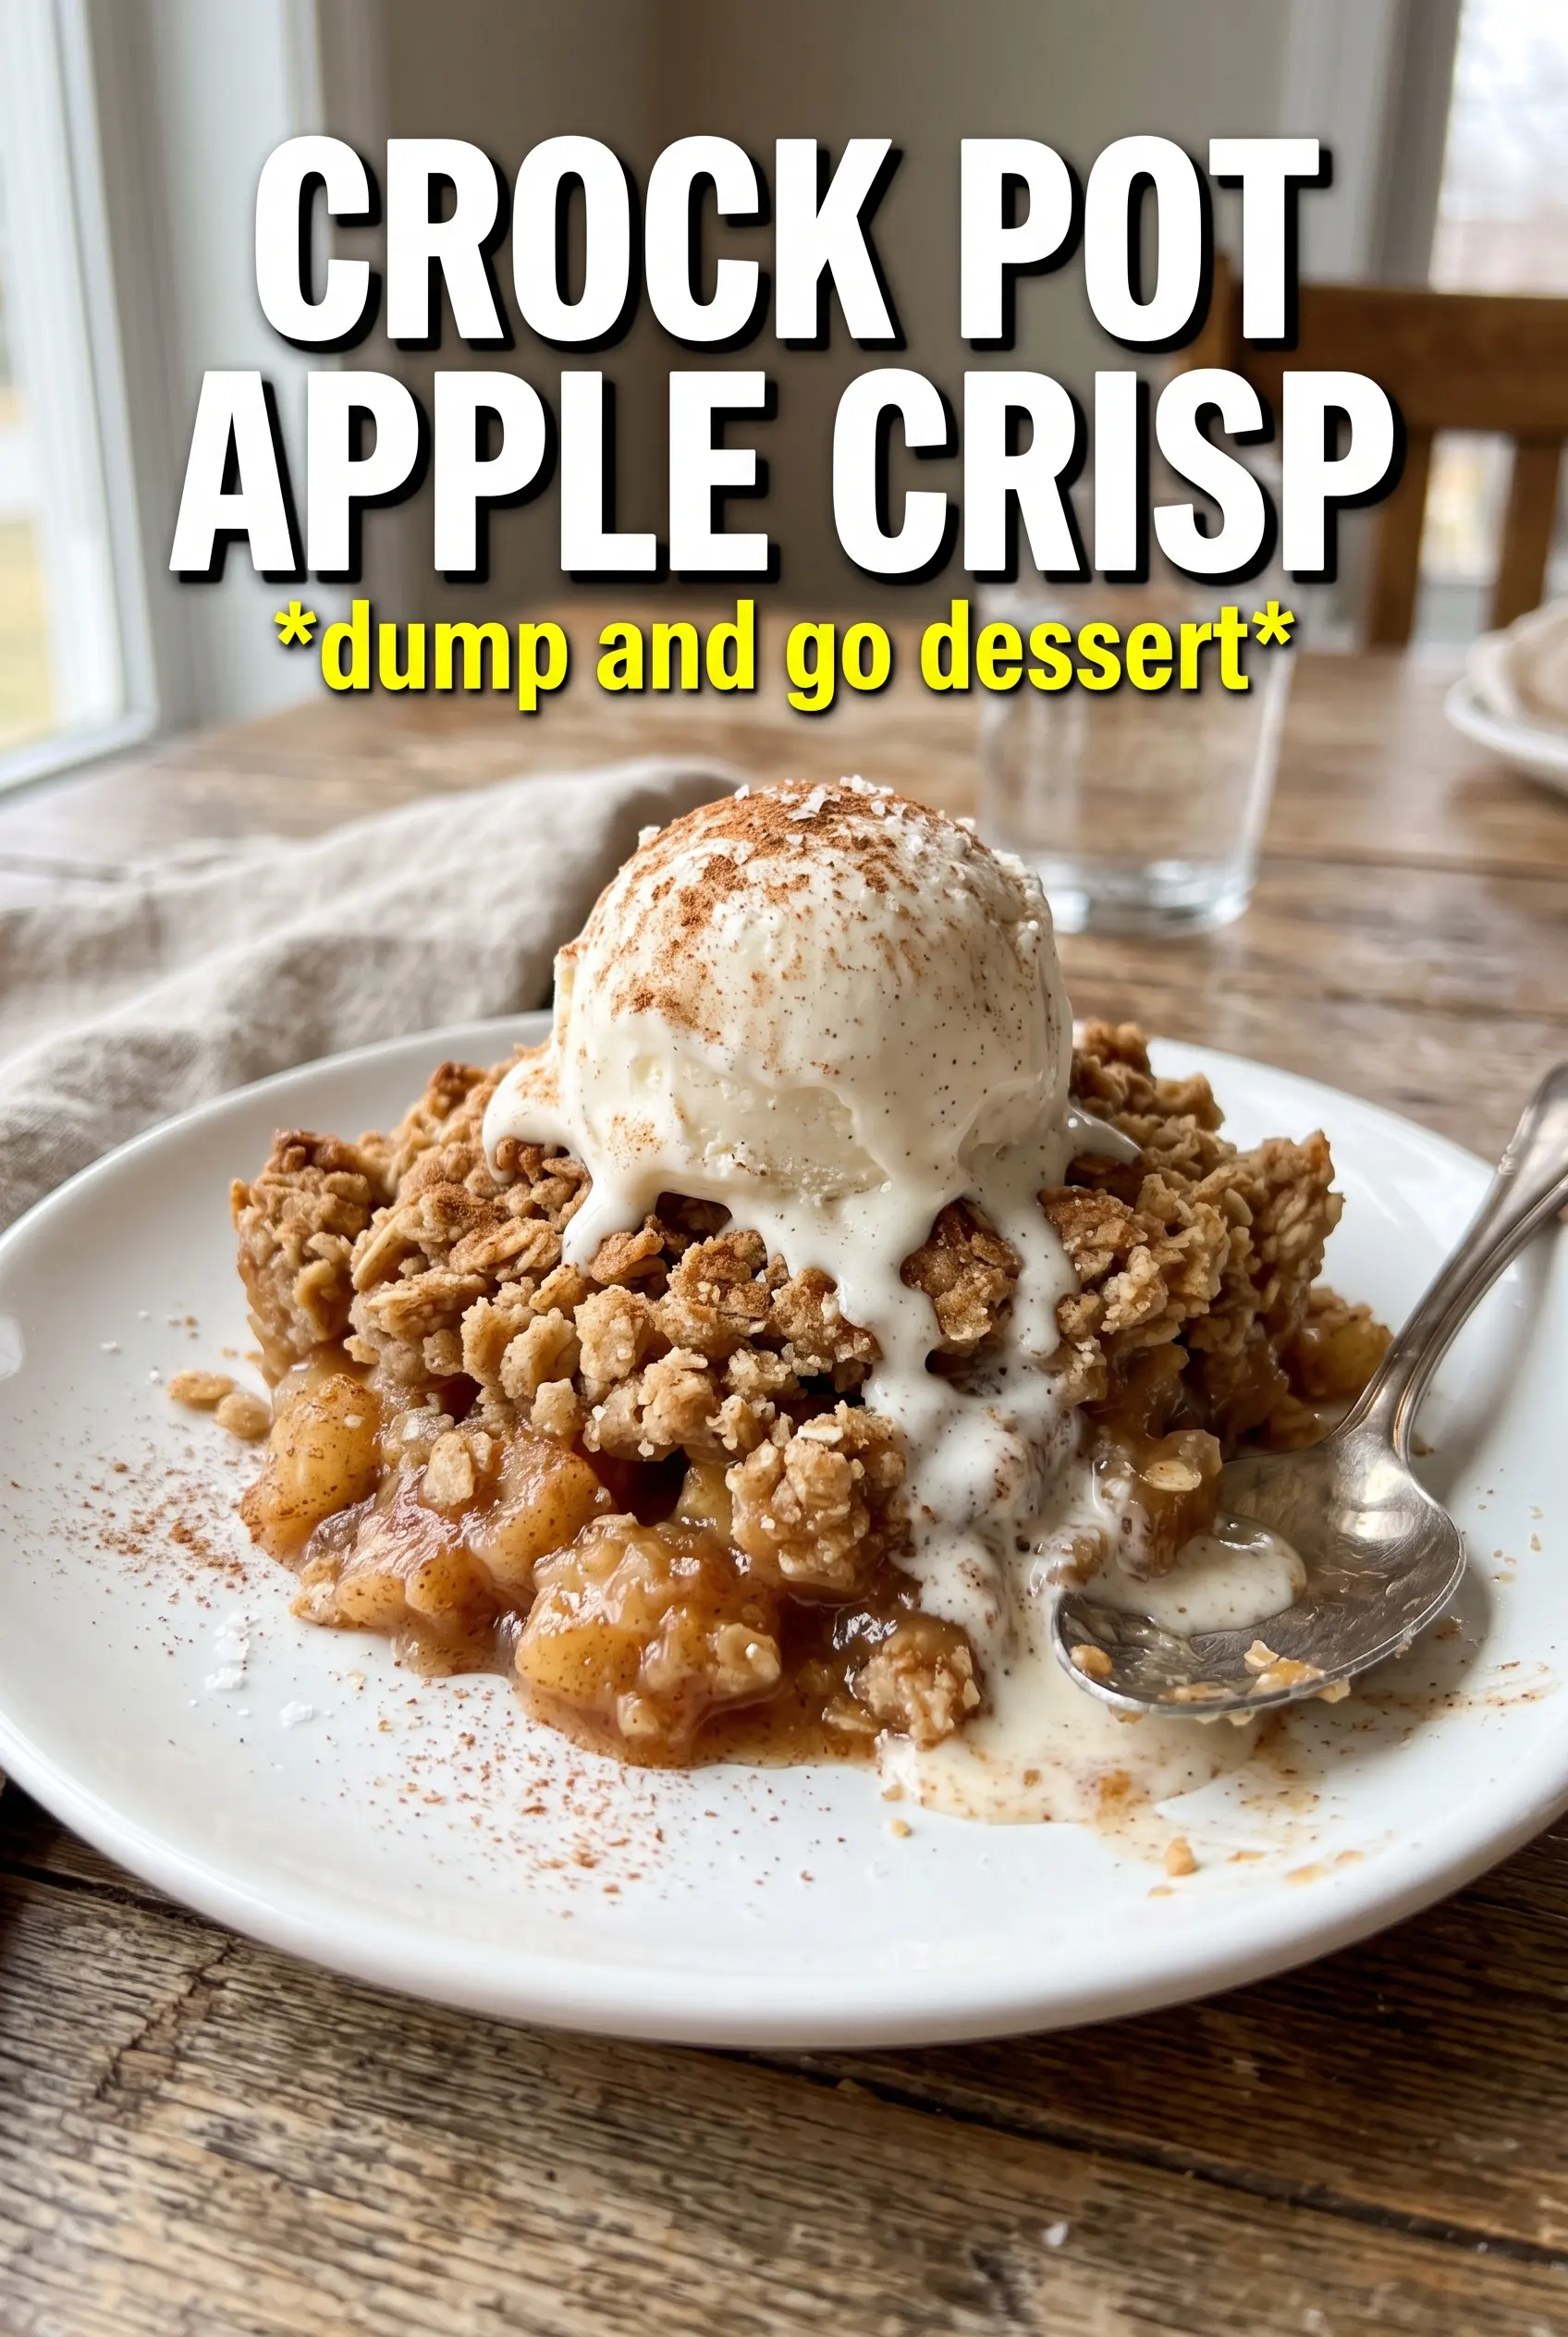
Warm apple crisp is one of those desserts that disappears fast because it hits every note at once: tender cinnamon apples, a buttery oat topping, and just enough caramel-like syrup at the bottom to coat each spoonful. The slow cooker makes it especially handy when you want dessert to take care of itself while you do literally anything else, but the real payoff is the texture. The apples turn soft without collapsing into applesauce, and the topping stays nubbly instead of soggy when you give it a little room to breathe.
The trick here is layering the topping over the fruit instead of mixing it in, then catching the steam before it falls back onto the crisp with a double layer of paper towels under the lid. That small step keeps the oats from going limp. I also like using a mix of granulated sugar and brown sugar in the filling, because the granulated sugar helps the apples release their juices while the brown sugar adds a deeper, warmer sweetness.
Below, you’ll find the small details that make this Crock Pot Apple Crisp turn out cleanly every time, plus the easiest way to get a firmer topping if you like a little crunch at the end.
The topping actually stayed crisp on top and the apples softened perfectly without turning mushy. I used Honeycrisp and the slow cooker gave me that baked apple flavor without heating up the kitchen.
Save this Crock Pot Apple Crisp for the nights when you want soft cinnamon apples and a buttery oat topping without turning on the oven.
The Slow Cooker Trick That Keeps the Topping Crisp Enough
The biggest mistake with crock pot fruit crisps is treating the lid like it’s harmless. It isn’t. A slow cooker traps moisture, and that steam settles right back into the topping unless you give it somewhere to go. That’s why the paper towel layer matters here. It catches condensation before it drips onto the oats, which is the difference between a topping that feels lightly set and one that turns pasty on top.
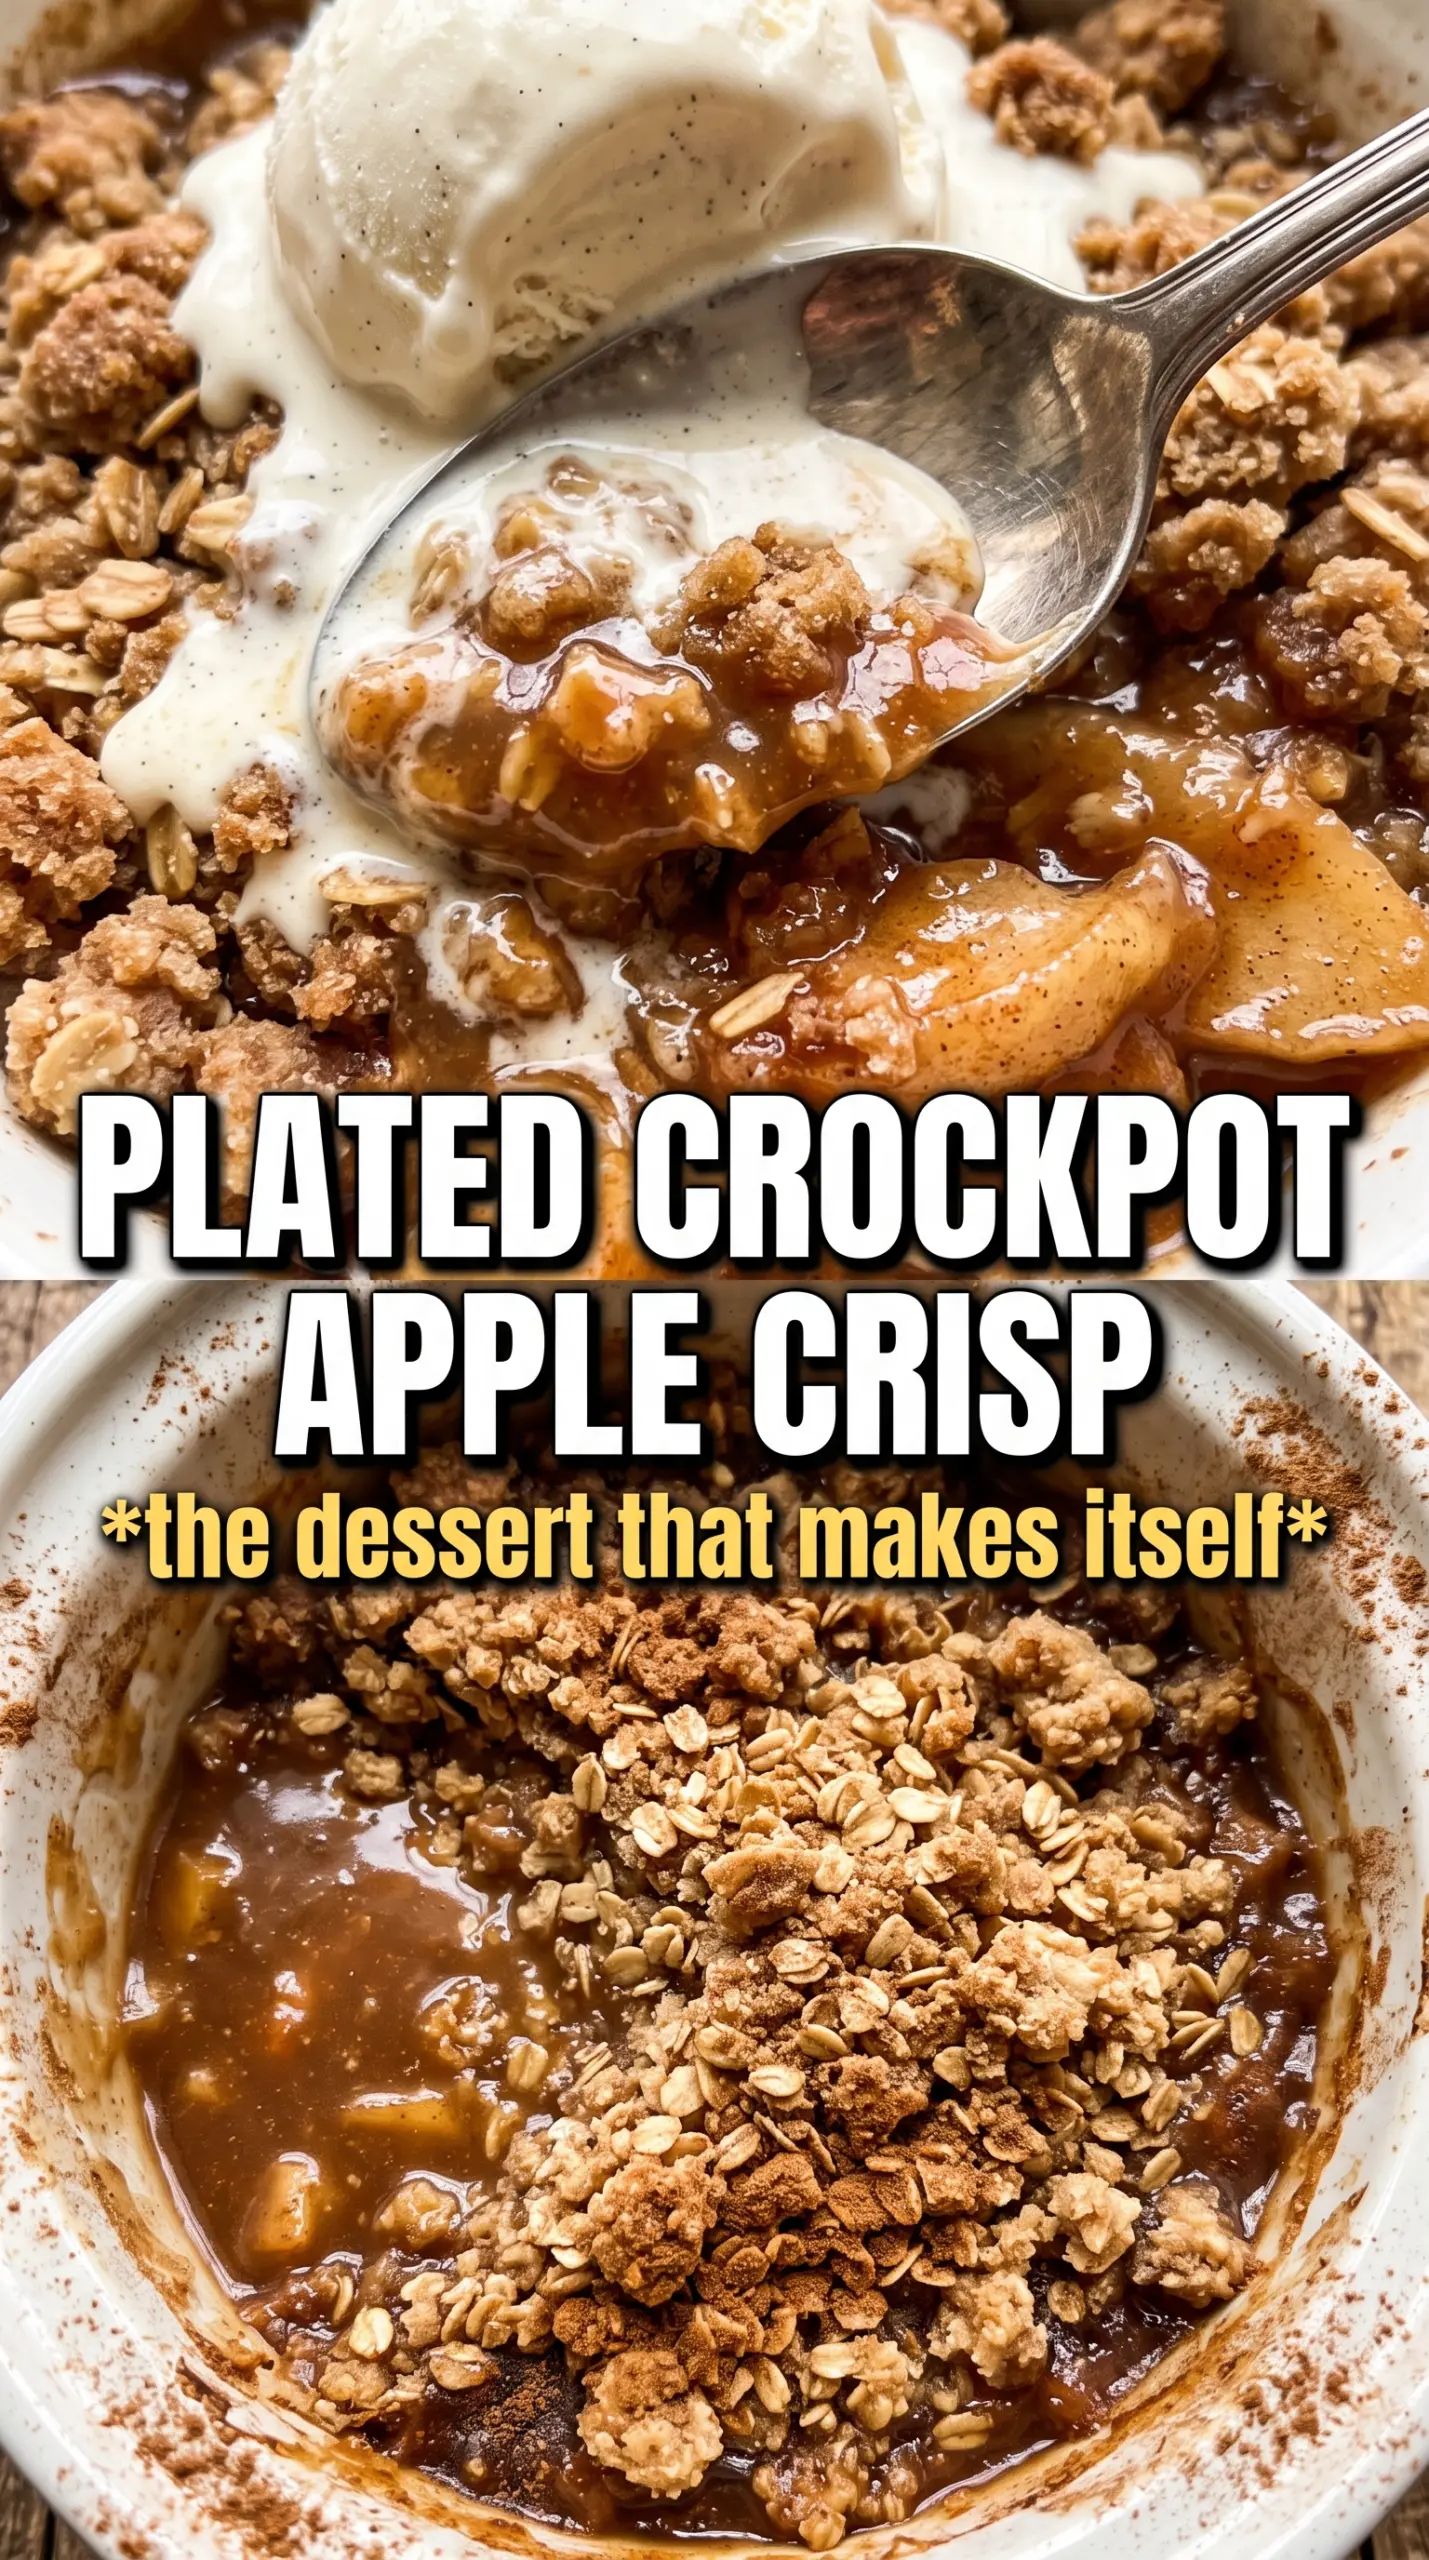
The second thing that matters is not stirring after the topping goes on. The apples should stay underneath in their own layer so their juices bubble up through the edges instead of saturating the crumbs. You want the topping to sit like a blanket, not dissolve into the fruit. If you’ve ever had a crock pot dessert turn out more like stewed fruit with soft granola on top, this is the fix.
- Apples: A firm baking apple holds its shape best. Honeycrisp, Granny Smith, Braeburn, or Jonagold all work well. Softer apples cook down faster and can turn the filling mushy before the topping has time to set.
- Rolled oats: Old-fashioned oats give the topping its classic crumble. Quick oats absorb too much liquid and turn sandy. Steel-cut oats won’t soften properly in this short cook time.
- Brown sugar: This is what gives the topping that deep, almost caramel note. Light or dark brown sugar both work, but dark brown sugar makes the topping a little richer and more molasses-forward.
- Butter: Melted butter is what turns the dry mixture into clumps. If the topping looks too sandy, it usually needs a little more butter or another stir to help the clumps form before it goes on the apples.
What Each Ingredient Is Actually Doing in This Recipe
- Primary ingredient (the star) — Quality matters most. Choose the best you can find.
- Cooking medium (oil, butter, or broth) — This carries flavors and prevents dryness.
- Seasonings (salt, pepper, spices, herbs) — Layer flavors so nothing overpowers. Build depth gradually.
- Aromatics (garlic, onion, herbs) — Cook with fat to bloom flavors. Become the foundation.
- Supporting ingredients — Complement the main ingredient without overpowering it.
- Sauce or liquid (if applicable) — Brings flavors together. Balance richness with acid.
- Acid (lemon, vinegar, wine, or other) — Brightens and prevents flat-tasting results.
- Final finish (garnish, glaze, or sauce) — Prevents one-dimensional taste and adds visual appeal.
Building the Crisp So the Apples Cook Through Before the Top Gets Soft
Coating the Apples First
Toss the sliced apples with both sugars, cinnamon, nutmeg, and lemon juice until every piece looks lightly coated. The sugar pulls out some moisture, which helps create that syrupy base in the bottom of the slow cooker. The lemon juice keeps the flavor bright and helps the apples taste more like apples instead of just sweet filling. If your fruit is cut too thick, it will still be firm when the topping is done, so slice it evenly and not too chunky.
Mixing the Oat Topping
Combine the oats, flour, brown sugar, cinnamon, and salt, then drizzle in the melted butter and stir until the mixture starts forming clumps. You want loose clusters, not a wet paste. If it looks dry and dusty, the butter hasn’t been distributed enough. If it looks greasy or dense, there’s too much butter in one spot, so break it up with a fork before scattering it over the apples.
Cooking on Low Without Disturbing the Layers
Spread the topping over the apples and leave it alone. Do not stir. Cover the slow cooker with a double layer of paper towels under the lid, then cook on Low for about 2.5 to 3 hours until the apples are tender and the topping looks set at the edges. If the apples still feel firm in the center, give it another 15 to 20 minutes, but don’t keep cooking until the fruit collapses. The filling should spoon out cleanly, not dissolve.
Finishing for More Crunch
If you want a crisper top, transfer the finished crisp to an oven-safe dish and broil it for 3 to 4 minutes. Stay close. The oats can go from lightly toasted to too dark in a minute or two. This step is optional, but it gives the top a drier, more baked texture that reads closer to a classic oven crisp.
How to Adapt This Crock Pot Apple Crisp for Different Needs
Gluten-Free Version
Swap the all-purpose flour for a good 1:1 gluten-free baking blend. The topping still clumps nicely, but you may need to stir it a little longer so the flour hydrates evenly. Use certified gluten-free oats if cross-contamination matters.
Dairy-Free Version
Replace the butter with melted coconut oil or a plant-based butter stick. Coconut oil gives the topping a slightly different flavor and a firmer set when it cools, while vegan butter keeps the taste closest to the original. Use refined coconut oil if you don’t want coconut flavor coming through.
Mixing Up the Apples
A mix of tart and sweet apples gives the best flavor balance. Granny Smith plus Honeycrisp is my favorite combination because one brings structure and the other softens into a sweeter filling. If you only have one kind on hand, choose a firm baking apple rather than a soft eating apple.
Storage and Reheating
- Refrigerator: Store covered for up to 4 days. The topping softens in the fridge, but the flavor stays good.
- Freezer: It freezes well for about 2 months. Freeze in portions after it cools completely, then thaw overnight in the refrigerator.
- Reheating: Warm individual portions in the microwave, or reheat the full dish in a 325°F oven until hot. If you want the topping to crisp back up, use the broiler for a minute or two at the end, not a long bake that dries out the apples.


