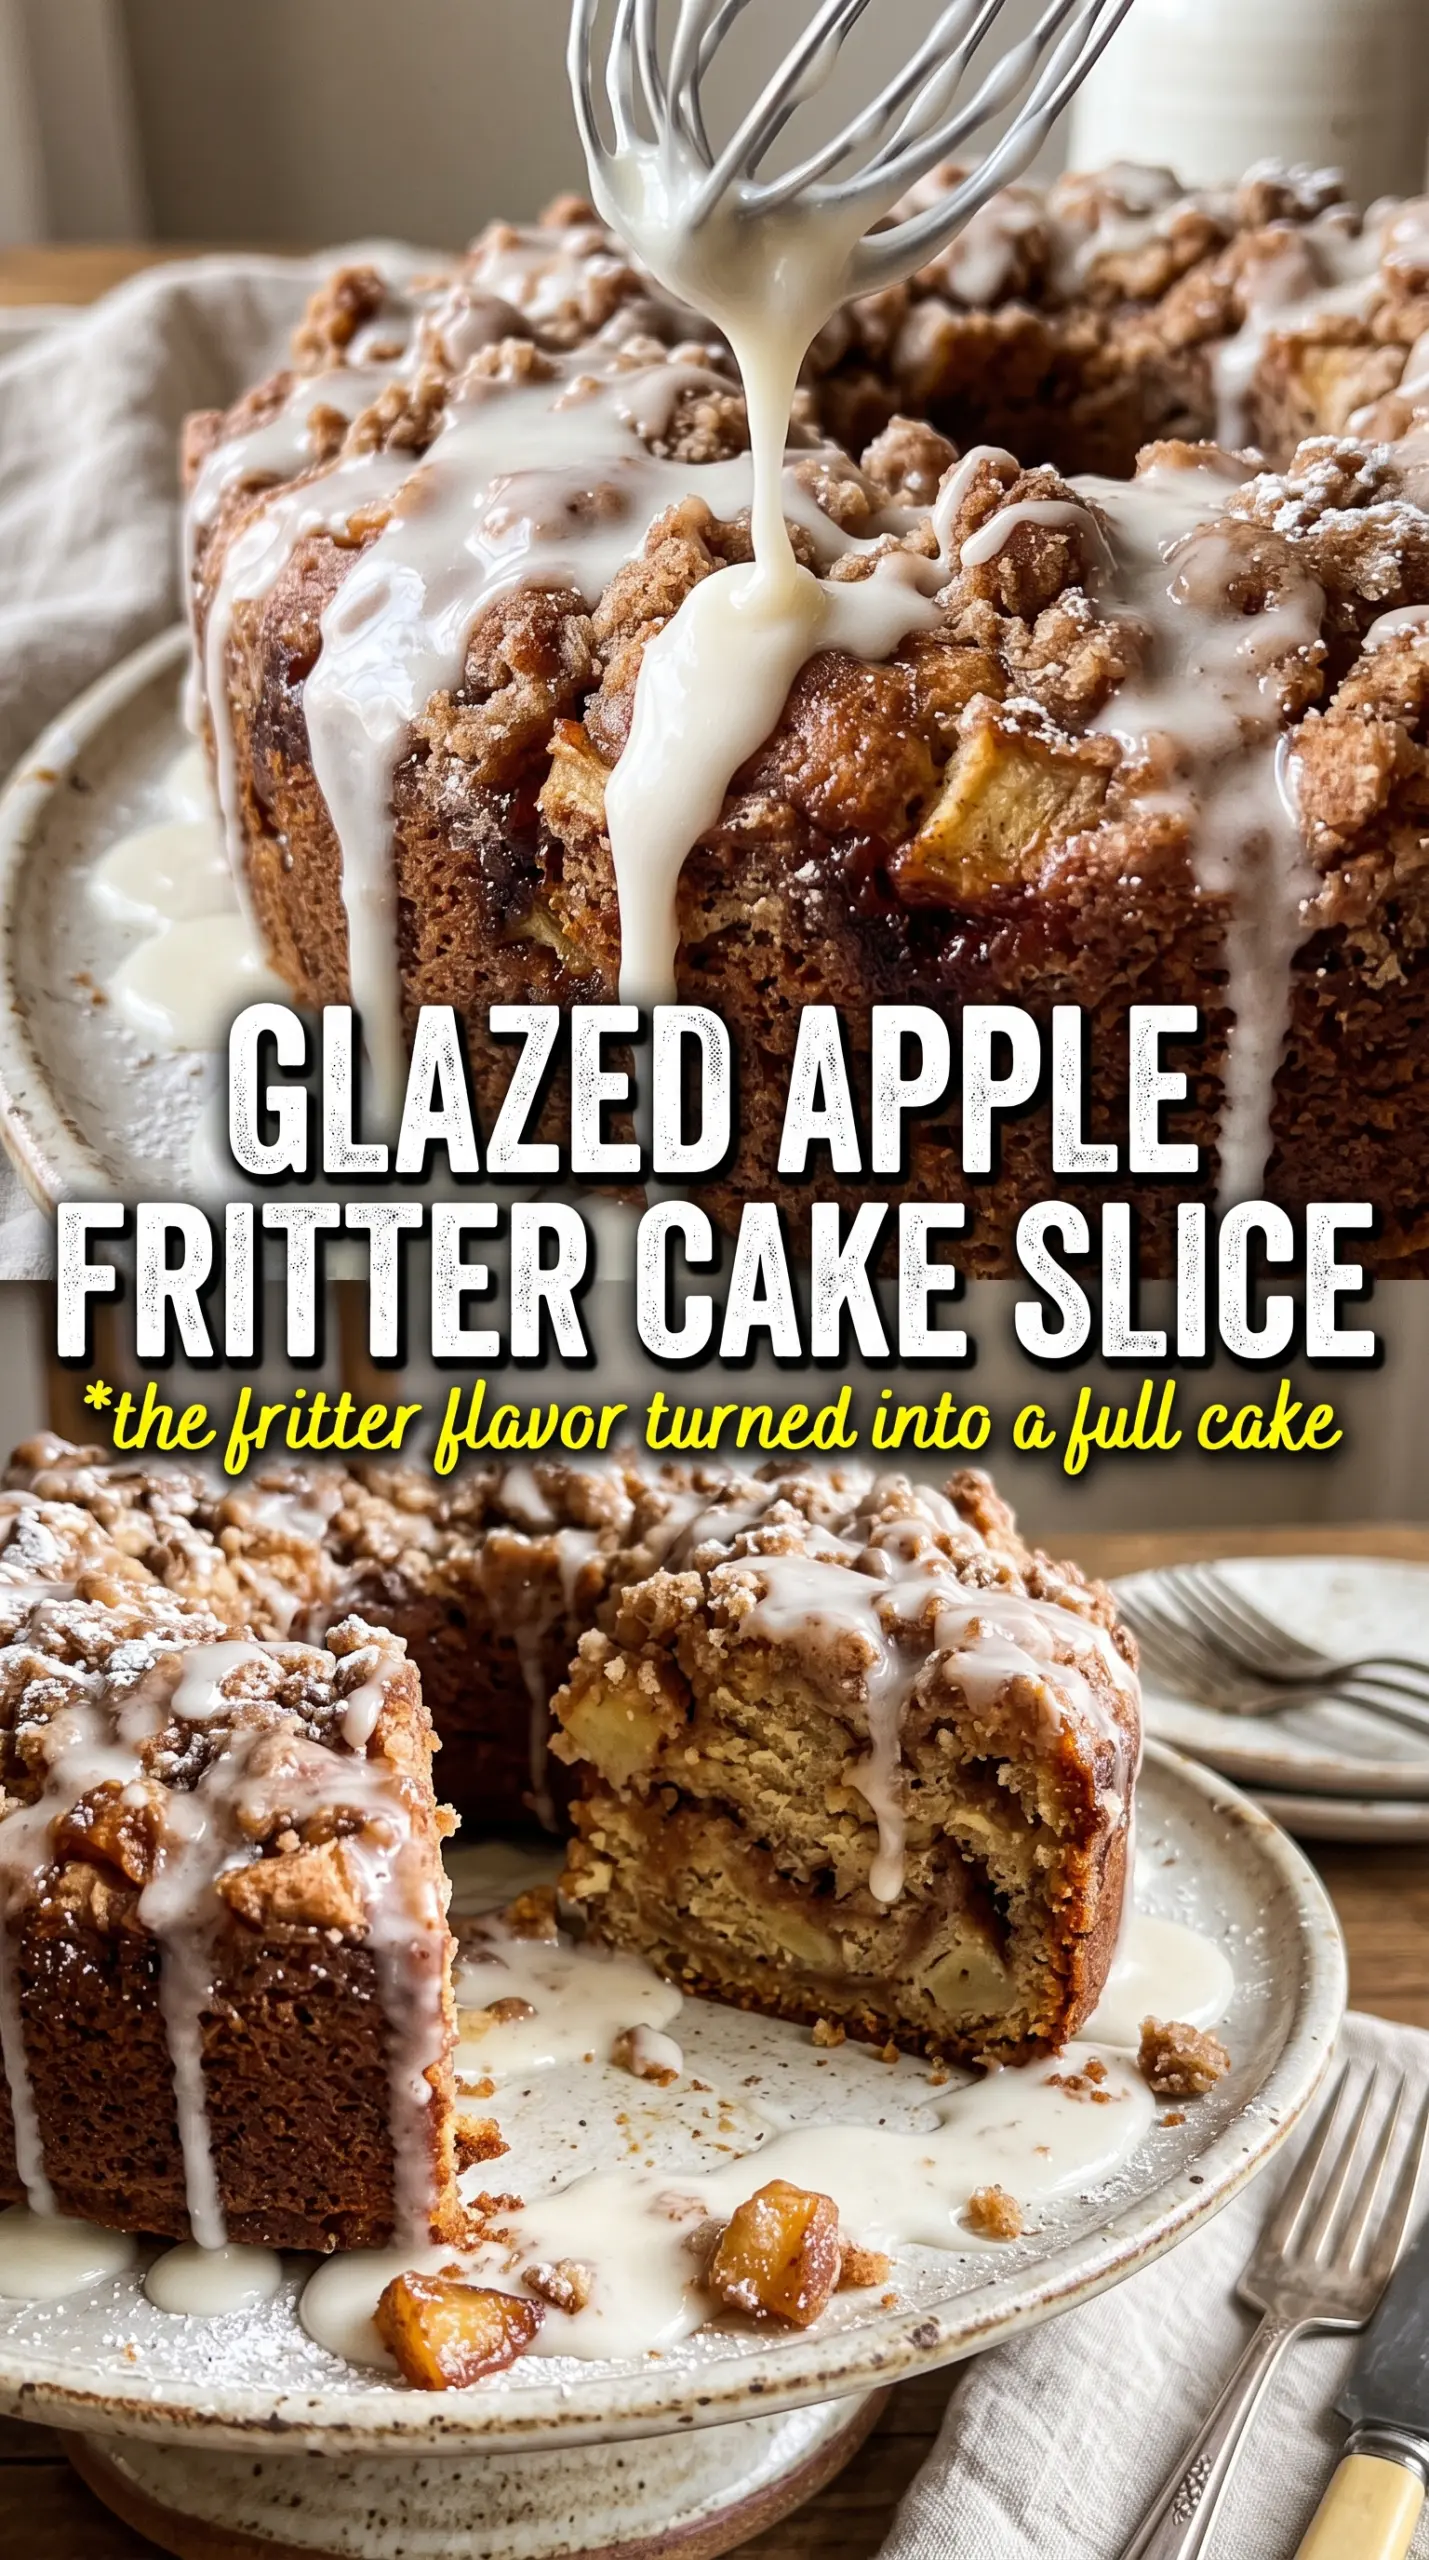
Apple fritter cake gives you all the best parts of a bakery fritter without the mess of frying: a tender, buttery crumb, pockets of soft cinnamon apples, and a sweet glaze that settles into the warm cake instead of sliding right off. The top bakes up golden and a little craggy, while the middle stays moist from the fruit and milk-based batter. It’s the kind of dessert that disappears fast because every slice has both cake and apple in the same bite.
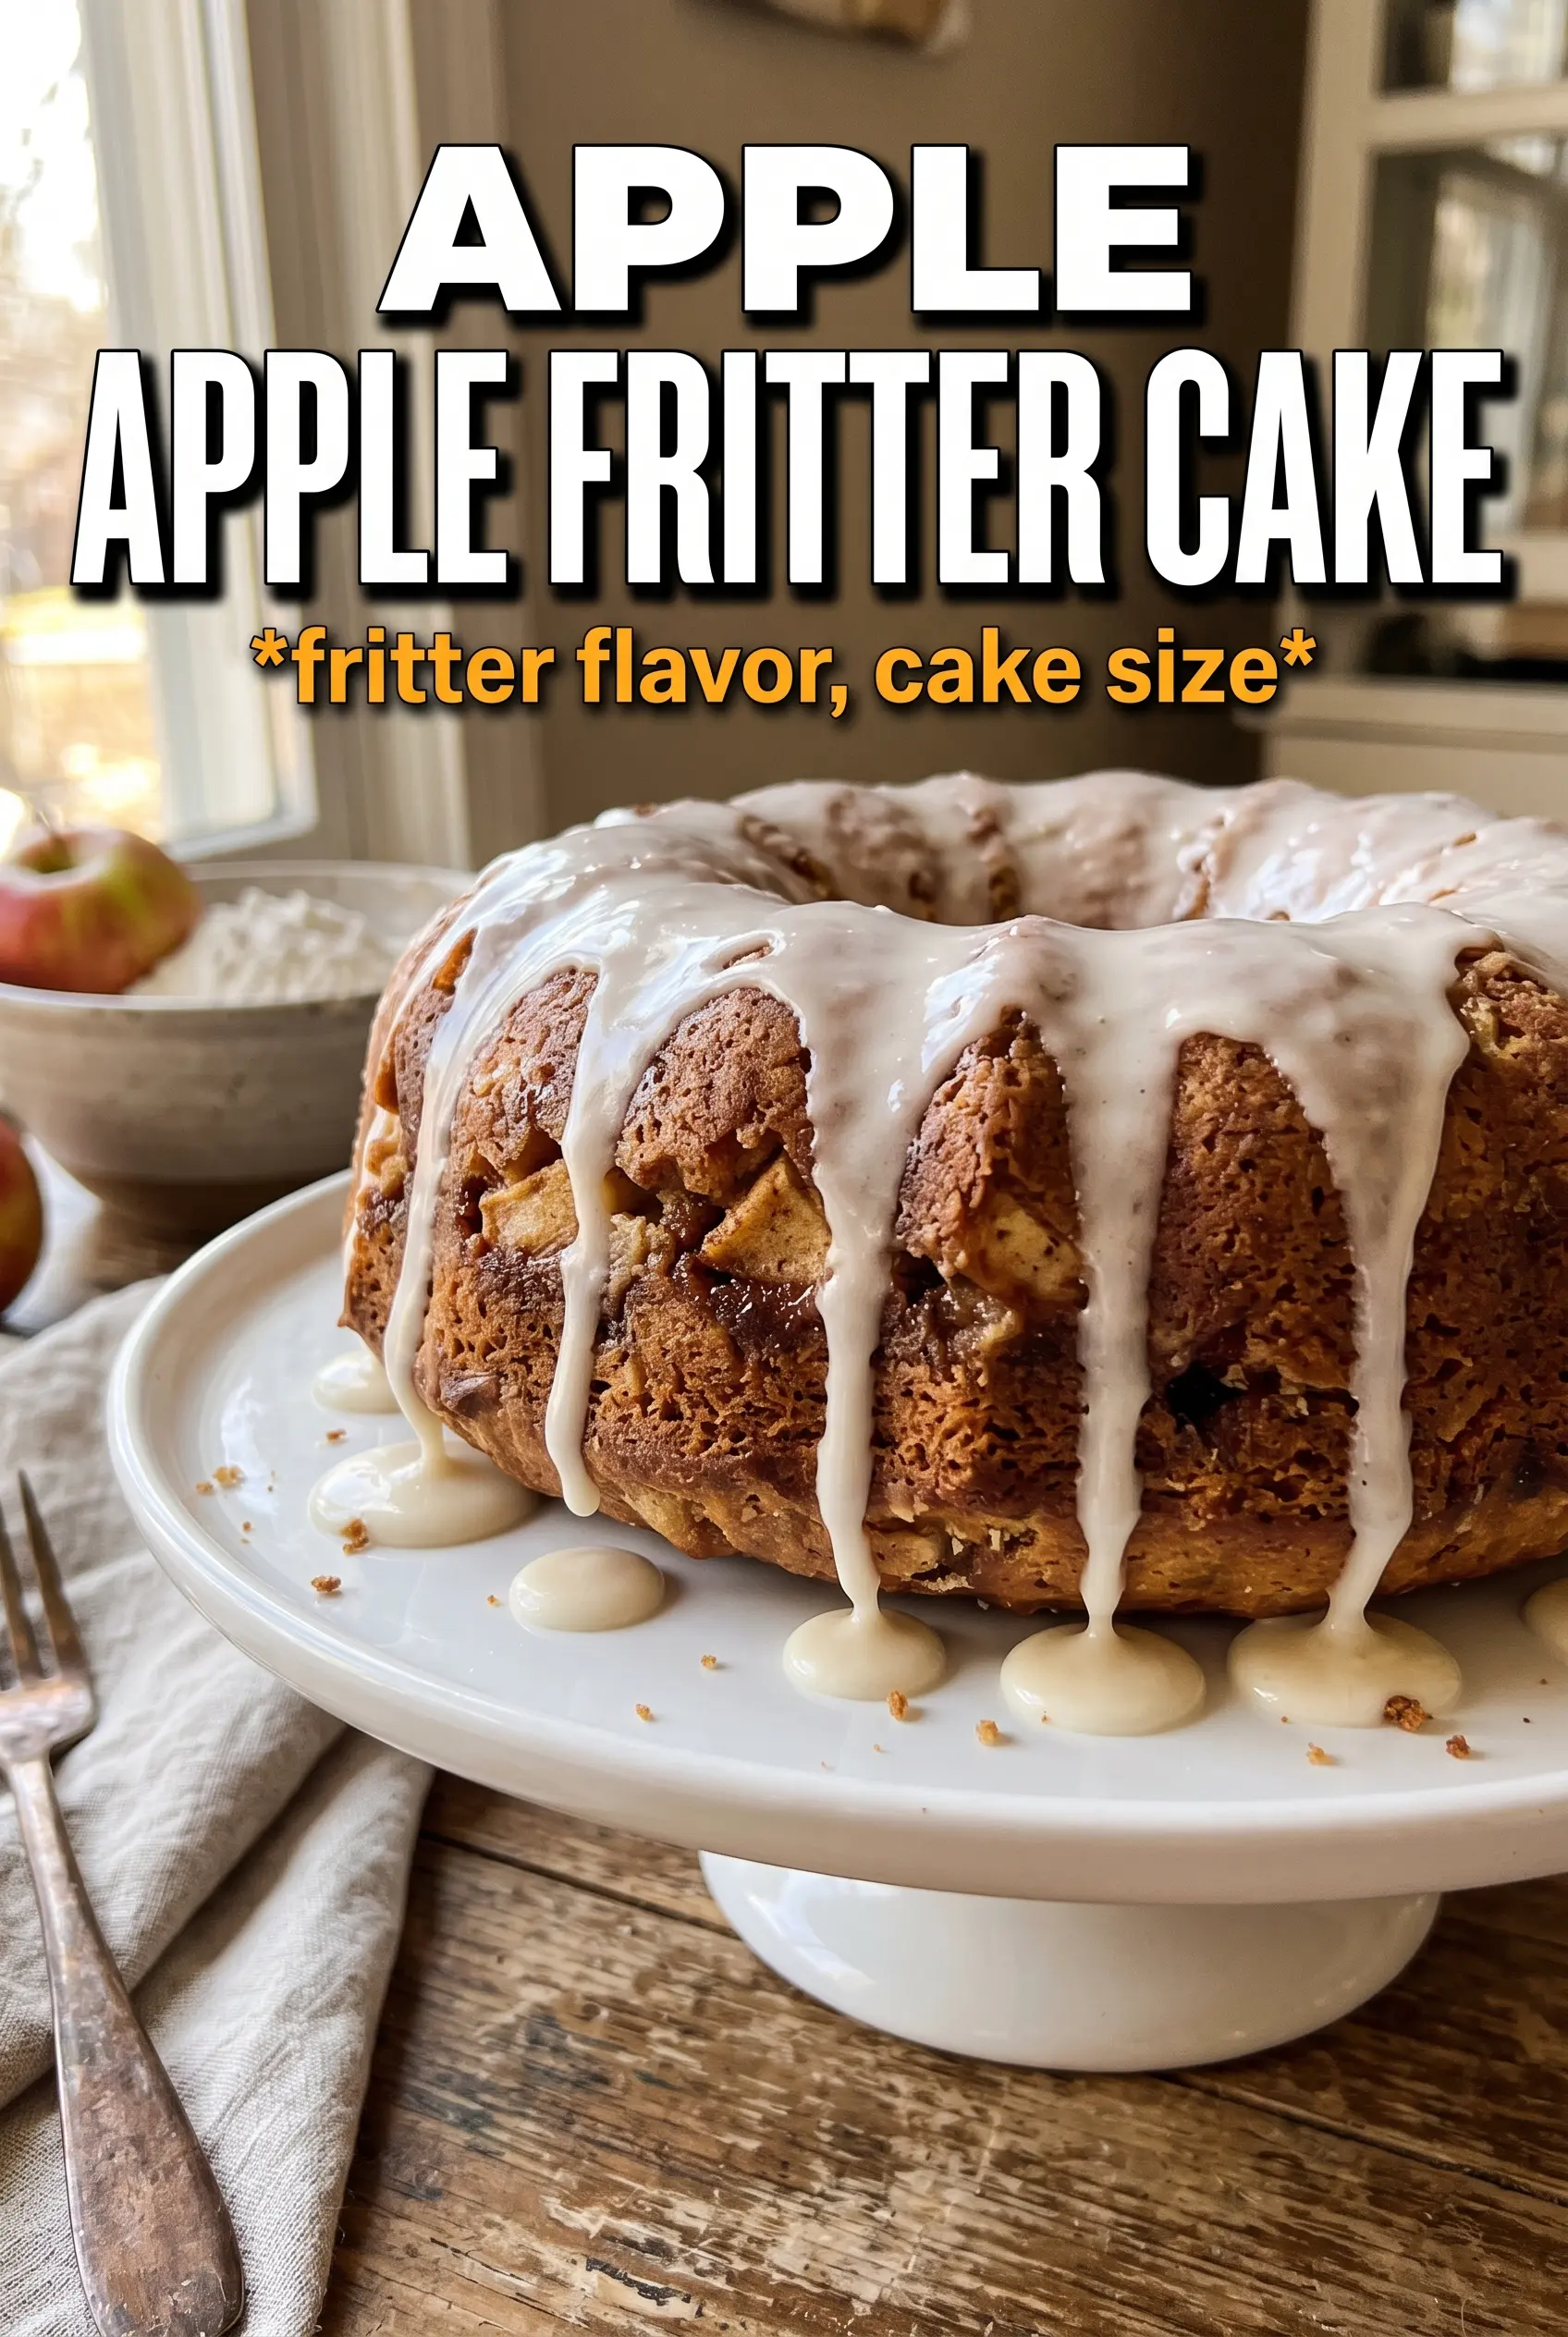
What makes this version work is the layering. Some of the apples go in the middle, some on top, and a quick swirl keeps the batter from sealing them completely inside. That means you get caramelized fruit on the surface and juicy bites throughout, not just one apple layer sitting at the bottom of the pan. The glaze stays simple on purpose; it should thin enough to drip into the ridges of the cake, not form a stiff shell.
Below, I’ll show you the best way to keep the apples from sinking, how to tell when the center is baked through, and a few smart swaps if you need to work with what’s already in your kitchen.
The apples stayed tender without turning mushy, and the cinnamon layer gave it that real fritter flavor. I baked it for 43 minutes and the glaze soaked into the top just enough.
Save this Apple Fritter Cake for the days when you want a cinnamon-apple dessert with a tender crumb and that bakery-style glaze.
The Trick to Keeping the Apples in the Cake, Not at the Bottom
The biggest mistake with apple cakes is dumping all the fruit into a loose batter and hoping for the best. Apples release moisture as they bake, and if the batter is too thin or the pieces are too large, they settle fast. This cake avoids that by using a standard butter cake base that’s sturdy enough to hold the fruit, plus a layered approach that gives the apples somewhere to stay.
Tossing the apples with brown sugar and spice before they go in does two jobs at once. It draws out a little juice, which helps create those soft, jammy pockets, and it seasons the fruit all the way through. Keep the dice small and even. Big chunks look nice for about five minutes, then they can turn the crumb uneven and make the center bake up gummy.
What the Butter, Milk, and Spices Are Each Doing Here
- Apples — Use a firm baking apple if you can, like Granny Smith, Honeycrisp, or a mix. Soft apples can work, but they collapse more during baking and give you less texture in the finished cake.
- Brown sugar — This is what turns the apple layer from plain cinnamon fruit into something that tastes cooked and caramelized. Light or dark brown sugar both work; dark gives a deeper molasses note.
- Butter — Softened butter needs to be beaten until it looks pale and fluffy before the eggs go in. That step traps air and gives the cake lift, which matters because the apples add weight.
- Whole milk — Whole milk keeps the crumb tender without watering the batter down. You can use 2% in a pinch, but the cake won’t be quite as rich.
- Powdered sugar glaze — This is best whisked just until smooth and pourable. Add the milk slowly so it doesn’t become too thin; you want it to ribbon over the top, not disappear into the cake.
Building the Batter and Apple Layers So the Cake Bakes Evenly
Start with a Fluffy Butter Base
Beat the softened butter and granulated sugar until the mixture looks lighter in color and a little billowy. That’s not just for texture; it’s what helps the cake rise around the apples instead of baking up dense. Add the eggs one at a time, then the vanilla, and stop as soon as the batter looks smooth. If the butter is too cold, the mixture will look curdled and stay lumpy, so let it sit out until it yields easily when pressed.
Alternate the Dry Ingredients and Milk
Whisk the flour, baking powder, and salt together first so the leavening is evenly spread out. Add the dry ingredients in batches, alternating with the milk, and mix only until the last streaks disappear. Overmixing at this stage can make the cake tough, especially because the apples already bring extra moisture into the pan. The batter should be thick enough to spread, not pour like pancake batter.
Layer, Swirl, and Bake
Spread half the batter into the prepared pan, then scatter half the apple mixture over it. Repeat with the remaining batter and apples, then drag a knife through the top in a loose swirl so the fruit sinks just slightly into the surface. Bake until the top is golden, the edges pull away a little, and a toothpick inserted in the center comes out clean or with a few moist crumbs. If the top browns before the center is done, lay a piece of foil over it for the last 10 minutes.
Finish with the Glaze While the Cake Is Warm
Let the cake rest for about 15 minutes before glazing. If it’s piping hot, the glaze melts straight off; if it cools completely, the glaze sits on top instead of soaking in a little. Whisk the powdered sugar, milk, and vanilla until smooth, then drizzle it in irregular lines across the cake. The glaze should look thick enough to cling but thin enough to run slowly over the ridges.
How to Adapt This Cake for Different Kitchens and Schedules
Make It Dairy-Free
Swap the butter for a plant-based stick butter and use an unsweetened non-dairy milk. The texture stays close to the original as long as you use a butter substitute meant for baking, not a soft tub spread, which can make the cake greasy.
Use a Different Apple Combination
A tart apple like Granny Smith gives the cleanest contrast to the sweet glaze, while a sweeter apple like Honeycrisp makes the fruit layer softer and more dessert-like. A 50/50 mix gives you the best balance if you like a sharper apple flavor.
Turn It Into Muffins or Snack Cake Squares
Bake the batter in lined muffin cups or a smaller square pan and start checking early, since the fruit will speed up browning. You’ll lose a little of the layered look, but you gain crisp edges and faster bake time.
Storage and Reheating
- Refrigerator: Store covered for up to 4 days. The crumb gets a little denser after chilling, but the apple layer stays moist.
- Freezer: Freeze slices well wrapped for up to 2 months. The glaze softens after thawing, but the cake itself holds up nicely if it’s wrapped before it dries out.
- Reheating: Warm individual slices in the microwave for about 15 to 20 seconds, just until the cake loses its chill. Don’t overheat it or the apples turn watery and the glaze melts away completely.
Questions I Get Asked About This Recipe
Apple Fritter Cake
Ingredients
Equipment
Method
- Preheat the oven to 350F and grease a 9x13 baking dish so the cake releases cleanly after baking.
- Toss the diced apples with brown sugar, cinnamon, and nutmeg, then set aside while you mix the batter.
- Beat the softened unsalted butter and granulated sugar until fluffy to build a lighter crumb.
- Add the eggs one at a time, then mix in the vanilla extract until smooth and glossy.
- Whisk the all-purpose flour, baking powder, and salt, then alternate adding the dry mix and whole milk to the butter mixture in batches until just combined.
- Spread half the batter into the greased 9x13 baking dish, then scatter half of the cinnamon apple mixture over the surface.
- Spread the remaining batter on top, add the remaining apples, then swirl the top with a knife for a marbled cinnamon effect.
- Bake at 350F for 40-45 minutes, until golden and a toothpick comes out clean in the center.
- Cool the cake for 15 minutes so the glaze sets without melting into the crumb.
- Drizzle the powdered sugar glaze over the warm cake in irregular stripes, then let it set before slicing.


