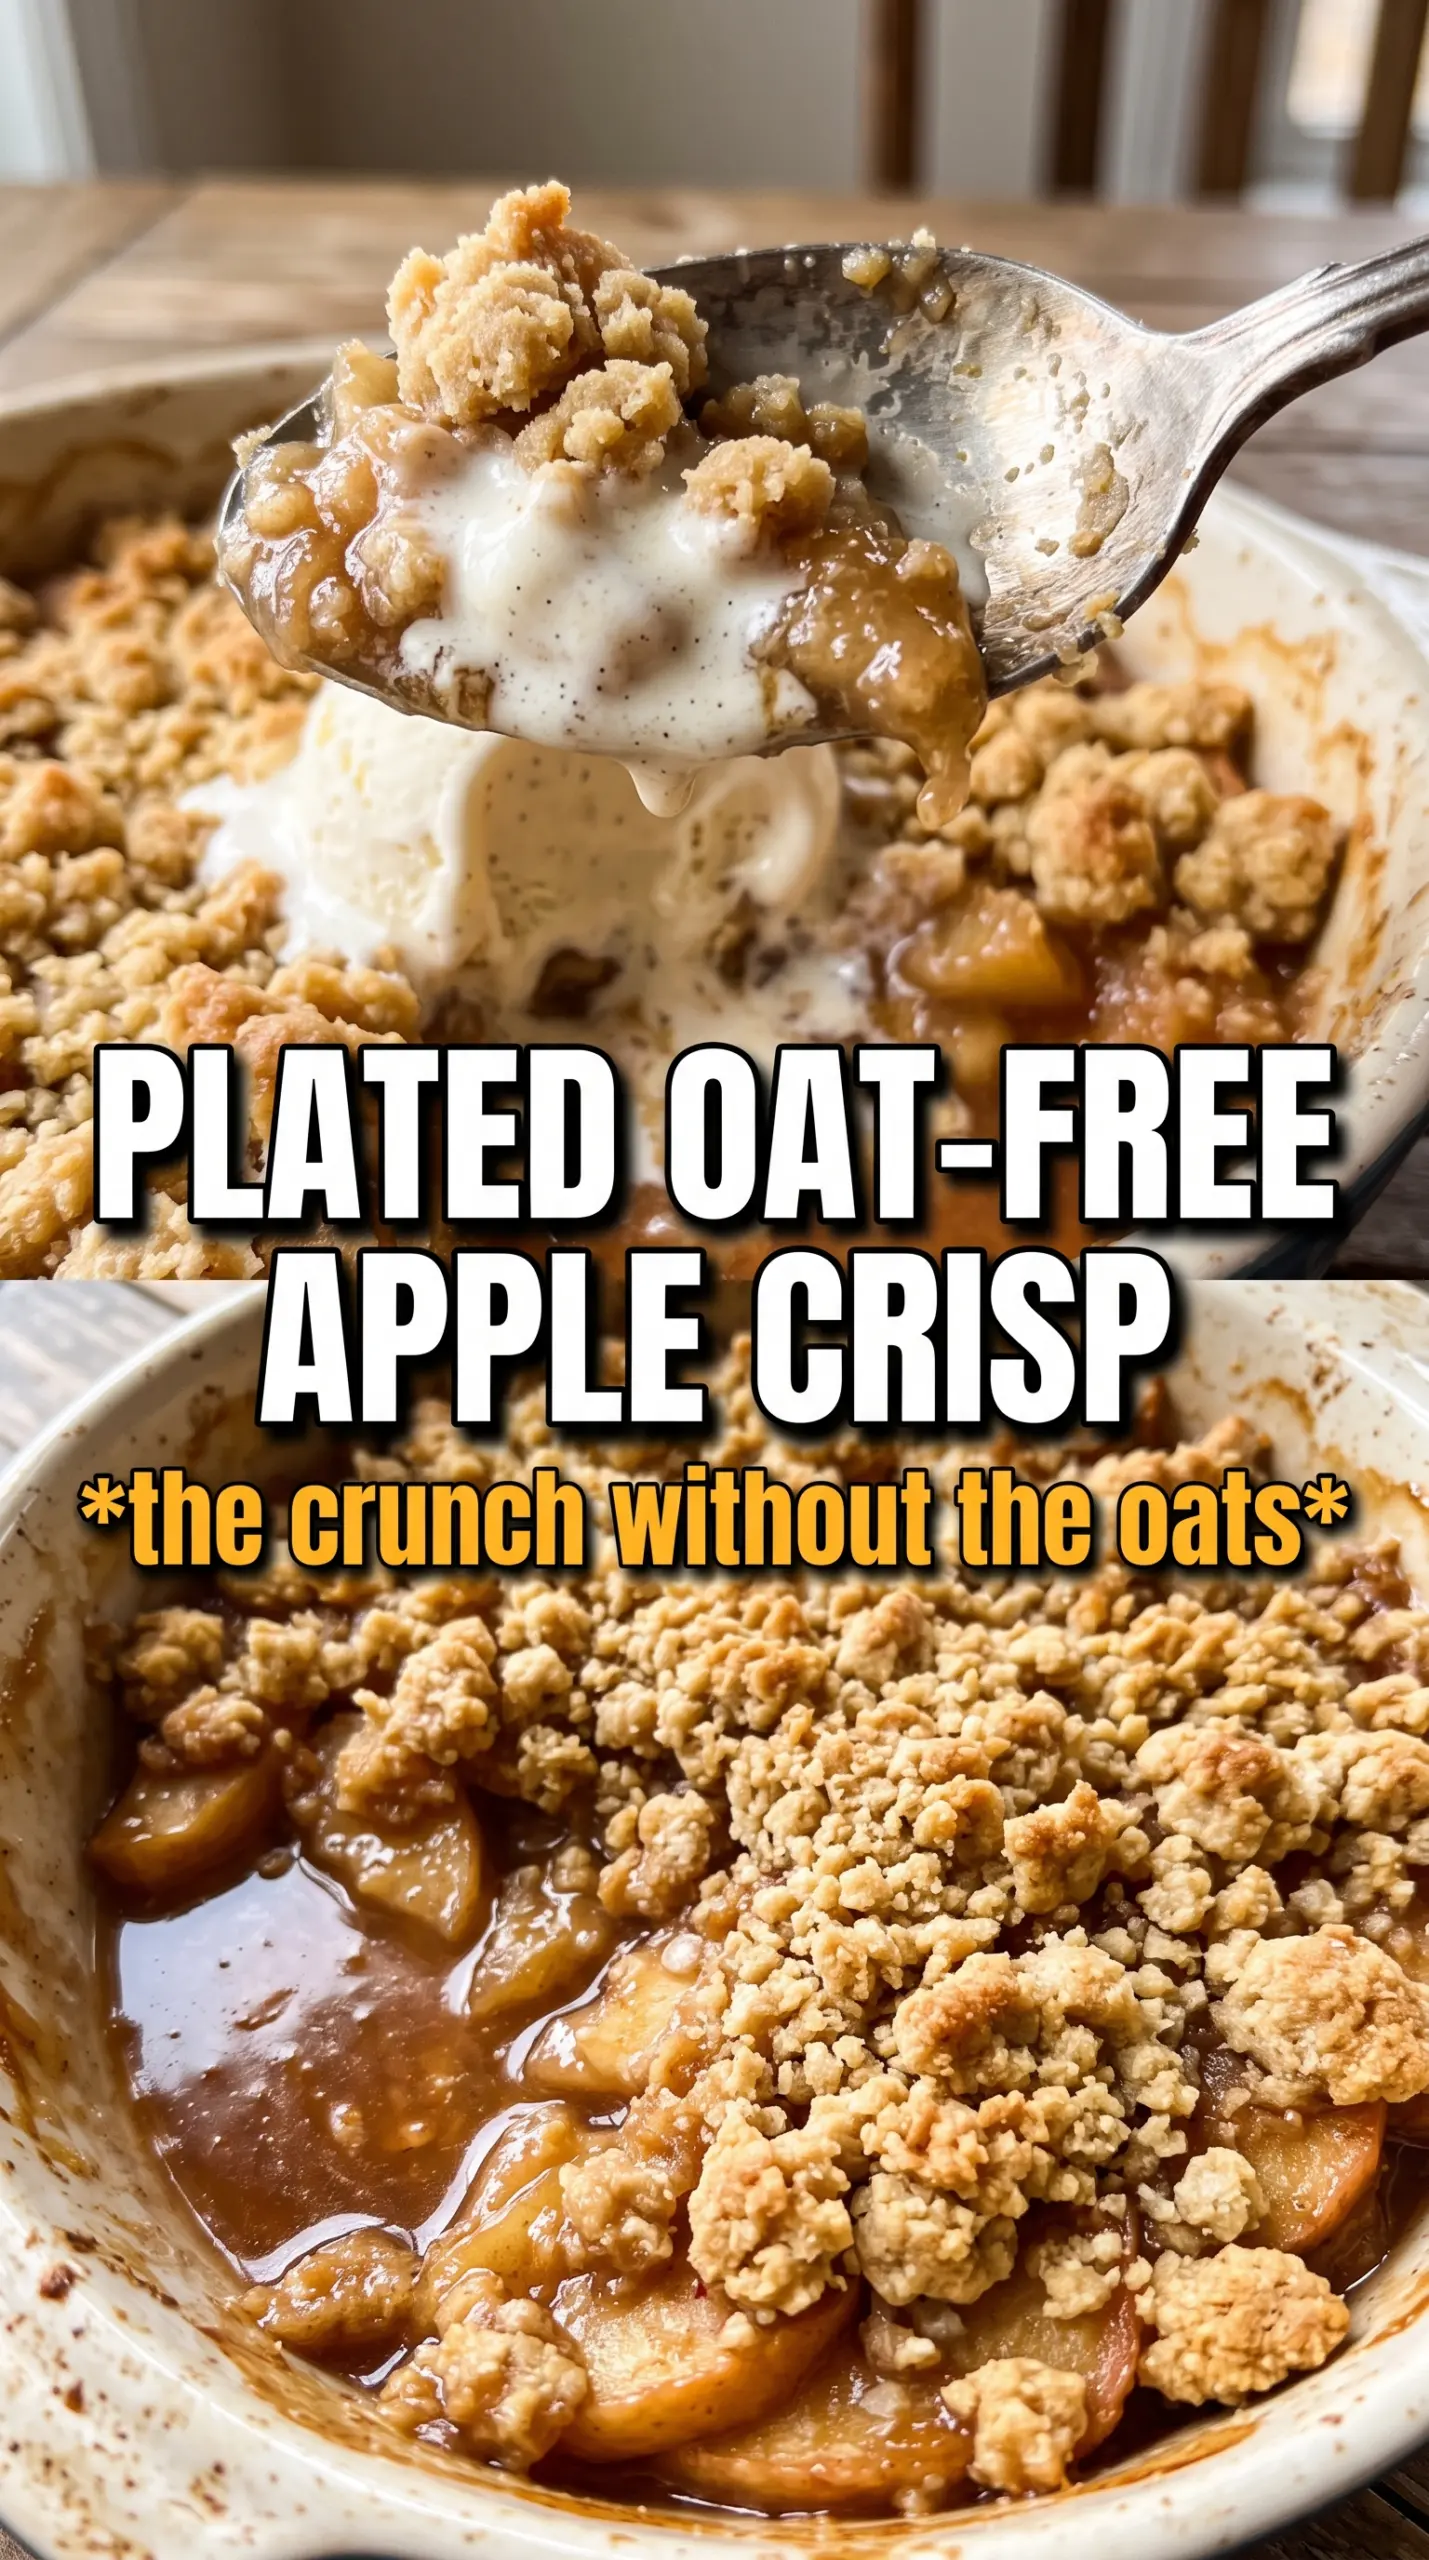
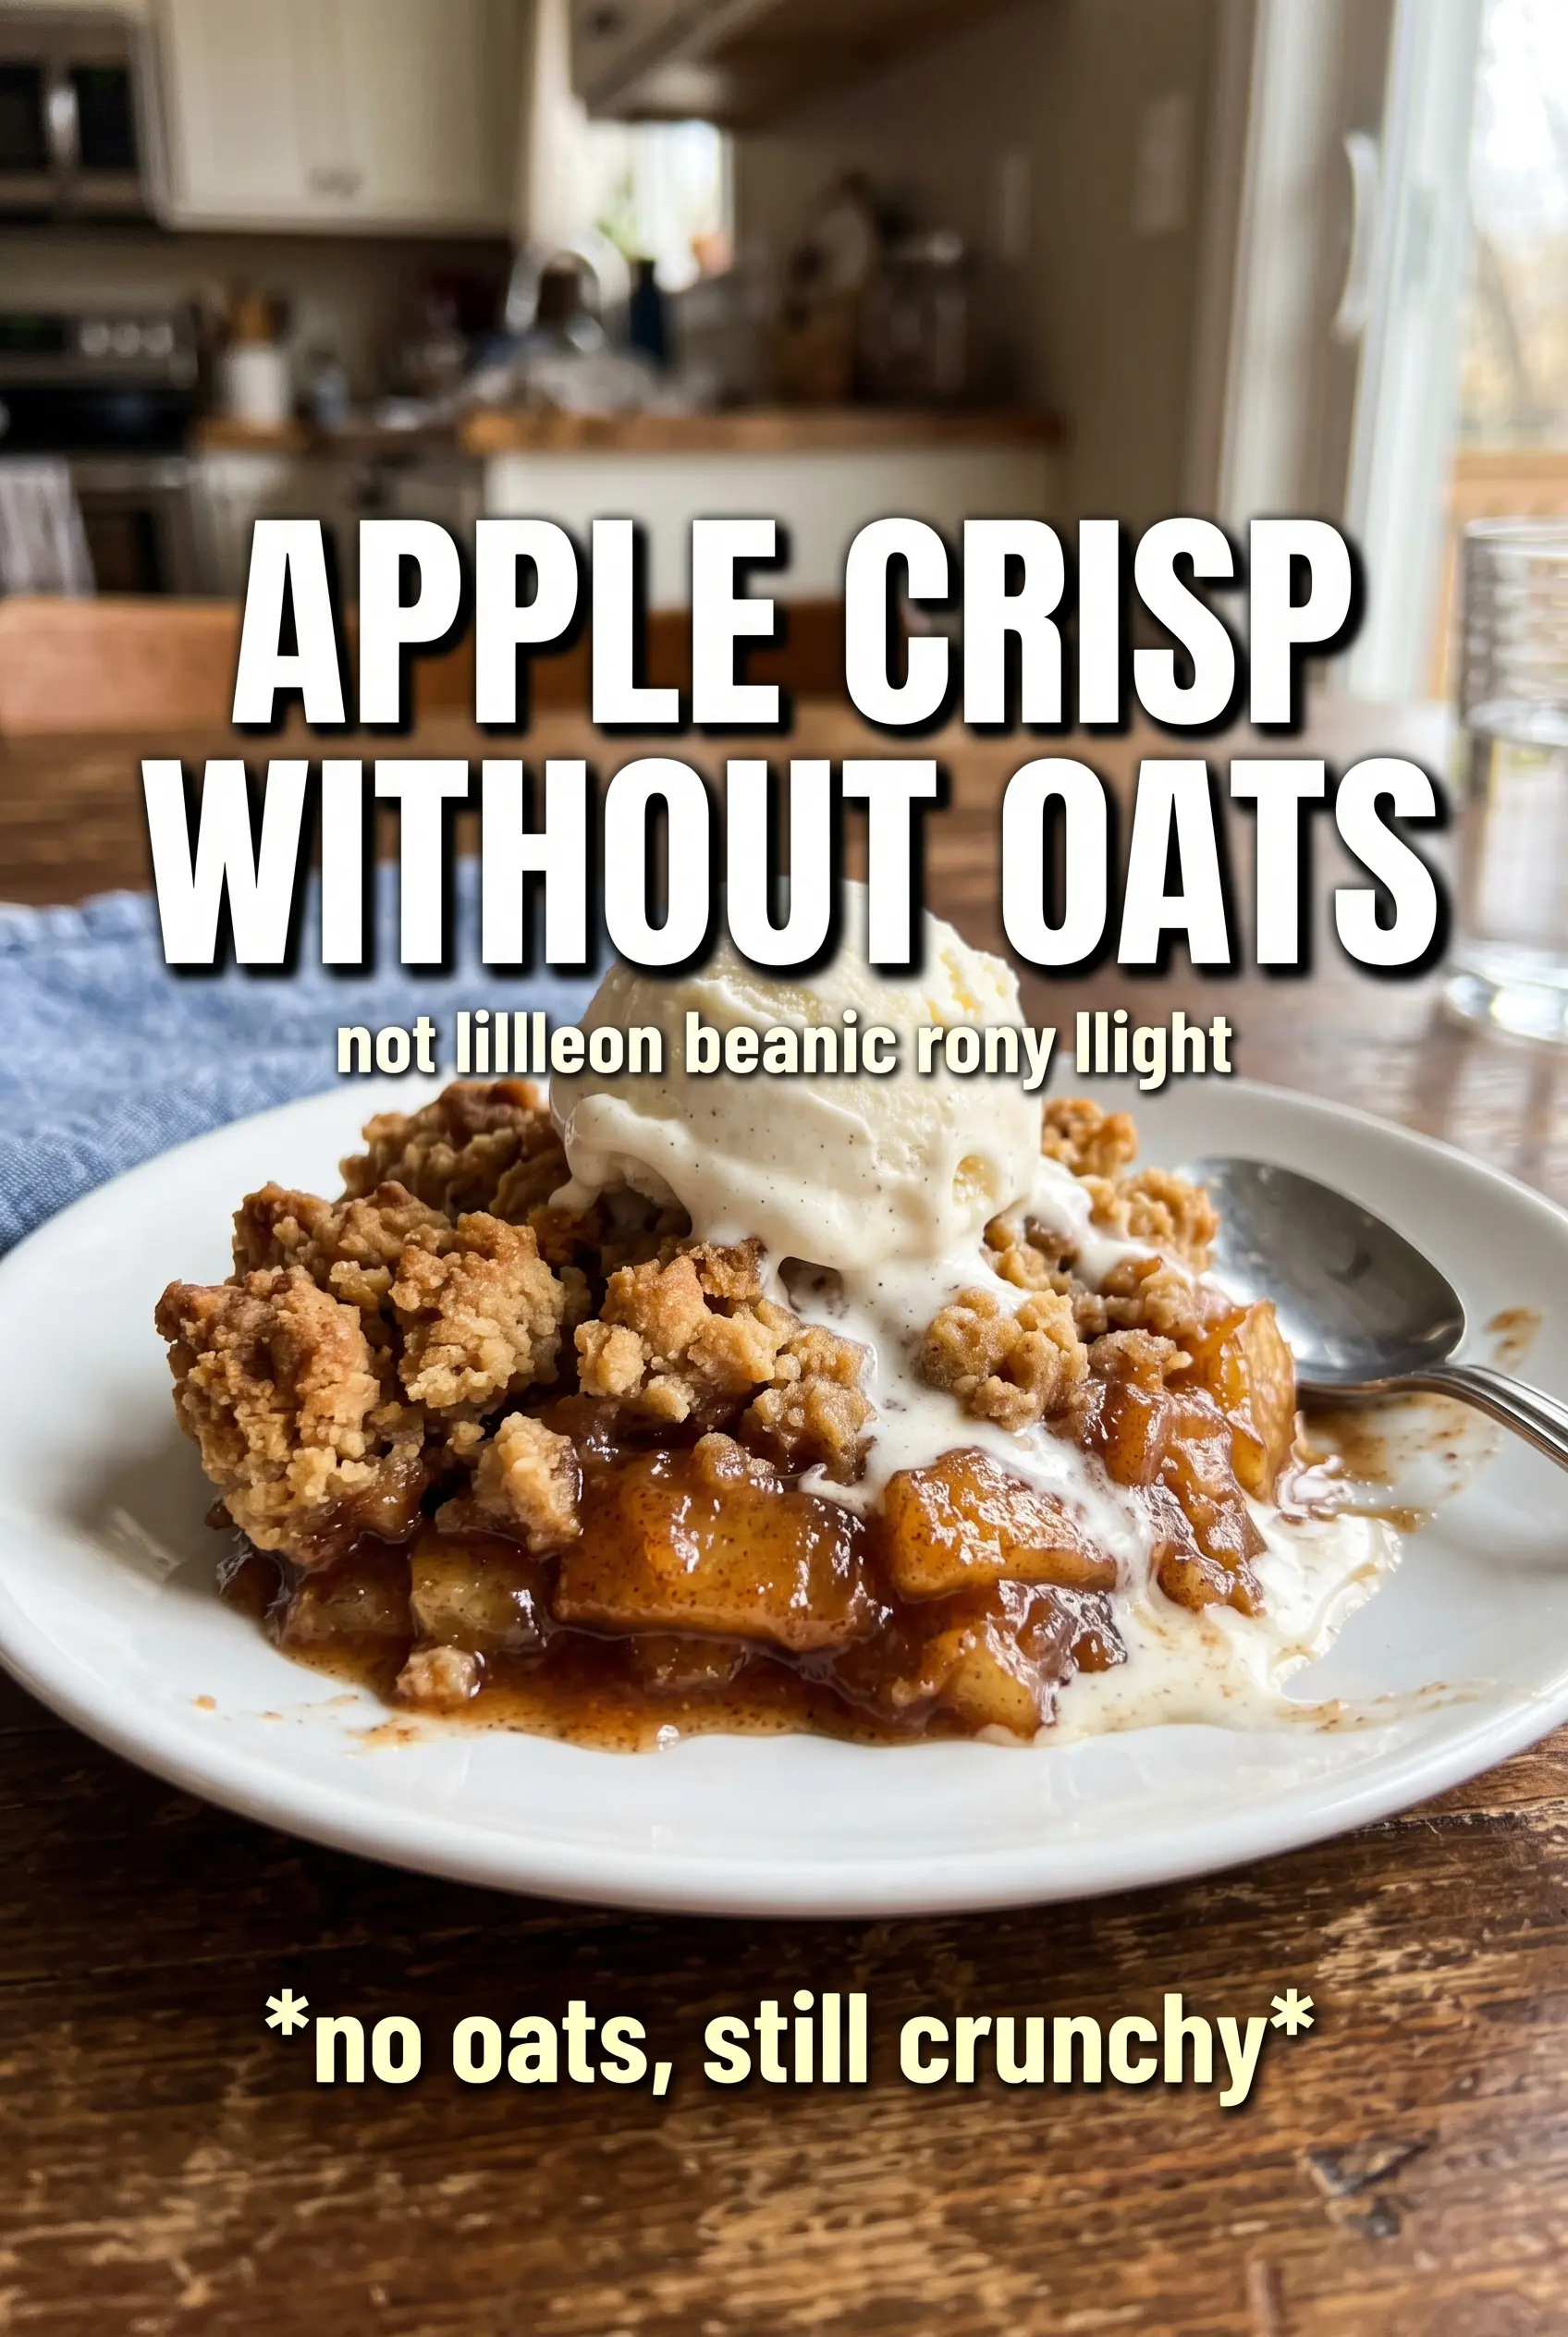
Apple crisp without oats bakes into the kind of dessert that disappears from the pan while it’s still warm. The topping turns sandy and golden with crisp little clumps that hold their shape, and the apples underneath soften into a cinnamon-spiced filling that bubbles at the edges just enough to coat every spoonful. It’s the kind of crisp that feels familiar at first bite, then wins people over because the topping stays firmly in the buttery crumb category instead of going chewy.
This version works because the crumble is built from flour, sugar, and cold butter, not oats. That means the topping can bake into a more uniform, bakery-style crust that stays crisp longer after it comes out of the oven. Cornstarch in the filling matters, too: it catches the apple juices and thickens them into a glossy sauce instead of leaving a watery pool in the dish. The apples still need to be sliced evenly so they soften at the same pace.
Below you’ll find the small details that keep the topping sandy instead of paste-like, plus a few smart swaps if you want to add nuts or adapt the crisp for a different diet. The technique is straightforward, but the texture payoff is what makes this one worth keeping.
The topping baked up crunchy all the way through, and the apple layer thickened instead of turning soupy. I used walnuts and it tasted like something from a bakery.
Save this apple crisp without oats for the nights when you want a crisp, buttery topping over thick cinnamon apples.
The Secret to a Crisp Topping That Stays Crisp Without Oats
The biggest mistake with oatless apple crisp is letting the butter melt into the flour before it hits the oven. Once that happens, you get a dense paste instead of a crumbly topping. Cold butter is what creates the sandy texture first, then those little clumps that bake into crisp, golden pockets on top of the fruit.
The other thing that matters is how much liquid the apples release. Apples vary a lot, and juicy fruit can flood the pan if you skip the cornstarch or pull it from the oven too early. You want the filling bubbling at the edges before you stop baking; that’s the sign the starch has activated and the juices have thickened enough to hold up once the crisp cools.
- Cold butter — Keep it cubed and cold until the last second. If it softens too much, the topping turns greasy and compact instead of crumbly.
- Cornstarch — This is what gives the filling body. Flour won’t thicken the juices as cleanly here, and the texture can end up cloudy or heavy.
- Even apple slices — Slice them to a similar thickness so you don’t get half-mushy, half-firm fruit in the same dish.
What Each Ingredient Is Doing in the Pan
- Apples — Use a mix of sweet and tart if you can. A blend gives the filling more depth than a single variety, but any firm baking apple will work.
- Lemon juice — It keeps the apples bright and helps balance the sugar. Don’t skip it if your apples lean sweet.
- Flour — This is the backbone of the oatless topping. All-purpose flour gives the most reliable crumb and the cleanest crisp finish.
- Brown sugar and granulated sugar — Brown sugar brings a deeper caramel note, while granulated sugar helps the topping bake drier and crisper.
- Pecans or walnuts — Optional, but they add extra crunch and a toasted edge. Chop them roughly so they distribute without turning the topping coarse and rocky.
Building the Crumble and Baking It Until the Edges Bubble
Mix the Filling First
Toss the sliced apples with sugar, cinnamon, nutmeg, cornstarch, and lemon juice until every piece is coated. The apples should look lightly glossy, not wet and syrupy. Spread them in an even layer in the greased baking dish so the topping can cover the fruit without sinking into one deep mound.
Cut the Butter Into Sandy Clumps
Combine the flour, sugars, spices, and salt, then cut in the cold butter until the mixture looks like damp sand with a few larger clumps. Those larger pieces are important; they bake into the crunchier bits people always go after first. If the mixture turns smooth and dough-like, the butter was too warm or overworked.
Bake Until the Fruit Is Actively Bubbling
Scatter the crumble evenly over the apples, then bake at 375°F until the top is golden and the filling bubbles around the edges, 40 to 45 minutes. Don’t stop when the topping looks brown enough; the bubbling is what tells you the filling has thickened. Let it rest for 10 minutes before serving so the juices settle instead of running everywhere when you scoop it.
How to Adapt This for Different Pans, Nuts, or No-Dairy Needs
Make it nut-free
Leave out the pecans or walnuts and the crisp still works exactly as written. You’ll lose a little extra crunch, but the topping stays crisp because the flour and butter are doing the main work.
Dairy-free version
Swap the butter for a firm plant-based baking stick, not a soft tub spread. You need a fat that stays cold and cuts into the flour cleanly; otherwise the topping can bake up greasy and flat.
Make it ahead for a dinner party
Assemble the crisp up to the point of baking, cover it, and refrigerate for a few hours. The topping may need a few extra minutes in the oven straight from the fridge, and the filling should still be bubbling before you pull it out.
Use a deep dish without overflow
A 9×13 dish gives the apples room to soften without crowding the topping. If your baking dish is slightly smaller and deeper, set it on a sheet pan to catch any bubbling juices.
Storage and Reheating
- Refrigerator: Store covered for up to 4 days. The topping softens a bit, but it still tastes great.
- Freezer: Freeze baked crisp in a tightly wrapped dish for up to 2 months, or freeze the unbaked assembled crisp and bake from frozen with extra time.
- Reheating: Warm in a 325°F oven until the filling is hot and the topping crisps back up. The microwave will heat the apples, but it turns the crumble soft.
Questions I Get Asked About This Recipe
Apple Crisp Without Oats
Ingredients
Equipment
Method
- Preheat the oven to 375°F and grease a 9x13 baking dish.
- Make sure the baking dish is coated so the filling and crumble release cleanly after baking.
- Toss the apple slices with granulated sugar, cinnamon, nutmeg, cornstarch, and lemon juice until evenly coated, then spread them in the prepared dish.
- Arrange the apples in an even layer so the top bakes uniformly and bubbles appear across the surface.
- Combine the flour, both sugars, cinnamon, nutmeg, and salt, then cut in the cold cubed butter until the mixture forms large sandy clumps.
- The crumble is ready when you can pinch it and it holds together in chunky pieces rather than turning smooth.
- If using nuts, stir them into the crumble, then scatter the crumble evenly over the apples.
- Bake for 40-45 minutes at 375°F until the topping is golden and the filling bubbles at the edges.
- Rest the apple crisp for 10 minutes after baking so the juices thicken and the crumble stays crisp.
- Serve warm with vanilla ice cream.


