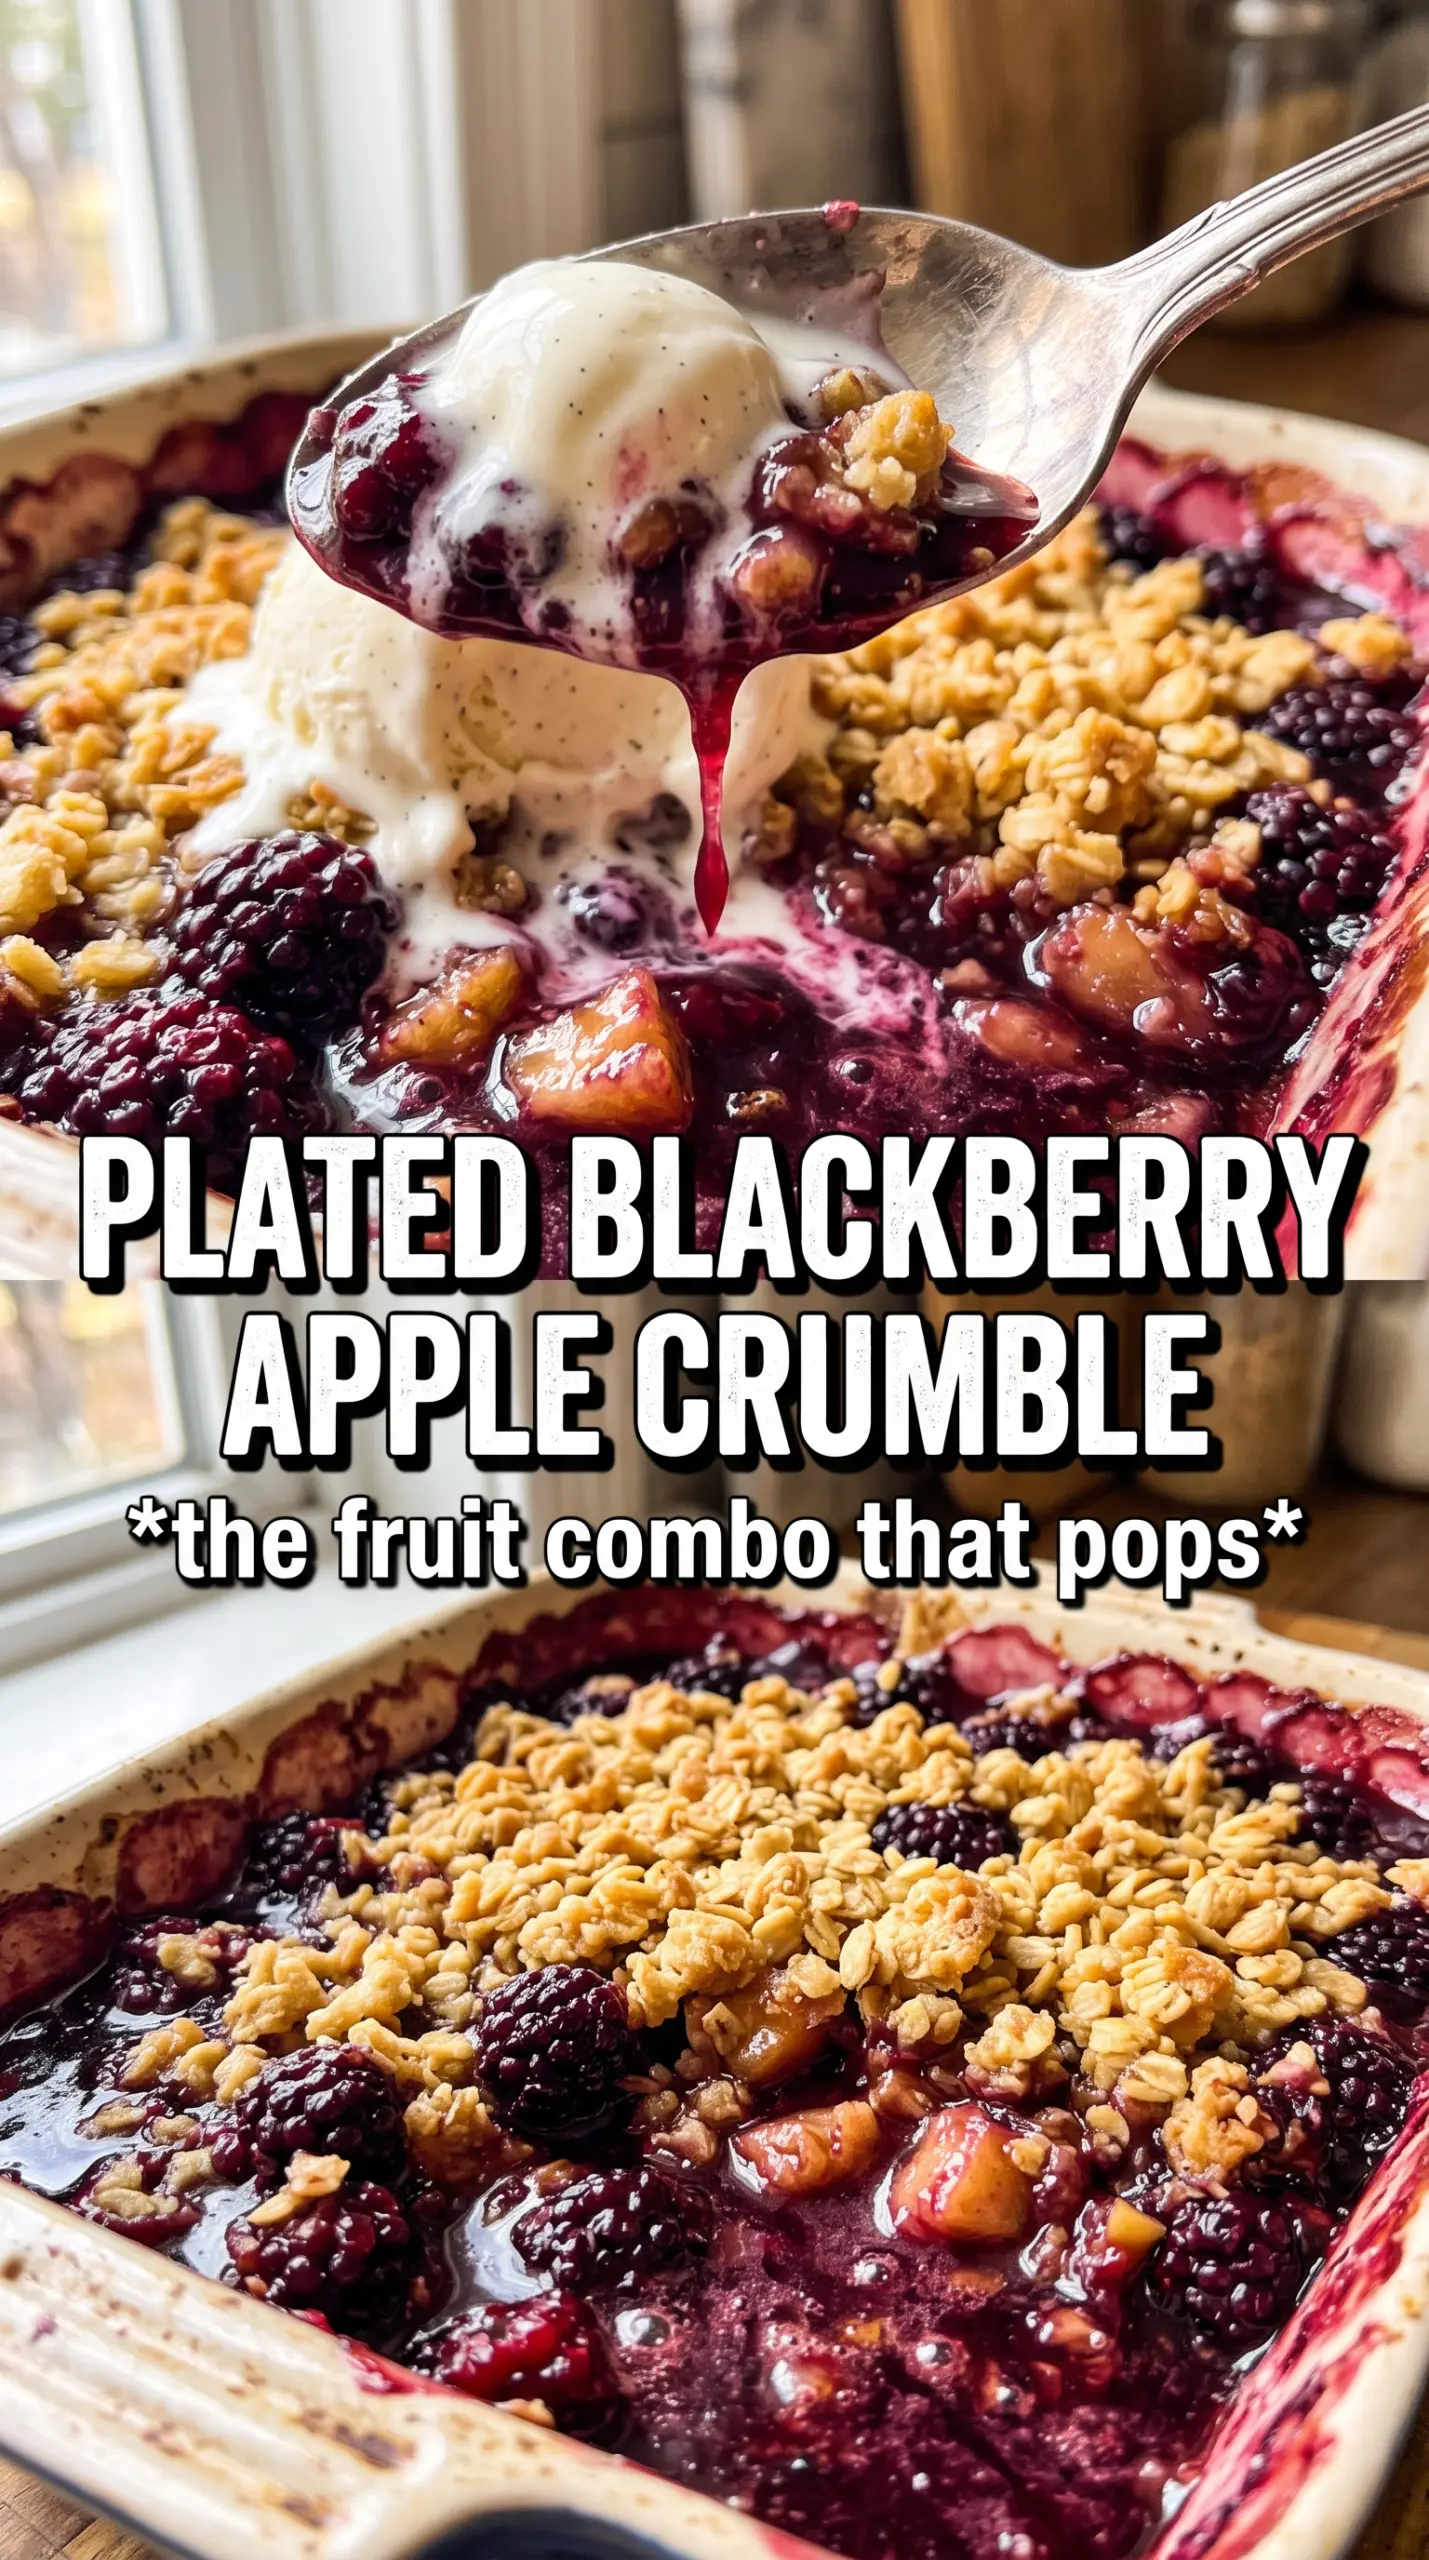
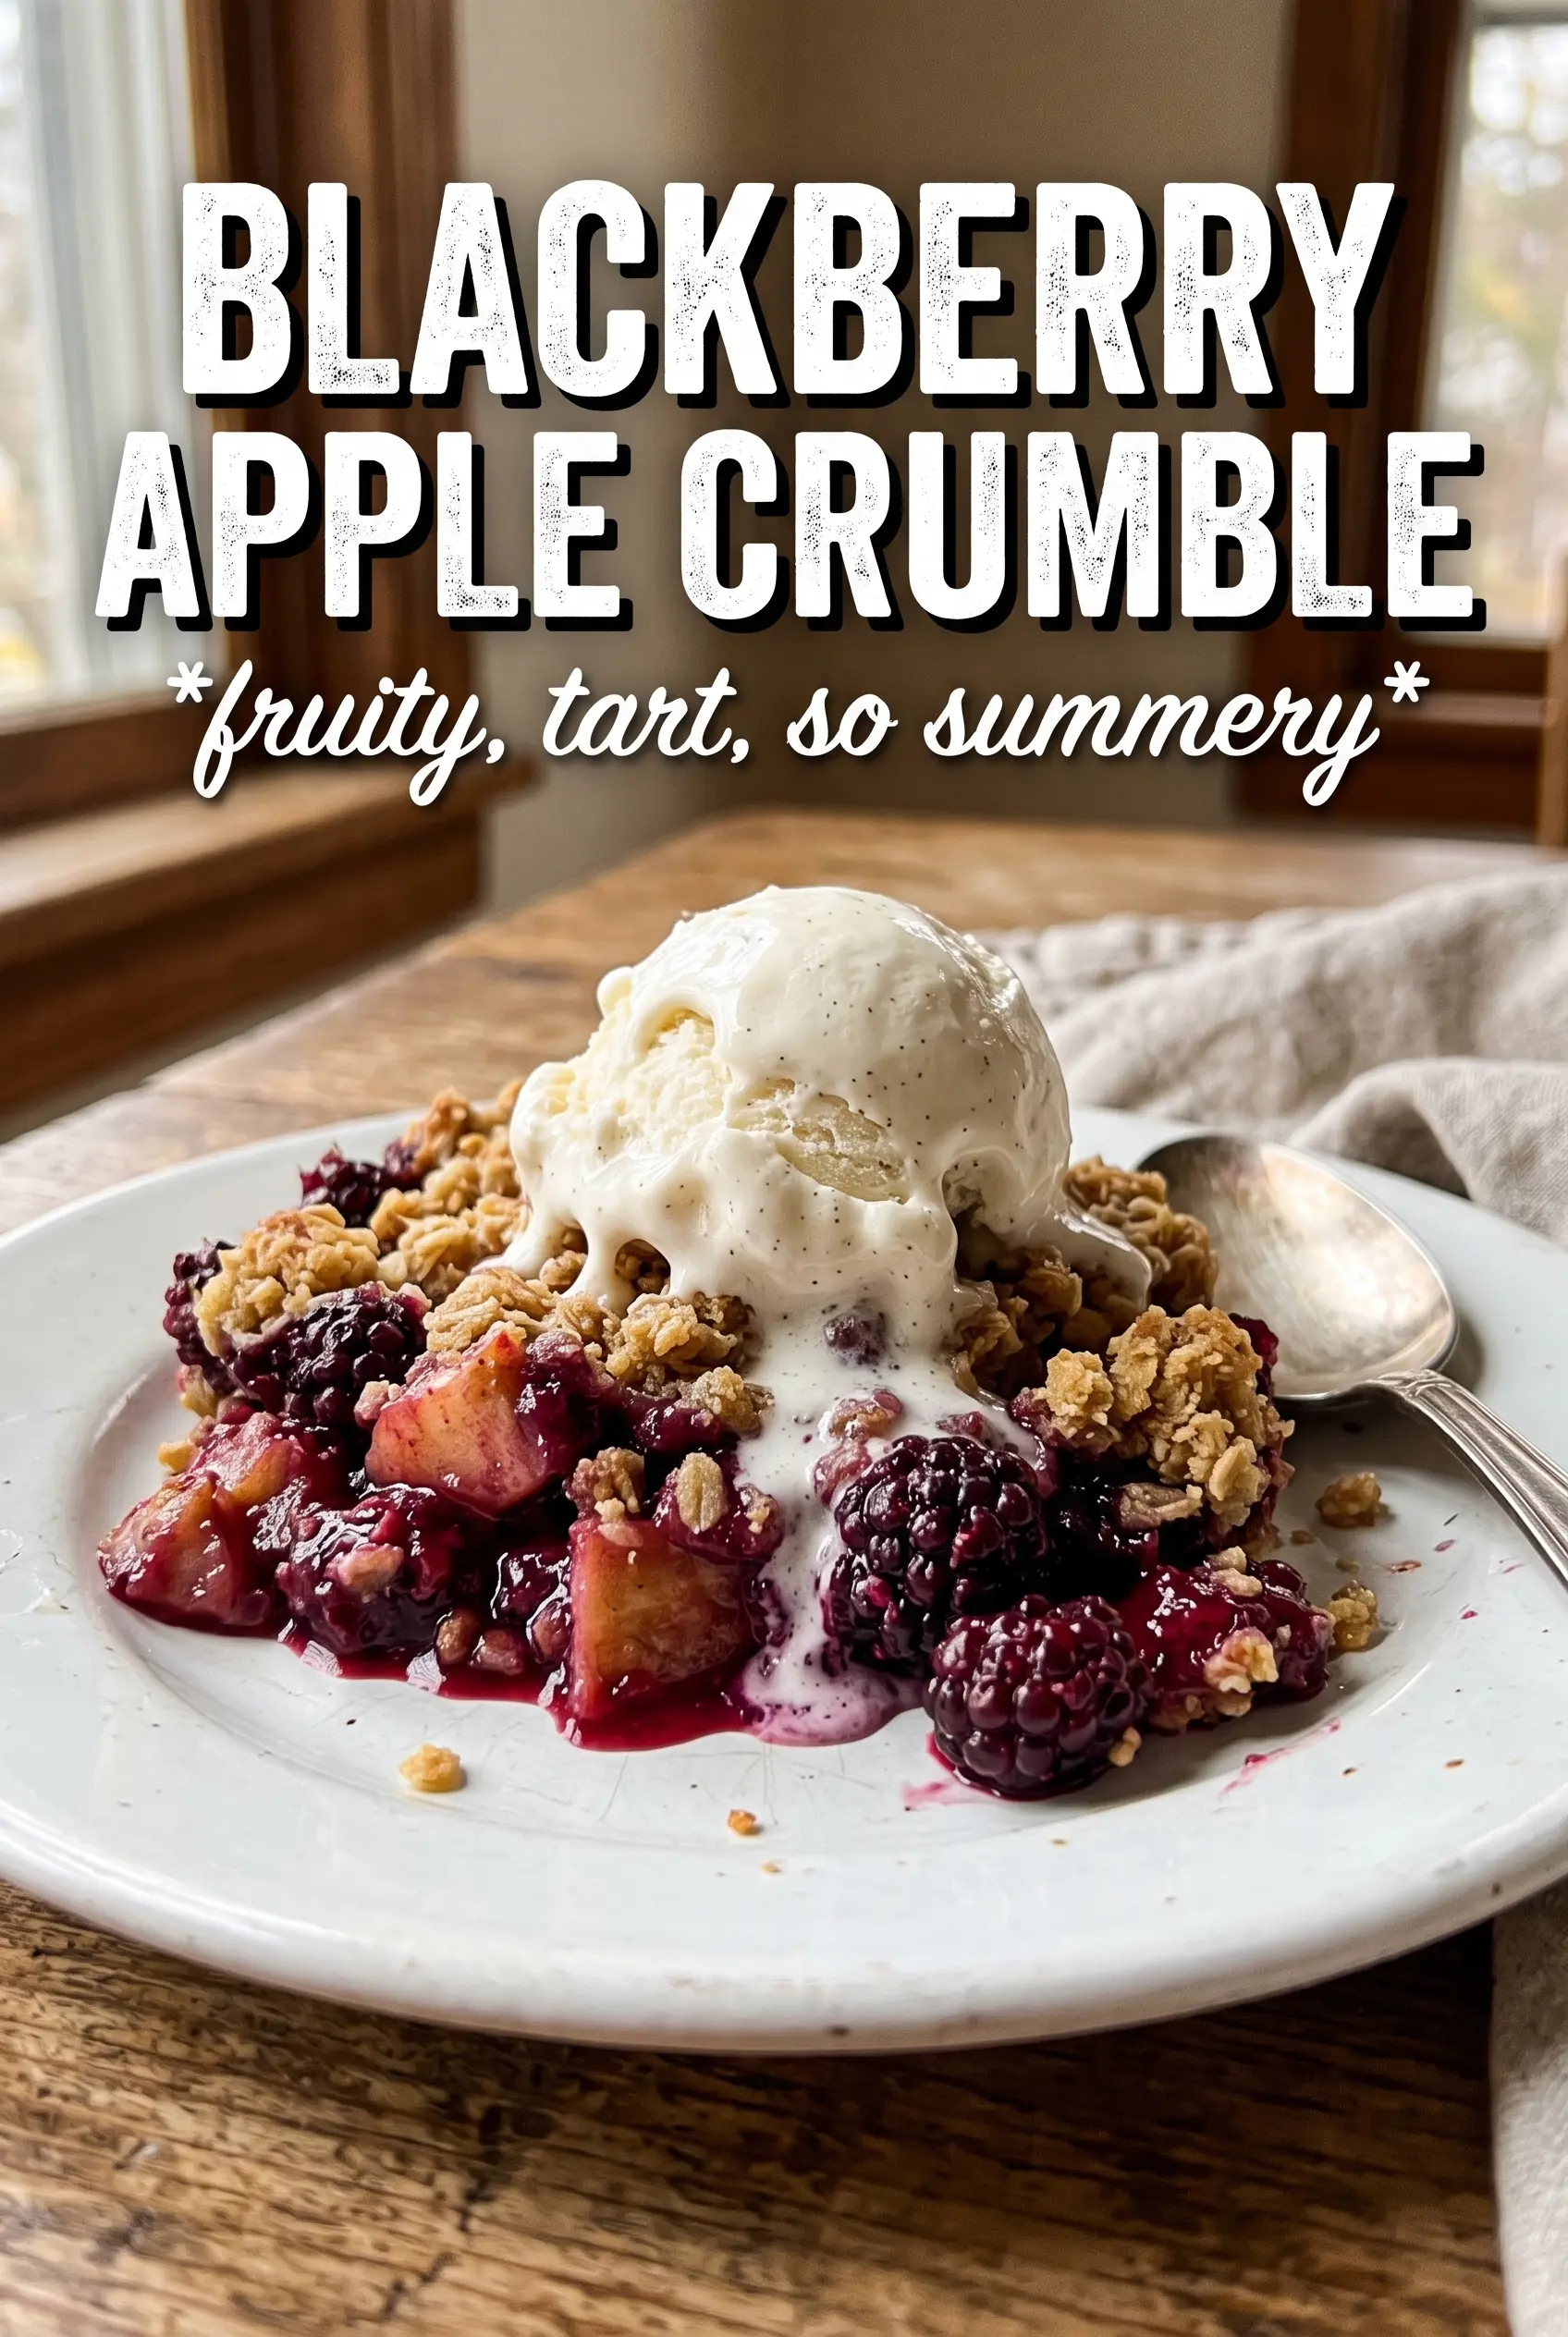
Blackberry apple crumble lands with that rare mix of juicy, jammy fruit and a topping that bakes up crisp at the edges and buttery in the middle. The blackberries turn the filling a deep purple-red, the apples soften without disappearing, and every spoonful gets a little bit of syrup from the fruit bubbling up underneath. It’s the kind of dessert that disappears fast because it tastes like more work than it actually is.
The trick is keeping the fruit filling lightly thickened, not overloaded with starch, so it stays glossy instead of turning pasty. A little lemon juice brightens the apples and keeps the blackberries from tasting flat, while the cold butter in the crumble gives you those uneven golden nuggets that are the best part of the dish. I also like using oats in the topping because they keep the texture open and rough instead of sandy.
Below you’ll find the little details that matter most: how to keep the topping crisp, when to bake a few minutes longer, and what to do if your berries are especially juicy. Once you’ve made it once, it’s the kind of dessert you can pull together without thinking.
The filling bubbled up around the edges and thickened just right, and the oat topping stayed crisp even after we served it with ice cream. I used frozen blackberries and it still came out perfect.
Save this blackberry apple crumble for the nights when you want bubbling fruit and a crisp oat topping with almost no fuss.
The Trick to Keeping the Fruit Thick, Not Watery
Blackberries and apples both give off a lot of juice as they bake, and that’s where crumble can go wrong. If the filling is under-thickened, you get a puddle at the bottom of the dish and a topping that softens before the fruit is done. Cornstarch solves that here, but only if the fruit gets a full bake at a steady 375F so the juices actually come to a bubble and activate it.
The other mistake is cutting the apples too thin. Thin slices break down too fast and disappear into the blackberries before the topping has time to brown. Keep them sliced evenly so you get soft apple pieces that still hold their shape and give the filling some structure.
- Bubbling matters — the filling needs to actively bubble around the edges before you pull it from the oven, or the cornstarch won’t fully thicken.
- Even apple slices — aim for slices that are thin enough to soften in 40 minutes but thick enough to stay distinct.
- Resting time — those 10 minutes after baking aren’t optional; the filling sets up as it cools a little.
What Each Ingredient Is Actually Doing in This Crumble
- Apples — they give the crumble its body. A firmer baking apple holds up best, but standard grocery-store apples still work as long as you don’t slice them paper-thin.
- Blackberries — these bring the tart, jammy part of the filling. Fresh or frozen both work; frozen berries don’t need to be thawed first, and using them straight from the freezer keeps the juices from running everywhere before baking.
- Cornstarch — this is the ingredient that turns fruit juice into a glossy sauce instead of a thin puddle. There isn’t a perfect substitute here, so if you swap it for flour, expect a cloudier, heavier filling.
- Cold butter — the butter has to stay cold so the topping bakes into craggy clumps instead of melting into a paste. If it starts getting soft while you work, chill the bowl for 10 minutes before baking.
- Rolled oats — they keep the topping crisp and textured. Quick oats will work in a pinch, but the crumble will be finer and less nubby.
Building the Crumble So It Bakes Crisp on Top
Coating the Fruit First
Toss the apples and blackberries with the sugar, cornstarch, lemon juice, and cinnamon until everything looks evenly glossy. You want the fruit coated, not swimming in a wet bowl of syrup. Spread it in the baking dish right away so the cornstarch doesn’t sink to the bottom and clump.
Cutting the Butter In
Work the cold butter into the flour, oats, brown sugar, cinnamon, and salt until the mixture looks like coarse rubble with some pea-size bits left behind. Those uneven pieces are what give you a crisp, craggy top. If you overmix and the topping turns sandy, it will bake up dense instead of crumbly.
Baking Until the Edges Bubble
Scatter the topping evenly over the fruit, then bake until the top is deeply golden and the filling is bubbling up at the sides. The color on top matters, but the bubbles matter more. If the top browns before the fruit is active underneath, cover it loosely with foil for the last few minutes and keep baking until the filling moves.
Serving It at the Right Moment
Let the crumble sit for 10 minutes before serving so the juices settle and spoon out instead of flooding the plate. It should still be warm enough to melt cream or ice cream on contact. If you serve it straight from the oven, the filling will run and the layers won’t hold together as well.
How to Adapt This for Different Kitchens and Different Diets
Make it dairy-free
Swap the butter for a firm plant-based baking block, not a soft tub spread. You’ll still get a crisp topping, but the flavor will be a little less rich, so the cinnamon and fruit brightness matter even more.
Use frozen blackberries without thawing
Frozen berries go straight into the filling mix. Don’t thaw them first or they’ll leak too much liquid before the crumble even hits the oven, which can make the base watery.
Make it gluten-free
Use a 1:1 gluten-free flour blend in the topping and certified gluten-free oats. The texture will be a touch more delicate, but the crumble still bakes up well if you keep the butter cold and don’t pack the topping down.
Add a sharper fruit note
Swap one of the apples for a tart variety, or add a pinch more lemon juice. That keeps the blackberry flavor from turning overly sweet and gives the finished dessert a cleaner edge.
Storage and Reheating
- Refrigerator: Store covered for up to 4 days. The topping softens a bit, but the flavor stays good.
- Freezer: It freezes well after baking. Cool completely, wrap tightly, and freeze for up to 2 months.
- Reheating: Warm in a 325F oven until heated through and the top crisps back up. The microwave will make the crumble soft, which is the main thing to avoid here.
Questions I Get Asked About This Recipe
Blackberry Apple Crumble
Ingredients
Equipment
Method
- Preheat the oven to 375°F and grease a 9x13 baking dish.
- Toss the apple slices and blackberries with granulated sugar, cornstarch, lemon juice, and cinnamon, then spread the mixture in the dish.
- Combine the flour, rolled oats, brown sugar, cinnamon, and salt, then cut in the cold butter until clumpy.
- Scatter the crumble topping over the fruit, making an even layer.
- Bake for 35 to 40 minutes, until the topping is golden and the fruit is bubbling at the edges.
- Rest the crumble for 10 minutes before serving so the juices thicken slightly.
- Serve with double cream or vanilla ice cream.


