Dumpling ramen bowl lands in that perfect middle ground between comforting and fast: the broth tastes like it simmered much longer than it did, the dumplings turn the bowl into a full meal, and the soft-boiled egg gives every bite a little richness. It’s the kind of dinner that feels layered and satisfying without asking for a long ingredient list or a pile of dishes.
What makes this version work is the way each part is handled on its own. The broth gets seasoned first so the miso can dissolve evenly and stay clean-tasting, the dumplings cook directly in the soup so they pick up flavor as they heat through, and the noodles are cooked separately so they stay springy instead of turning gummy. That little bit of extra care is what keeps this bowl from feeling muddy or overcooked.
Below, I’ve included the timing details that matter most, plus a few smart swaps if you want to adjust the bowl for what you have on hand.
The broth tasted restaurant-worthy and the dumplings stayed tender instead of falling apart. I loved that the noodles were cooked separately because they didn’t soak up all the broth before we sat down.
Save this dumpling ramen bowl for nights when you want a glossy miso broth, springy noodles, and a quick dinner that eats like takeout.
The Miso Broth Needs Gentle Heat, Not a Hard Boil
The biggest mistake in a bowl like this is boiling the broth after the miso goes in. High heat dulls the miso and can make the broth taste flat or a little harsh. A gentle simmer keeps the broth clean and savory, and it gives the dumplings enough time to heat through without bursting their wrappers.
Cooking the noodles separately matters just as much. Ramen releases starch quickly, and if it sits in the broth too long it turns the whole bowl cloudy and heavy. Keeping the noodles out of the pot until serving gives you that fresh, bouncy texture that makes each spoonful feel lively instead of soft and swollen.
- Chicken broth — Use a broth you’d actually drink on its own. A weak broth stays weak even after the miso and soy sauce go in, so this is one place where a better carton pays off.
- White miso paste — This brings the deep savory backbone. Stir it into warm broth with a whisk or spoon until it disappears completely; if you add it to aggressively boiling liquid, it can clump and lose some of its roundness.
- Frozen dumplings — Frozen is perfect here. They go straight into the broth from the freezer, which keeps the filling juicy and saves time. If you use larger dumplings, give them the full end of the cook time and test one before serving.
- Fresh ramen noodles — Fresh noodles have the best chew for this bowl, but dried ramen works in a pinch. The key is draining them well so they don’t water down the broth in the bowl.
What Each Ingredient Is Actually Doing in This Recipe
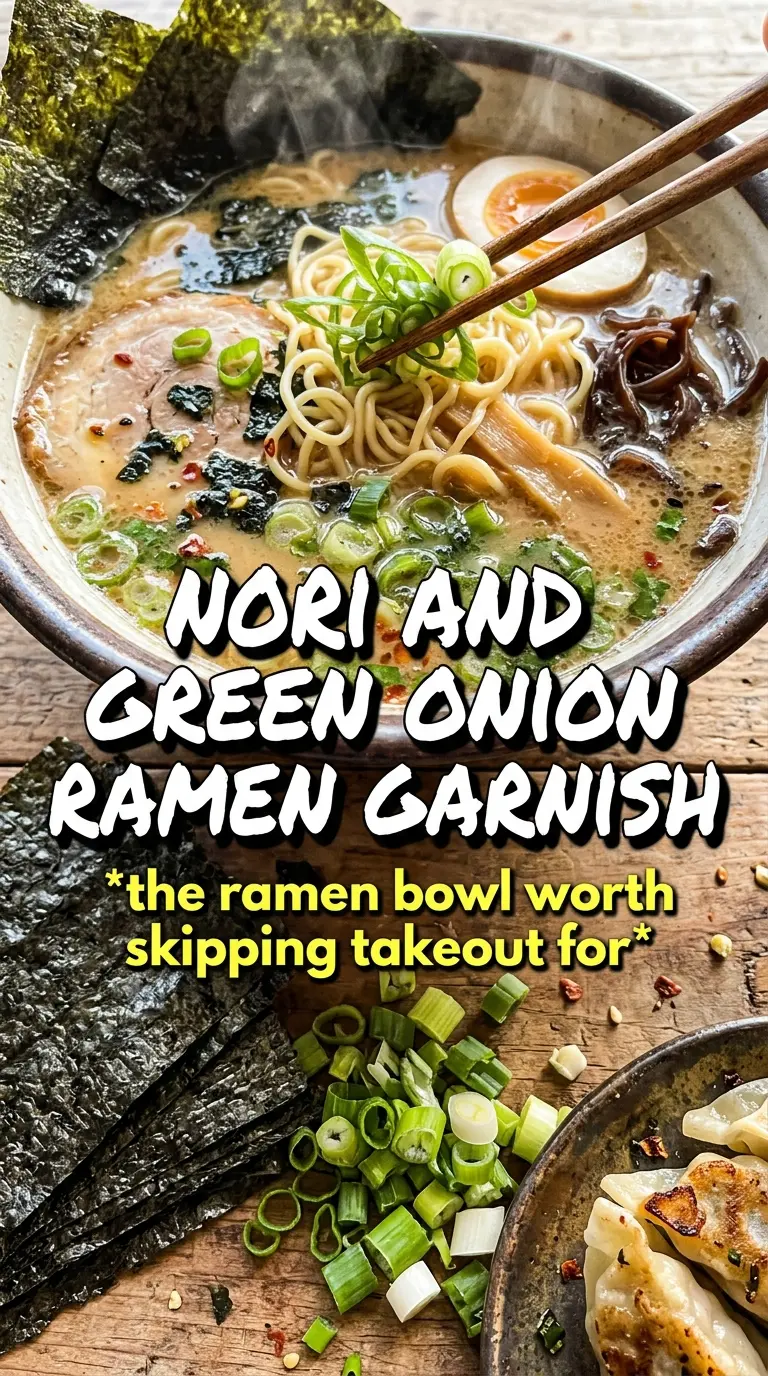
- Primary ingredient (the star) — Quality matters most. Choose the best you can find.
- Cooking medium (oil, butter, or broth) — This carries flavors and prevents dryness.
- Seasonings (salt, pepper, spices, herbs) — Layer flavors so nothing overpowers. Build depth gradually.
- Aromatics (garlic, onion, herbs) — Cook with fat to bloom flavors. Become the foundation.
- Supporting ingredients — Complement the main ingredient without overpowering it.
- Sauce or liquid (if applicable) — Brings flavors together. Balance richness with acid.
- Acid (lemon, vinegar, wine, or other) — Brightens and prevents flat-tasting results.
- Final finish (garnish, glaze, or sauce) — Prevents one-dimensional taste and adds visual appeal.
Building the Bowl in the Right Order
Season the Broth First
Bring the chicken broth to a steady simmer, then whisk in the miso paste, soy sauce, mirin, and sesame oil until the broth looks smooth and glossy. You want the miso fully dissolved before anything else goes in so the seasoning spreads evenly through the bowl. If the broth tastes a little salty at this stage, stop there and don’t overcorrect yet; the dumplings, noodles, and toppings will balance it out.
Cook the Dumplings Through Without Ruining Them
Add the frozen dumplings and let them simmer for 5 to 7 minutes, depending on size. They should feel hot all the way through and the wrappers should look tender, not torn. If the broth is boiling hard, turn it down; a rough boil can split the dumplings and cloud the broth with starch and filling.
Wilt the Bok Choy at the End
Drop in the halved bok choy during the last 2 to 3 minutes. The stems should soften slightly while the leaves stay bright and silky. If you cook it much longer, it turns limp and loses the fresh snap that gives the bowl contrast.
Finish with Fresh Noodles and Toppings
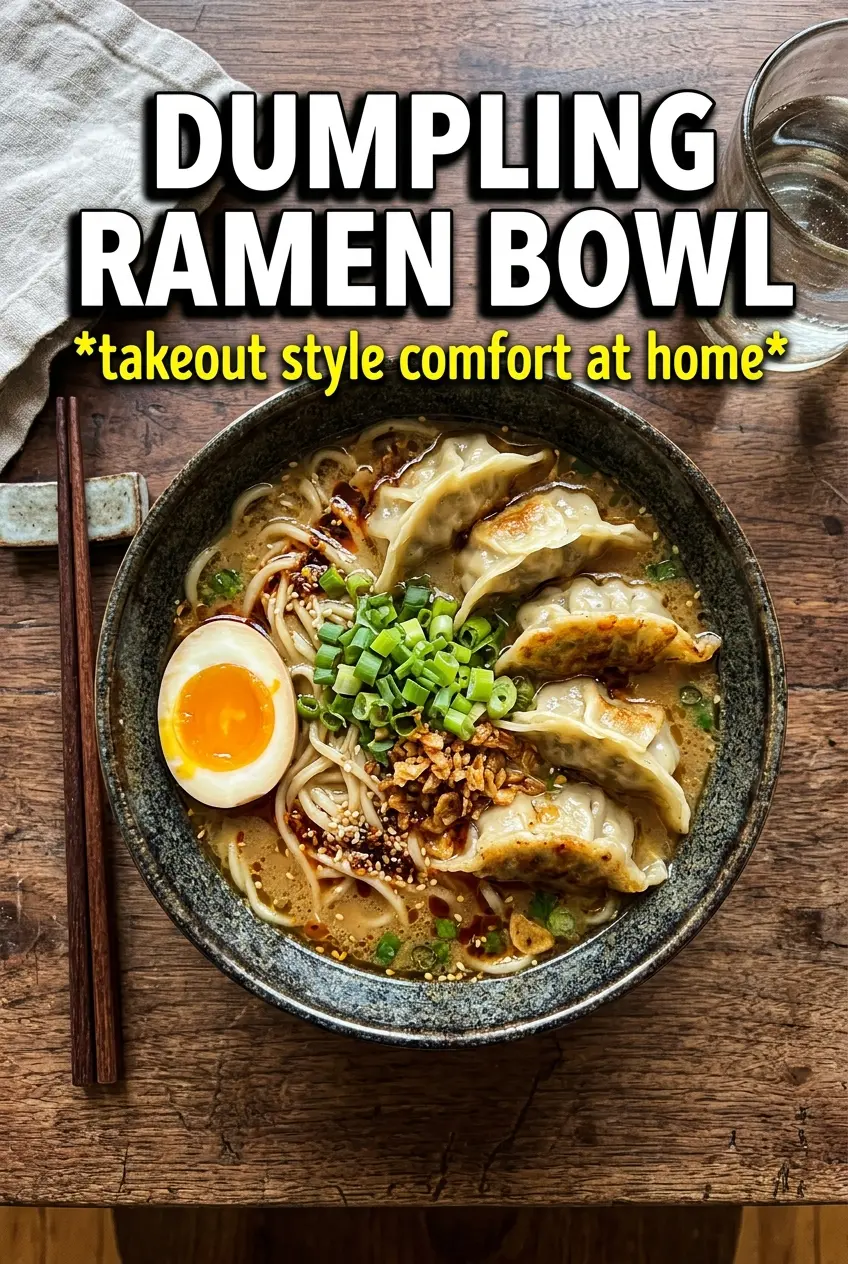
Cook the ramen noodles separately, drain them well, and divide them between bowls before ladling in the broth and dumplings. Top with the soft-boiled egg, corn, sliced green onions, nori, sesame seeds, and a little chili oil. Add the chili oil at the table if you want the cleanest broth with a sharp finish.
Three Smart Ways to Change This Bowl Without Losing the Point
Make it vegetarian with mushroom dumplings
Swap in vegetable or mushroom dumplings and use a good vegetable broth. You’ll lose a little of the meaty richness, so a second spoonful of miso and a drizzle of sesame oil help rebuild that savory depth.
Make it gluten-free with the right noodles and tamari
Use gluten-free dumplings if you can find them, swap the soy sauce for tamari, and choose rice noodles or gluten-free ramen. The broth stays just as savory, but the noodle texture will be a little softer and less springy than wheat ramen.
Turn it into a spicier bowl with chili crisp
Stir a spoonful of chili crisp into the broth or finish each bowl with extra chili oil. This doesn’t just add heat; it brings crunch and fried aromatics that make the miso broth taste bigger and more layered.
Storage and Reheating
- Refrigerator: Store the broth, dumplings, and vegetables together for up to 3 days, but keep the noodles separate if possible. The noodles soften fast once they sit in liquid.
- Freezer: Freeze the broth and dumplings without the noodles or egg. The noodles turn mushy after thawing, so cook those fresh when you’re ready to serve.
- Reheating: Warm the broth gently on the stove until steaming, then add the dumplings just long enough to heat through. Don’t boil hard on reheat or the dumplings can split and the broth can taste overly salty after reduction.
Answers to the Questions Worth Asking
Dumpling Ramen Bowl
Ingredients
Equipment
Method
- Bring the chicken broth to a simmer in a Dutch oven. Whisk in the miso paste, soy sauce, mirin, and sesame oil until smooth, with the surface gently bubbling.
- Add the frozen dumplings to the simmering broth. Cook for 5-7 minutes until cooked through and visibly tender.
- Add the halved bok choy and keep the broth at a steady simmer. Cook for 2-3 minutes until wilted and bright green.
- Cook the ramen noodles separately according to the package instructions. Drain them well so they don’t dilute the broth.
- Divide the drained noodles between four bowls. Ladle the broth with dumplings and bok choy over the noodles.
- Top each bowl with a halved soft-boiled egg, corn, and sliced green onions. Finish with torn nori, sesame seeds, and a drizzle of chili oil, then add salt to taste.