Warm fruit, a crunchy walnut topping, and a bubbling pan edge are what make a crisp worth keeping in the regular rotation. This walnut pear apple crisp lands with tender slices of fruit underneath a thick, golden crumble that stays craggy instead of going sandy. The pears soften into the apples and bring a mellow sweetness that keeps the filling from tasting flat.
The trick is balancing the fruit so it cooks down at the same pace. Apples bring structure, pears bring juiciness, and a little cornstarch keeps all that juice from turning the bottom into soup. Cold butter in the topping matters too. It melts in pockets as the crisp bakes, which gives you those uneven, crunchy clusters instead of a uniform blanket of crumbs.
Below, I’ve included the small details that make the topping stay chunky, the filling thicken properly, and the crisp hold together long enough to serve with ice cream without collapsing into a puddle.
The topping stayed crisp even after sitting for a bit, and the pears softened into the apples without turning mushy. I loved that the filling thickened up instead of running all over the plate.
Save this walnut pear apple crisp for the nights when you want bubbling fruit and a crunchy walnut-oat topping in one pan.
The Part That Keeps the Filling From Going Watery
Pears and apples release juice at different rates, and that’s what gets a lot of crisps into trouble. Pears soften fast and can seem done before the apples are anywhere close, which is why this filling needs cornstarch and a hot oven. The cornstarch catches the juices as they bubble, turning them glossy and spoonable instead of thin and runny.
The other piece that matters is the fruit cut. Slice both fruits evenly so they bake at the same speed. If the pear pieces are much smaller, they’ll disappear into the filling before the apples catch up. If the slices are too thick, the center stays too firm while the topping finishes.
- Apples — Use a firm baking apple so the slices hold their shape. A softer apple can work, but the filling will turn softer and less distinct.
- Pears — Choose pears that give slightly at the stem but are not mushy. Fully ripe pears add sweetness and moisture; overripe pears can make the filling loose.
- Cornstarch — This is what thickens the juices without making the filling heavy. Flour will work in a pinch, but it takes longer to thicken and can taste a little cloudy.
- Lemon juice — It keeps the fruit tasting bright and helps slow browning while you work. Fresh juice is best here because the acid makes the fruit flavor pop.
What the Crumble Is Actually Doing Here
The topping is more than just texture. The oats bring chew, the flour holds the crumbs together, and the walnuts add the kind of nutty crunch that makes each bite feel finished. Cold butter is the key piece. When it stays cold long enough to hit the oven in little pieces, it melts around the dry ingredients and forms those chunky, uneven clusters that bake up crisp.
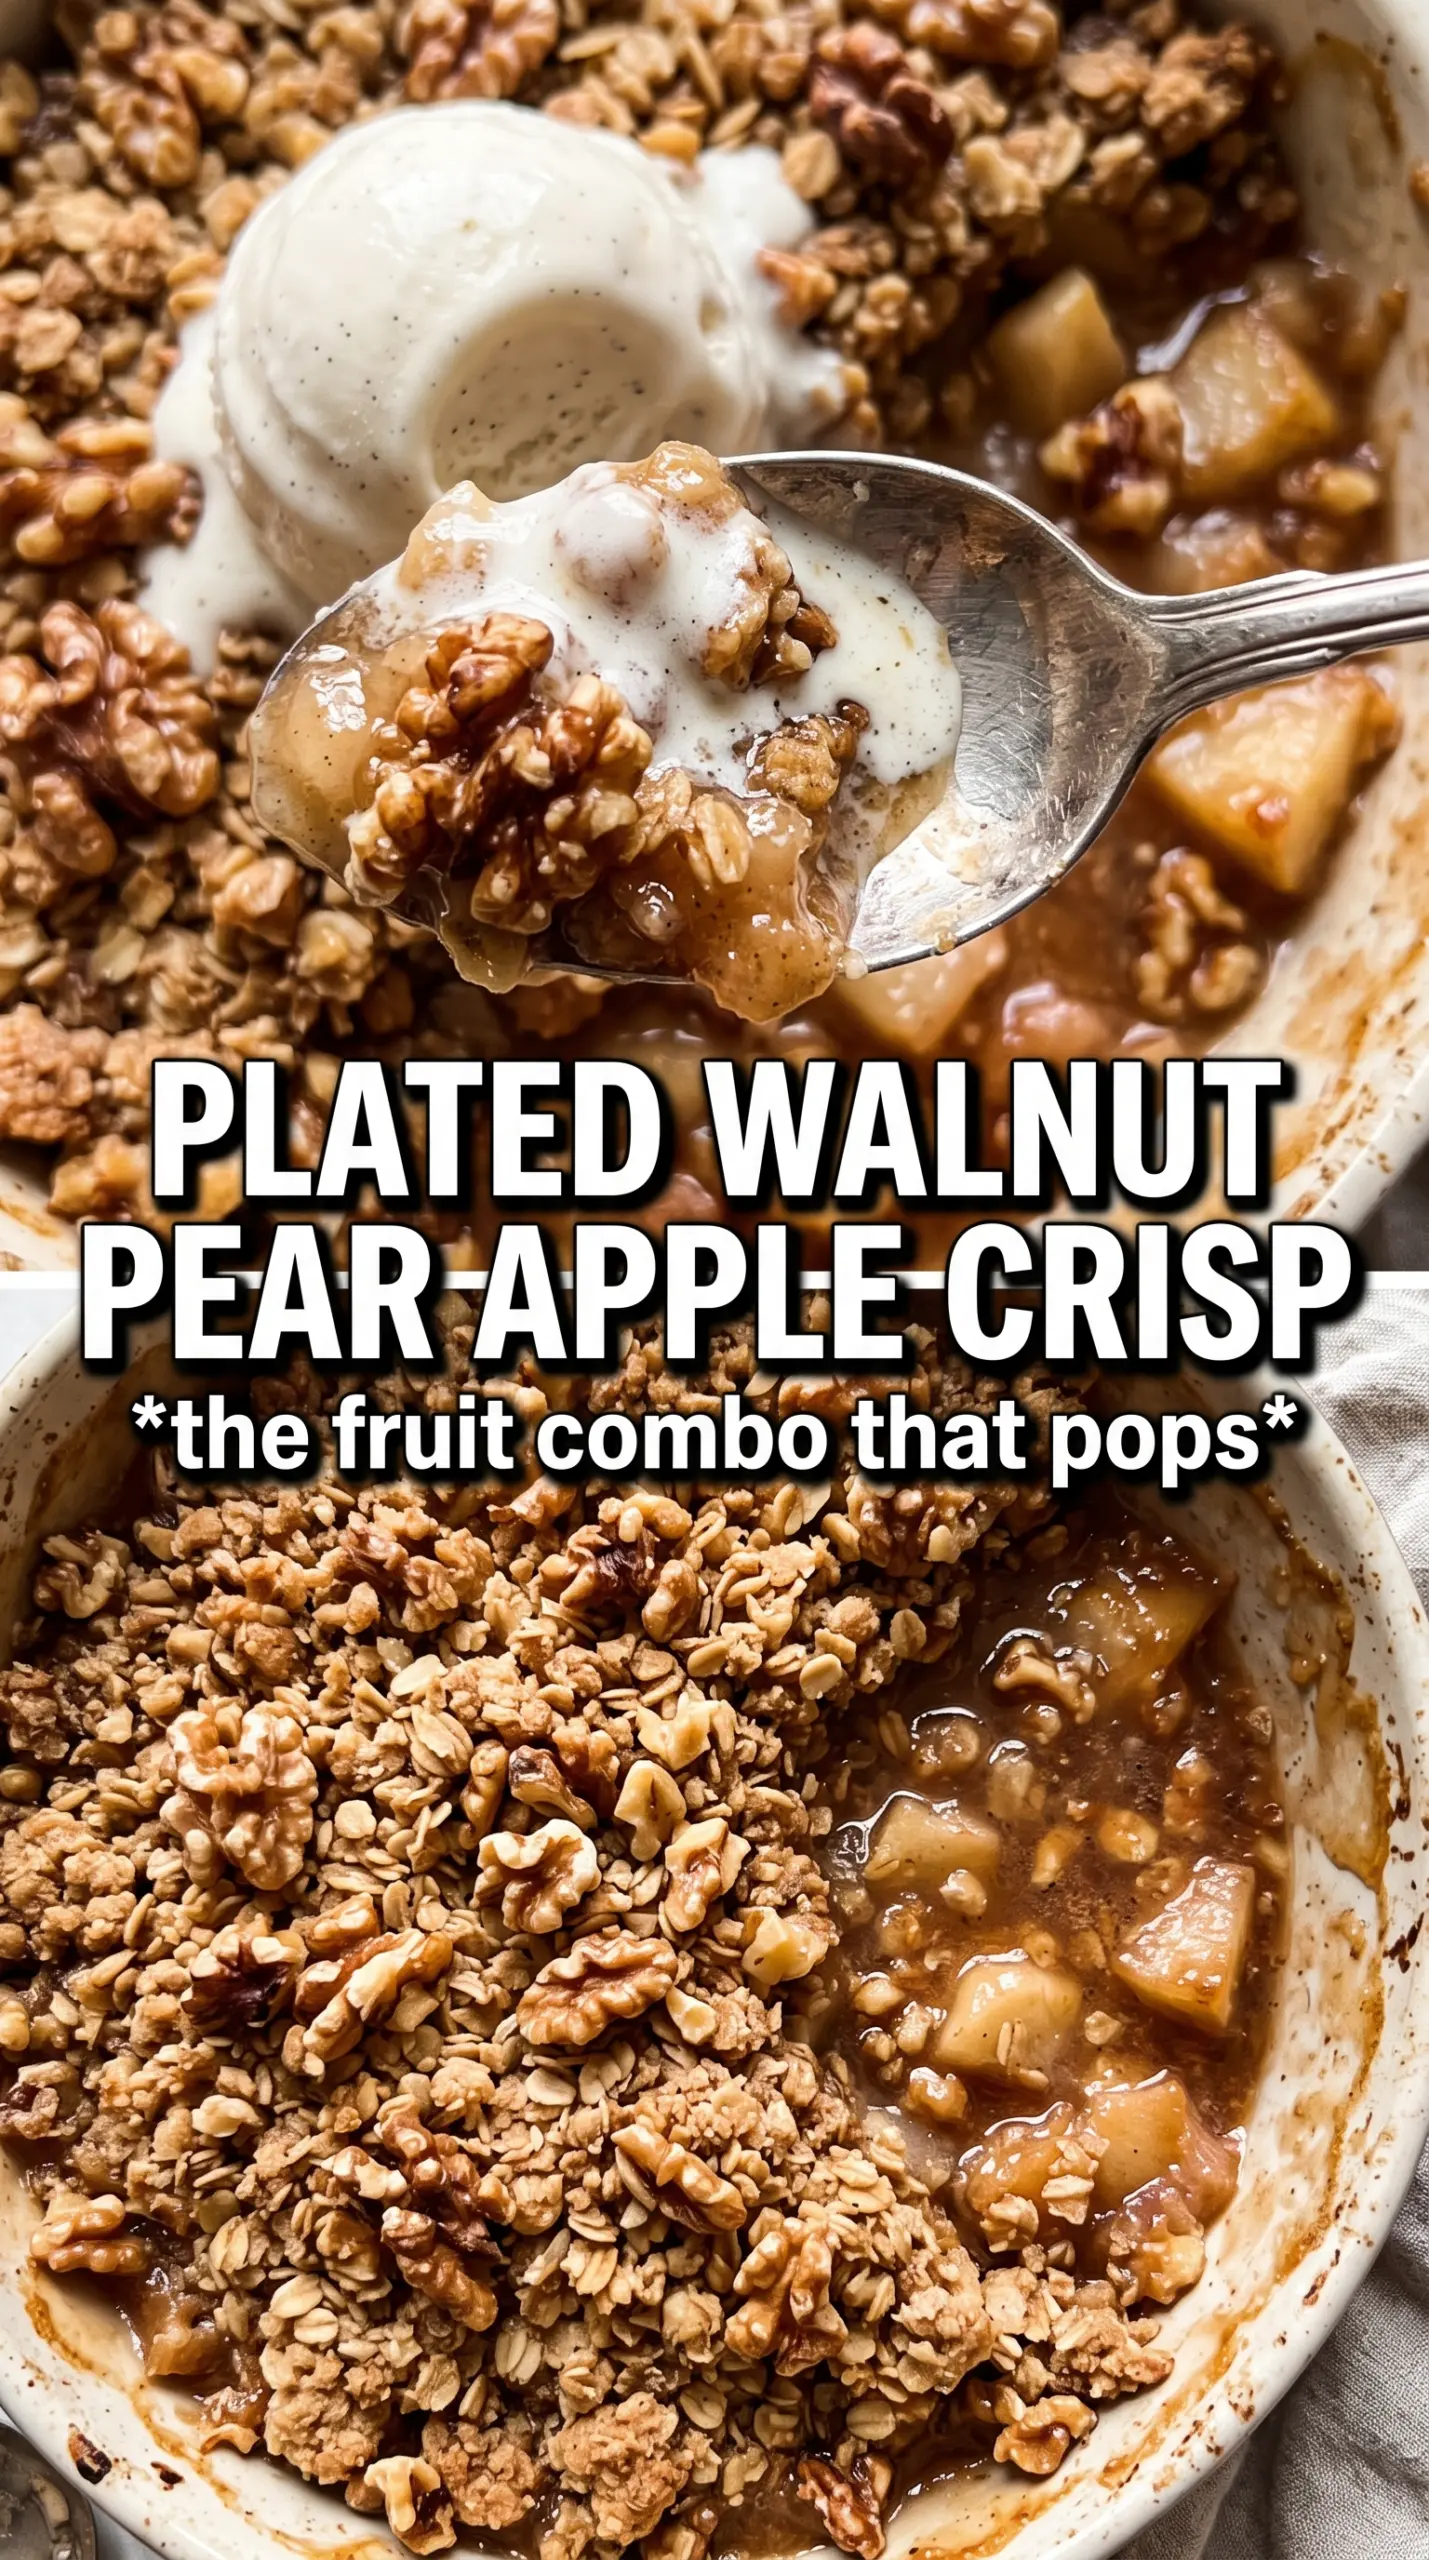
- Rolled oats — Use old-fashioned oats, not quick oats. Quick oats soften too much and make the topping dense instead of crisp.
- Walnuts — Roughly chopped walnuts give the topping better texture than finely chopped nuts. If you want a milder nut flavor, toast them first for a few minutes before adding them to the mix.
- Brown sugar — This adds moisture and caramel notes that plain white sugar won’t give you. Packed brown sugar helps the topping hold together in crumbs instead of turning loose.
- Cold butter — Cube it and keep it cold until the last second. Warm butter blends in too smoothly and you lose the craggy topping.
Building the Crisp So the Fruit Bubbles and the Top Stays Crunchy
Coating the Fruit Evenly
Toss the sliced apples and pears with the sugars, spices, cornstarch, and lemon juice until every piece looks lightly coated. You want the cornstarch distributed before the fruit hits the dish, because clumps of dry starch bake into chalky pockets. Spread the fruit in an even layer so the filling cooks at the same rate from edge to center.
Cutting the Butter Into Clumps
Mix the dry topping ingredients first, then work in the cold butter until the mixture forms chunky crumbs, not a smooth paste. A few pea-sized bits and some larger clumps are exactly what you want. If the topping starts feeling greasy or soft, stop and chill it for a few minutes before scattering it over the fruit.
Baking Until the Center Is Actively Bubbling
The crisp is done when the top is deeply golden and the fruit is bubbling through the edges and in the center, not just around the sides. That bubbling tells you the cornstarch has fully activated. If you pull it early, the filling can look thick on top but still pour out when you serve it. Let it rest for 10 minutes so the juices settle and the fruit holds together on the plate.
How to Adapt This Crisp Without Losing the Texture
Make It Gluten-Free
Swap the all-purpose flour for a good 1:1 gluten-free baking blend. The topping may brown a little faster, but the oats and walnuts keep the texture sturdy, and you still get those crunchy clusters.
Make It Dairy-Free
Use a solid plant-based butter that’s meant for baking and stays cold in the freezer for a few minutes before you cut it in. Soft tub-style spreads tend to melt too fast, which makes the topping sandy instead of craggy.
Swap the Nuts
Pecans work well if that’s what you have, and they’ll taste a little sweeter and rounder than walnuts. Almonds add more crunch but less richness, so the crisp will feel drier and less earthy.
Storage and Reheating
- Refrigerator: Store covered for up to 4 days. The topping softens a little as it sits, but the flavor stays good.
- Freezer: Freeze baked crisp in a tightly wrapped dish for up to 2 months, or freeze unbaked for a fresher finish later. Bake from thawed for the best texture.
- Reheating: Warm in a 350F oven until the center is hot and the topping crisps back up. The microwave will heat it faster, but it turns the crumble soft and the fruit too loose.
Questions I Get Asked About This Recipe
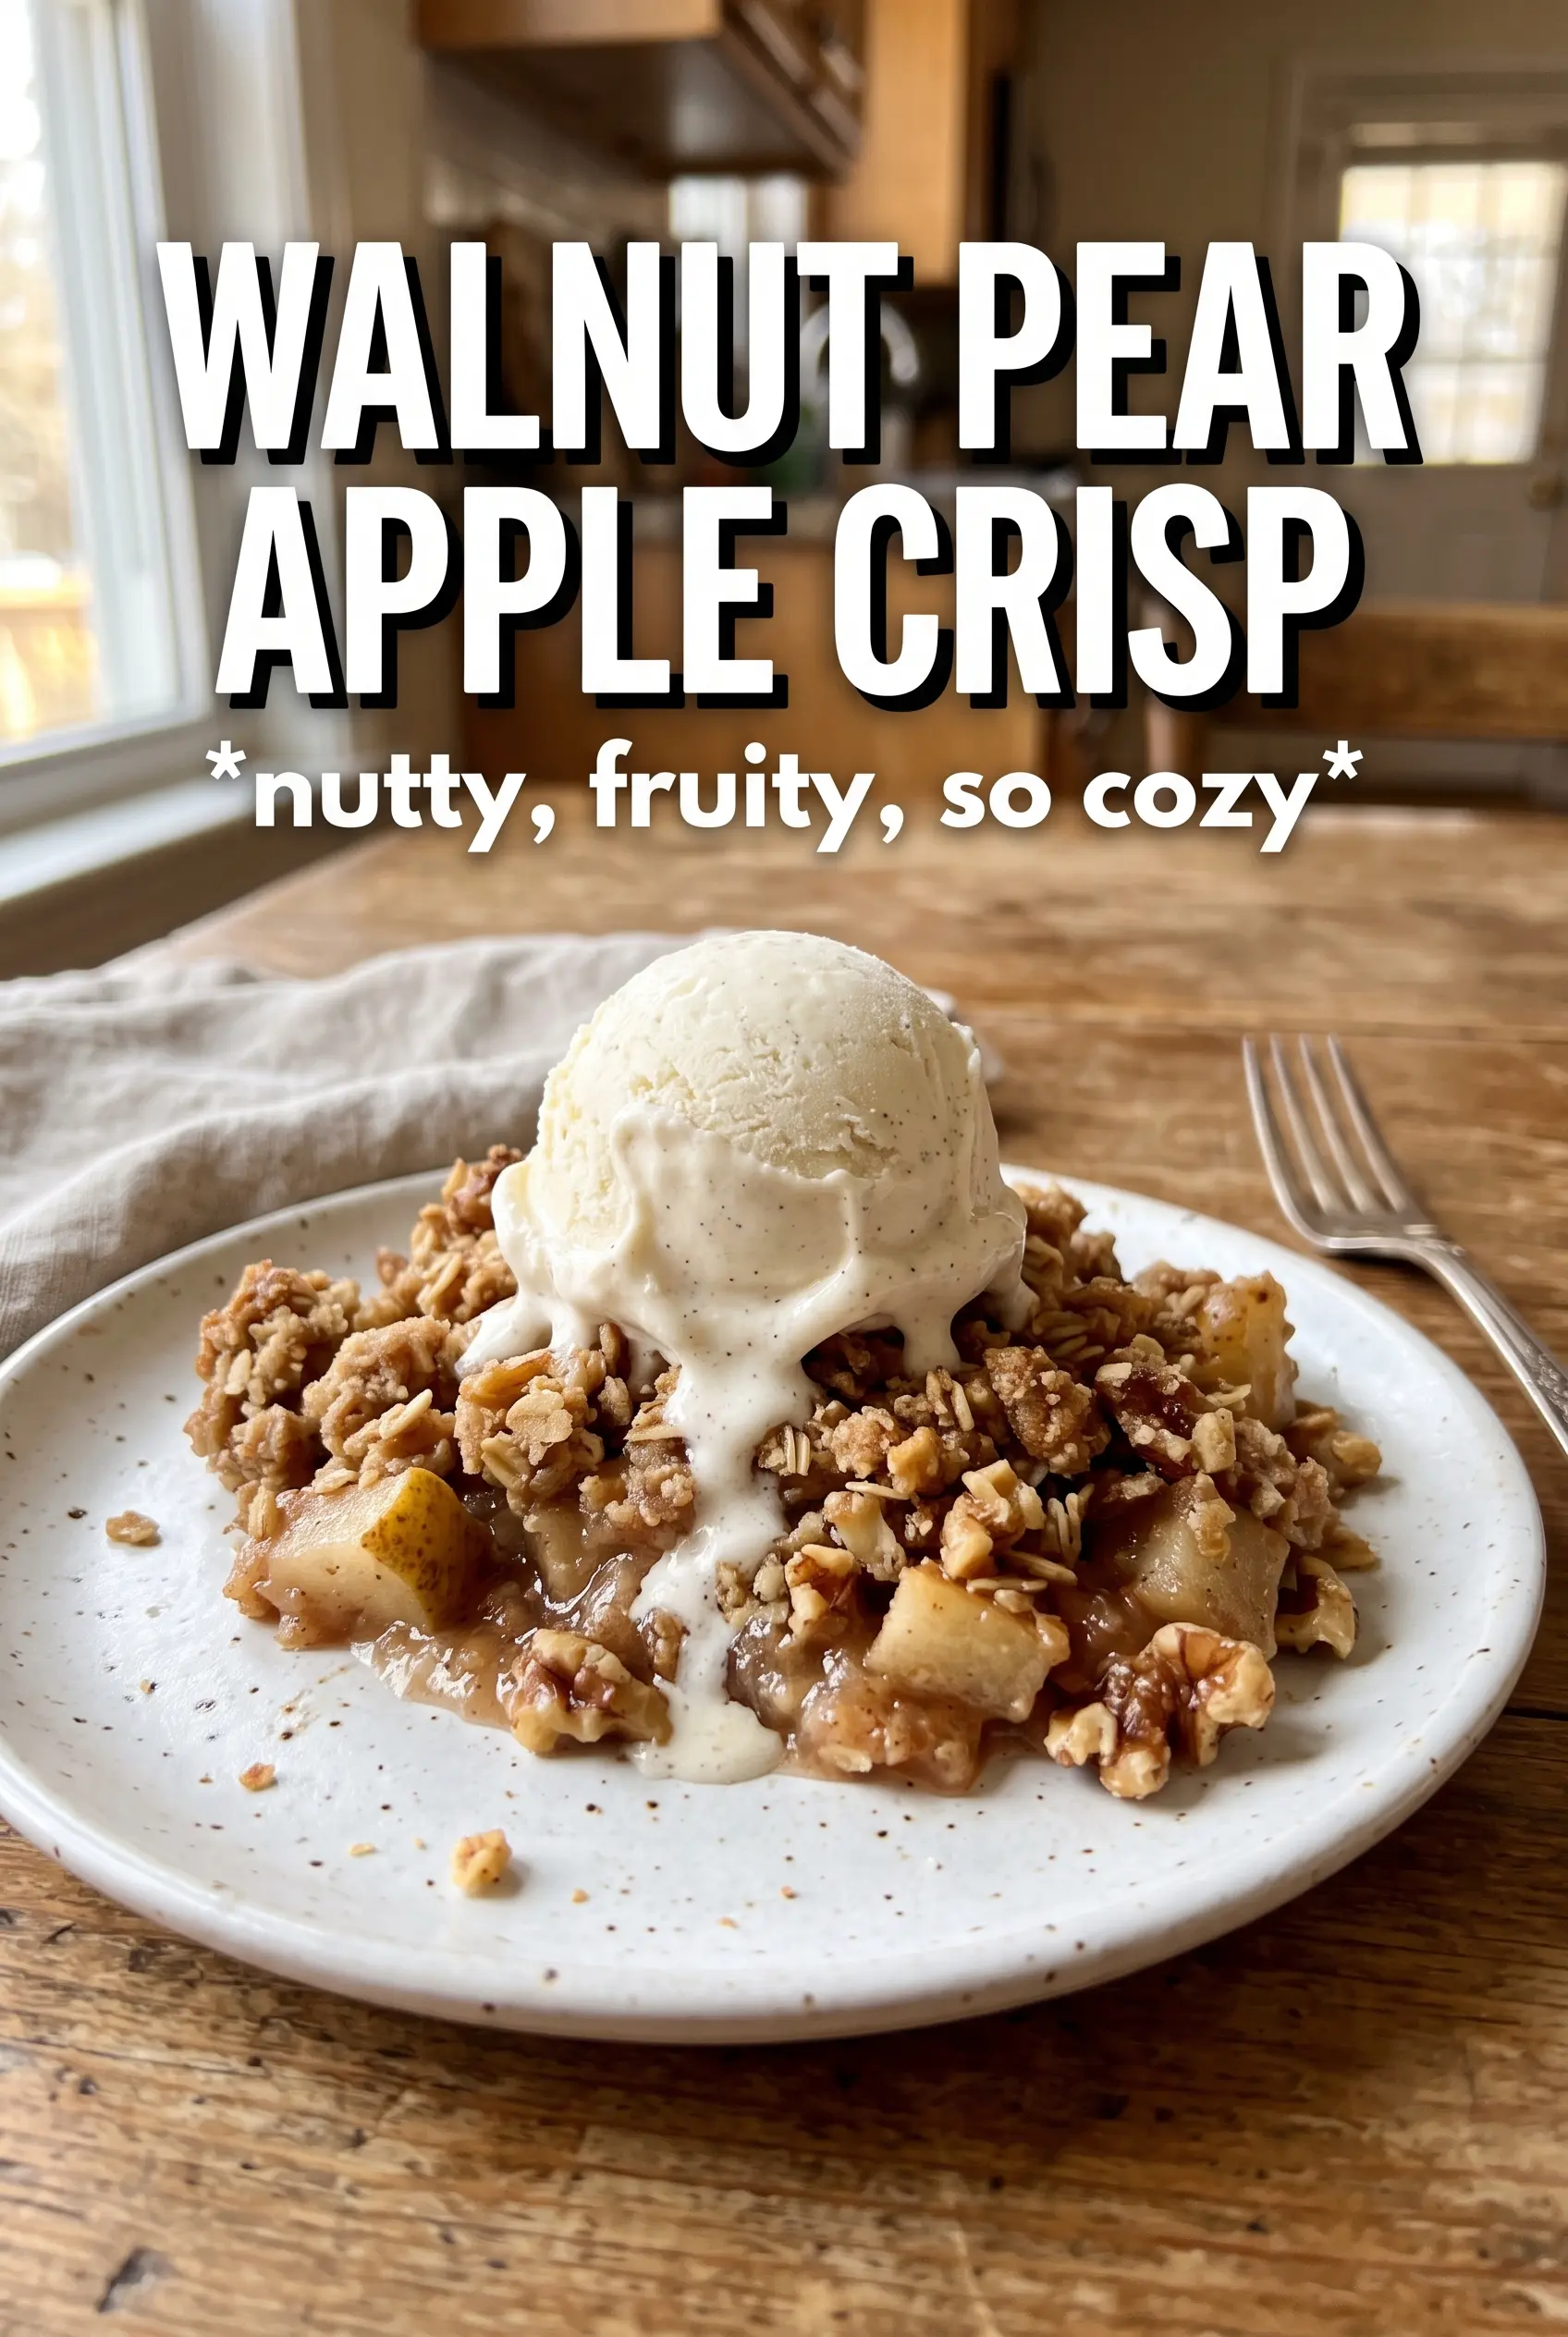
Walnut Pear Apple Crisp
Ingredients
Equipment
Method
- Preheat the oven to 375°F and grease a 9x13 baking dish so the crisp releases easily.
- Toss the apple and pear slices with granulated sugar, brown sugar, cinnamon, ginger, cornstarch, and lemon juice until evenly coated.
- Spread the coated fruit into the greased baking dish in an even layer.
- Combine rolled oats, all-purpose flour, packed brown sugar, cinnamon, salt, and chopped walnuts in a bowl.
- Cut in the cold cubed butter until chunky clumps form and the mixture looks crumbly with larger bits.
- Scatter the walnut crumble evenly over the fruit filling.
- Bake for 40-45 minutes at 375°F until the topping is deeply golden and the fruit is bubbling.
- Rest the crisp for 10 minutes before serving so the filling thickens slightly.


