No-bake apple crumble cheesecake lands with the kind of cold, creamy slice that disappears fast. The filling is light but still rich, the spiced apple topping brings that familiar pie-cabinet warmth, and the oat crumble crust gives every bite a little chew and crunch so it never turns soggy or flat. It eats like cheesecake, but it has the cozy structure of an apple crisp tucked underneath.
What makes this version work is the layering. The crust gets pressed firmly enough to hold clean slices after chilling, and reserving some of that crumble mixture for the top keeps the dessert from feeling one-note. The cream cheese base is whipped smooth before the cream goes in, which matters more than people think; if you start with lumpy cream cheese, the whole filling carries that grainy texture all the way through. A little cinnamon in the filling ties the apple and crust together without making the dessert taste heavy.
Below, I’ve included the part that saves the most frustration: how to keep the filling silky, how to get neat slices, and what to change if you need a dairy-free version or want to make it ahead for guests.
The crust held together beautifully after chilling, and the apple layer stayed neat instead of sliding off when I sliced it. My husband said it tasted like apple crisp and cheesecake had a dessert baby.
Save this no-bake apple crumble cheesecake for the kind of dessert that tastes like apple crisp, slices clean, and never needs the oven.
The Part That Keeps the Filling from Going Grainy
Most no-bake cheesecakes go wrong at the mixing stage, not the chilling stage. If the cream cheese is even a little cold, or if the sugar goes in before the cream cheese is smooth, you end up with tiny lumps that never fully disappear. The fix is simple: beat the cream cheese until it looks glossy and loose before adding anything else, then stop as soon as the whipped cream disappears into the filling.
That folding step matters too. Stirring hard knocks the air out of the whipped cream and leaves you with a denser, heavier slice. Fold just until the filling is uniform and pale, and don’t chase every last streak once it’s basically combined. The filling should hold soft peaks and spread thickly over the crust without running into it.
- Chilling the crust first gives the base enough structure to support the filling, which matters because the topping is heavy. If you skip that short chill, the crust can slump when you spread on the cheesecake layer.
- Whipped cream folded in at the end gives the cheesecake its mousse-like lift. That texture comes from the air already in the cream, so it can’t be replaced by pouring in liquid cream.
- Cinnamon in both layers keeps the dessert balanced. The crust tastes warm and toasted, while the filling reads like cheesecake instead of plain sweet cream.
What Each Layer Is Actually Doing Here
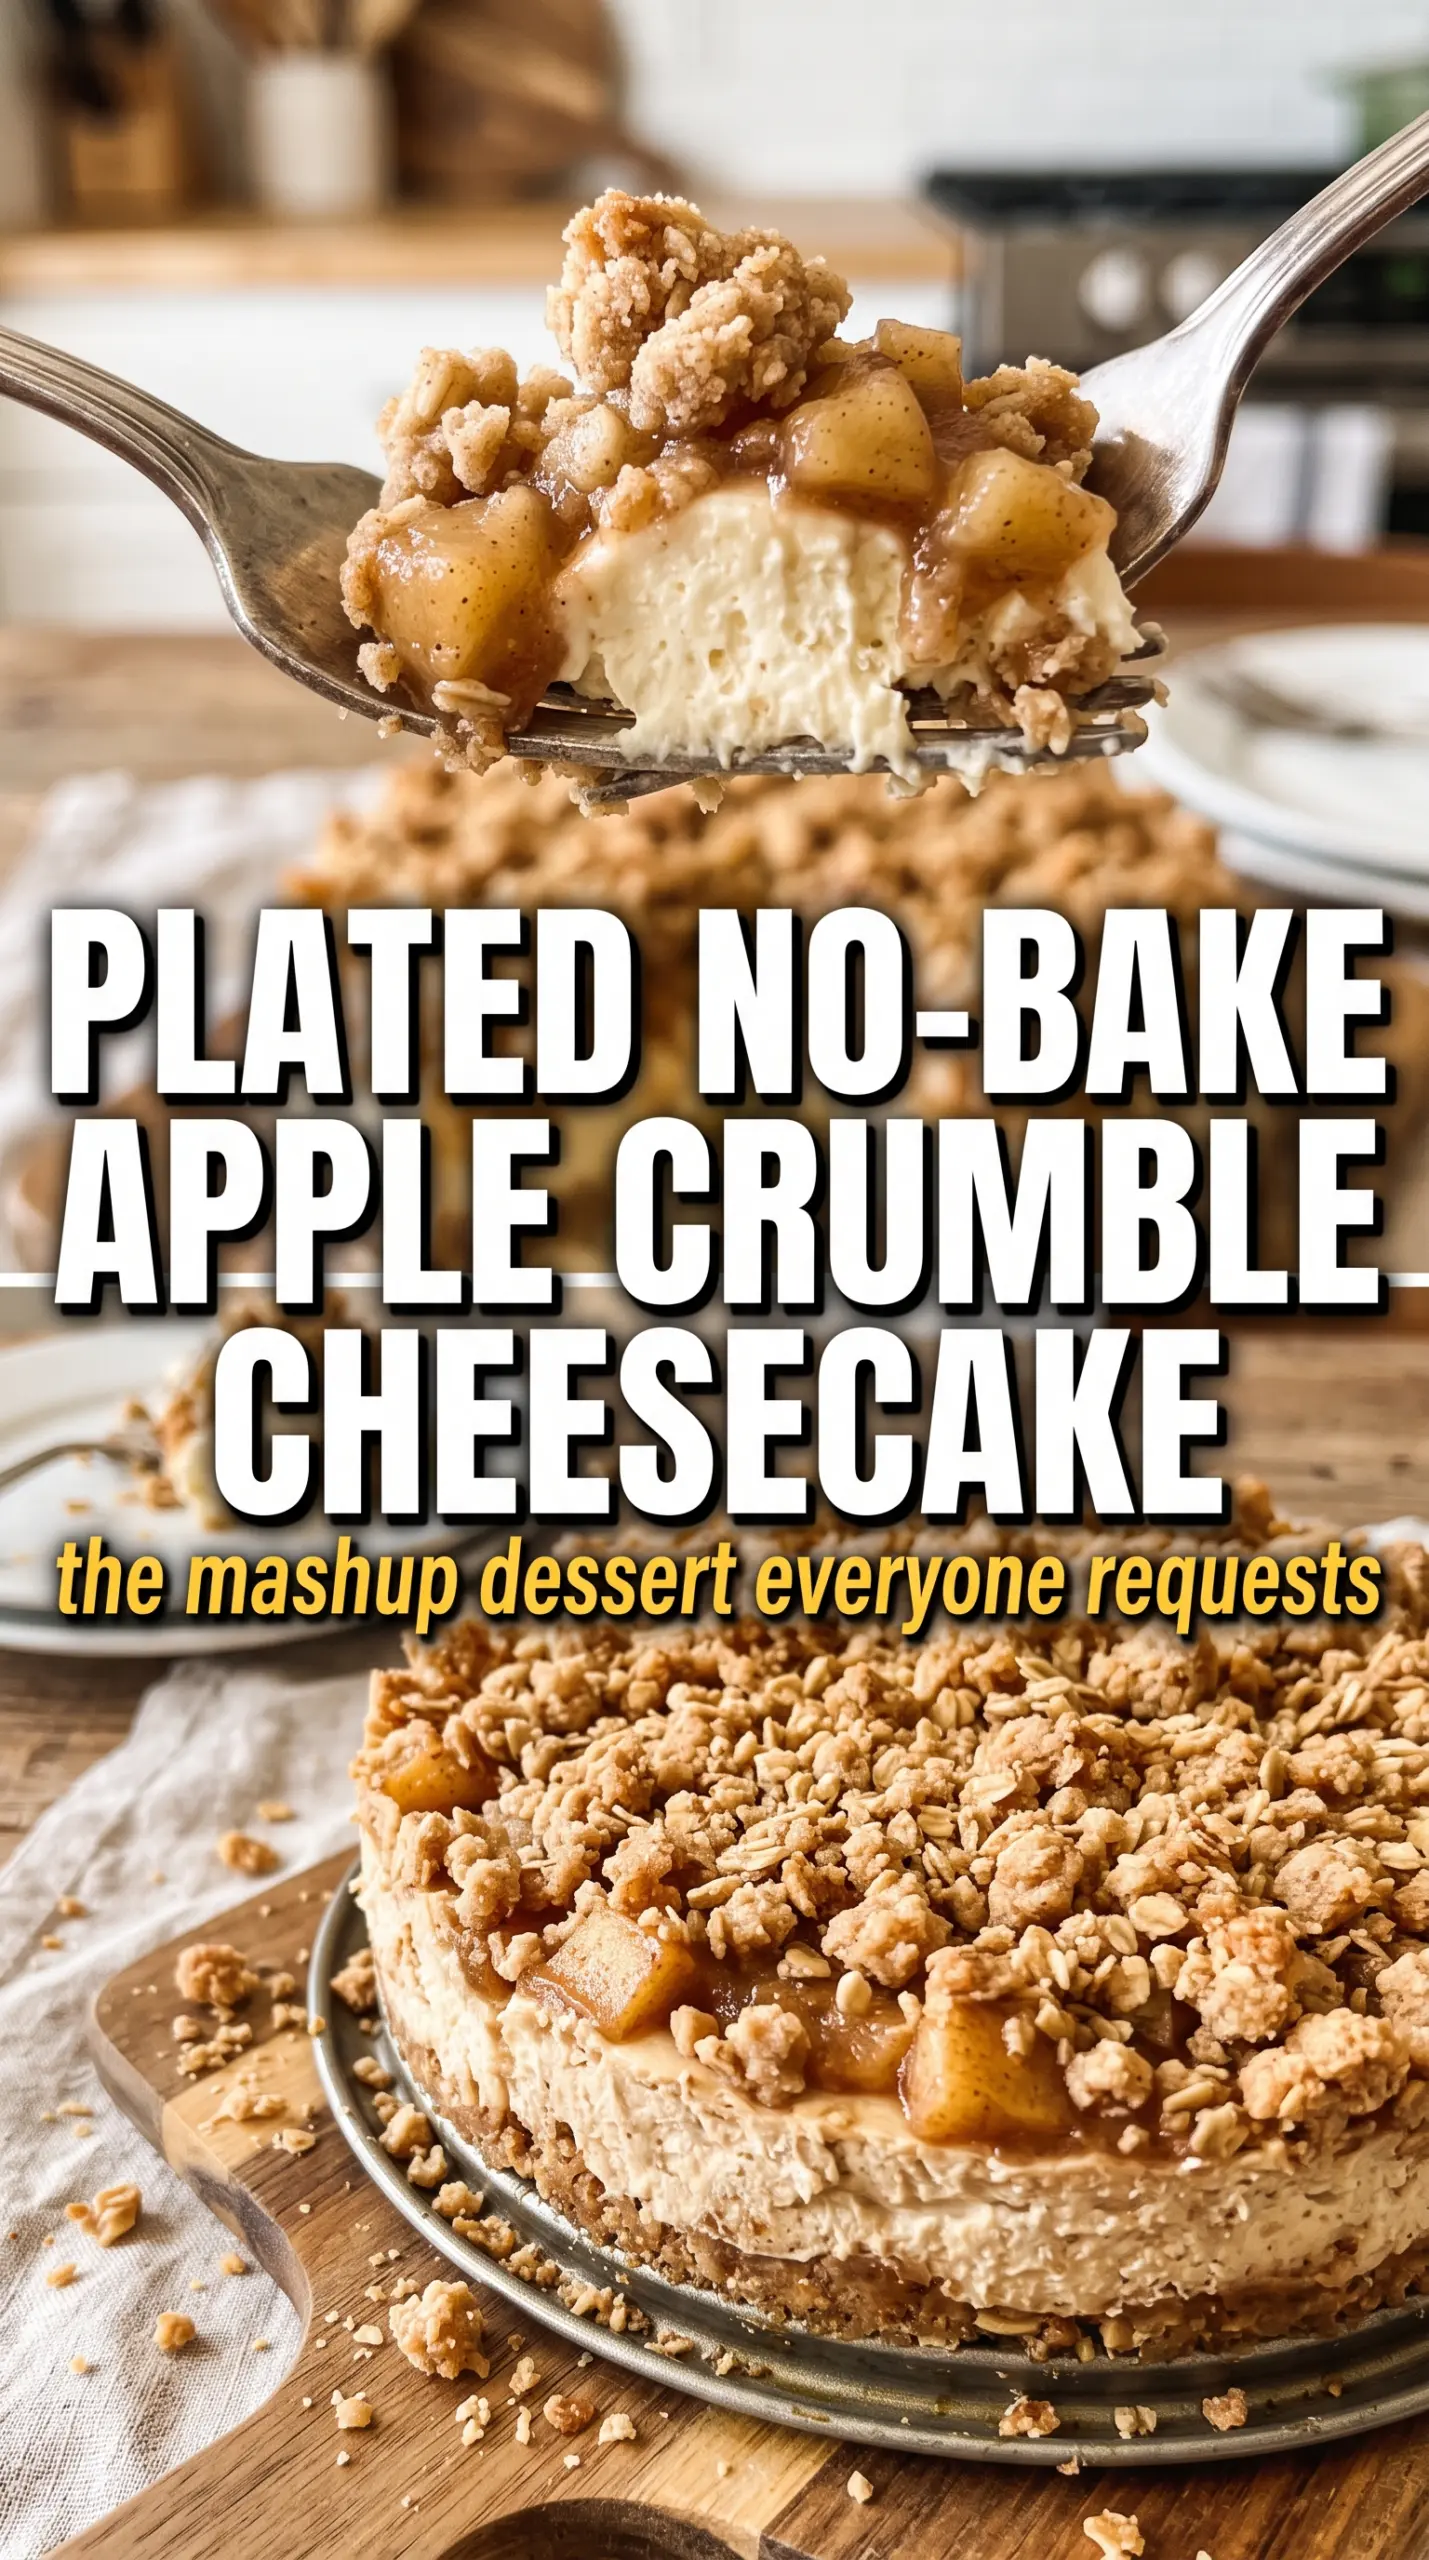
- Rolled oats bring the crumbly, crisp bite that makes the crust feel like apple crisp instead of standard cheesecake crust. Quick oats can work in a pinch, but the texture gets finer and less rustic.
- Flour and brown sugar help the crust bind and caramelize slightly after it chills. Brown sugar matters here because it gives the crust a deeper, almost cookie-like note that plain white sugar won’t match.
- Cream cheese is the backbone of the filling, so use full-fat blocks, not whipped tubs. Spreadable cream cheese has too much air and moisture, and the filling won’t set as cleanly.
- Heavy cream has to be whipped to stiff peaks before folding. That’s what gives the cheesecake its sliceable body without baking, and a thinner cream won’t hold the same shape.
- Apple pie filling is the shortcut that makes this dessert reliable and fast. If you want to use cooked fresh apples instead, they need to be fully cooled and fairly thick, or they’ll leak into the filling.
How to Build It So the Layers Stay Clean
Pressing the Crust the Right Way
After you drizzle the melted butter into the oat mixture, every crumb should look lightly coated and sandy, not wet. Press it firmly into the springform pan using the bottom of a measuring cup or a flat-bottomed glass so the base compacts evenly. If the crust feels loose now, it will crumble apart later when you slice it. The short chill firms the butter back up and gives the base enough strength to hold the filling.
Whipping the Filling Smooth
Beat the cream cheese, powdered sugar, brown sugar, vanilla, and cinnamon until the mixture looks completely smooth before the whipped cream goes in. Scrape the bowl a few times, especially around the bottom edge where little lumps like to hide. Once the whipped cream is folded in, the filling should look fluffy and uniform. If it turns streaky or loose, it usually means the cream wasn’t whipped enough or the cream cheese was still too cold.
Layering the Apples and Crumble
Stir the cinnamon and nutmeg into the apple filling so the spice is evenly distributed instead of sitting in one spot. Spoon the apples gently over the cheesecake in an even layer, then scatter the reserved crumble across the top. Don’t press it down; let it sit loosely so it stays crisp and gives the top some texture. The dessert needs that top layer to contrast with the cold filling underneath.
Giving It Time to Set
Six hours is the minimum, and overnight is even better if you want sharp slices. The filling needs time to firm up all the way through, not just on the surface. If you cut it too early, the center will slump and the apple topping will drag through the filling. Release the springform only when the edges feel set and the whole cheesecake looks stable when the pan is gently nudged.
Ways to Adjust This Without Losing the Point
Dairy-Free Version
Use dairy-free cream cheese and a coconut-based whipping cream that holds stiff peaks. The filling will taste a little softer and slightly less tangy, but the texture still works if you chill it fully before slicing.
Gluten-Free Crust
Swap the flour for a 1:1 gluten-free baking blend and use certified gluten-free oats. The crust still bakes up as a chilled crumble base, though it may be a little more delicate when you cut into it.
Using Fresh Apples Instead of Pie Filling
Cook peeled diced apples with cinnamon, nutmeg, and a little brown sugar until just tender and most of the juices have evaporated, then cool them completely before topping the cheesecake. This gives you a brighter apple flavor, but it takes more time and the topping won’t be as glossy or spoonable as pie filling.
Storage and Reheating
- Refrigerator: Store covered for up to 4 days. The crumble softens a little over time, but the cheesecake stays sliceable.
- Freezer: Freeze individual slices tightly wrapped for up to 1 month. Thaw overnight in the refrigerator; the apple topping holds up better than fresh fruit would.
- Reheating: Serve this chilled, not warmed. If it sits out too long, the filling softens quickly, so keep it in the fridge until right before serving.
Answers to the Questions Worth Asking
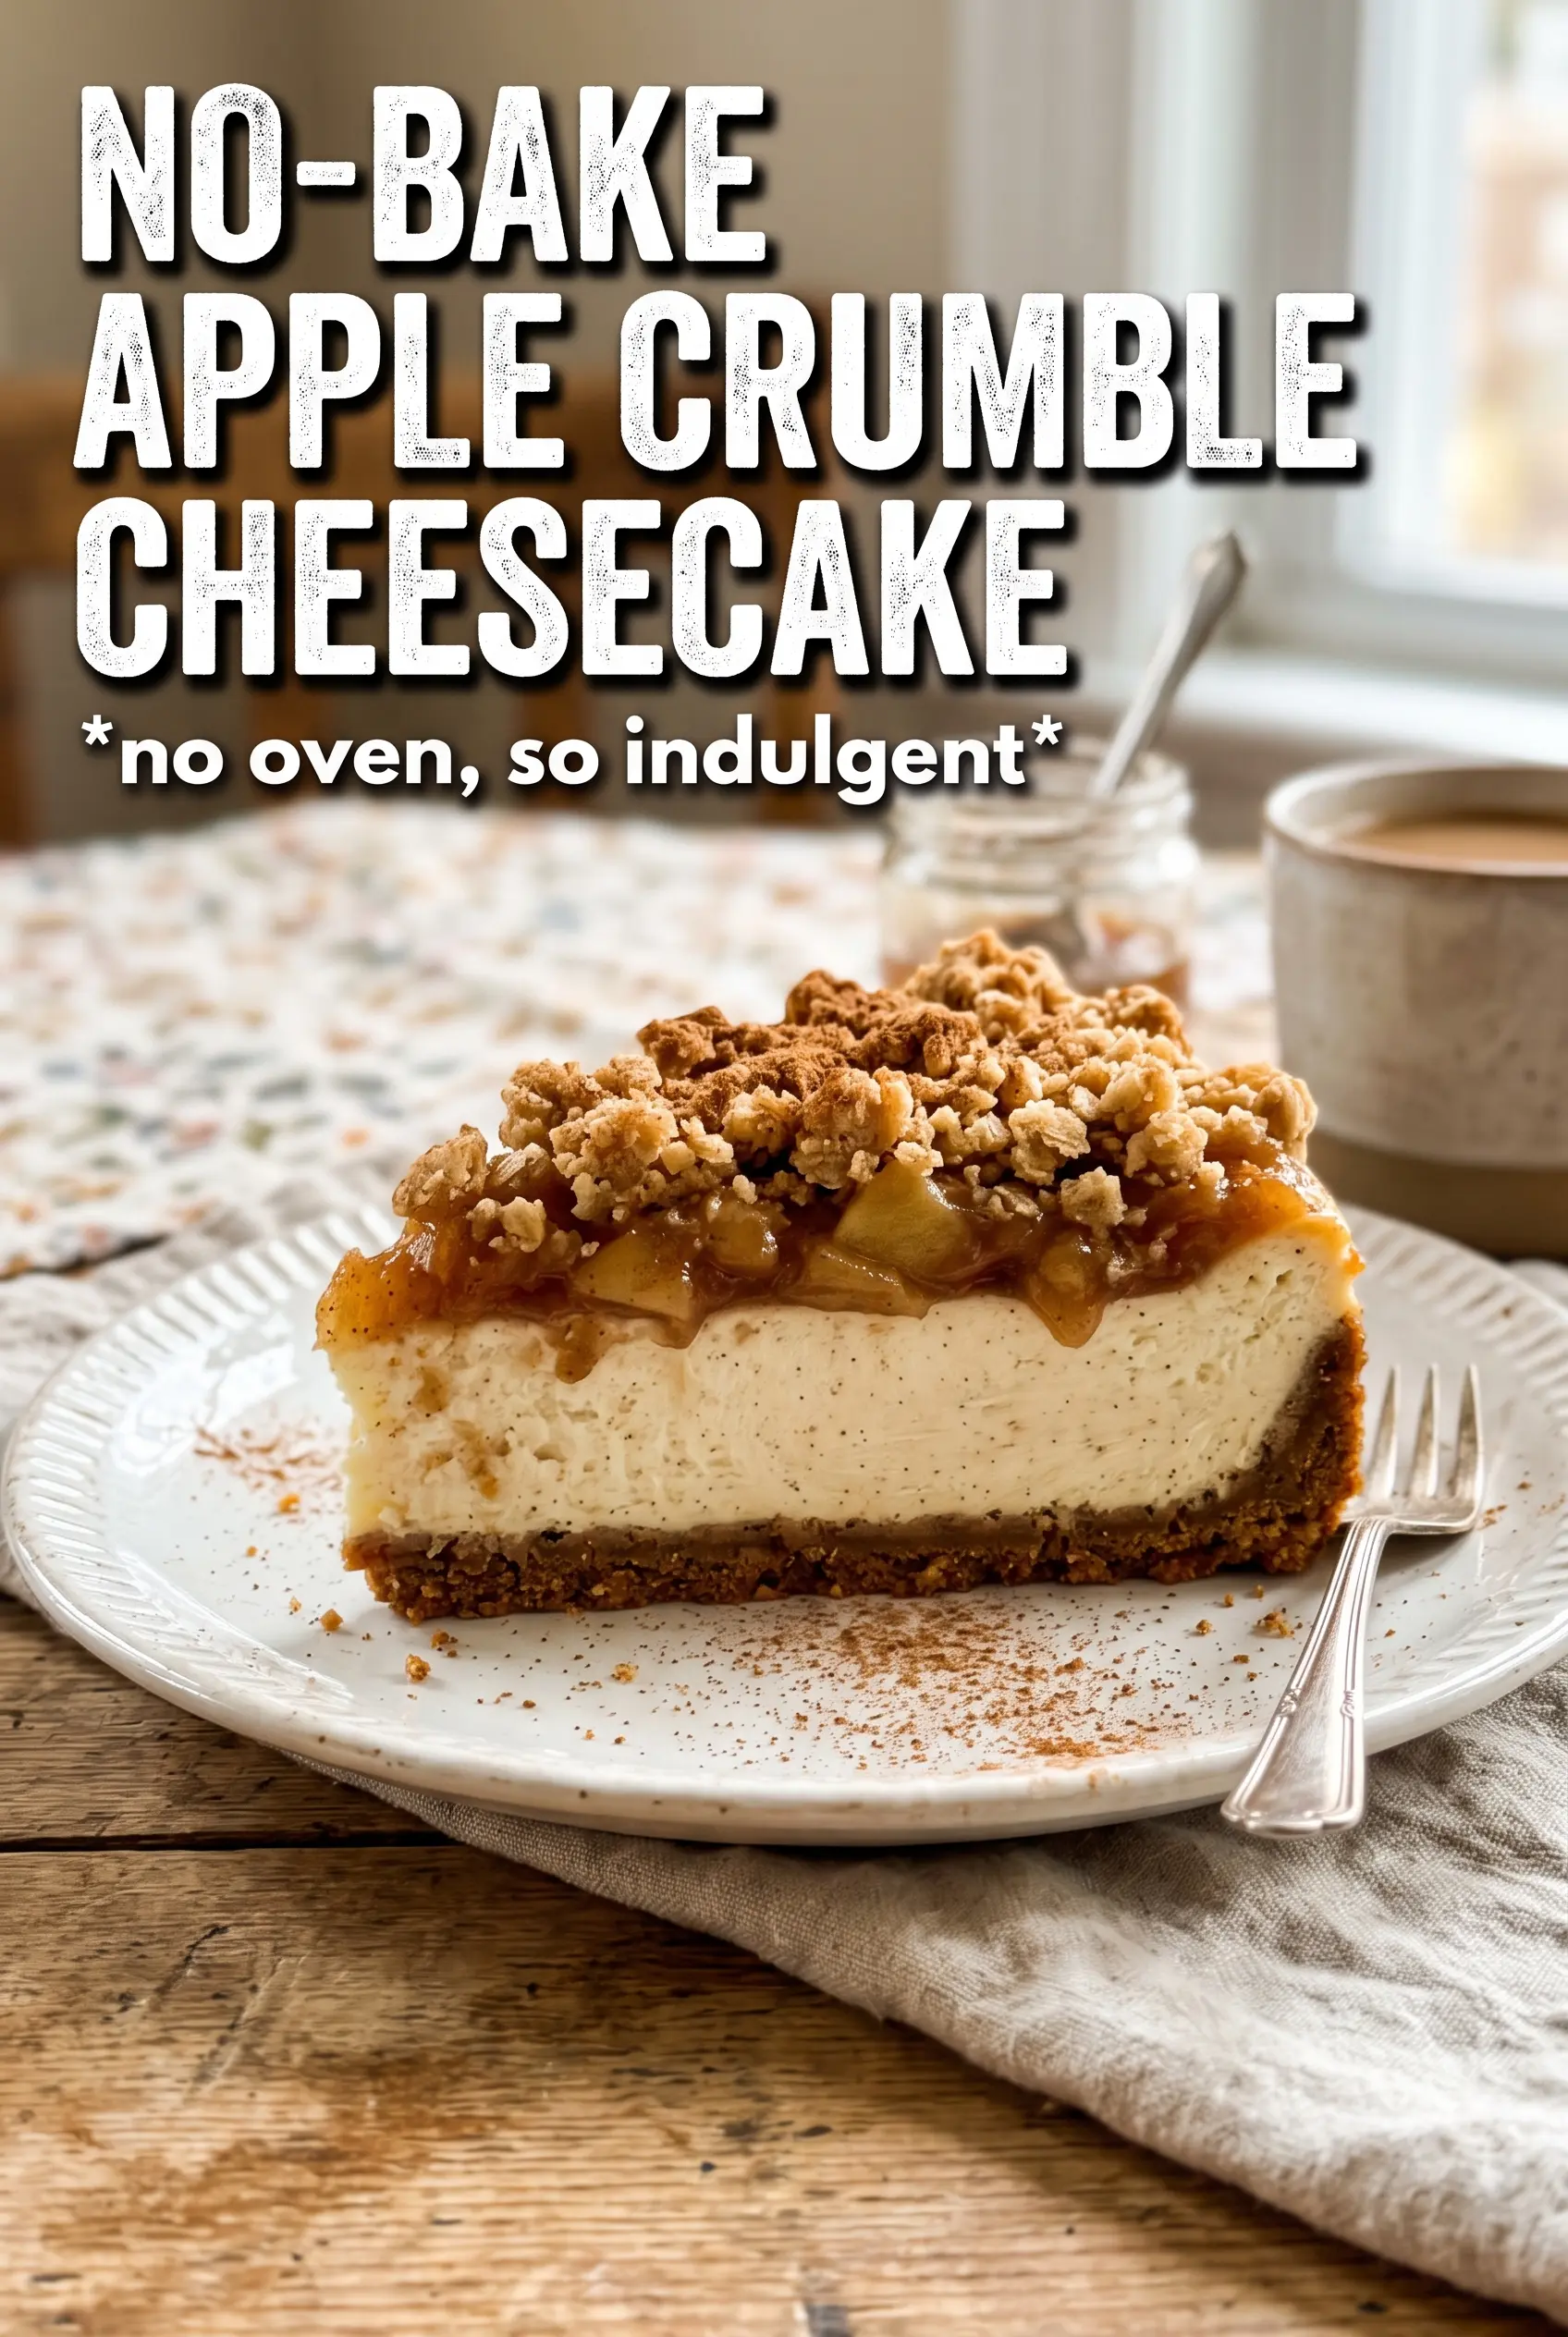
No-Bake Apple Crumble Cheesecake
Ingredients
Equipment
Method
- Combine rolled oats, flour, brown sugar, and cinnamon in a mixing bowl, then drizzle in melted unsalted butter and toss until evenly moistened.
- Press the mixture firmly into a 9-inch springform pan and refrigerate for 20 minutes to set.
- Reserve 1/2 cup of the crust mixture for the crumble topping and keep it chilled.
- Beat cream cheese, powdered sugar, brown sugar, vanilla, and cinnamon until completely smooth.
- Fold in whipped heavy cream until no streaks remain, then spread the filling over the chilled crust.
- Stir cinnamon and nutmeg into the apple pie filling, then spoon it evenly over the cheesecake.
- Scatter the reserved crumble over the apple topping.
- Refrigerate for 6 hours (or overnight) before releasing from the springform, until fully set.


