Apple crisp lands on the table with bubbling edges, tender cinnamon apples, and a topping that bakes up craggy and golden instead of sandy or flat. The best part is that contrast: soft fruit underneath, crisp oat clusters on top, and a little caramelized crunch where the butter and brown sugar meet at the edges of the pan.
This version keeps the filling balanced by using both tart and sweet apples, plus a little cornstarch so the juices thicken instead of turning watery. The topping stays chunky because the butter goes in cold and the mixture is left in clumps, not rubbed into a fine meal. That small detail is what gives you those bakery-style bits that stay crisp even after the fruit underneath starts to bubble.
Below, you’ll find the one thing that keeps apple crisp from getting soggy, the ingredient choices that matter most, and a few smart variations if you need to work with what’s in the kitchen. There’s also a storage note for leftovers, which taste just as good reheated the next day.
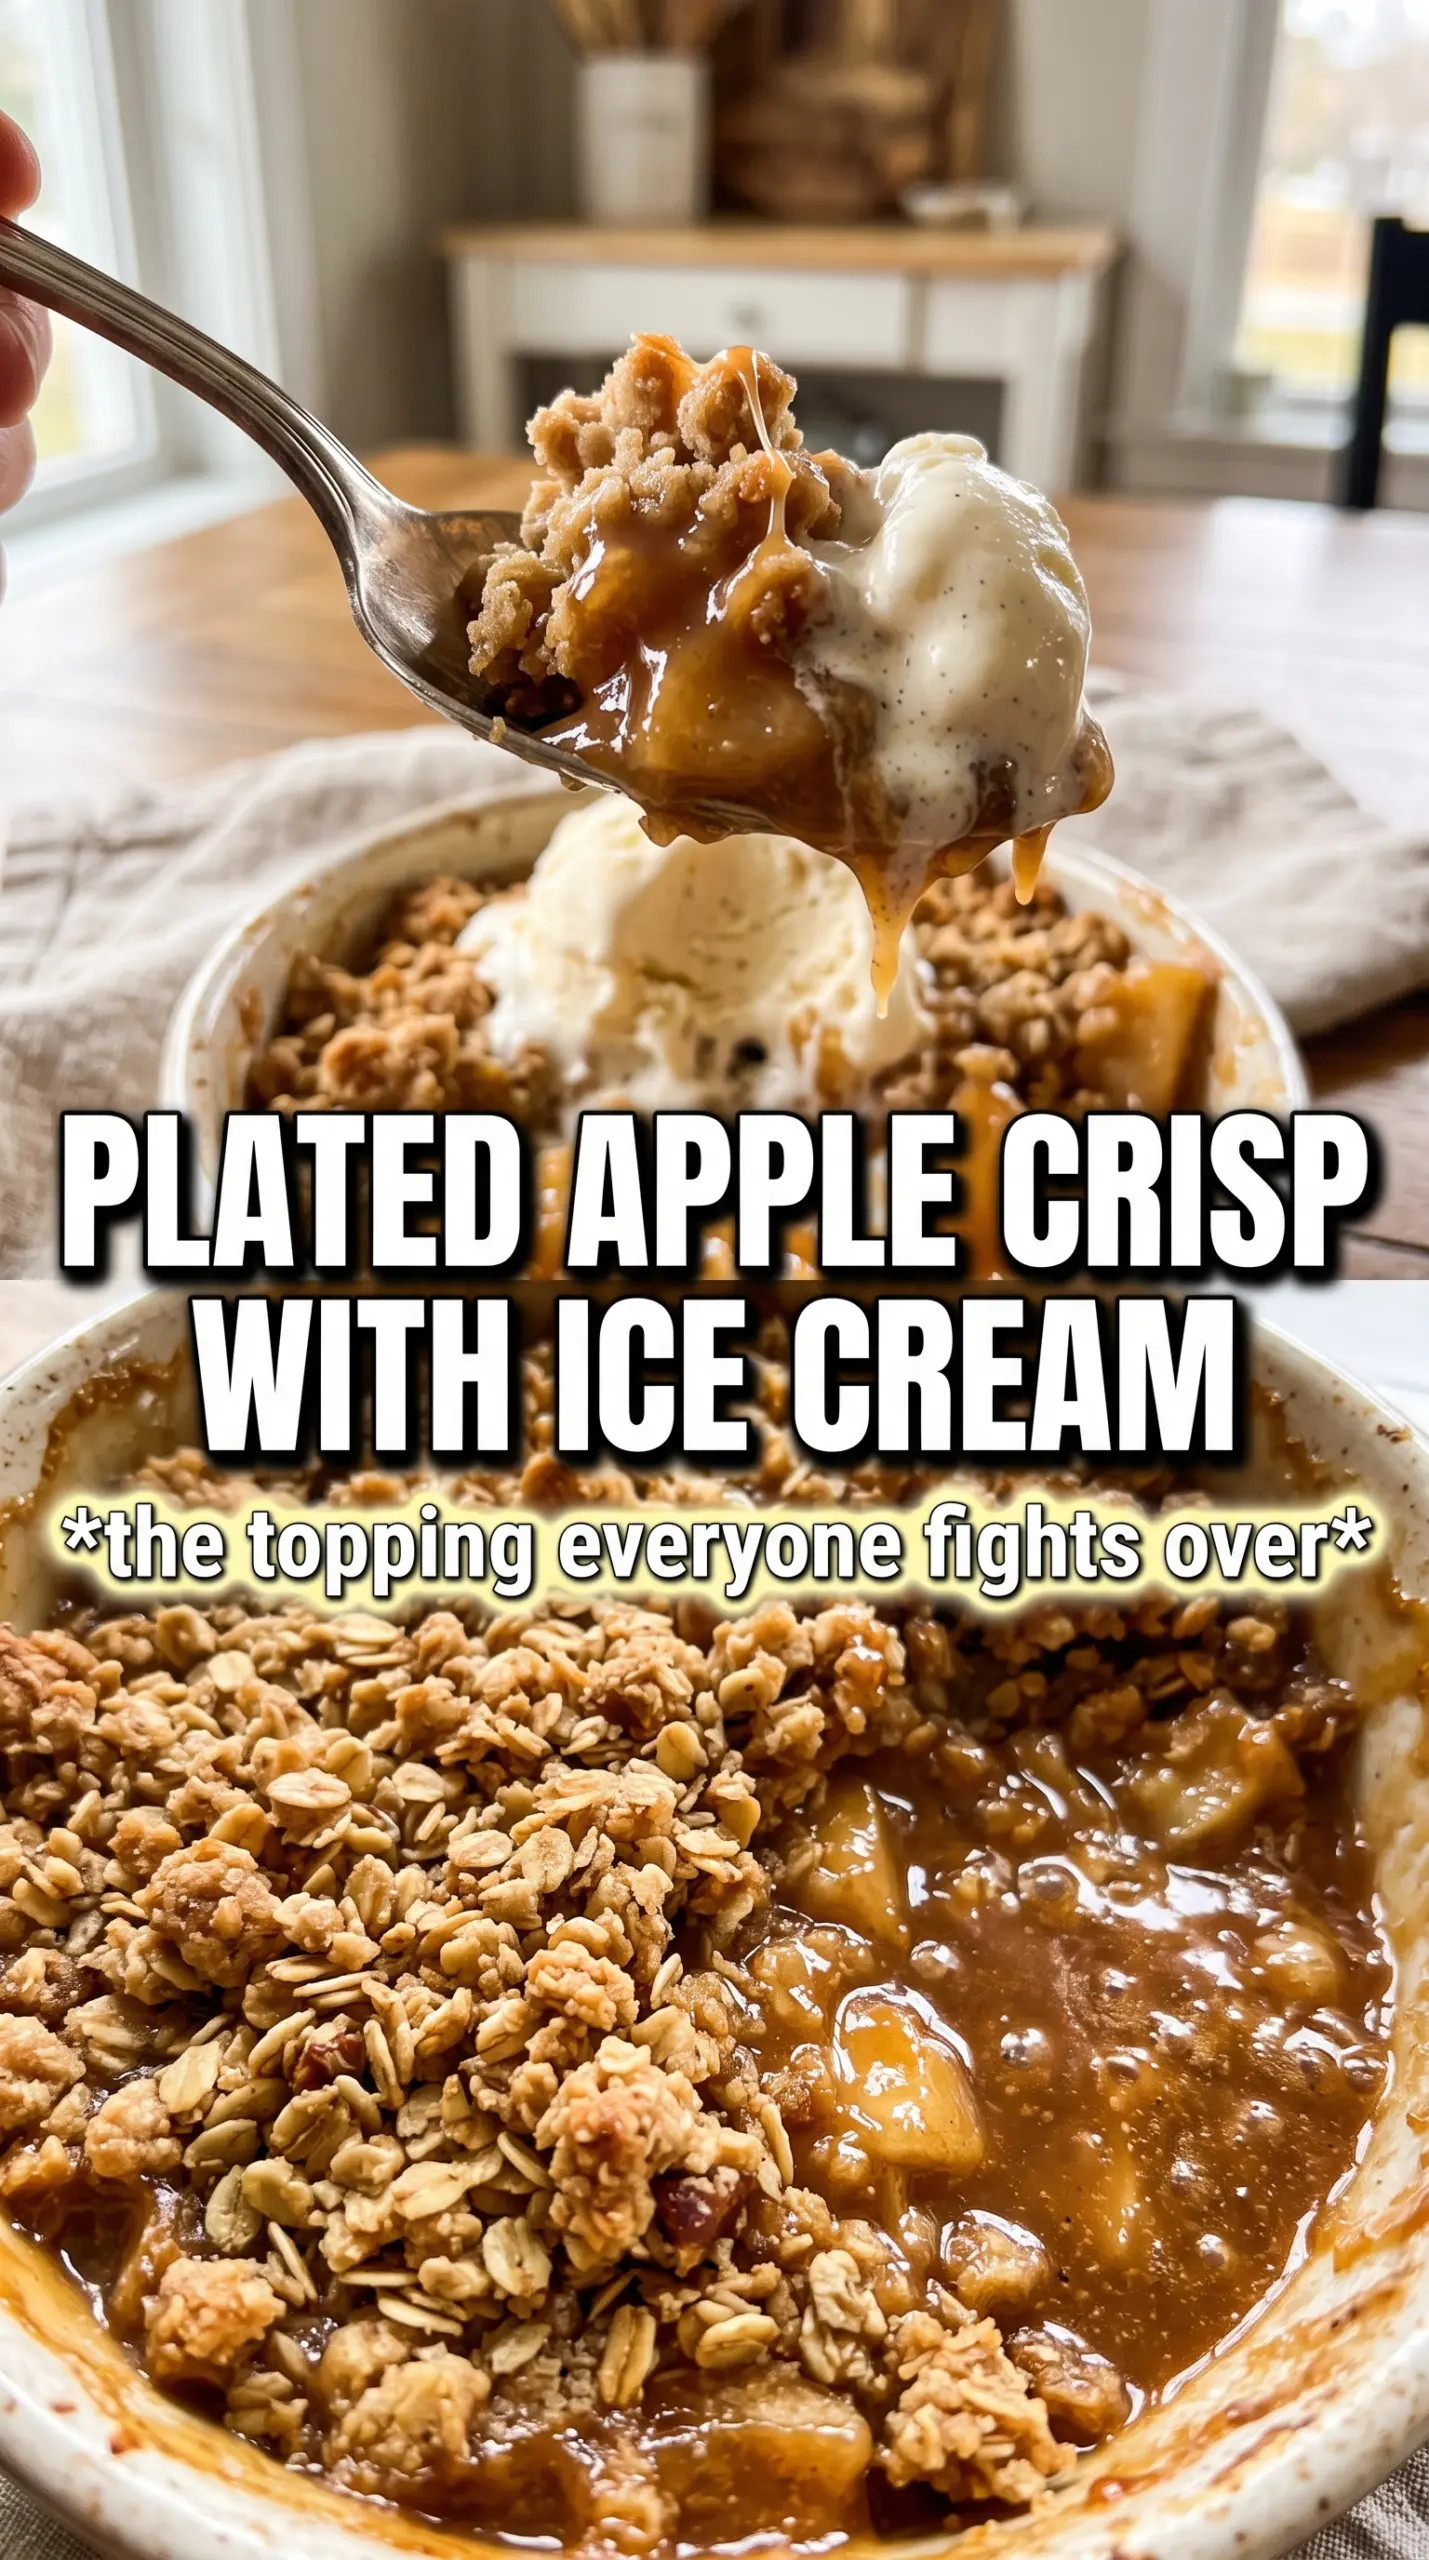
The topping stayed crisp even after we spooned it over ice cream, and the filling thickened up into that perfect syrupy texture instead of running all over the plate. I used Granny Smith and Honeycrisp like suggested, and the mix of tart and sweet was spot on.
Save this apple crisp for the nights when you want bubbling fruit, a chunky oat topping, and a scoop of melting vanilla ice cream on the side.
The Reason Apple Crisp Stays Crisp Instead of Going Soft
The difference between a crisp topping and a mushy one usually comes down to butter and moisture control. Cold butter stays in distinct pieces long enough to create pockets in the crumble, and those pockets bake into browned, crunchy clusters. If the butter softens too much before it goes into the oven, the topping melts into a paste and loses that rough, pebbly texture that makes apple crisp worth making in the first place.
The filling needs the same kind of attention. Apples release a lot of juice as they bake, and cornstarch thickens that juice into a glossy sauce before it has a chance to soak the topping from below. Skip the thickener and the bottom layer turns loose and wet, even if the top looks done.
- Cold butter — This is what keeps the topping chunky. Cube it first and work quickly so it stays firm.
- Apple mix — Tart apples hold their shape and keep the filling bright, while sweeter apples soften into a softer, jammy base.
- Cornstarch — It turns the baking juices into a spoonable sauce instead of a puddle.
- Do not press the topping down — Loose crumbs bake into crisp ridges; packed crumbs steam.
What the Apples, Oats, and Butter Are Each Doing Here
- Granny Smith apples — These bring the tart backbone and keep the filling from tasting flat. If you swap them, use another firm baking apple so the fruit doesn’t collapse into applesauce.
- Honeycrisp apples — These add sweetness and a tender bite that holds up in the oven. If you only have one apple type, choose a firm one and expect a slightly less layered flavor.
- Brown sugar — It deepens the topping and filling with a light molasses note. Light or dark brown sugar both work here; dark brown gives a richer, more caramel-like finish.
- Rolled oats — Old-fashioned oats give the crumble its signature texture. Quick oats will work in a pinch, but the topping will be finer and less nubby.
- All-purpose flour — This binds the crumble just enough to form clumps. Gluten-free 1:1 flour can replace it if needed, though the topping may bake a touch more fragile.
Building the Filling and Topping So They Bake at the Same Pace
Tossing the Apples Until Every Slice Is Coated
Start by mixing the sliced apples with both sugars, cinnamon, nutmeg, cornstarch, and lemon juice until every piece looks lightly coated. You want the cornstarch distributed evenly, not clumped in pockets, or you’ll end up with thick spots in the filling and loose juice everywhere else. Spread the apples in the baking dish in an even layer so the filling cooks at the same rate from edge to center.
Cutting the Butter Into Chunky Crumble
Combine the oats, flour, brown sugar, cinnamon, and salt, then cut in the cold butter until the mixture forms large crumbs and some pieces are about the size of peas. Stop before it looks sandy. If you overwork it, the butter disappears and the topping bakes up more like a soft cookie layer than a crisp crumble. The mixture should look uneven and a little shaggy.
Baking Until the Edges Bubble
Scatter the topping over the apples without pressing it down, then bake until the top is deeply golden and the filling is bubbling around the edges. That bubbling matters more than the clock; it tells you the cornstarch has thickened the fruit juices. If the top browns too quickly before the filling bubbles, lay a piece of foil loosely over the dish for the last stretch of baking.
Letting It Rest Before Serving
Pull the crisp from the oven and let it sit for about 10 minutes before scooping. The filling thickens as it cools, and if you cut in too early, the juices run loose across the pan. Serve it warm with vanilla ice cream so the contrast between the cold scoop and the hot fruit stays sharp.
How to Adapt This Apple Crisp Without Losing the Crunch
Make It Gluten-Free
Swap the all-purpose flour for a good 1:1 gluten-free baking blend. The texture stays close to the original, though the crumble may be a little more delicate once it cools. Keep the oats certified gluten-free if cross-contamination matters.
Use All One Apple Variety
If you only have one kind of apple, use a firm baking apple like Granny Smith, Pink Lady, or Fuji. The crisp will still bake well, but you’ll lose some of the sweet-tart balance that makes the filling taste layered instead of one-note.
Add Nuts for More Crunch
Fold 1/2 cup chopped pecans or walnuts into the crumble before baking. They toast as the crisp bakes and add a deeper, nuttier crunch, but the topping will be a little more rustic and less uniform.
Storage and Reheating
- Refrigerator: Store covered for up to 4 days. The topping softens a bit, but it still tastes great.
- Freezer: Bake, cool completely, and freeze tightly wrapped for up to 2 months. Thaw in the fridge before reheating for the best texture.
- Reheating: Warm in a 325F oven until heated through and the topping crisps back up. The microwave will make the crumble soft, so use it only if you don’t mind losing the crunch.
Answers to the Questions Worth Asking
Apple Crisp
Ingredients
Equipment
Method
- Preheat the oven to 375F and grease a 9x13 baking dish.
- Toss the sliced apples with granulated sugar, brown sugar, cinnamon, nutmeg, cornstarch, and lemon juice, then spread them evenly in the prepared dish.
- Combine the rolled oats, all-purpose flour, packed brown sugar, cinnamon, and salt in a bowl.
- Cut in the cold cubed unsalted butter using a pastry cutter or your fingers until the mixture forms large, chunky clumps.
- Scatter the crumble topping evenly over the apples without pressing it down.
- Bake for 40-45 minutes at 375F, until the topping is deeply golden and the apple filling is bubbling around the edges (visual cue: caramelized-looking oat clumps at the top).
- Rest the apple crisp for 10 minutes before serving warm.
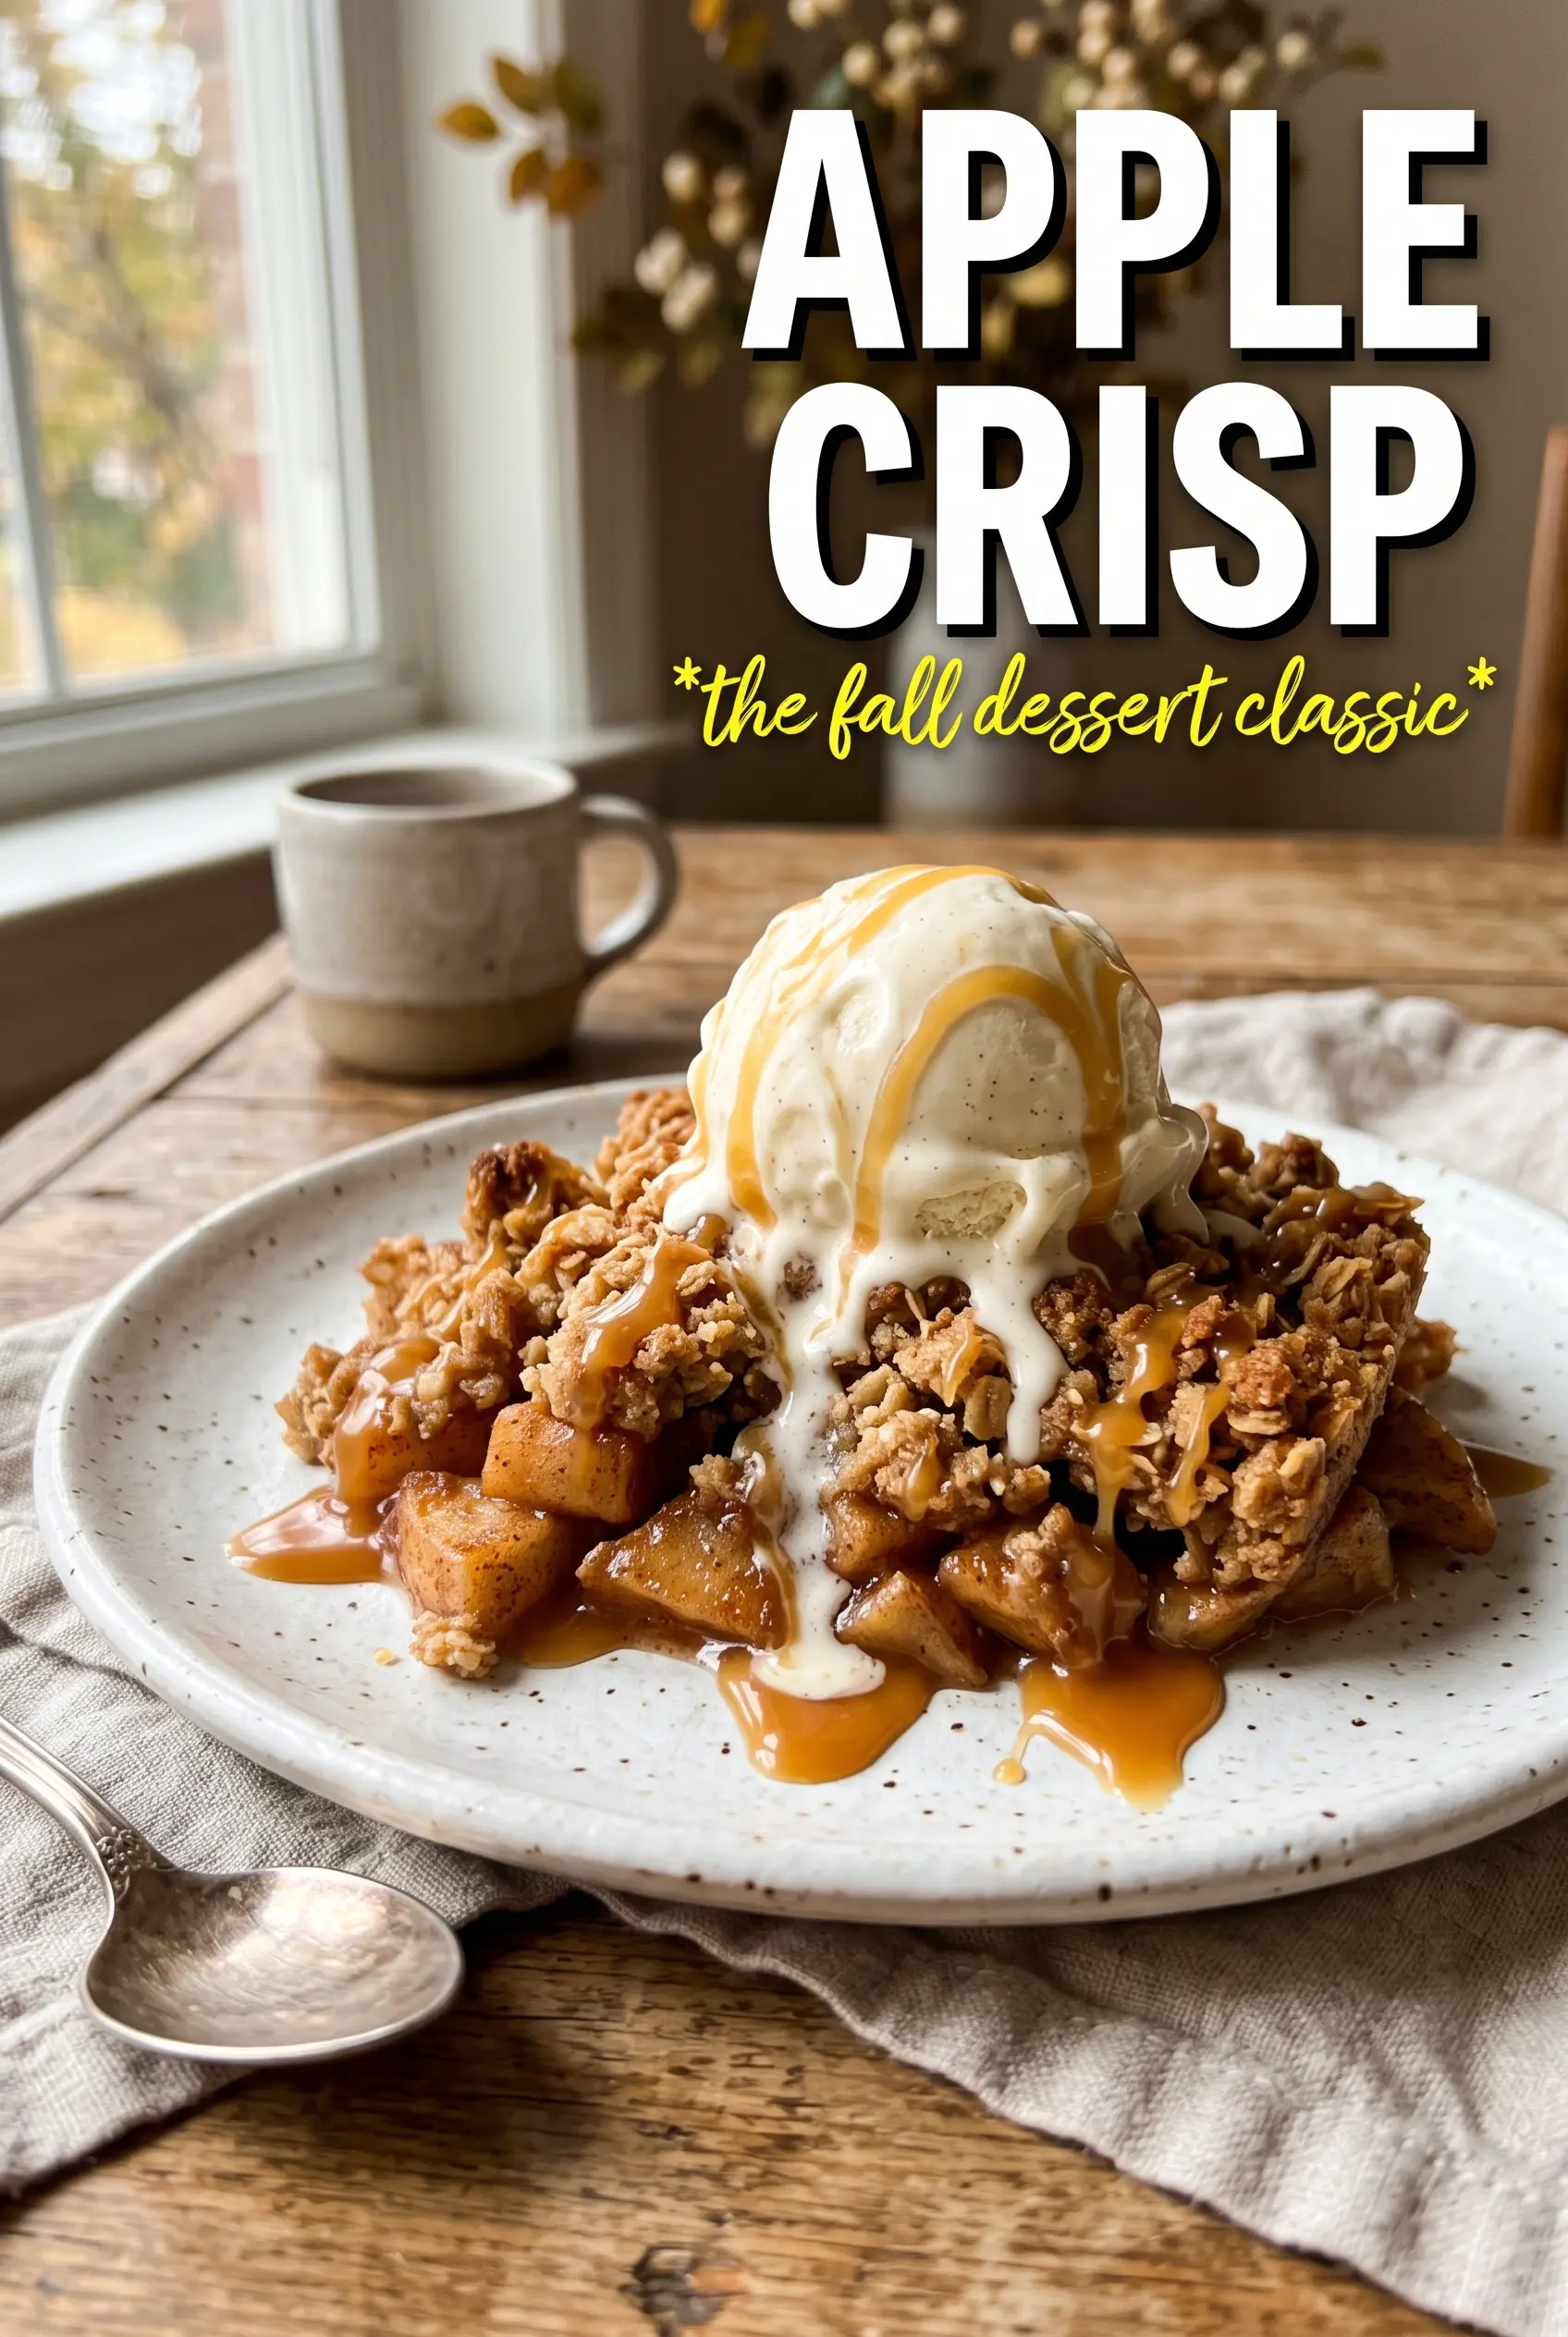
- Serve with vanilla ice cream (visual cue: ice cream melting slightly over the warm apples).


