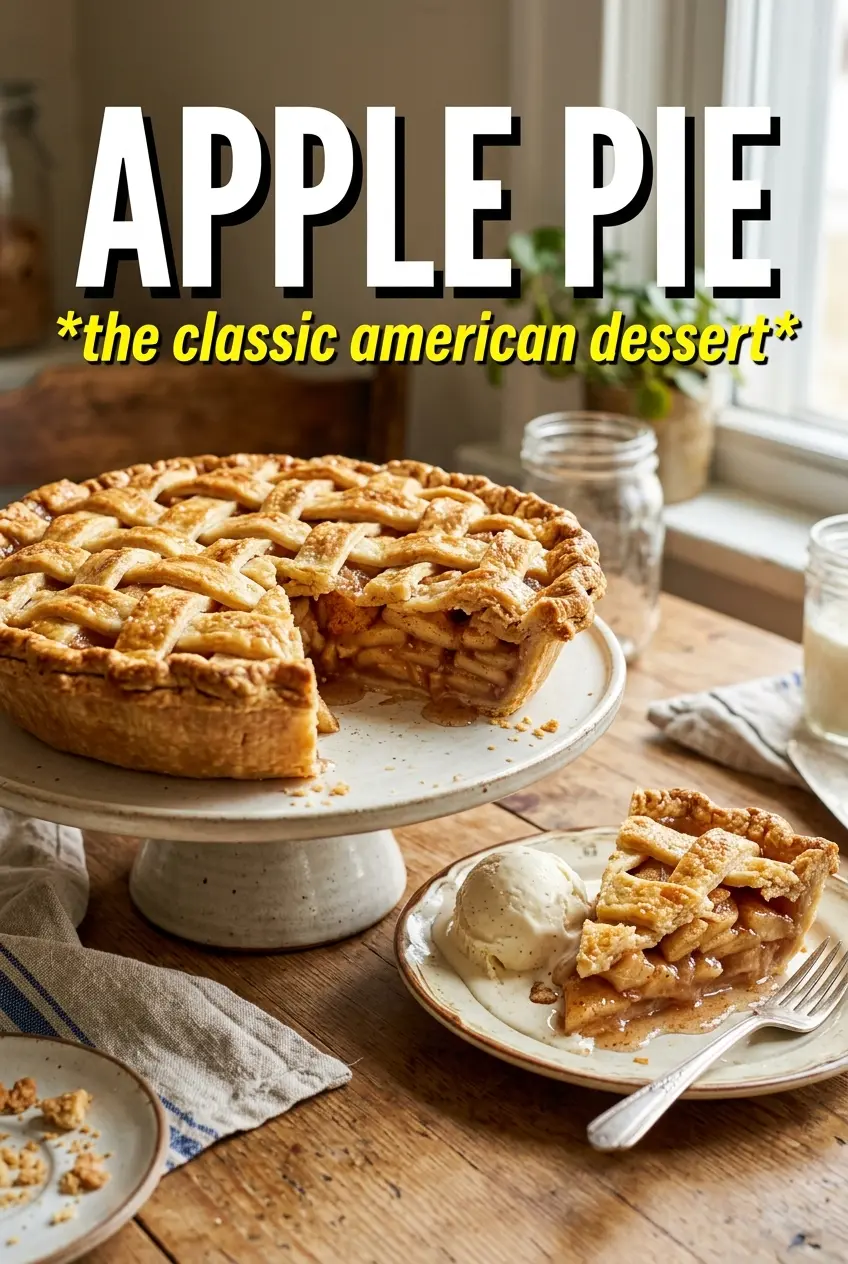
Deep golden crust, cinnamon-spiced apples, and that first clean slice are what keep apple pie on the table year after year. The best versions don’t turn soupy in the middle or collapse the minute the knife goes in. They hold their shape, stay juicy, and taste like real apples instead of cinnamon sugar paste.
This pie works because the filling gets a little head start before it ever goes into the crust. Tossing the apples with sugar, spices, and cornstarch draws out some juice, and draining off the excess keeps the bottom crust from going damp. The mix of Granny Smith and Honeycrisp gives you both structure and sweetness, so the filling tastes balanced instead of one-note.
Below, I’ll walk you through the one step that keeps the pie from turning watery, plus the small finish that gives the top crust that bakery-style sparkle. If you’ve ever had apples that baked down flat or a filling that ran all over the plate, this version fixes both.
The filling set up beautifully after cooling, and the bottom crust stayed crisp instead of getting soggy. I used half Granny Smith and half Honeycrisp, and the flavor was perfect.
Save this classic apple pie for the days when you want a flaky double crust and a thick, cinnamon-spiced filling that slices cleanly.
The Apple Filling Trick That Keeps the Bottom Crust Crisp
Apple pie fails most often for one simple reason: the fruit releases more juice than the crust can handle. If you pile raw, sugar-coated apples straight into the pie shell, that liquid seeps down before the crust has a chance to set. The result is soft pastry on the bottom and a filling that slides apart.
Letting the apples sit with the sugar, spices, cornstarch, and lemon juice pulls moisture out before baking. Draining off that liquid is the part people skip, but it’s what keeps the filling thick instead of watery. The cornstarch finishes the job in the oven, where it turns those juices into a glossy, sliceable filling once the pie starts bubbling.
- Granny Smith apples bring the tartness and structure the pie needs. They hold up better than softer varieties and keep the filling from turning mushy.
- Honeycrisp apples add juiciness and a sweeter finish. If you need to swap them, use another crisp baking apple rather than a mealy one.
- Cornstarch thickens the juices without making the filling heavy. Flour works in a pinch, but it gives a cloudier, looser set.
- Lemon juice brightens the flavor and keeps the sliced apples from dulling while they sit. You only need a little, but don’t leave it out.
What Each Ingredient Is Actually Doing in This Recipe

- Primary ingredient (the star) — Quality matters most. Choose the best you can find.
- Cooking medium (oil, butter, or broth) — This carries flavors and prevents dryness.
- Seasonings (salt, pepper, spices, herbs) — Layer flavors so nothing overpowers. Build depth gradually.
- Aromatics (garlic, onion, herbs) — Cook with fat to bloom flavors. Become the foundation.
- Supporting ingredients — Complement the main ingredient without overpowering it.
- Sauce or liquid (if applicable) — Brings flavors together. Balance richness with acid.
- Acid (lemon, vinegar, wine, or other) — Brightens and prevents flat-tasting results.
- Final finish (garnish, glaze, or sauce) — Prevents one-dimensional taste and adds visual appeal.
Building the Pie So the Crust Bakes Before the Apples Collapse
Mixing the Filling
Toss the sliced apples with both sugars, cinnamon, nutmeg, allspice, cornstarch, and lemon juice until every piece looks lightly coated. After 15 minutes, you’ll see a shallow pool of juice at the bottom of the bowl. Drain that off before filling the pie. If you skip that drain, the filling can bubble over and soak the bottom crust before it firms up.
Assembling the Shell
Fit the first crust into the pie dish without stretching it, then mound the apples in the center. That tall mound looks excessive at first, but the apples shrink as they bake. Dot the top with butter so the filling melts into little pockets of richness instead of tasting flat. Lay on the second crust, crimp the edges firmly, and cut steam vents so pressure doesn’t split the top.
Baking for a Set Filling
Start hot at 425F for 25 minutes to set the crust fast and give the pie a head start on color. Then reduce the oven to 375F and keep baking until the crust is deep golden and the filling is bubbling through the vents. That bubbling matters; it tells you the cornstarch has thickened the juices. If the top browns too fast, tent it loosely with foil while the filling finishes.
Cooling Before the First Slice
Let the pie cool for at least 2 hours before cutting into it. The filling thickens as it cools, and if you slice too soon, all that work ends up on the plate. A warm pie is fine for serving, but it needs time to settle into clean wedges. If you want the neatest slices, wait until it’s just barely warm instead of piping hot.
How to Adapt This Pie When You Need a Different Crust or Filling
Use a store-bought crust when time is tight
Refrigerated crust works well here because the filling carries the flavor. Let it soften just enough to unroll without cracking, but keep it cold so it bakes flaky. The pie will still taste homemade if you give the top crust a good egg wash and sugar finish.
Make it dairy-free without changing the texture
Swap the butter in the filling for a dairy-free butter alternative with a similar fat content. The flavor will be a touch less rich, but the filling still bakes up thick and glossy. Keep the egg wash if you eat eggs, or brush the top with a little plant milk for a softer finish.
Use all Granny Smith for a tarter pie
All Granny Smith gives you a firmer, sharper filling that holds shape well, especially if you like the sweet crust to carry more of the dessert. It costs you some of the juicier, mellow apple flavor from Honeycrisp, but the texture stays excellent.
Store and reheat leftover pie the right way
- Refrigerator: Cover and refrigerate for up to 4 days. The crust softens a little, but the filling stays set.
- Freezer: Freeze baked slices wrapped well for up to 2 months. Thaw in the fridge so the filling doesn’t weep.
- Reheating: Warm slices in a 325F oven until the crust crisps back up. The microwave will soften the pastry and make the filling loose again.
Answers to the Questions Worth Asking
Apple Pie
Ingredients
Equipment
Method
- Preheat the oven to 425°F, then fit one pie crust into a 9-inch pie dish.
- Toss the sliced apples with granulated sugar, brown sugar, cinnamon, nutmeg, allspice, cornstarch, and lemon juice, then let sit 15 minutes to start drawing out juices.
- Drain any excess liquid, then pile the apple filling into the crust, mounding in the center for even cooking.
- Dot the filling with diced unsalted butter to add richness and help set the filling.
- Top with the second crust, crimp the edges, and cut steam vents so pressure can escape during baking.
- Brush the crust with egg wash (beaten egg mixed with water), then sprinkle the surface with cinnamon sugar for a crisp, golden finish.
- Bake at 425°F for 25 minutes, watching for the crust to begin turning golden.
- Reduce the oven to 375°F and bake 30 to 35 more minutes, until the crust is deep golden and the filling bubbles.
- Cool the pie at least 2 hours before slicing so the filling fully sets and stays thick.


