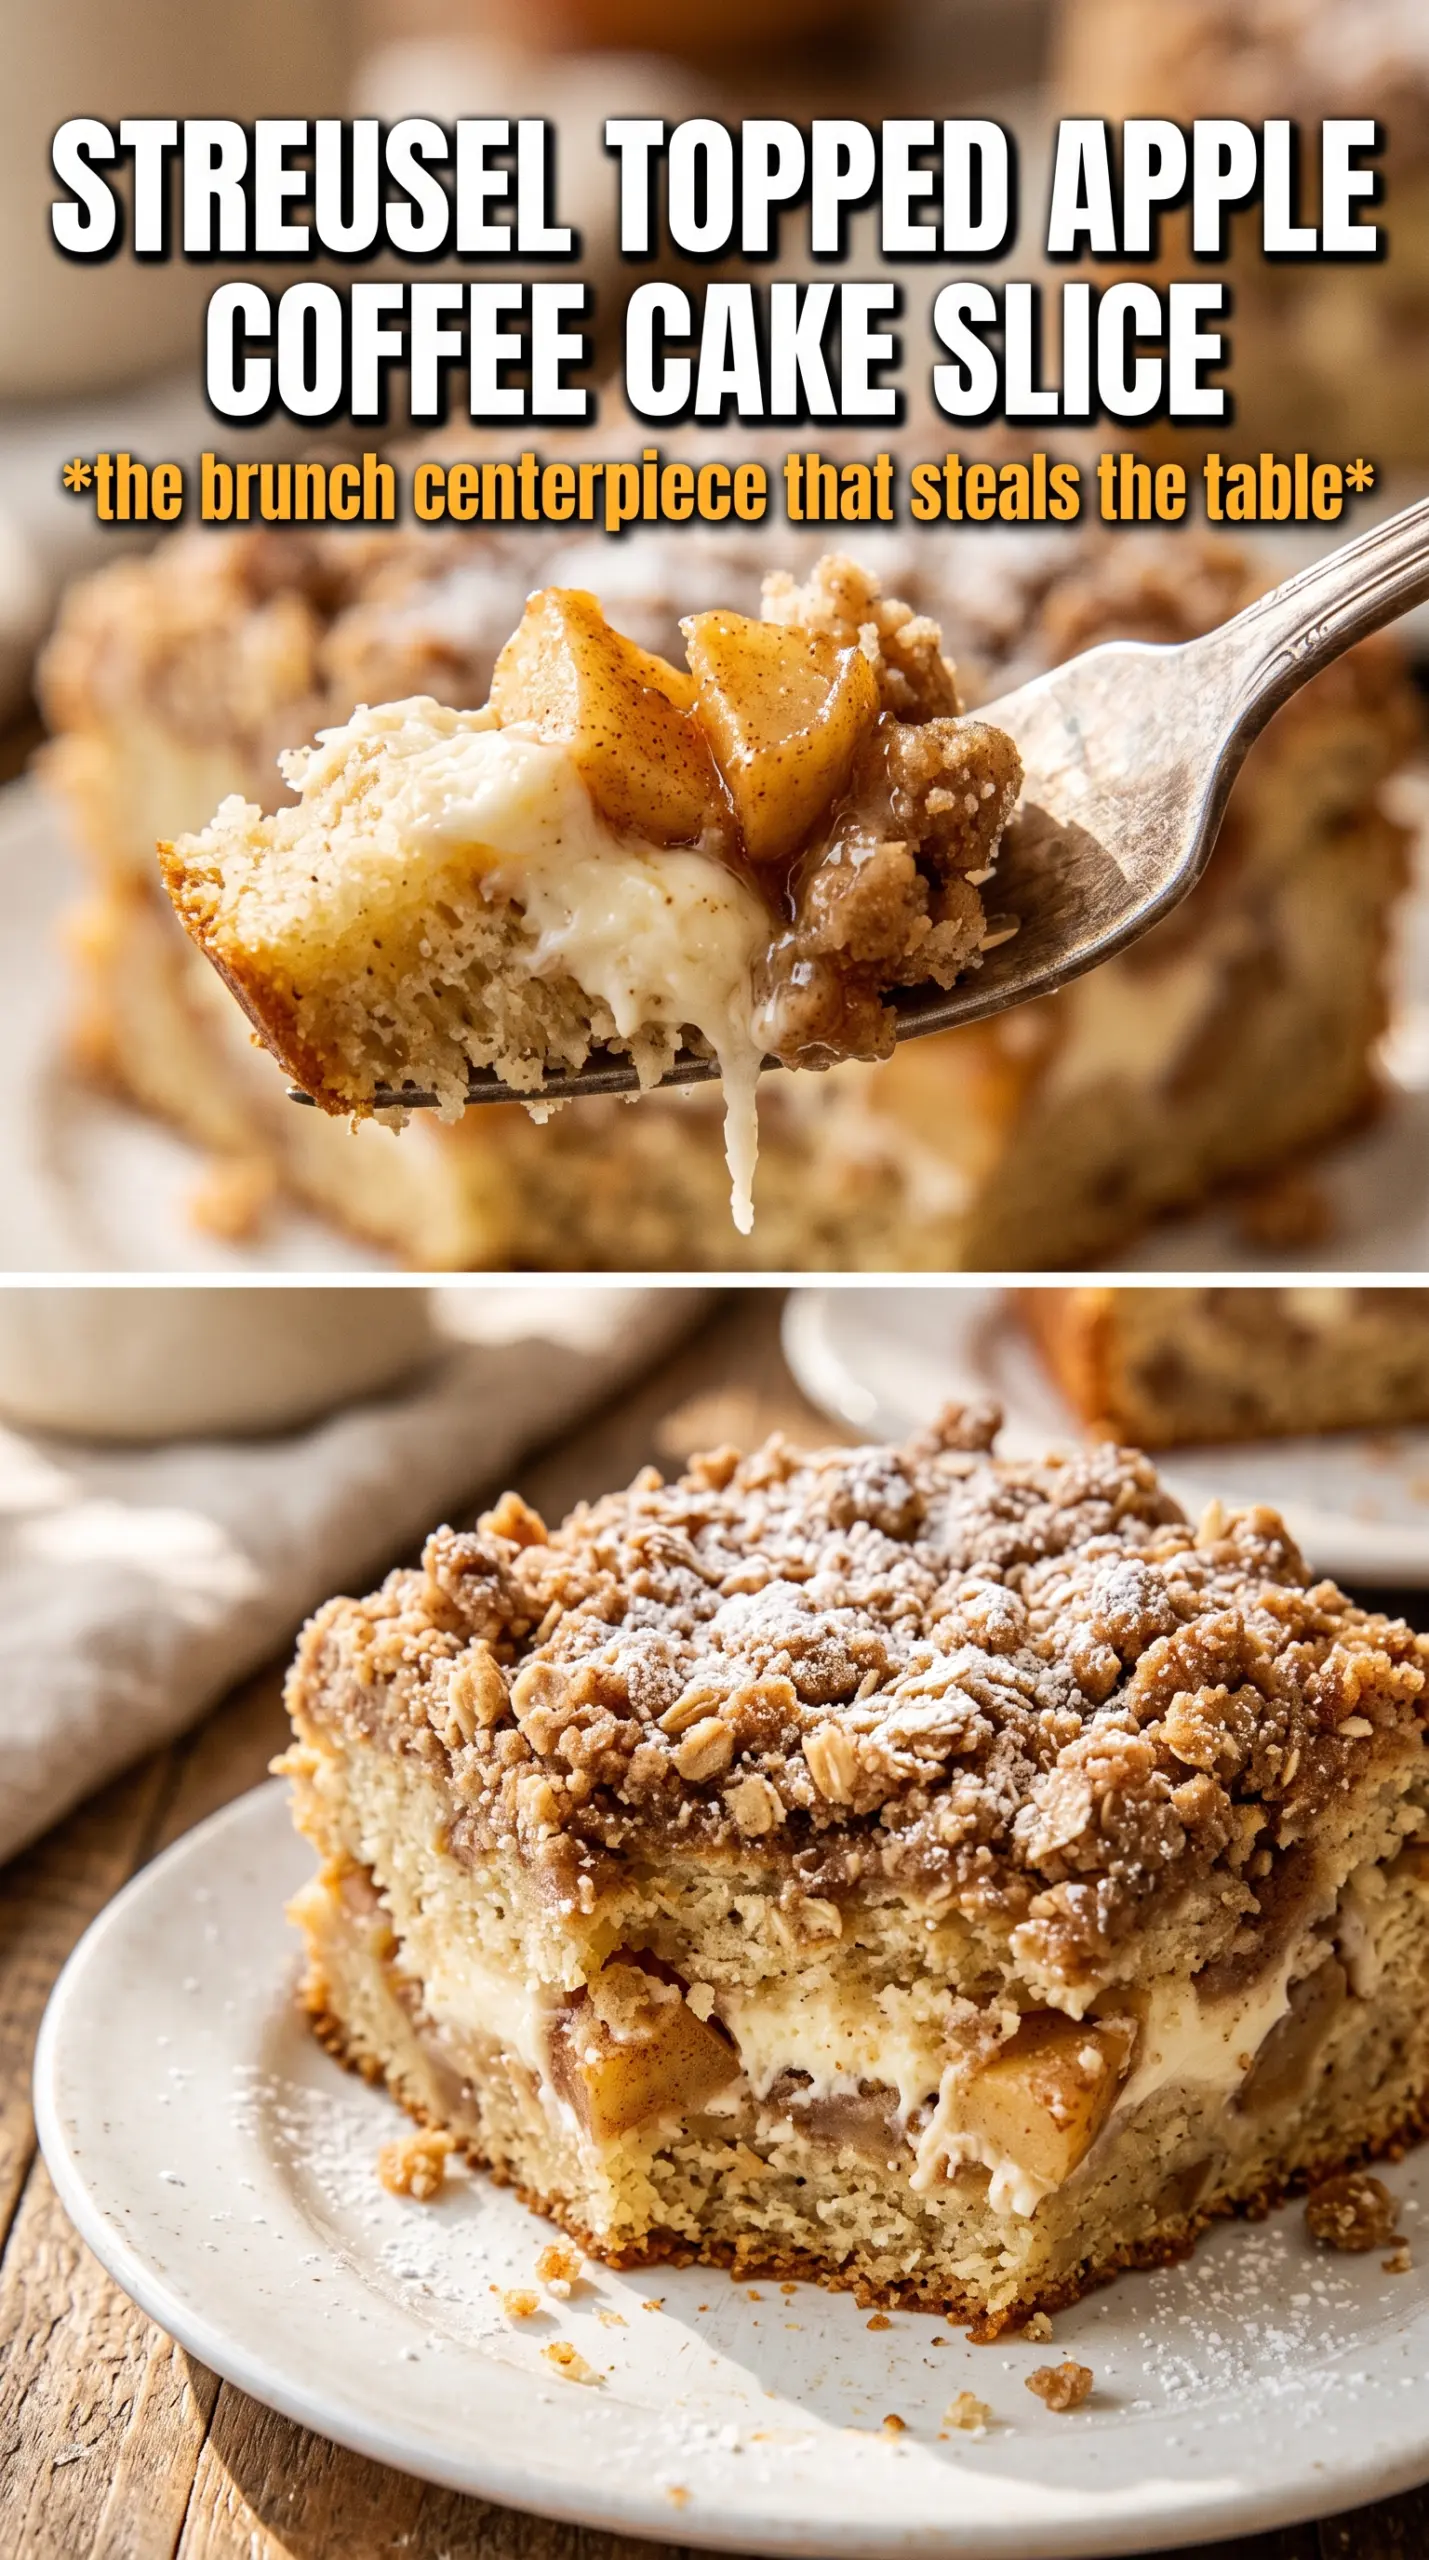
Soft cake, tangy cream cheese, cinnamon apples, and a crisp brown sugar streusel give this coffee cake the kind of layered bite that makes people hover around the pan before it even cools. The top bakes into a golden, craggy shell while the middle stays tender and rich, with pockets of spiced apple and a creamy ribbon running through each slice. It’s the kind of breakfast cake that feels special without asking for any fussy technique.
The balance matters here. Sour cream keeps the crumb moist and tight enough to hold the filling, while the cream cheese layer adds structure and a little tang so the whole pan doesn’t eat flat or overly sweet. The apples go in raw, which lets them soften in the oven and keep their shape instead of turning into applesauce. That means every layer still tastes like itself.
Below, I’ve laid out the one step that keeps the layers distinct, plus the small ingredient choices that make the texture work. If you’ve ever had a coffee cake collapse into one soft blur, this version will feel like a win.
The cream cheese layer stayed creamy instead of sinking, and the streusel actually stayed crisp on top even the next morning. I used Honeycrisp apples and the slices held their shape beautifully.
Save this cream cheese apple coffee cake for a tender breakfast bake with a creamy middle and crisp cinnamon streusel.
The Layer Order That Keeps the Filling from Disappearing
The most common mistake with a layered coffee cake is rushing the assembly and ending up with a swirl of filling where the cream cheese should be. Here, the batter goes in first, then the cream cheese mixture gets dolloped and gently spread, and only then do the apples and streusel go on top. That order keeps the heavier layers from collapsing into the cake before the batter has a chance to set in the oven.
Another detail that matters is the thickness of each layer. The cream cheese mixture should be smooth but not loose, and the apples should be diced small enough to soften during baking without weighing the whole pan down. If your streusel looks sandy rather than clumpy, it will melt instead of staying crisp, so stop mixing while there are still obvious crumbs.
- Butter — Softened butter in the cake batter creams with sugar to trap air, which gives the crumb its lift. For the streusel, use cold butter so you get pebbly crumbs instead of paste.
- Sour cream — This is what keeps the cake plush and dense in the good way. Plain yogurt works if that’s what you have, but the crumb will be a little less rich.
- Cream cheese — Full-fat cream cheese gives the filling body and that gentle tang that cuts through the sweetness. Low-fat versions can loosen up and bake less cleanly.
- Apples — A firm baking apple holds shape and gives you distinct bites of fruit. Softer apples tend to melt into the filling and blur the layers.
What Each Ingredient Is Actually Doing in This Recipe
- Primary ingredient (the star) — Quality matters most. Choose the best you can find.
- Cooking medium (oil, butter, or broth) — This carries flavors and prevents dryness.
- Seasonings (salt, pepper, spices, herbs) — Layer flavors so nothing overpowers. Build depth gradually.
- Aromatics (garlic, onion, herbs) — Cook with fat to bloom flavors. Become the foundation.
- Supporting ingredients — Complement the main ingredient without overpowering it.
- Sauce or liquid (if applicable) — Brings flavors together. Balance richness with acid.
- Acid (lemon, vinegar, wine, or other) — Brightens and prevents flat-tasting results.
- Final finish (garnish, glaze, or sauce) — Prevents one-dimensional taste and adds visual appeal.
Building the Batter, Filling, and Topping Without Overmixing
Mix the Streusel First
Start with the streusel so it has time to chill while you build the cake. Work the cold butter into the flour, brown sugar, and cinnamon with a fork until the mix looks like wet sand with a few larger crumbs. If you keep mixing until it turns smooth, it’ll bake into a solid lid instead of a crumbly topping.
Whip the Cream Cheese Layer Until It Smooths Out
Beat the cream cheese, sugar, egg, and vanilla until the mixture is completely smooth and pale. Any little lumps will stay visible after baking, so scrape the bowl and keep going until it looks spreadable. It should hold its shape on a spoon, not run off like batter.
Build the Cake Batter Just Until Combined
Cream the butter and sugar until fluffy, then add the eggs and vanilla before alternating the flour mixture with the sour cream. Stop as soon as the flour disappears. If you beat it too long at this stage, the cake gets tough instead of tender, and the crumb loses that soft, bakery-style texture.
Layer, Bake, and Check the Center
Spread the batter evenly in the pan, then add the cream cheese layer in dollops and gently spread it toward the edges. Spoon the apples over the top, sprinkle on the streusel, and bake until the center is set and a toothpick comes out clean or with just a few moist crumbs. If the top is browning too quickly before the middle is done, lay a piece of foil over the pan for the last 10 to 15 minutes.
Use Pears Instead of Apples
Firm pears work if that’s what you have, but they soften faster and bring a milder sweetness. Cut them a little larger than you would apples so they don’t vanish into the cream cheese layer during baking.
Make It Gluten-Free
A good 1:1 gluten-free baking flour works here, but it should include xanthan gum or a similar binder. The texture will be a touch more delicate, but the layers still bake up well if you don’t overmix the batter.
Dairy-Free Version
Use plant-based butter, dairy-free cream cheese, and a thick non-dairy yogurt in place of the sour cream. The cake will still bake nicely, but the cream cheese layer won’t have quite the same tangy richness.
Storage and Reheating
- Refrigerator: Keep covered for up to 5 days. The cream cheese layer stays best chilled, and the streusel softens a little by day two.
- Freezer: Freeze individual slices tightly wrapped for up to 2 months. Thaw in the refrigerator so the cream cheese layer doesn’t turn watery.
- Reheating: Warm slices in a 300F oven or toaster oven until just heated through. The microwave works, but it softens the streusel and can make the cream cheese layer a little too loose.
Questions I Get Asked About This Recipe
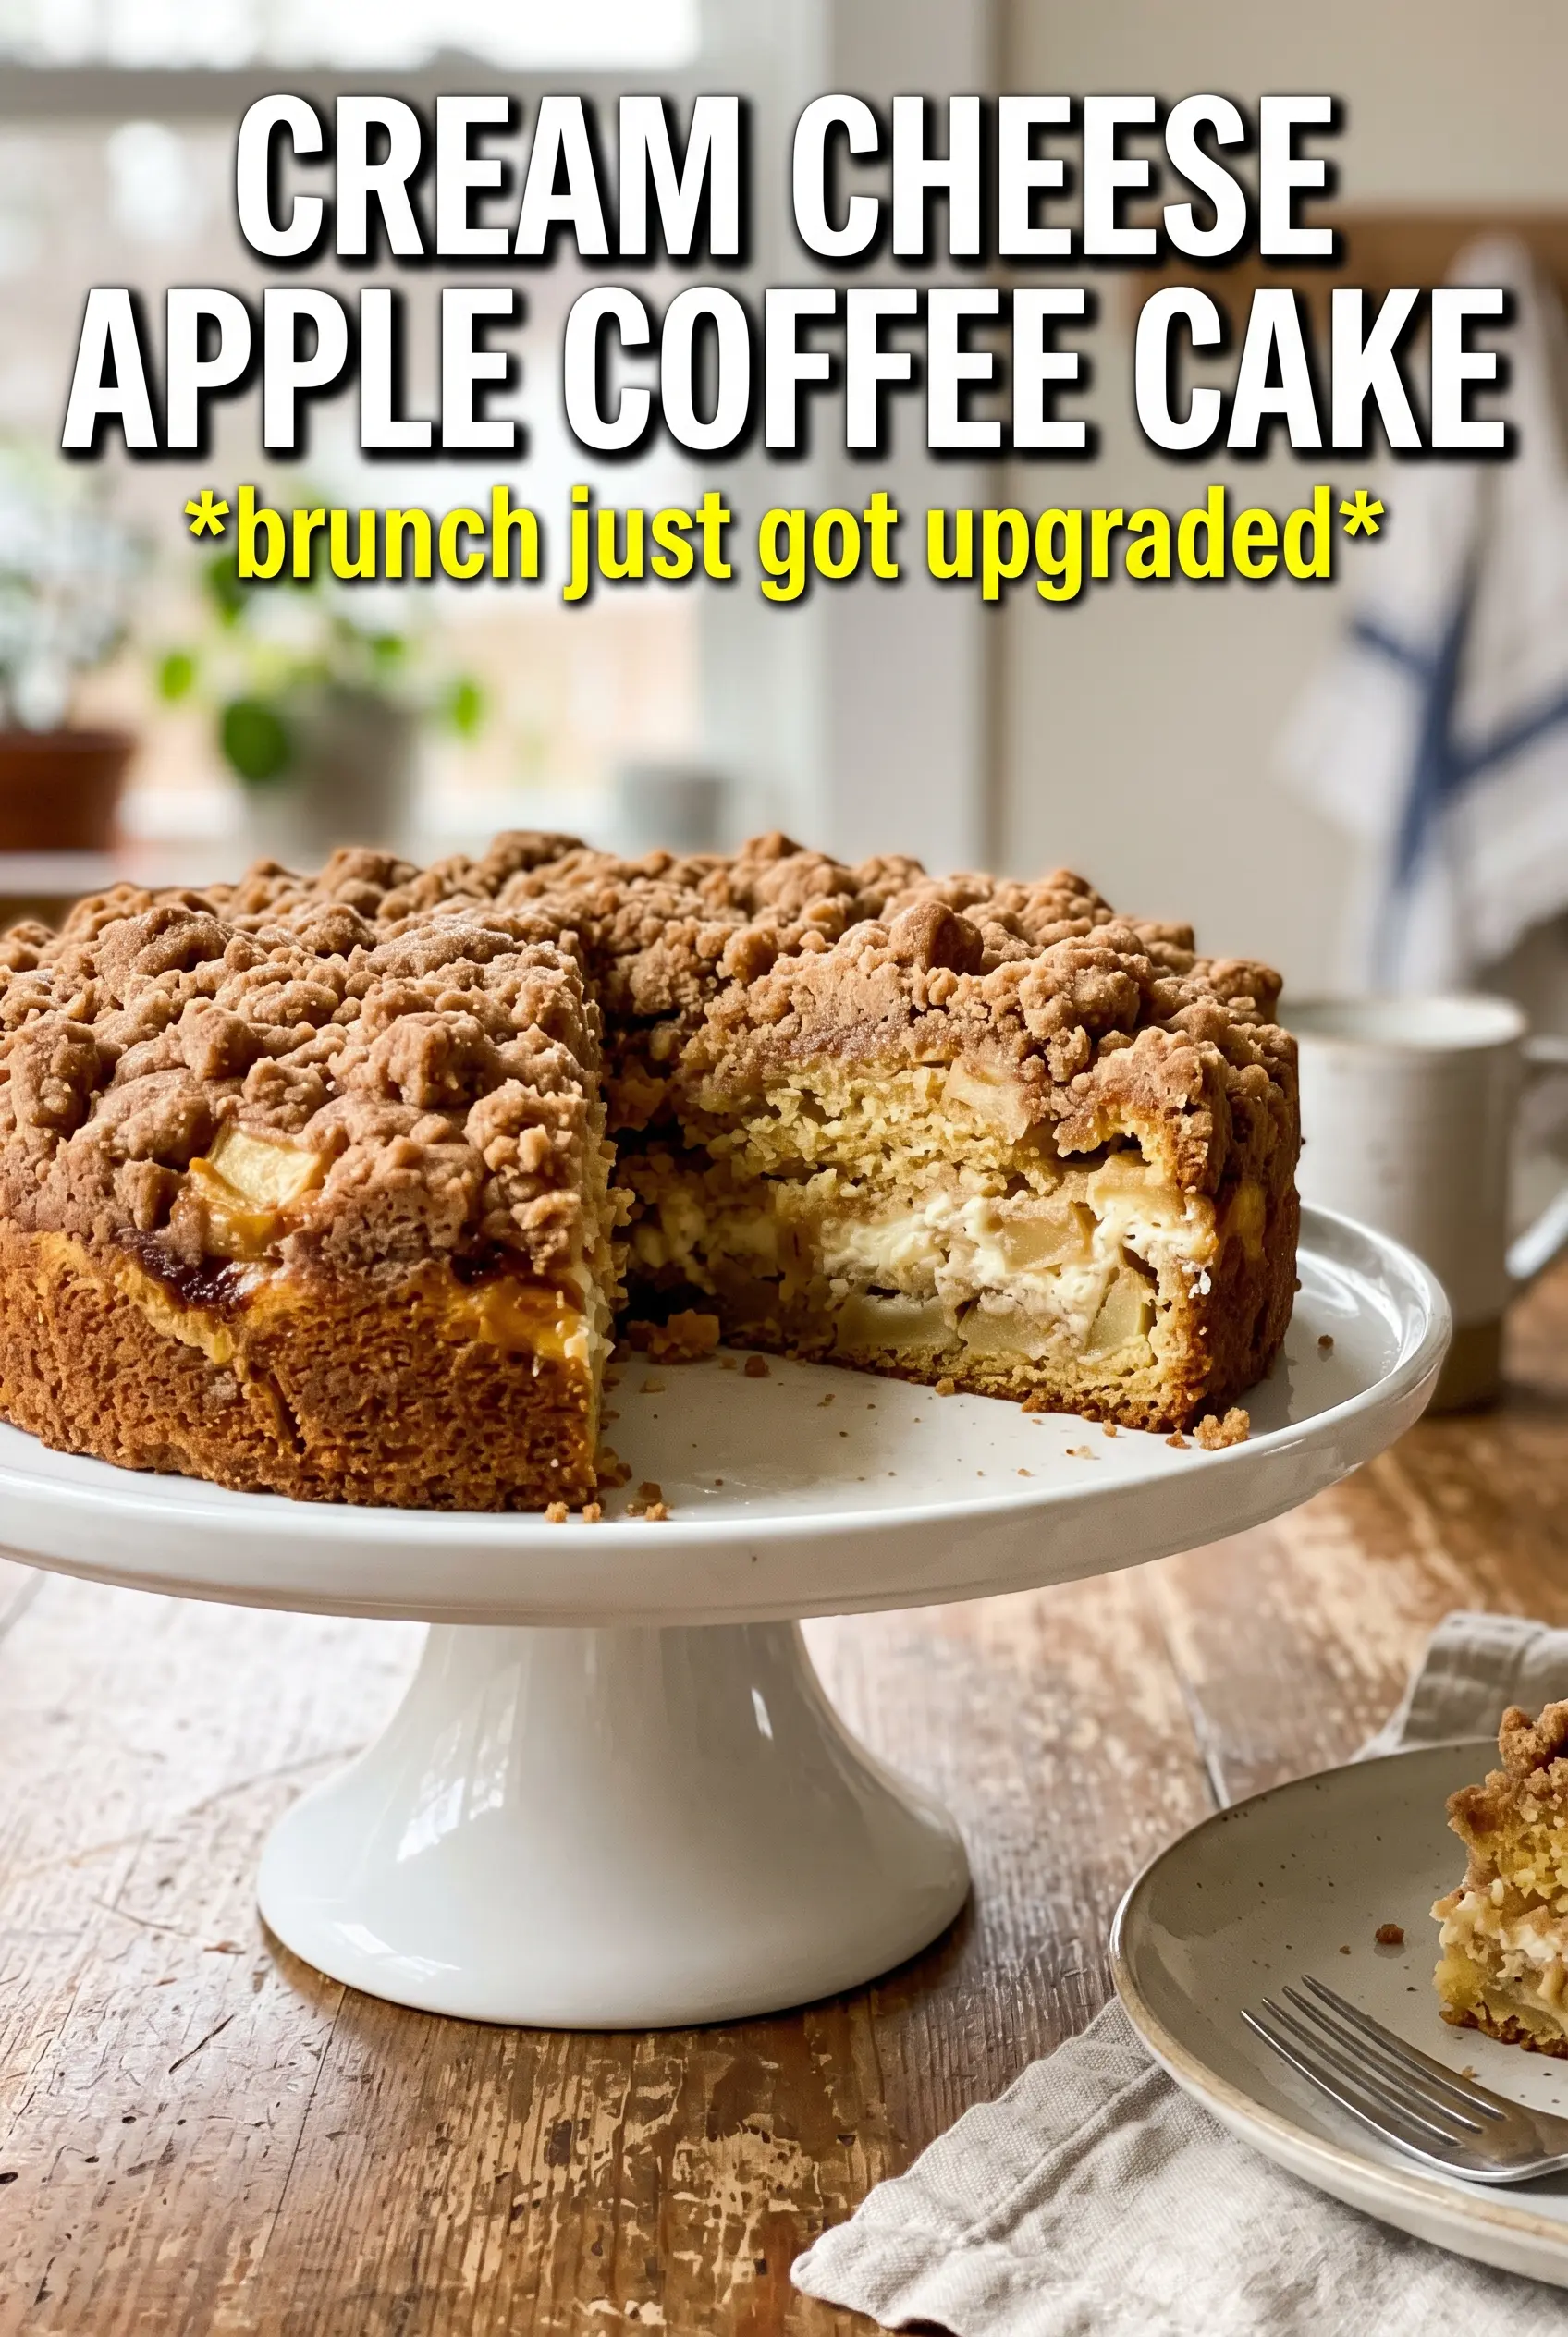
Cream Cheese Apple Coffee Cake
Ingredients
Equipment
Method
- Preheat the oven to 350F and grease a 9x13 baking dish. Keep it ready so the batter can go in right after mixing.
- Combine streusel flour, brown sugar, cinnamon, and cold butter in a bowl and mix with a fork until crumbly. Set aside as a topping.
- Beat the cream cheese layer ingredients together until smooth, then set aside. Aim for no lumps so it spreads easily.
- Toss diced apples with sugar and cinnamon, then set aside. Coat the pieces evenly so each bite tastes like cinnamon apples.
- Beat the butter and sugar until fluffy, about 2 to 3 minutes. This aerates the cake for a softer crumb.
- Add eggs and vanilla and mix until combined. Scrape the sides to fully incorporate.
- Alternate adding the flour mixture and sour cream, mixing just until incorporated. Stop as soon as you don’t see dry flour.
- Spread the cake batter in the prepared pan, then dollop the cream cheese mixture over the top and spread gently. Leave some streaks for a marbled look.
- Top with the cinnamon apples, then sprinkle streusel over everything. Make sure the streusel covers the surface for crisp edges.
- Bake for 45 to 50 minutes at 350F, until a toothpick comes out clean. Let it cool slightly before slicing so the layers set.


