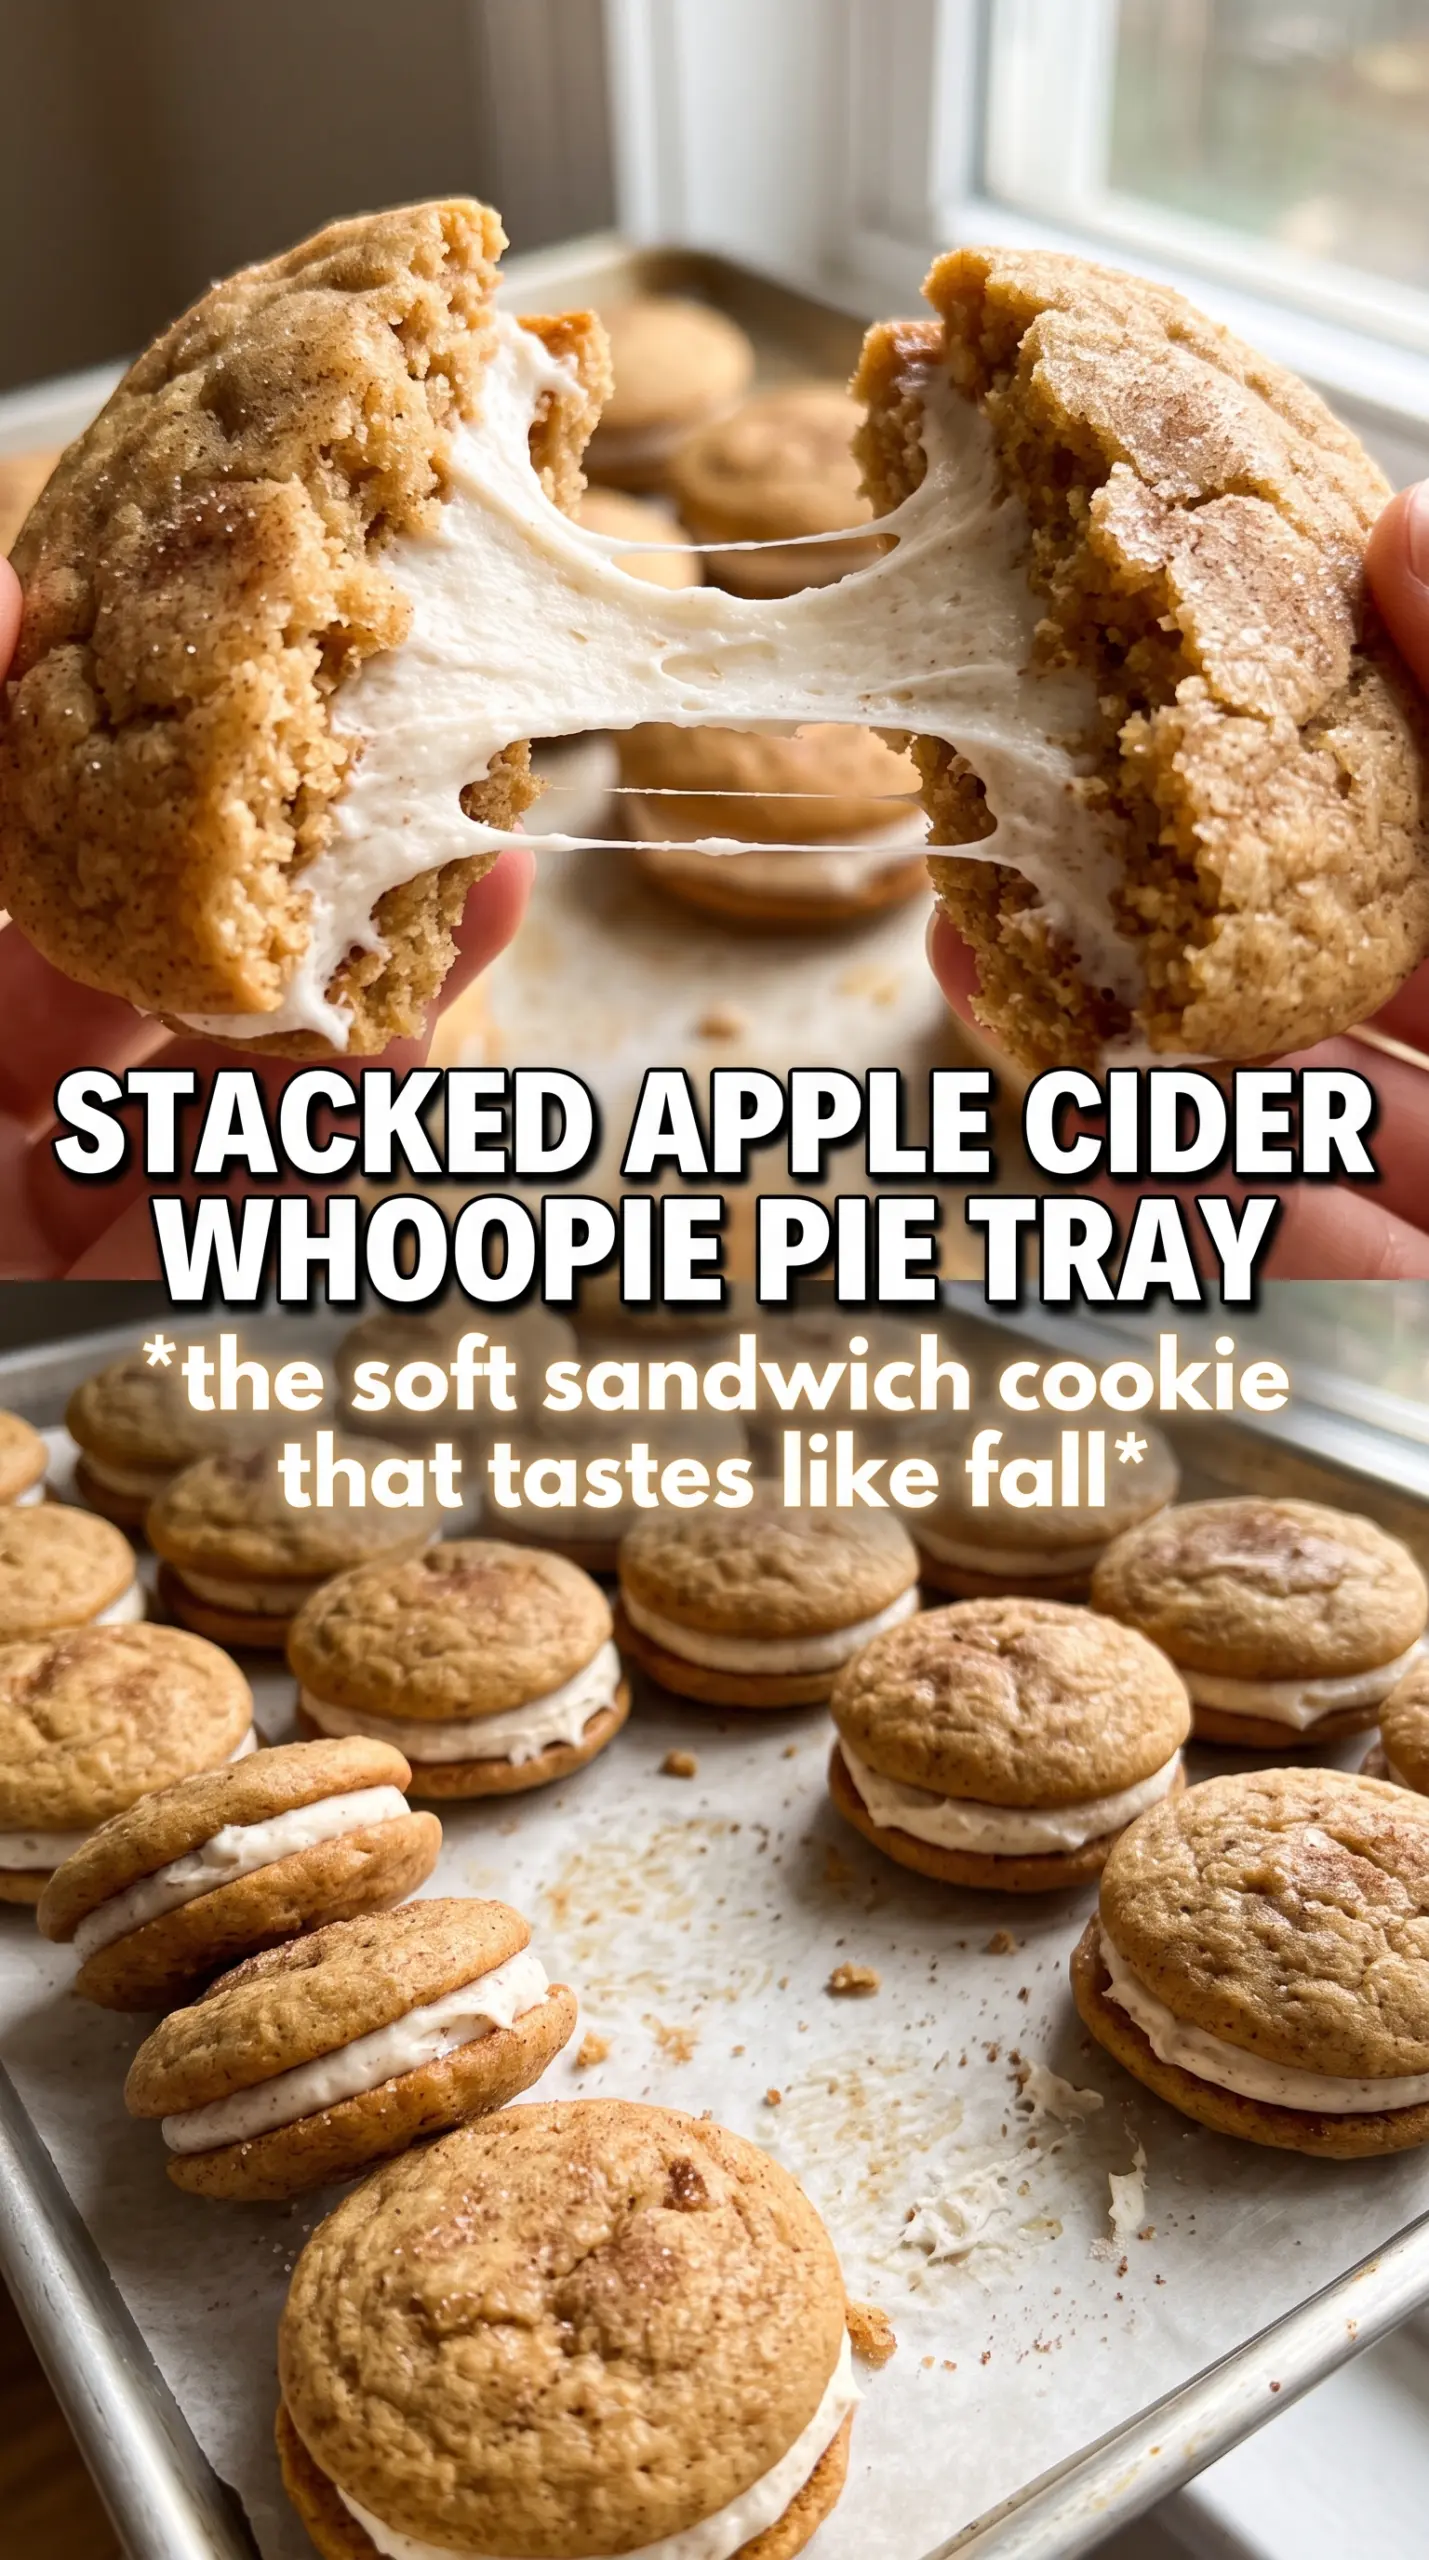
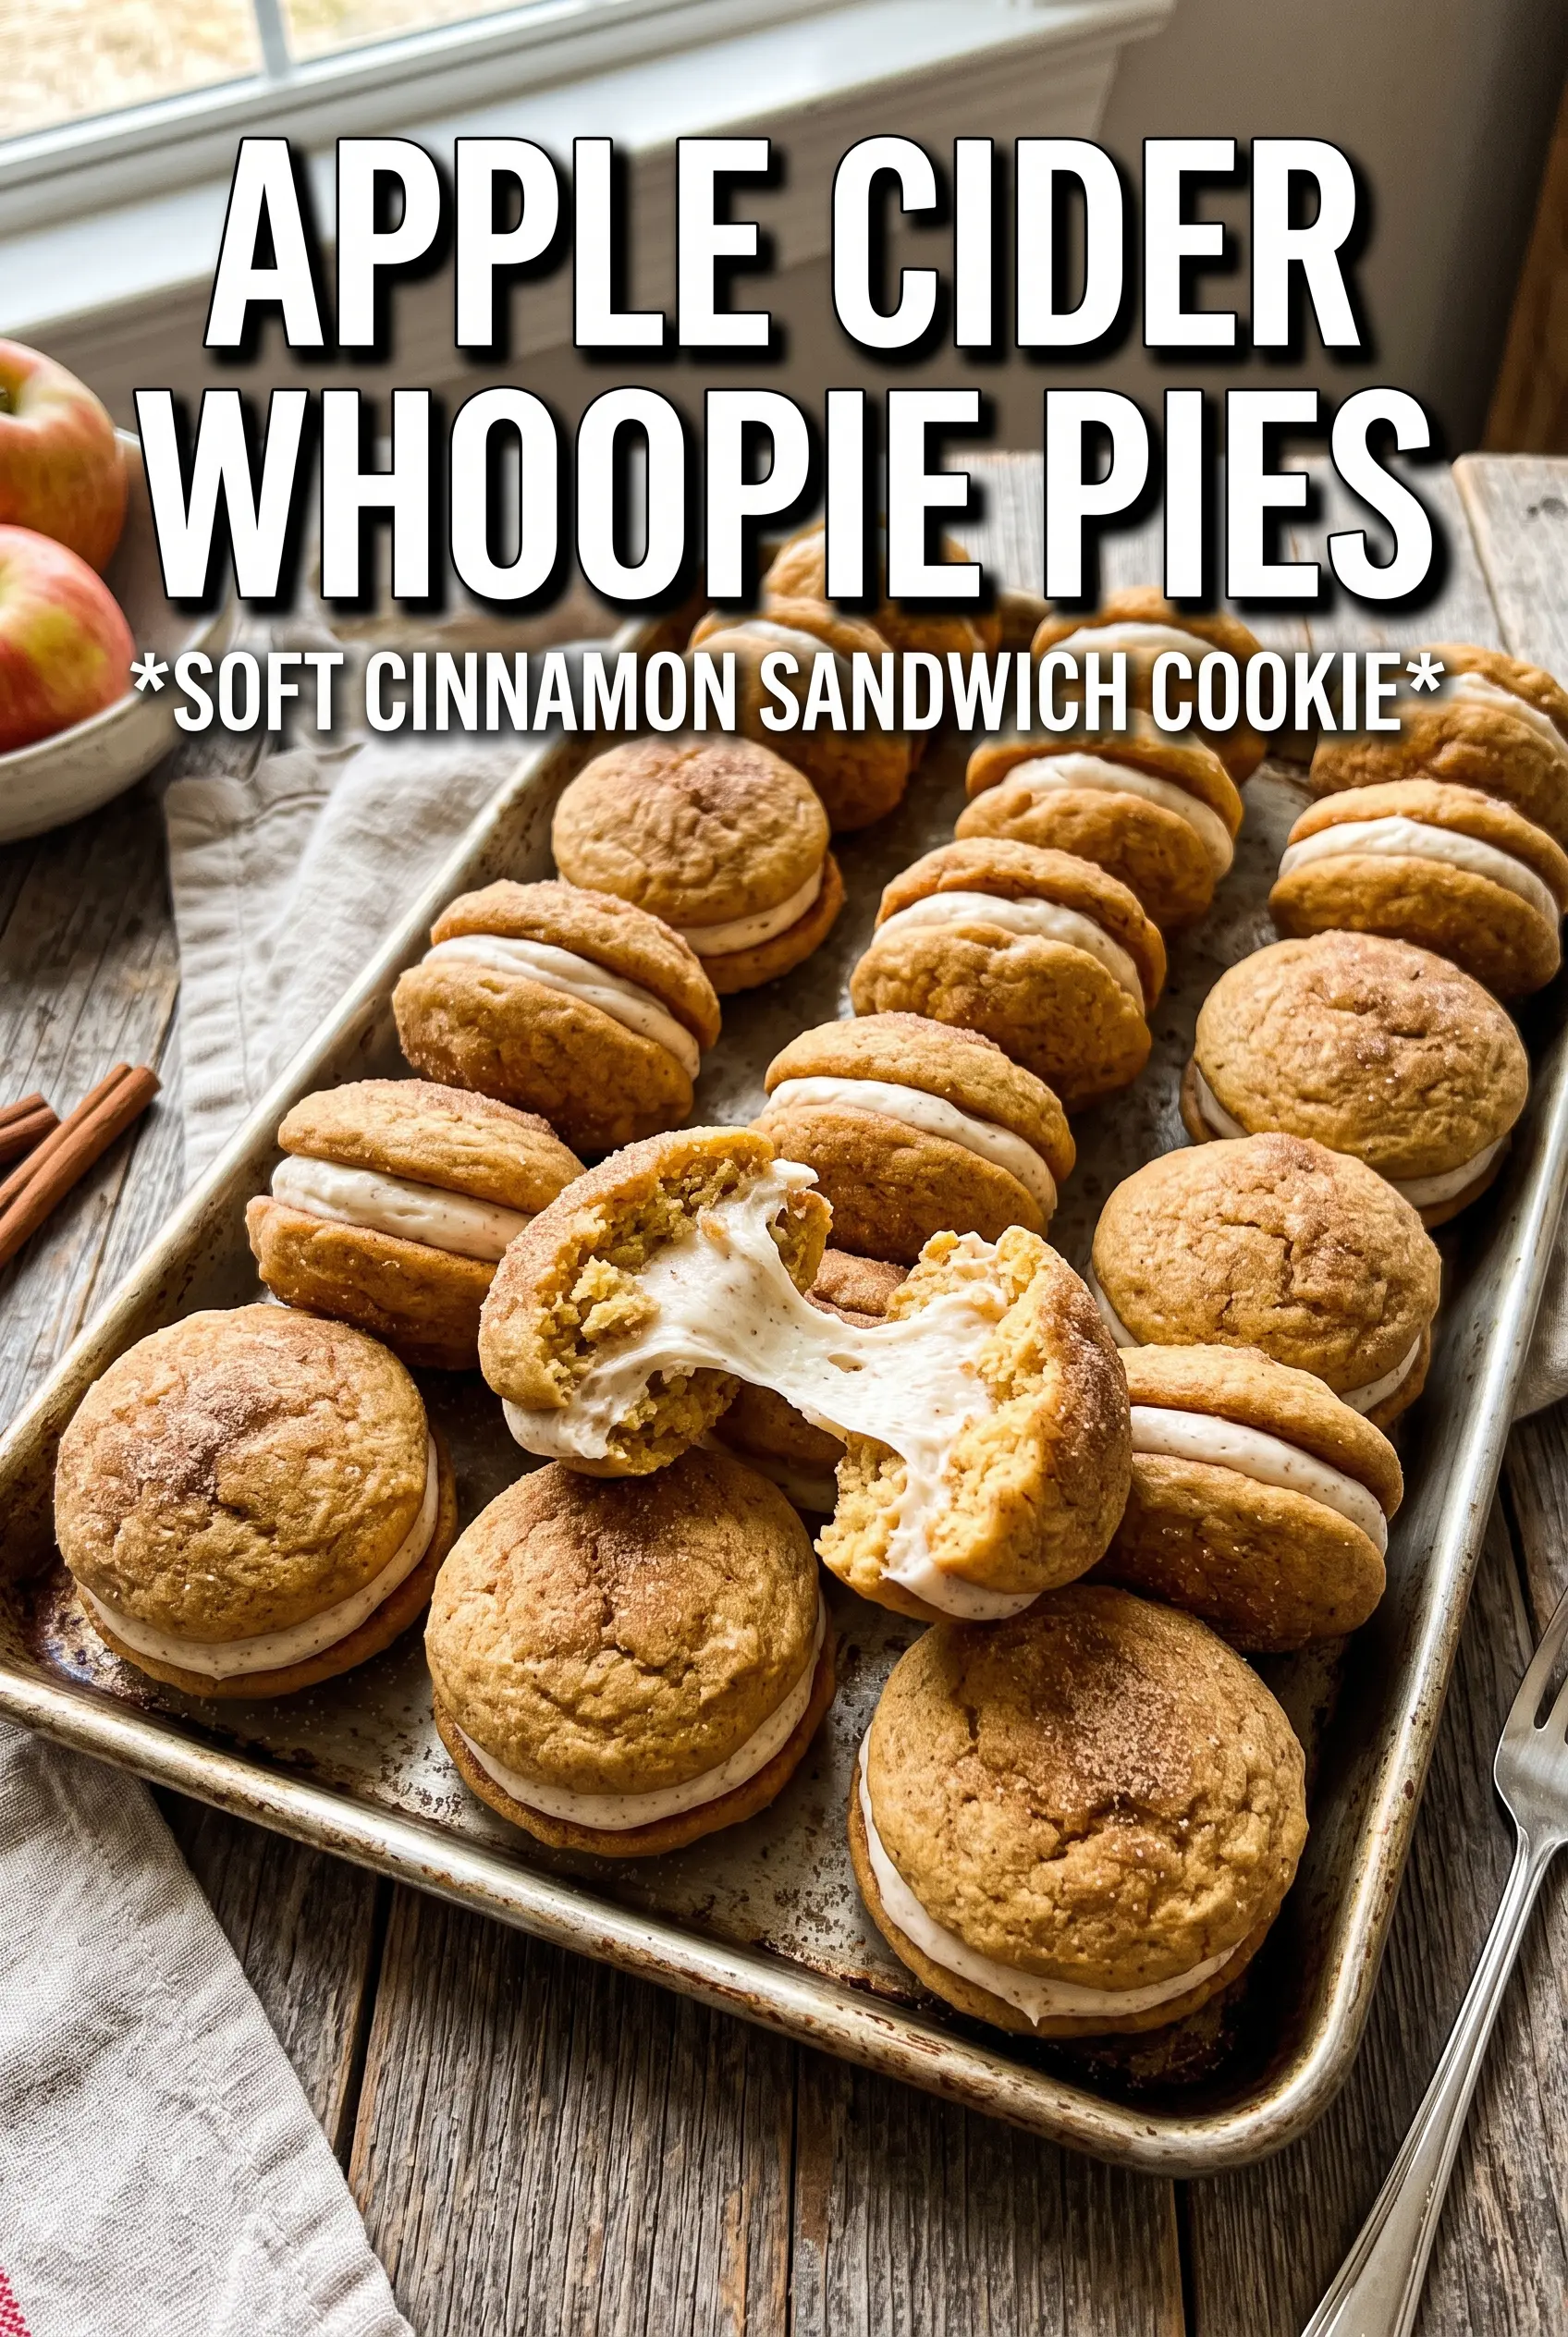
Apple cider whoopie pies land somewhere between a soft spice cookie and a hand-held cake sandwich, and that’s exactly why they disappear fast. The cakes bake up tender and puffed with a gentle apple-cider tang, then the cinnamon cream cheese filling gives each bite a cool, sweet contrast that keeps the whole dessert from feeling heavy. If you want a cookie that stays soft instead of crumbling apart, this is the kind worth making.
The trick is reducing the cider first. That step concentrates the apple flavor without adding extra liquid, so the batter stays thick enough to mound on the pan and bake into those plush, rounded cakes. Sour cream helps keep the crumb soft and gives the spice notes a little lift, while the brown sugar brings a deeper, almost caramel-like sweetness that works better here than white sugar would.
Below, I’ve included the part that matters most: how to keep the cakes from spreading too thin, how to mix the filling so it stays smooth, and a few useful swaps if you need to adjust for what’s in your kitchen.
The cakes stayed soft after cooling and the apple cider flavor came through without tasting watered down. I chilled the filling for 10 minutes before sandwiching and it piped like a dream.
Save these apple cider whoopie pies for the days when you want soft spice cakes, tangy cream cheese filling, and that perfect cider glaze drizzle.
The One Move That Keeps These Cakes Soft Instead of Flat
Whoopie pies fail when the batter is too loose or the oven runs too hot. That’s how you end up with cakey puddles instead of tall, tender rounds that can hold filling without squishing out the sides. Reducing the apple cider solves the biggest problem here because it gives you bold apple flavor without watering down the batter.
The second thing that matters is how you mix once the flour goes in. Stop as soon as the dry streaks disappear. If you beat it hard at that point, the cakes get tighter and lose the plush texture that makes a whoopie pie worth eating. You want a batter that holds its shape on the spoon and drops in thick mounds, not something pourable.
- Reduced apple cider — This is the flavor engine. Reducing it concentrates the apple note and keeps the batter from getting too slack. Cool it before adding it, or you’ll melt the butter and change the texture.
- Sour cream — It adds moisture and a soft, velvety crumb. Plain Greek yogurt works in a pinch, but the result is a little tangier and slightly less rich.
- Brown sugar — It gives these cakes a deeper sweetness and helps them stay soft after baking. White sugar will work, but the flavor turns flatter and the texture loses some chew.
- Spice blend — Cinnamon, ginger, and cloves matter here because they echo the cider without burying it. The cloves are small in amount but important; skip them and the filling starts carrying all the spice.
What Each Ingredient Is Actually Doing in This Recipe
- Primary ingredient (the star) — Quality matters most. Choose the best you can find.
- Cooking medium (oil, butter, or broth) — This carries flavors and prevents dryness.
- Seasonings (salt, pepper, spices, herbs) — Layer flavors so nothing overpowers. Build depth gradually.
- Aromatics (garlic, onion, herbs) — Cook with fat to bloom flavors. Become the foundation.
- Supporting ingredients — Complement the main ingredient without overpowering it.
- Sauce or liquid (if applicable) — Brings flavors together. Balance richness with acid.
- Acid (lemon, vinegar, wine, or other) — Brightens and prevents flat-tasting results.
- Final finish (garnish, glaze, or sauce) — Prevents one-dimensional taste and adds visual appeal.
Building the Batter and Filling Without Losing the Texture
Reducing the Cider First
Pour the cider into a small saucepan and let it bubble until it’s cut down by about half, then cool it completely. The liquid should look a little darker and smell more like apple candy than juice. If you add warm cider to the butter, the batter can separate and the cakes will spread more than they should.
Mixing the Wet Ingredients
Beat the butter and brown sugar until the mixture looks paler and a bit fluffy, then add the egg, vanilla, and reduced cider. The mixture may look slightly curdled after the cider goes in, and that’s fine. The sour cream comes later and helps pull everything back together, so don’t keep beating once it’s combined.
Bringing the Batter Together
Alternate the dry ingredients with the sour cream and stop mixing as soon as the batter looks even. Thick batter is what you want here; it should drop from a spoon in a mound and slowly settle, not run. If it looks too loose, the most common reason is that the cider wasn’t reduced enough or the butter was too soft.
Baking and Cooling the Cakes
Drop the batter in 2-tablespoon rounds onto parchment-lined sheets and bake until the tops are set and lightly puffed. They should spring back when touched and still feel soft in the center. Let them cool completely before filling, because even a little warmth will melt the cream cheese mixture and turn the sandwich slippery.
Whipping the Filling
Beat the cream cheese and butter until smooth before adding the powdered sugar, cinnamon, and vanilla. If your filling looks grainy, the cream cheese was too cold or the sugar went in too fast. Keep beating until it turns fluffy and spreadable, then pair the cakes by size so each sandwich looks neat and holds together.
How to Adapt These Whoopie Pies for What You Have on Hand
Dairy-Free Filling With the Same Tang
Use dairy-free cream cheese and a plant-based butter stick in place of the filling ingredients. The texture will be a little softer and the flavor slightly less rich, so chill the filling before assembling. This works best if you keep the cakes themselves unchanged.
Gluten-Free Swap That Still Holds Its Shape
Use a good 1:1 gluten-free flour blend with xanthan gum already included. The batter may look slightly thicker, and the cakes can be a touch more delicate, so let them cool fully before moving them. Don’t use almond flour here; it won’t give you the same soft, cakey structure.
Turning Them Into Smaller Tea-Time Sandwiches
Use a heaping tablespoon of batter instead of 2 tablespoons and shave a few minutes off the bake time. The smaller size gives you more cookies and a higher filling-to-cake ratio, which makes them feel lighter. Watch the edges closely; tiny whoopie pies go from set to overbaked fast.
Storage and Reheating
- Refrigerator: Store assembled whoopie pies in an airtight container for up to 4 days. The cakes soften a bit more as they sit, which actually works in their favor.
- Freezer: They freeze well. Wrap each one individually, then place them in a freezer bag for up to 2 months. Thaw in the refrigerator so the filling doesn’t weep.
- Reheating: These don’t need reheating. If you want the cakes a little softer after chilling, let them sit at room temperature for 15 to 20 minutes before serving. Microwaving melts the filling and makes the sandwich collapse.
Questions I Get Asked About This Recipe
Apple Cider Whoopie Pies
Ingredients
Equipment
Method
- Reduce apple cider in a small saucepan over medium heat until reduced by half, then cool completely.
- Preheat the oven to 350F and line baking sheets with parchment.
- Whisk together all-purpose flour, baking soda, cinnamon, ginger, cloves, and salt.
- Beat unsalted butter and brown sugar until fluffy, then add the egg, vanilla, and reduced apple cider.
- Alternate adding the flour mixture and sour cream, mixing until just combined.
- Drop 2-tablespoon rounds onto the prepared sheets, then bake for 10-12 minutes until puffed and set.
- Cool the cakes completely.
- Beat cream cheese, unsalted butter, powdered sugar, cinnamon, and vanilla together until smooth.
- Sandwich the filling between the cooled cakes to form whoopie pies.


