Apple crisp pie brings the best parts of two desserts into one pan: a tender apple filling that bubbles up around the edges and a thick oat crumble that bakes into buttery clusters instead of a sandy topping. The contrast is what keeps people coming back for another slice. You get a sturdy pie base, jammy fruit, and a golden lid with just enough crunch to hold its shape under a spoon.
This version leans on cornstarch to thicken the filling before the fruit has a chance to turn soupy, and the caramel goes right into the apples so the flavor runs all the way through the pie instead of sitting on top. Cold butter in the crumble matters here. It melts slowly in the oven, which is how you get those crisp little nuggets instead of a flat layer.
Below, I’ve included the part that usually trips people up most: how to keep the bottom from turning soft while the topping browns. There’s also a note on apple choices, because the right mix gives you slices that hold their shape without baking up crunchy.
The filling set up beautifully and the oat topping stayed crisp even after it cooled. I used the foil tent at 40 minutes and the crust came out golden instead of overdone.
Save this Apple Crisp Pie for the dessert nights when you want bubbling caramel apples under a thick oat crumble.
The Trick to Keeping the Crumble Crisp While the Apples Finish
Apple pies with a crisp topping often fail in one of two ways: the topping browns too fast, or the filling stays watery under all that butter and oat. This version solves both by using a pre-thickened filling and a loose blanket of crumble that can be tented when it gets too dark. The key is to trust the bubbling. If the edges are quiet, the cornstarch hasn’t fully activated yet and the center is probably still loose.
Another common mistake is packing the topping down like a streusel lid. That crushes the air pockets that help it bake into craggy clusters. A gentle press is enough to keep it in place while still leaving room for heat to move through the crumbs.
- Look for bubbles at the edges: That’s your sign the filling has reached the temperature it needs to thicken properly.
- Use a deep-dish pie plate: The filling mounds high at the start, and a shallow pan risks overflow.
- Don’t skip the foil tent: If the crumble is golden before the pie is done, cover the top loosely so the apples can finish without scorching.
What Each Ingredient Is Actually Doing in This Pie
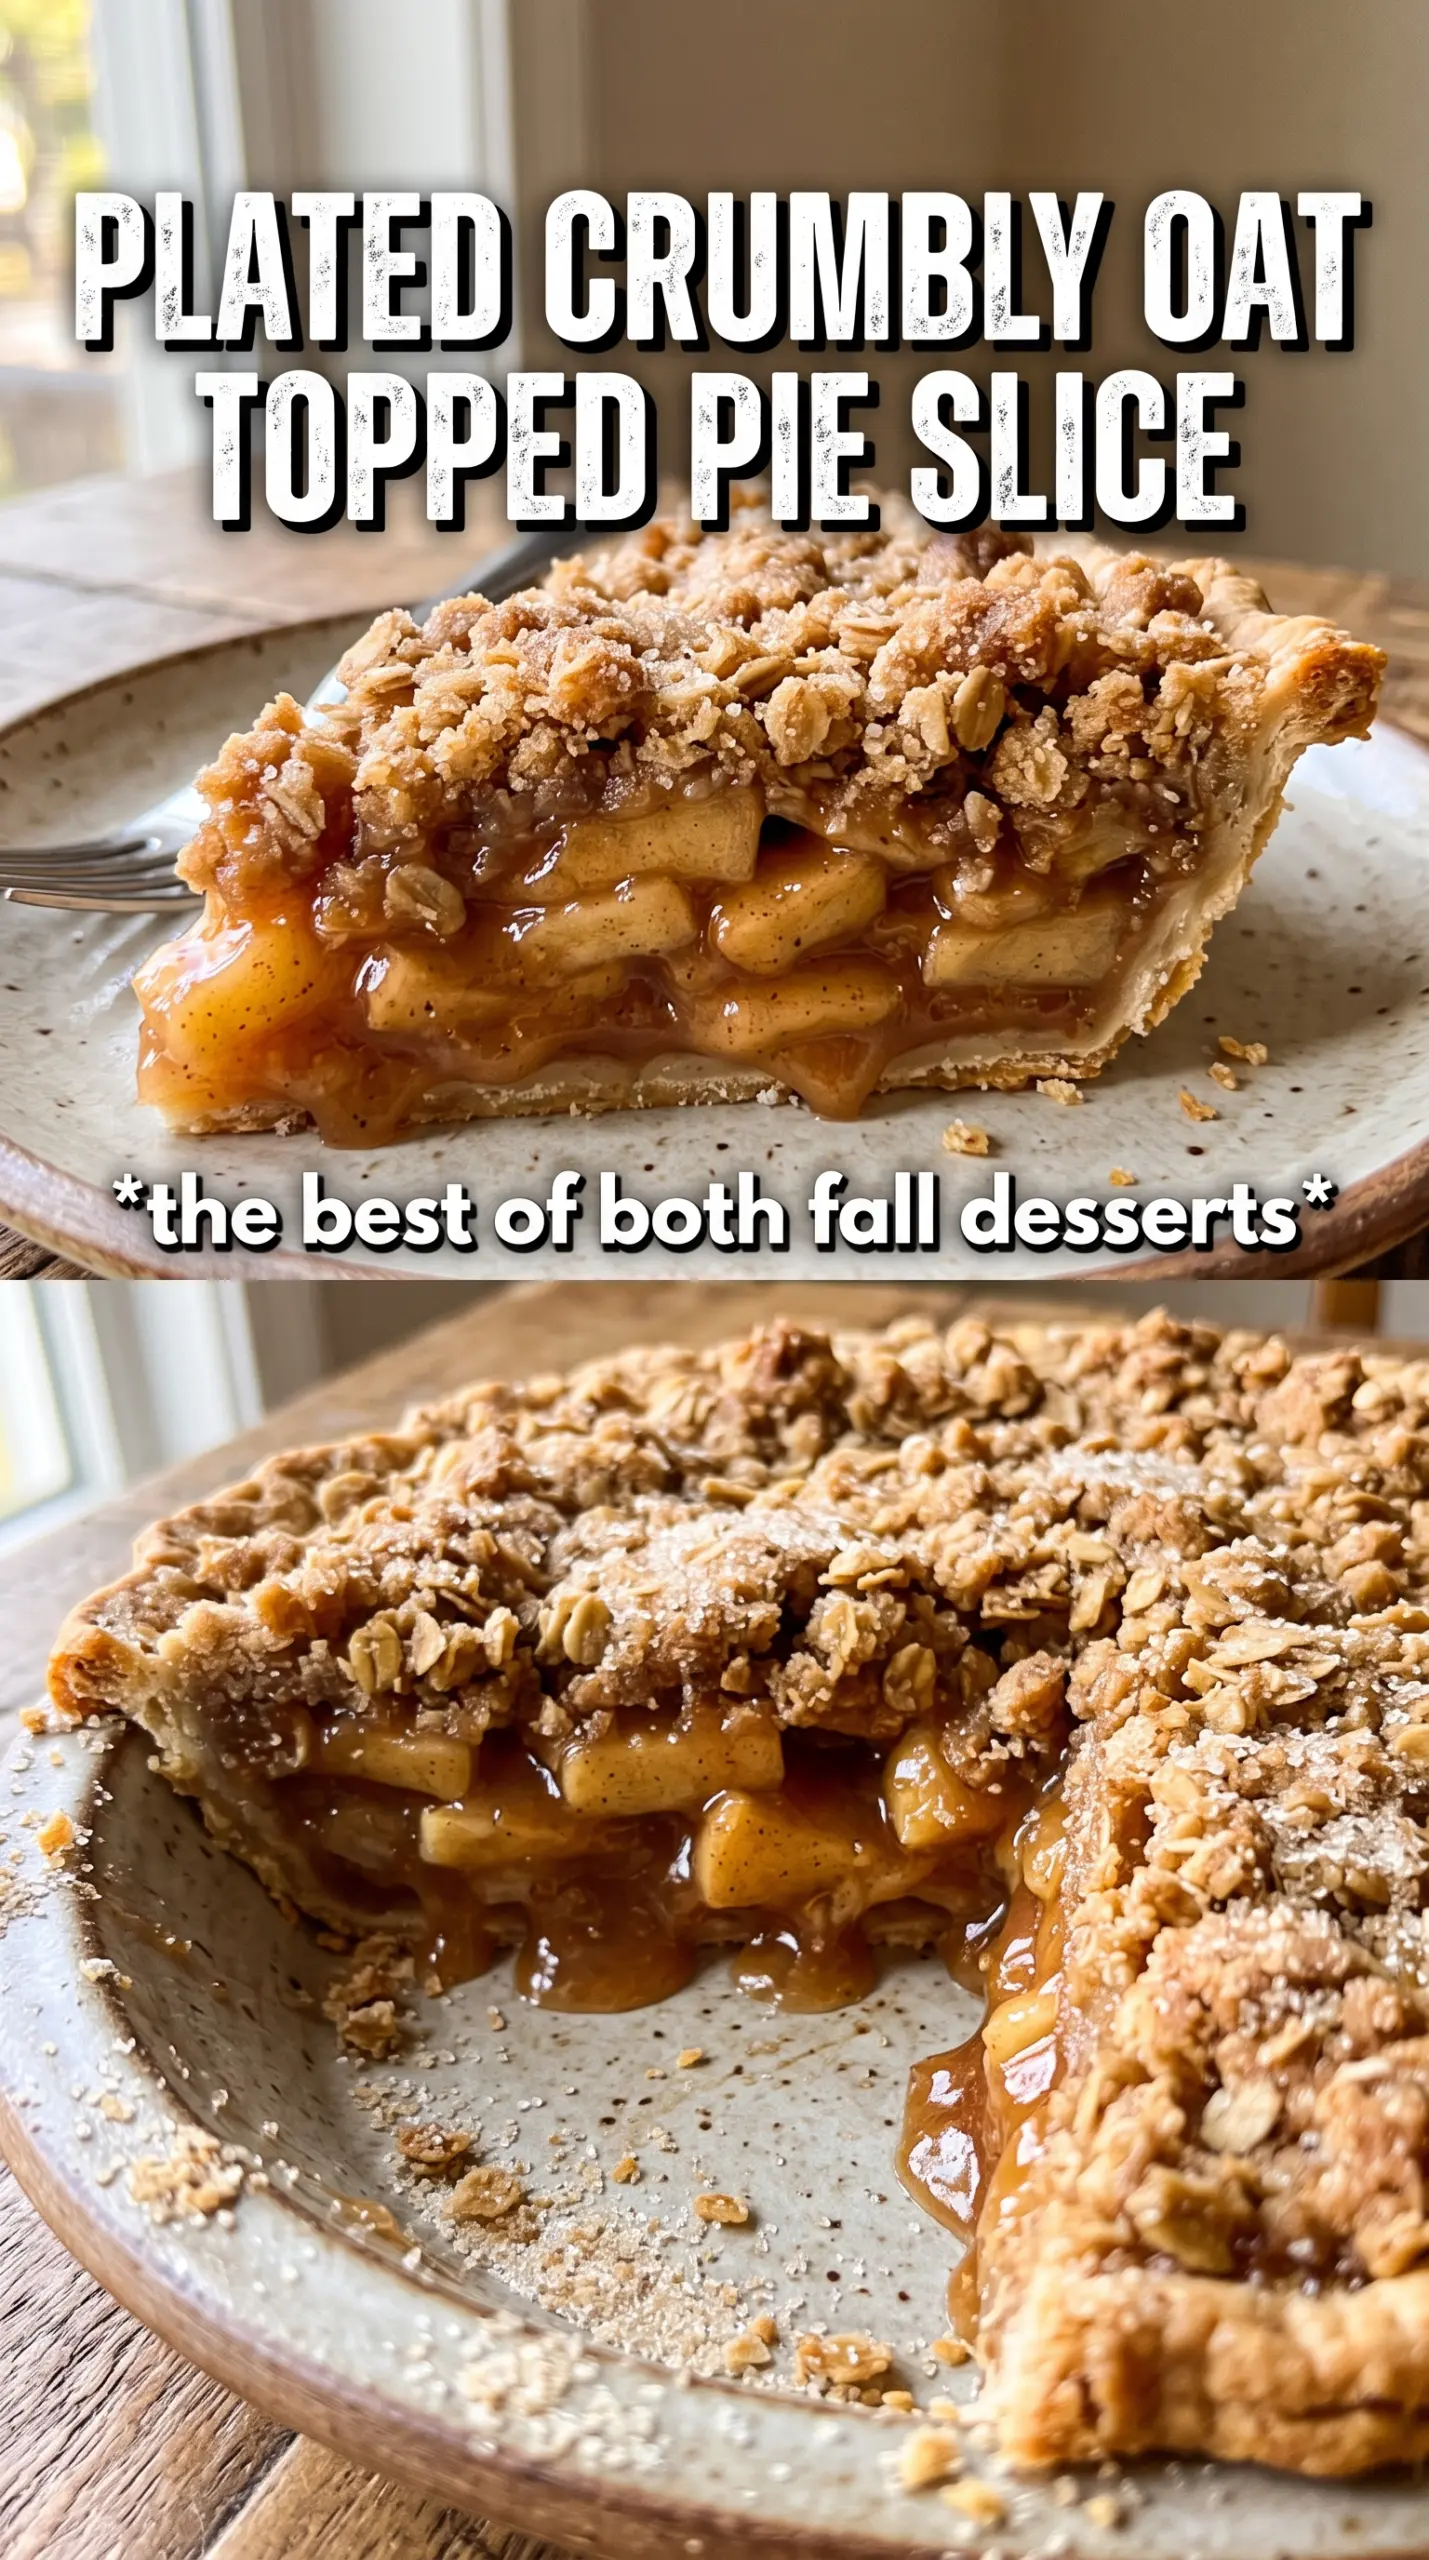
- Apples: Use a firm baking apple or a mix of sweet-tart apples so the slices hold shape instead of melting into sauce. Soft apples turn mushy before the topping is ready.
- Cornstarch: This is what keeps the filling from running all over the plate. Flour can work in a pinch, but it makes the filling cloudier and usually needs more time to thicken.
- Caramel sauce: It gives the filling a deeper, rounder sweetness without making the pie taste like straight sugar. A thick jarred caramel works fine here.
- Rolled oats: Old-fashioned oats give the topping that crisp, rustic texture. Quick oats break down too much and turn the crumble softer.
- Cold butter: This is the engine of the crisp topping. Cube it cold and cut it in until you have large clumps, not a paste, or you’ll lose the crunch.
Building the Pie So the Bottom Stays Set and the Top Stays Golden
Getting the Filling Ready
Toss the sliced apples with both sugars, cinnamon, nutmeg, cornstarch, lemon juice, and caramel until every piece is coated. The sugar starts drawing out juice right away, so don’t let the bowl sit for long before the fruit goes into the shell. If you wait too long, the mixture loosens and you end up pouring excess liquid into the crust. Heap the apples into the pie shell and mound them slightly in the center; they’ll settle as they bake.
Making the Crumble Clusters
Combine the oats, flour, brown sugar, cinnamon, and salt, then cut in the cold butter until the mixture forms clumps the size of peas and small marbles. Those larger pieces bake into the crunchy bits everyone reaches for first. If the topping looks sandy, the butter was worked in too far. Stop as soon as it holds together when pinched.
Baking Until the Filling Bubbles
Pile the topping over the apples and press it down very lightly so it stays put without losing texture. Bake at 375°F for 60 to 65 minutes, watching for a deep golden crumble and visible bubbles around the edges. If the top is browning before the filling is active, lay foil over it after about 40 minutes. Let the pie rest before slicing so the juices can tighten up instead of spilling out.
Three Smart Ways to Adapt This Apple Crisp Pie
Make It Gluten-Free
Swap the all-purpose flour in the topping for a 1:1 gluten-free baking blend. The crumble will still brown and crisp, though the texture can be a little more delicate. Keep the oats certified gluten-free if you’re serving someone who needs strict avoidance.
Dairy-Free Version
Use a solid dairy-free baking stick in place of the butter. You want something that behaves like butter when cold, not a tub spread, or the topping can melt out instead of forming clumps. The flavor stays rich, though a little less buttery.
Use Pears Alongside the Apples
Replace up to half the apples with firm pears for a softer, more floral filling. Pears release juice faster, so the pie benefits from the full amount of cornstarch and the full bake time. The result is a little silkier and less sharp.
Storage and Reheating
- Refrigerator: Store covered for up to 4 days. The topping softens a little, but the flavor stays great.
- Freezer: Freeze baked slices tightly wrapped for up to 2 months. The crumble loses some crispness, but it still works well for make-ahead dessert.
- Reheating: Warm slices in a 325°F oven until heated through. The oven brings the topping back better than the microwave, which tends to make the crust soggy.
Answers to the Questions Worth Asking
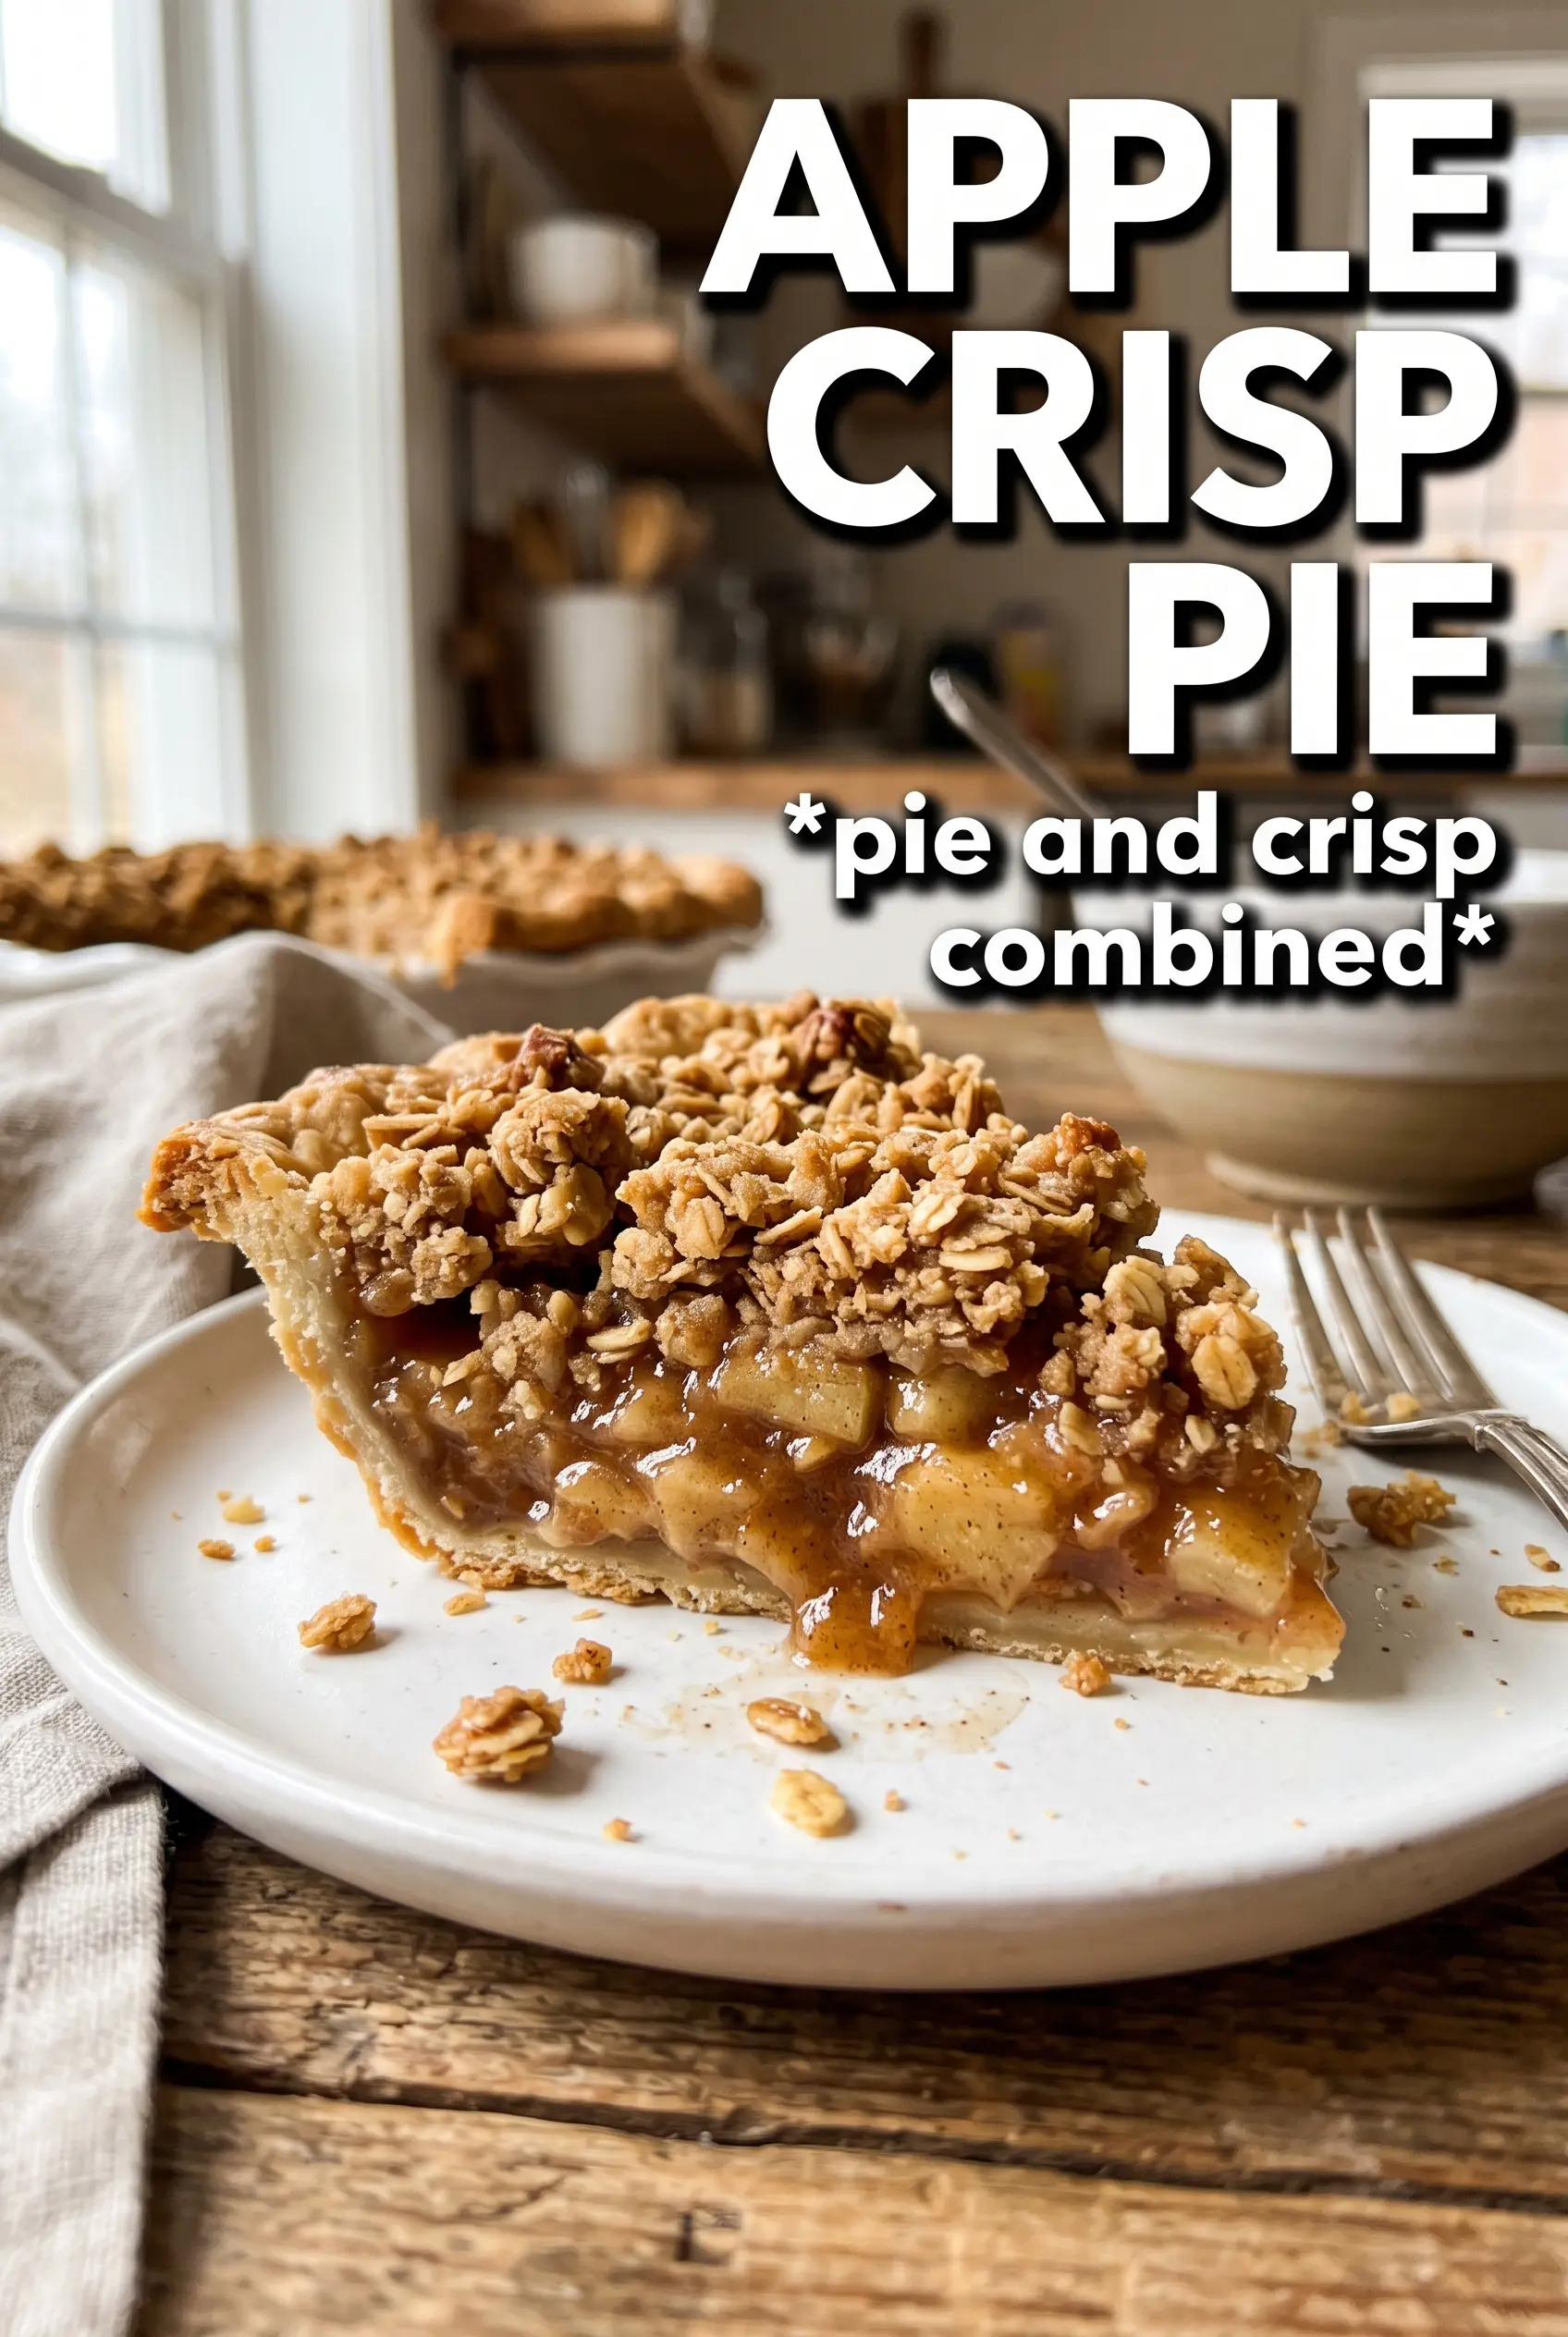
Apple Crisp Pie
Ingredients
Equipment
Method
- Preheat the oven to 375F. Fit the unbaked 9-inch deep dish pie shell into a deep-dish pie plate and crimp the edge decoratively.
- Toss the apple slices with granulated sugar, brown sugar, cinnamon, nutmeg, cornstarch, lemon juice, and caramel sauce until evenly coated. Pile the apples into the shell, mounding well.
- Combine the rolled oats, all-purpose flour, brown sugar, cinnamon, and salt. Cut the cold cubed butter into the dry mixture until large clumps form.
- Pile the crumble generously over the apples, pressing very gently to adhere. Bake for 60-65 minutes until the crumble is deeply golden and the filling bubbles.
- Check browning at 40 minutes and tent loosely with foil if it is browning too quickly. Continue baking until the full bake time is reached.
- Drizzle extra caramel over the hot pie and serve. Slice when the filling looks set around the edges.


