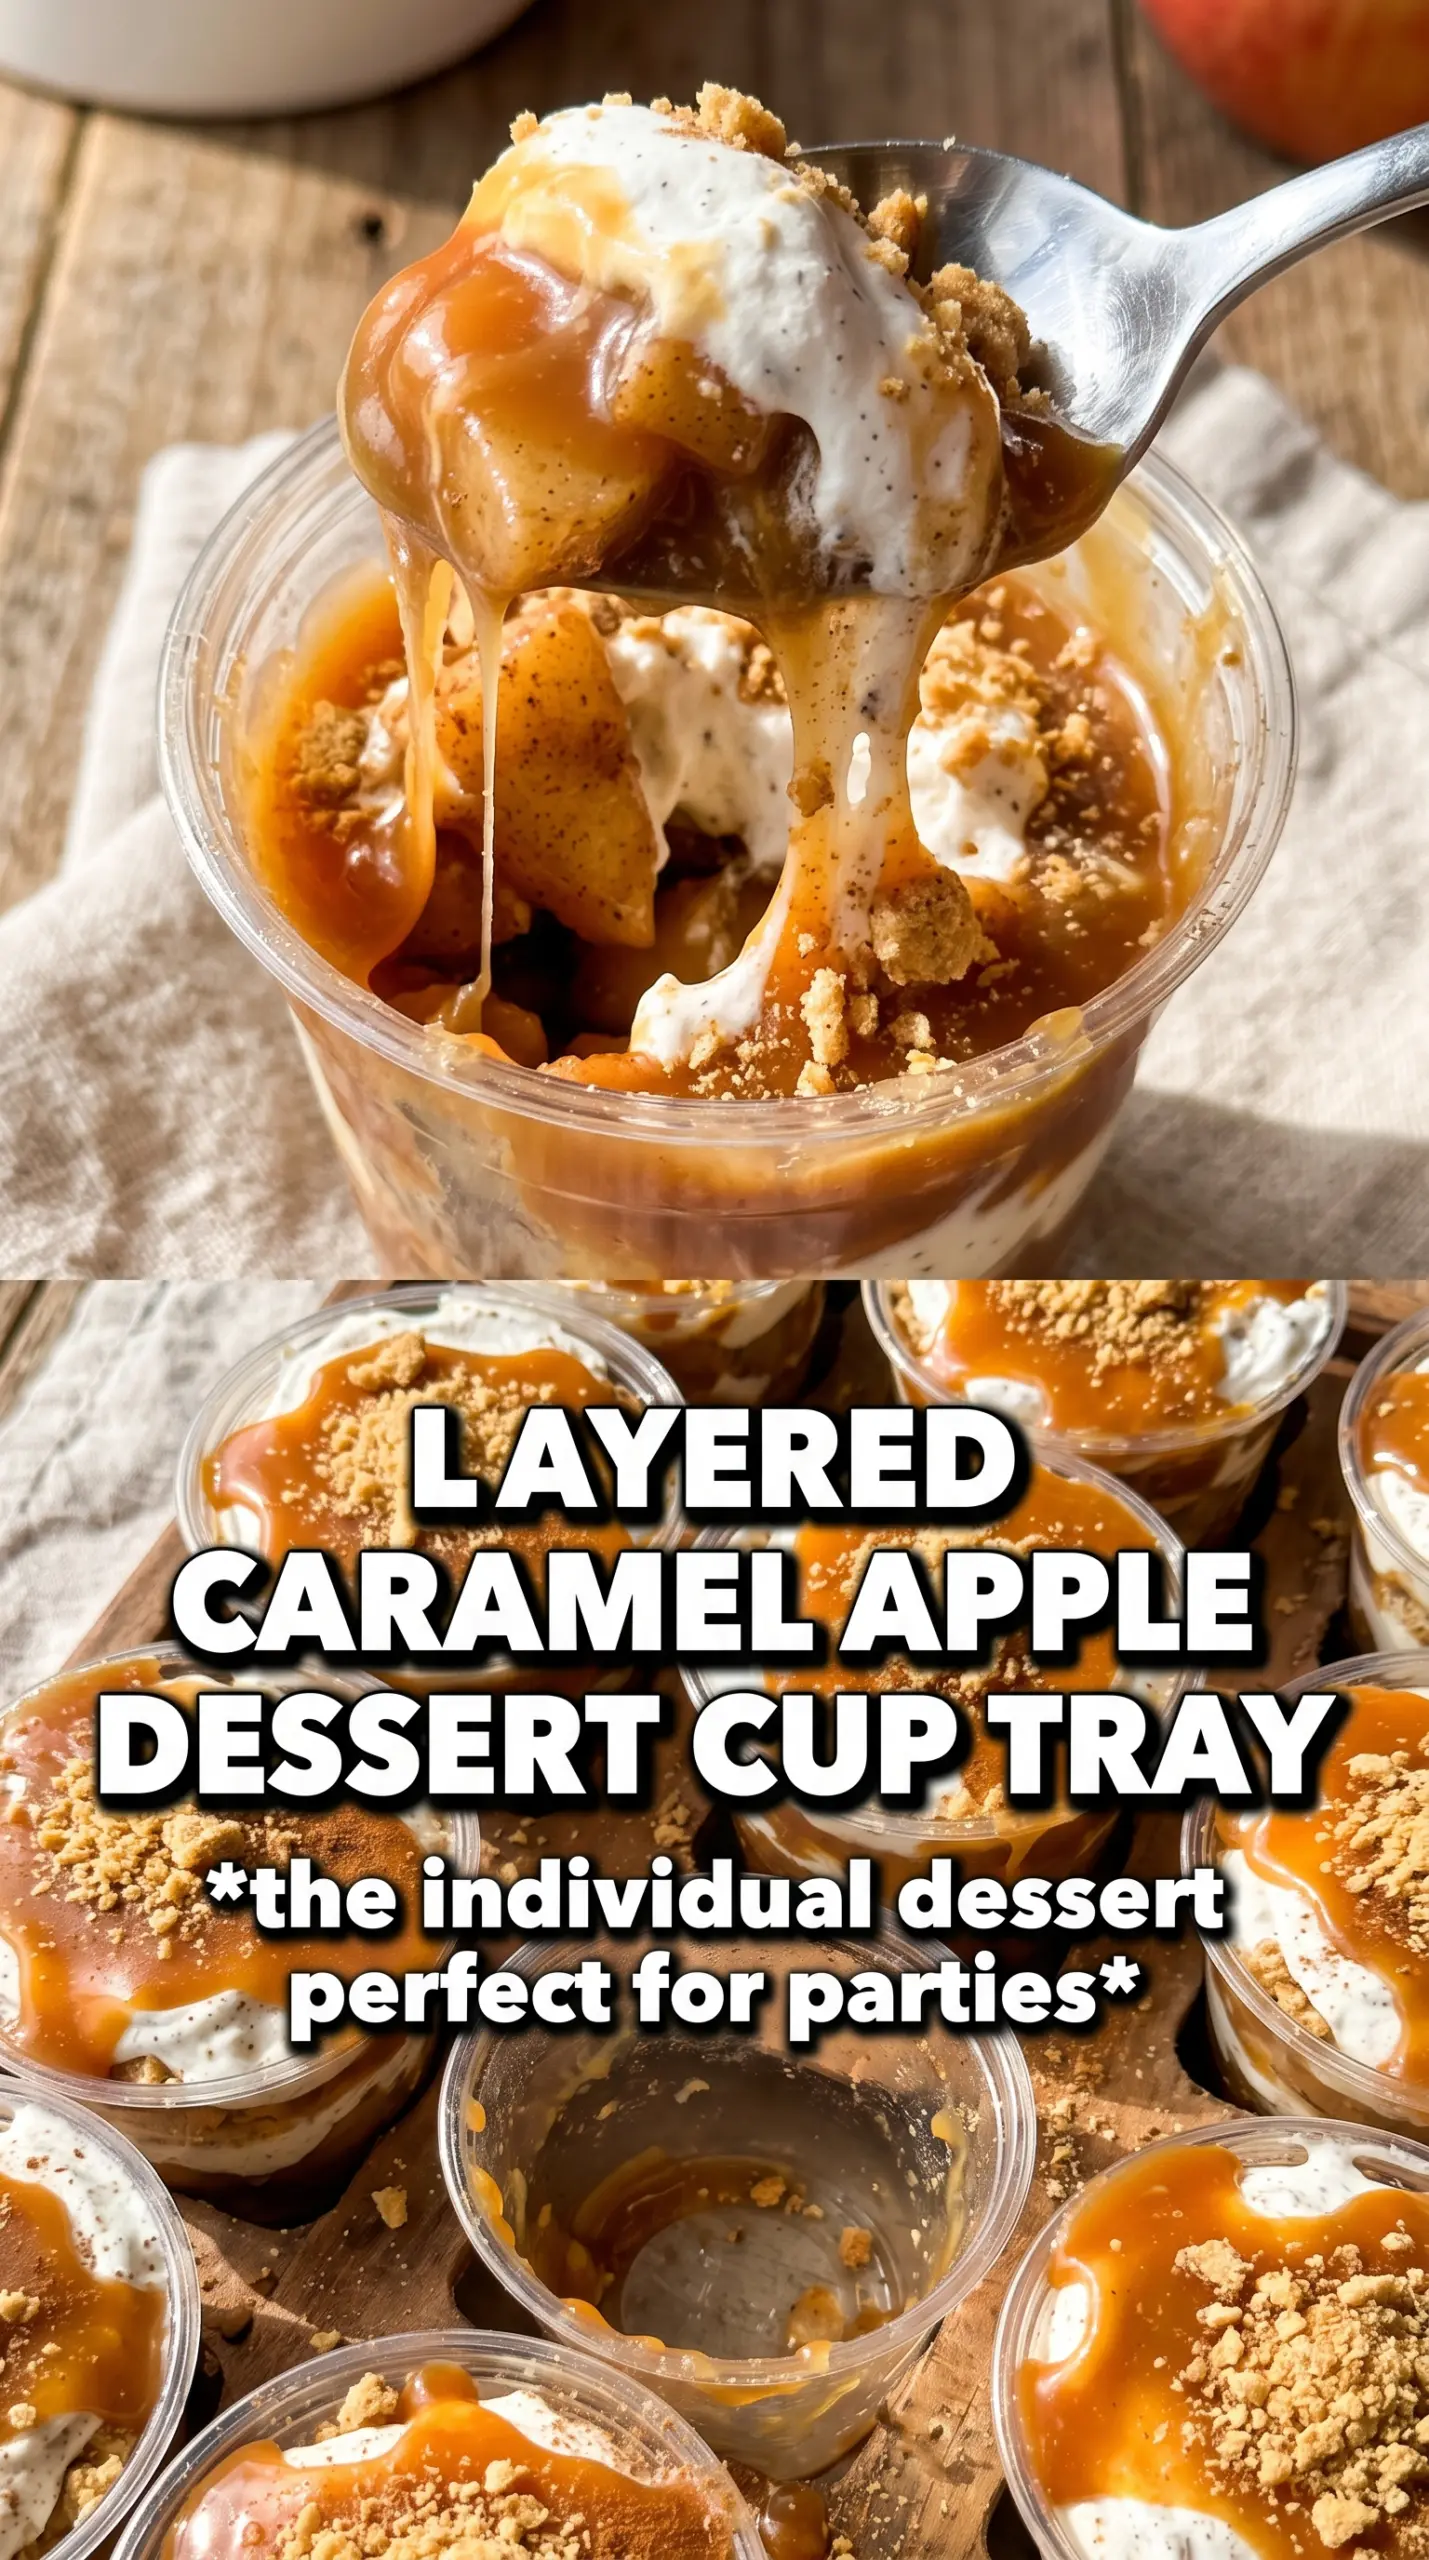
Caramel apple dessert cups hit that sweet spot between cozy and polished: tender spiced apples, a fluffy cream cheese mousse, buttery graham crumbs, and a glossy caramel finish layered in clear glasses so every bite looks as good as it tastes. The textures do the heavy lifting here. You get soft fruit, a light creamy filling, and a little crunch from the crumbs, all in one spoonful.
What makes this version work is the balance. The apple layer cooks down just enough to turn syrupy without losing all its shape, and the mousse stays light because the whipped cream gets folded in at the end instead of beaten into the cream cheese. That keeps the filling airy instead of dense. Let the apple mixture cool completely before layering, or it will melt the mousse and turn the cups sloppy.
Below, I’ll show you how to keep the layers distinct, how to avoid a runny filling, and a few ways to adapt these cups for different diets or make-ahead serving.
The apples stayed spoonable, not watery, and the cream cheese layer was light enough that the cups didn’t feel heavy after dinner. I made them the night before and the graham layer held up great.
Save these caramel apple dessert cups for a layered dessert with soft spiced apples, creamy mousse, and a crunchy graham cracker base.
The Trick to Keeping the Layers Separate Instead of Muddy
The biggest mistake with dessert cups like these is rushing the apple filling. If the compote goes in warm, it starts melting the mousse on contact and the clean layers blur together. That doesn’t ruin the flavor, but it does take away the contrast that makes these cups fun to eat.
The other thing that matters is texture in the cream layer. Beating the cream cheese and sugar until smooth before folding in the whipped cream keeps the mousse from turning grainy. Once the whipped cream is in, stop mixing as soon as the streaks disappear. Overmixing knocks out the air and leaves you with a filling that’s heavier than it should be.
- Cooling the apples — This is the step that protects the presentation. Room-temperature filling still tastes fine, but it slides into the cream and softens the bottom crumb layer too fast.
- Whipping the cream separately — Folding in whipped cream gives the mousse its lift. If you beat everything together at once, the texture gets dense and pasty.
- Using clear cups — Not a flavor issue, but it changes the whole dessert. The visible layers are part of the payoff here.
What Each Ingredient Is Doing in These Dessert Cups
- Apples — A firm baking apple holds enough shape after cooking to give you little tender pieces instead of applesauce. If all you have is a softer apple, cook it a minute or two less so it doesn’t disappear completely.
- Brown sugar, cinnamon, and nutmeg — This trio turns the apple layer from plain cooked fruit into something that tastes finished. Brown sugar adds depth and the spices need the moisture from the apples to bloom properly.
- Cream cheese — This is the backbone of the mousse. Full-fat cream cheese gives the structure you need so the layer can sit neatly in the cups. Low-fat cream cheese works in a pinch, but the filling won’t taste as rich and can loosen up a little.
- Heavy cream — This is what makes the filling light. It has to be whipped to stiff peaks before folding in, or the mousse won’t hold its shape between the crumb and apple layers.
- Graham cracker crumbs and butter — The butter binds the crumbs just enough to give you a soft, sandy base that stays a little crisp. If you want a firmer base, pack the crumbs down lightly with the back of a spoon.
- Caramel sauce — A thicker caramel sauce drizzles best and stays visible between layers. Thin ice cream topping works, but it runs faster and blends into the mousse sooner.
Building the Layers Without Losing the Crunch
Cooking the Apple Compote
Cook the diced apples with butter, brown sugar, cinnamon, and nutmeg over medium heat until the pieces are tender and the liquid looks syrupy, about 8 to 10 minutes. You want the apples softened but still distinct, not collapsed into a jam. If the pan looks dry before the apples are tender, the heat is too high and the sugar is cooking faster than the fruit.
Making the Graham Crumb Base
Mix the graham cracker crumbs with melted butter until every crumb looks evenly moistened. The mixture should hold together when squeezed, but it shouldn’t look greasy or wet. If it’s too dry, the bottom layer will scatter when you spoon in the mousse; if it’s too buttery, it turns dense instead of crumbly.
Whipping the Mousse
Beat the cream cheese, powdered sugar, vanilla, and cinnamon until completely smooth before the cream goes in. In a separate bowl, whip the heavy cream to stiff peaks, then fold it into the cream cheese mixture in two additions so you don’t deflate all the air. Stop folding once the mixture is even and fluffy; too much mixing makes it slack and heavy.
Layering and Chilling
Spoon the crumb mixture into the cups first, then add the mousse, then the cooled apple compote, then the caramel drizzle. Repeat the layers if your cups are tall enough, but don’t overfill them or the presentation gets messy once the caramel starts to slide. Chill the cups for at least 30 minutes so the mousse firms up and the crumb layer settles into place.
Dairy-Free Version
Use a plant-based cream cheese and a dairy-free whipped topping that can hold stiff peaks. The texture stays close, but the tang is a little softer, so the caramel and cinnamon read more strongly.
Gluten-Free Swap
Use gluten-free graham-style crumbs or crushed gluten-free cookies for the base. You may need a touch less butter if the crumbs are finer, because some gluten-free brands absorb fat differently.
Make It Ahead for a Party
Assemble the cups up to a day in advance, but hold back a little caramel for right before serving. That last drizzle keeps the top looking fresh, and it stops the caramel from soaking into the apples overnight.
Storage and Reheating
- Refrigerator: Store covered for up to 3 days. The crumb layer softens a bit, but the cups still taste great.
- Freezer: I don’t recommend freezing these. The mousse loses its airy texture and the apples turn watery after thawing.
- Reheating: These are served chilled, not reheated. If the caramel has firmed up too much in the fridge, let the cups sit at room temperature for 10 to 15 minutes before serving.
Answers to the Questions Worth Asking

Caramel Apple Dessert Cups
Ingredients
Equipment
Method
- Cook the diced apples with butter, brown sugar, cinnamon, and nutmeg over medium heat for 8–10 minutes until softened and syrupy, stirring occasionally and scraping the pan as needed.
- Transfer the cooked apples to a container and cool completely so the compote will layer without melting the mousse.
- Combine graham cracker crumbs with melted butter until evenly moistened, then set aside to stay dry and crumbly.
- Beat cream cheese, powdered sugar, vanilla extract, and cinnamon until smooth and no lumps remain.
- Whip heavy cream to stiff peaks, then fold it into the cream cheese mixture until the mousse is thick and aerated.
- Layer cups starting with graham cracker crumble, then add a portion of cream cheese mousse, followed by spiced apple compote.
- Drizzle caramel sauce over the top of the assembled layers, then repeat the layers as needed to fill the cups and finish with a caramel drizzle.
- Refrigerate the dessert cups for 30 minutes before serving so the layers set and hold their shape.


