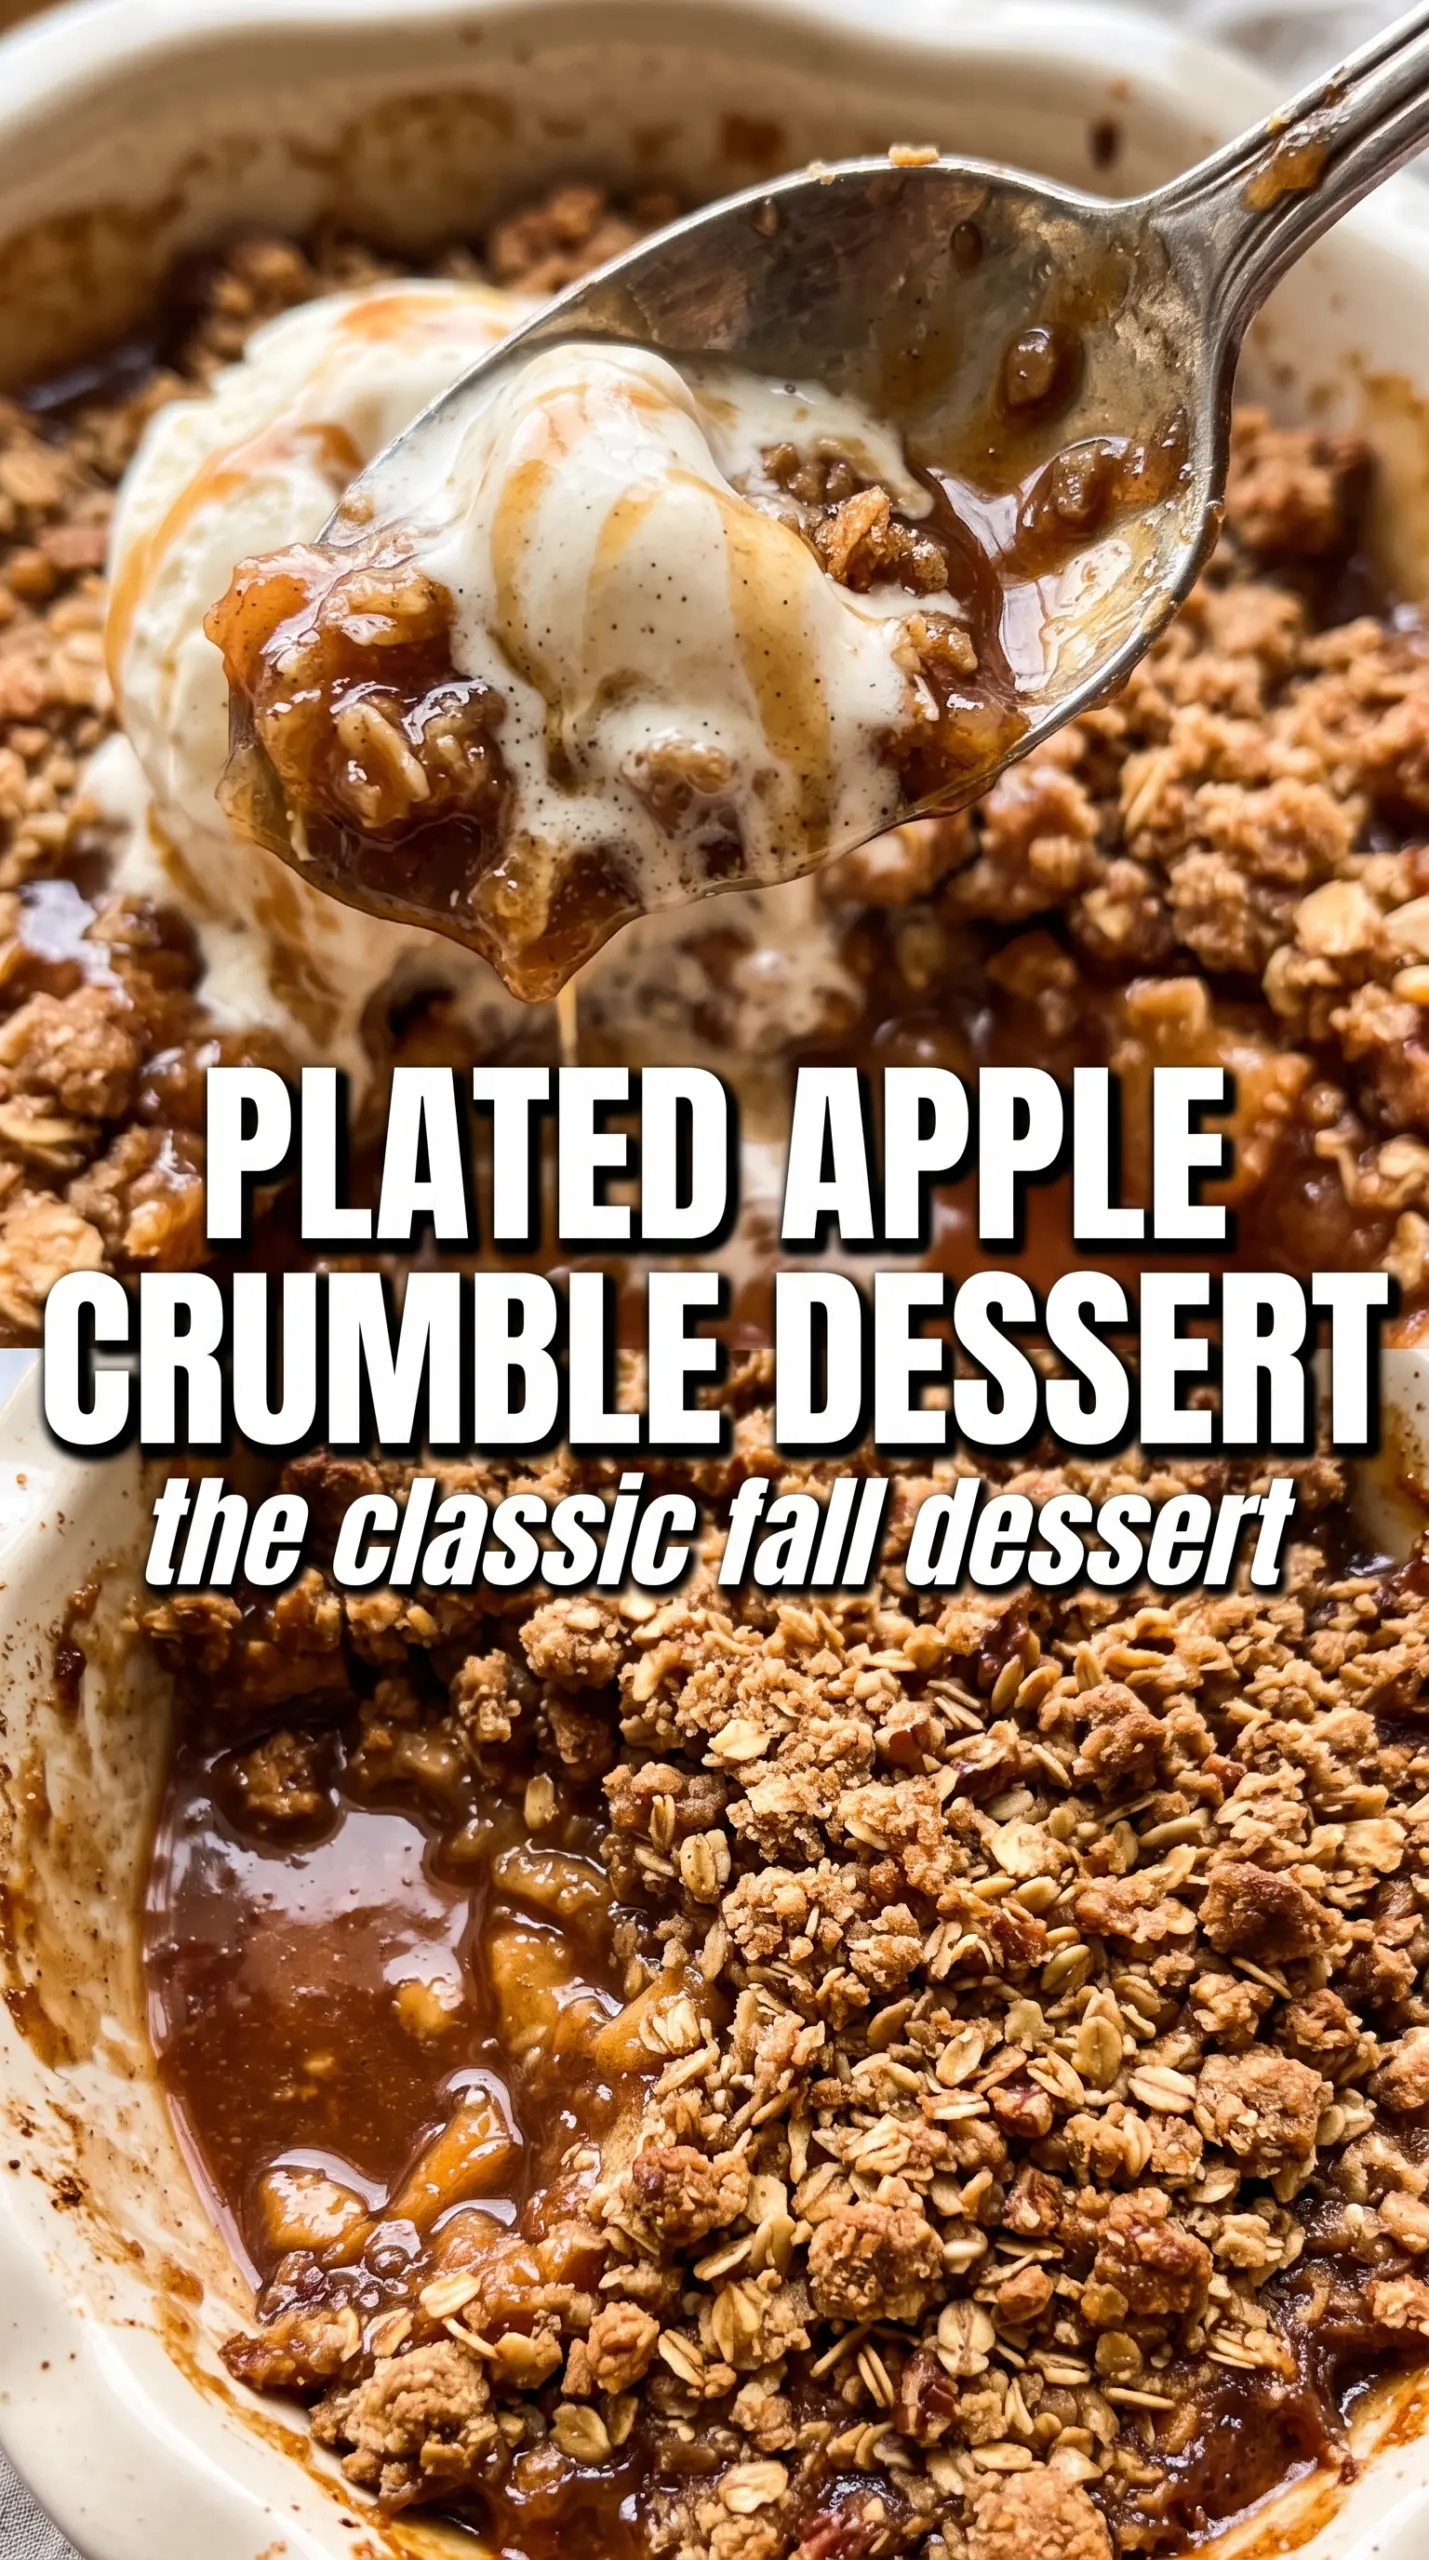
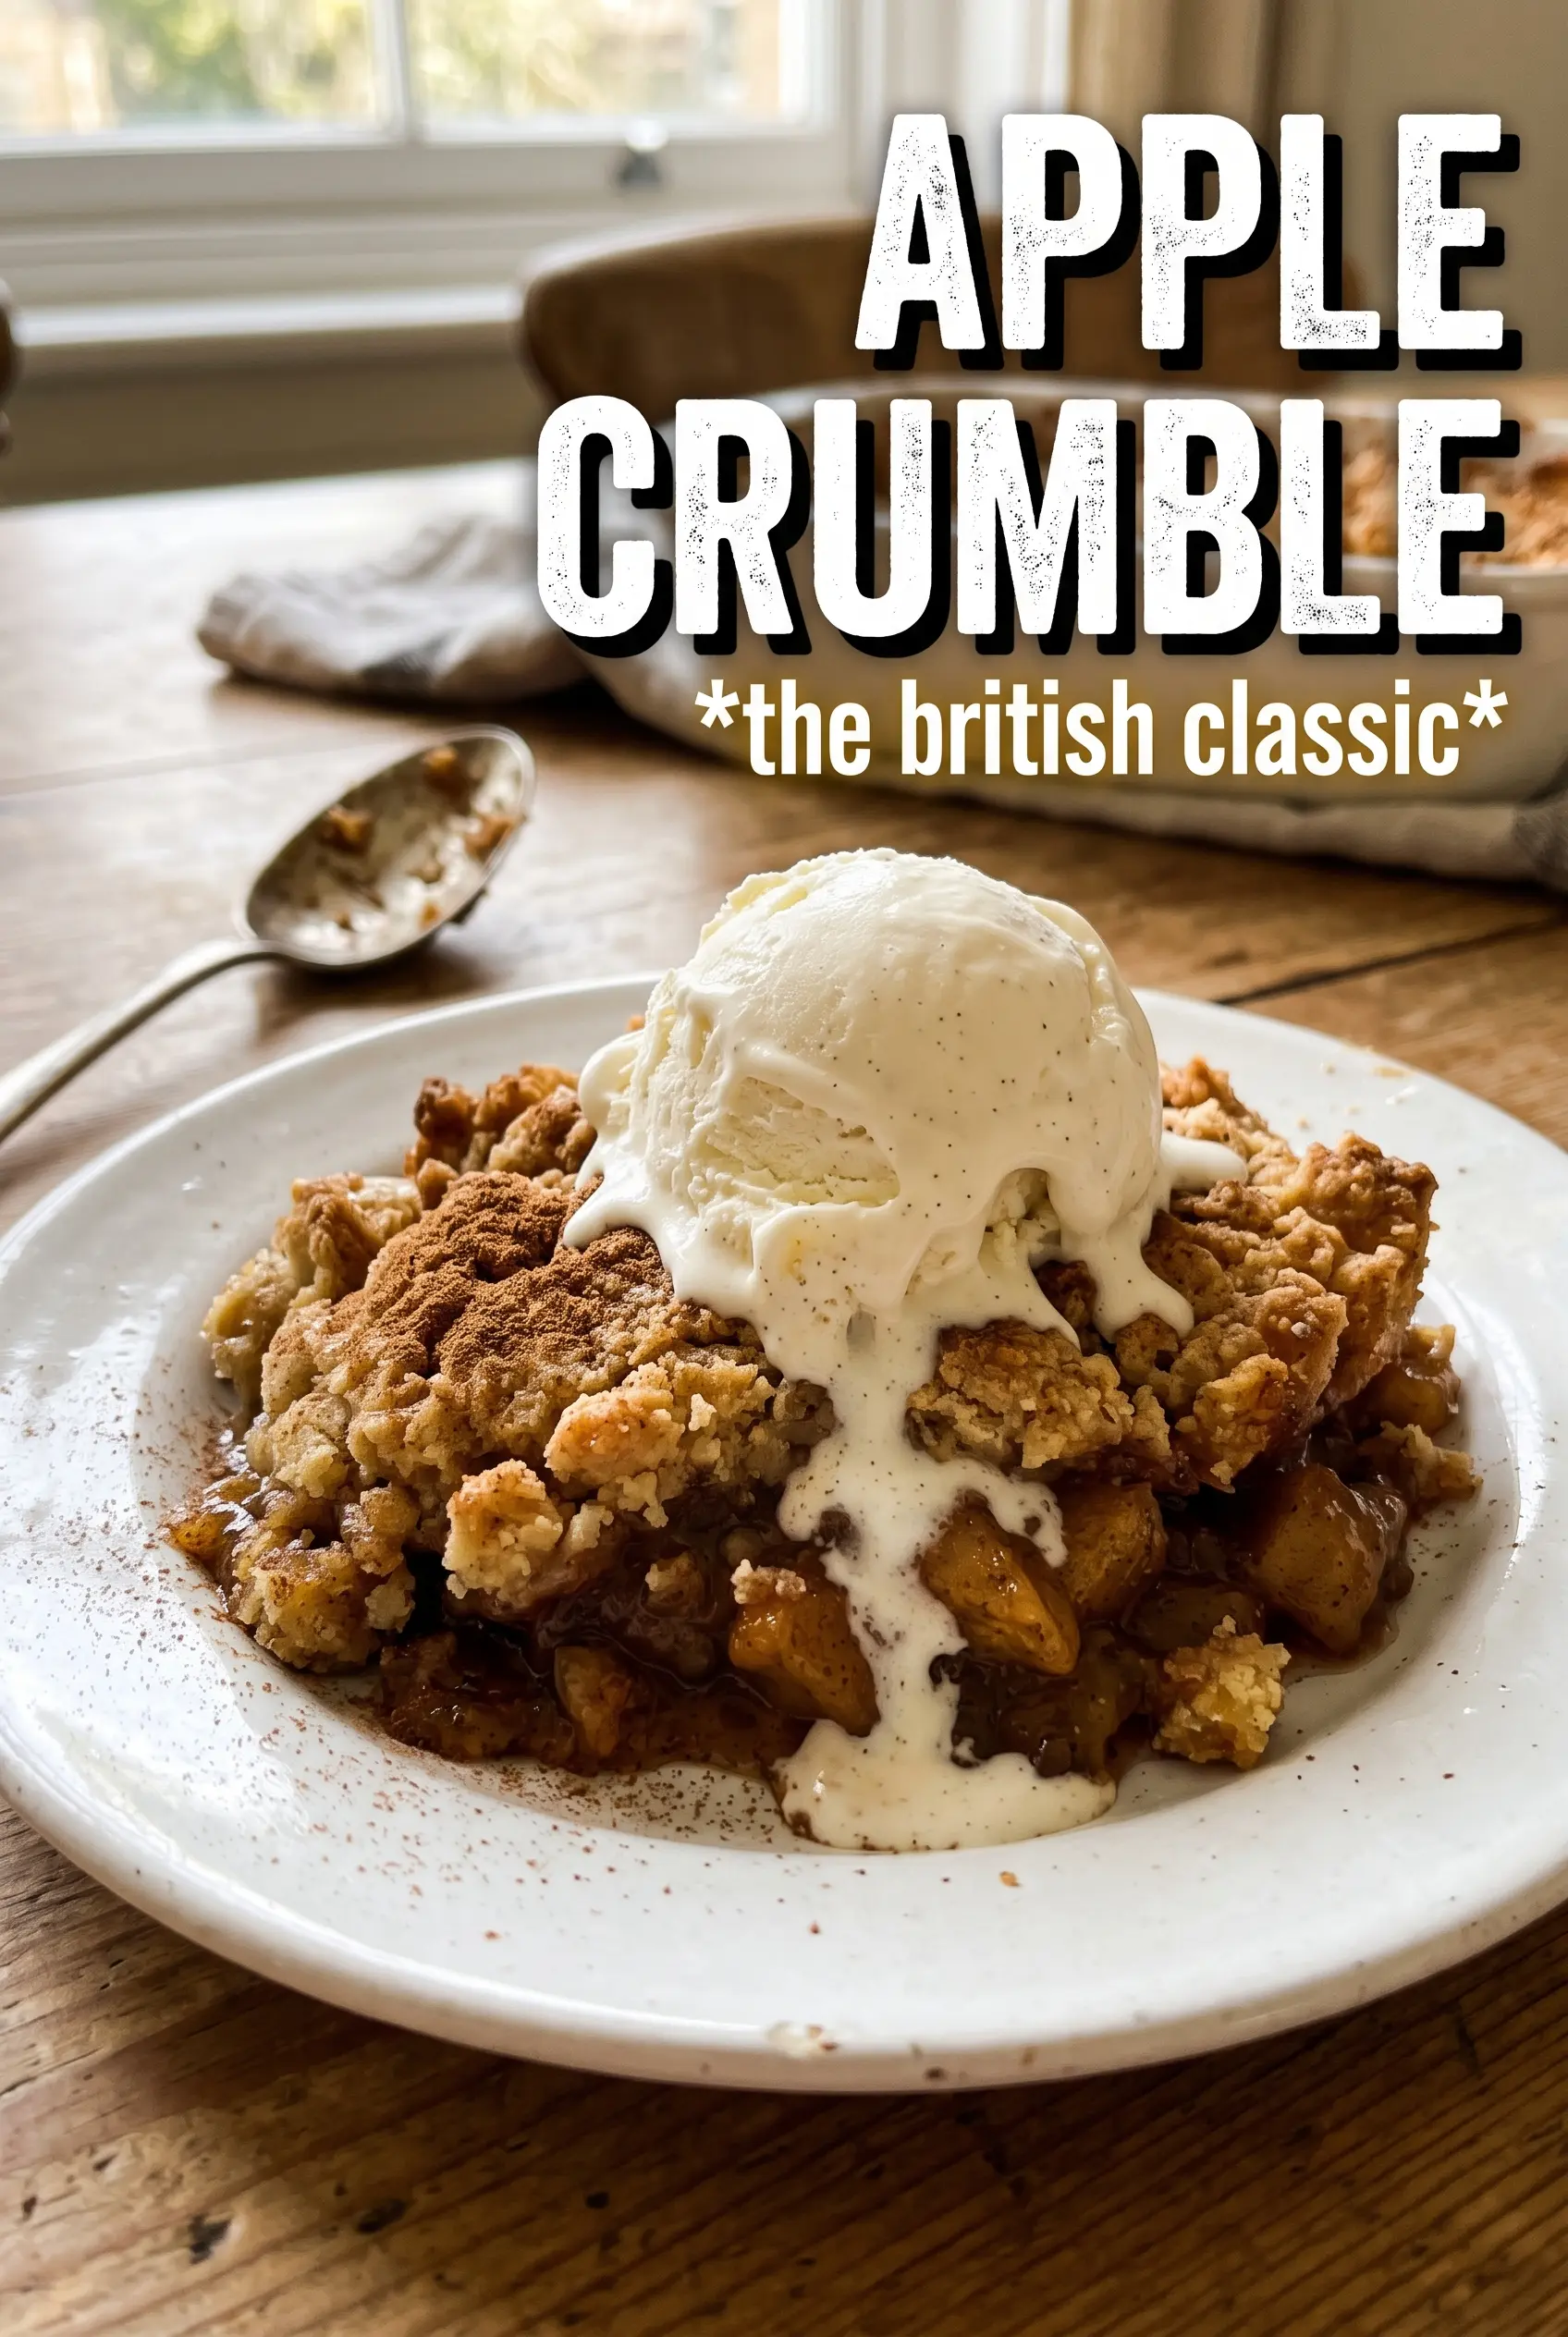
Apple crumble lands in that sweet spot between rustic and comforting, with tender cinnamon apples bubbling under a sandy, golden topping that turns crisp at the edges and stays just crumbly in the middle. The best part is the contrast: soft fruit underneath, nubbly butter-rich crumbs on top, and a spoonful that gives you both in one bite. It’s the kind of dessert that disappears fast, especially when it comes out of the oven warm with custard or cream on the side.
What makes this version work is keeping the crumble cold and uneven. Those little butter pieces melt at different rates, which gives you a topping with both fine crumbs and bigger crunchy bits instead of a dense, pasty layer. The apple filling is kept simple on purpose, too. Lemon juice keeps the flavor bright, and the sugar draws out just enough juice to make the fruit soft and saucy without turning watery.
Below you’ll find the small details that matter most, from the apple texture to the topping that bakes up crisp instead of dusty. If you’ve ever had a crumble go soggy underneath, the technique here fixes that.
The topping baked up properly sandy and crisp, and the apples held their shape instead of turning to mush. I used custard on top and my husband went back for a second bowl before it cooled.
Love that crisp, buttery apple crumble topping? Save this British dessert for the nights when you want tender baked apples and a golden crumb under a spoonful of custard.
The Secret to a Crumble That Stays Crisp Under the Fruit
The mistake most people make with apple crumble is packing the topping down or letting the butter melt before it hits the oven. Both lead to a tight layer that steams instead of baking into crumbs. You want the topping loose, uneven, and cold when it goes over the apples, with some pea-sized bits of butter still visible in the bowl. Those larger pieces give you the best texture after baking.
The apples matter too. Cooking apples hold their shape better than sweet eating apples, so the filling turns soft without collapsing into applesauce. If your fruit is very tart, the sugar listed here balances it nicely; if it’s already sweet, keep the amount as written and let the cinnamon and lemon do their work. The filling should look lightly syrupy before it goes in the oven, not dry.
- Keep the butter cold. Warm butter blends too smoothly and you lose the crumbly texture.
- Use cooking apples if you can. They bake up soft but still distinct.
- Don’t press the topping down. A loose layer browns more evenly and stays lighter.
- Bake until you see the filling bubbling at the edges. That bubbling is your sign the apples are fully tender.
What Each Ingredient Is Actually Doing in This Apple Crumble
- Cooking apples — These are the backbone of the dessert. They soften into a thick, tender filling without disappearing, which is why they beat sweeter dessert apples here. If all you have are softer apples, cut them a little larger so they don’t break down too fast.
- Cold unsalted butter — This is what creates the crumble texture. The colder the butter, the more distinct the topping stays after baking. Salted butter works in a pinch, but skip the added salt or reduce it a little.
- Plain flour — Flour gives the topping structure and keeps the crumbs from turning greasy. Self-raising flour will make the topping more cakey, so plain flour is the right choice for a classic crumble.
- Brown sugar — The light brown sugar adds a deeper, almost caramel note and helps the topping brown. If you only have white sugar, the crumble will still work, but the flavor will be a little flatter.
- Lemon juice — This keeps the apples tasting bright and stops the filling from becoming dull or overly sweet. It also helps the apples hold their shape a little better during baking.
Building the Apple Filling and Crisp Topping in the Right Order
Toss the Apples First
Start by coating the sliced apples with sugar, cinnamon, and lemon juice until every piece looks lightly glossy. That small coating helps the fruit release juice in the oven, which becomes the syrupy base under the crumble. Spread the apples in an even layer so they bake at the same rate. If they’re piled too high in the center, the middle stays firmer than the edges.
Rub the Butter Into the Flour
Work the cold butter into the flour with your fingertips until the mixture looks like coarse breadcrumbs with a few larger lumps. Stop before it turns into a paste. Those bigger pieces of butter are what give the topping little pockets of crunch. If the bowl starts feeling warm, pause for a minute so the butter stays firm.
Finish the Crumble Without Overmixing
Stir in the sugars, cinnamon, and salt just until combined, then scatter the topping over the apples in an even layer. Don’t pack it down. A loose topping lets steam escape and lets the top brown instead of turning heavy. Bake until the crumble is pale golden and you can see the filling bubbling around the edges.
How to Adapt This Apple Crumble for Different Tables
Make It Gluten-Free
Swap the plain flour for a good 1:1 gluten-free baking blend. The topping will still brown and crumble well, but it may be a little more delicate when you spoon it out, so let it cool for 10 to 15 minutes before serving.
Dairy-Free Version
Use a firm dairy-free baking block instead of butter, not a soft spread from a tub. You want something that behaves like butter and stays cold enough to rub into crumbs. The flavor is slightly less rich, but the texture can still be excellent.
A Sharper, More Tart Filling
Use a mix of tart cooking apples and one slightly sweeter apple if you want more depth in the filling. The dessert will taste brighter and less sweet, which works well if you plan to serve it with custard or cream. Just keep an eye on the bake, since softer apples can collapse faster.
Storage and Reheating
- Refrigerator: Store covered for up to 4 days. The topping softens a little, but the flavor holds up well.
- Freezer: Freeze baked crumble in a tightly wrapped dish for up to 2 months. Thaw overnight in the fridge before reheating.
- Reheating: Warm in a 180C (350F) oven until the center is hot and the topping crisp again. The oven is better than the microwave, which turns the crumble soft and leaves the apples unevenly hot.
Questions I Get Asked About This Apple Crumble
Apple Crumble
Ingredients
Equipment
Method
- Preheat the oven to 190C (375F) and grease a large baking dish.
- Toss the apple slices with granulated sugar, cinnamon, and lemon juice, then spread them in the prepared dish.
- In a bowl, combine the plain all-purpose flour and cold unsalted butter, then rub with your fingertips until it looks like coarse breadcrumbs with some larger pieces.
- Stir in the granulated sugar, light brown sugar, cinnamon, and salt until evenly mixed.
- Spread the crumble evenly over the apples without packing it down.
- Bake for 35-40 minutes, until the topping is pale golden and the apple filling bubbles at the edges.
- Serve warm with custard, double cream, or vanilla ice cream.


