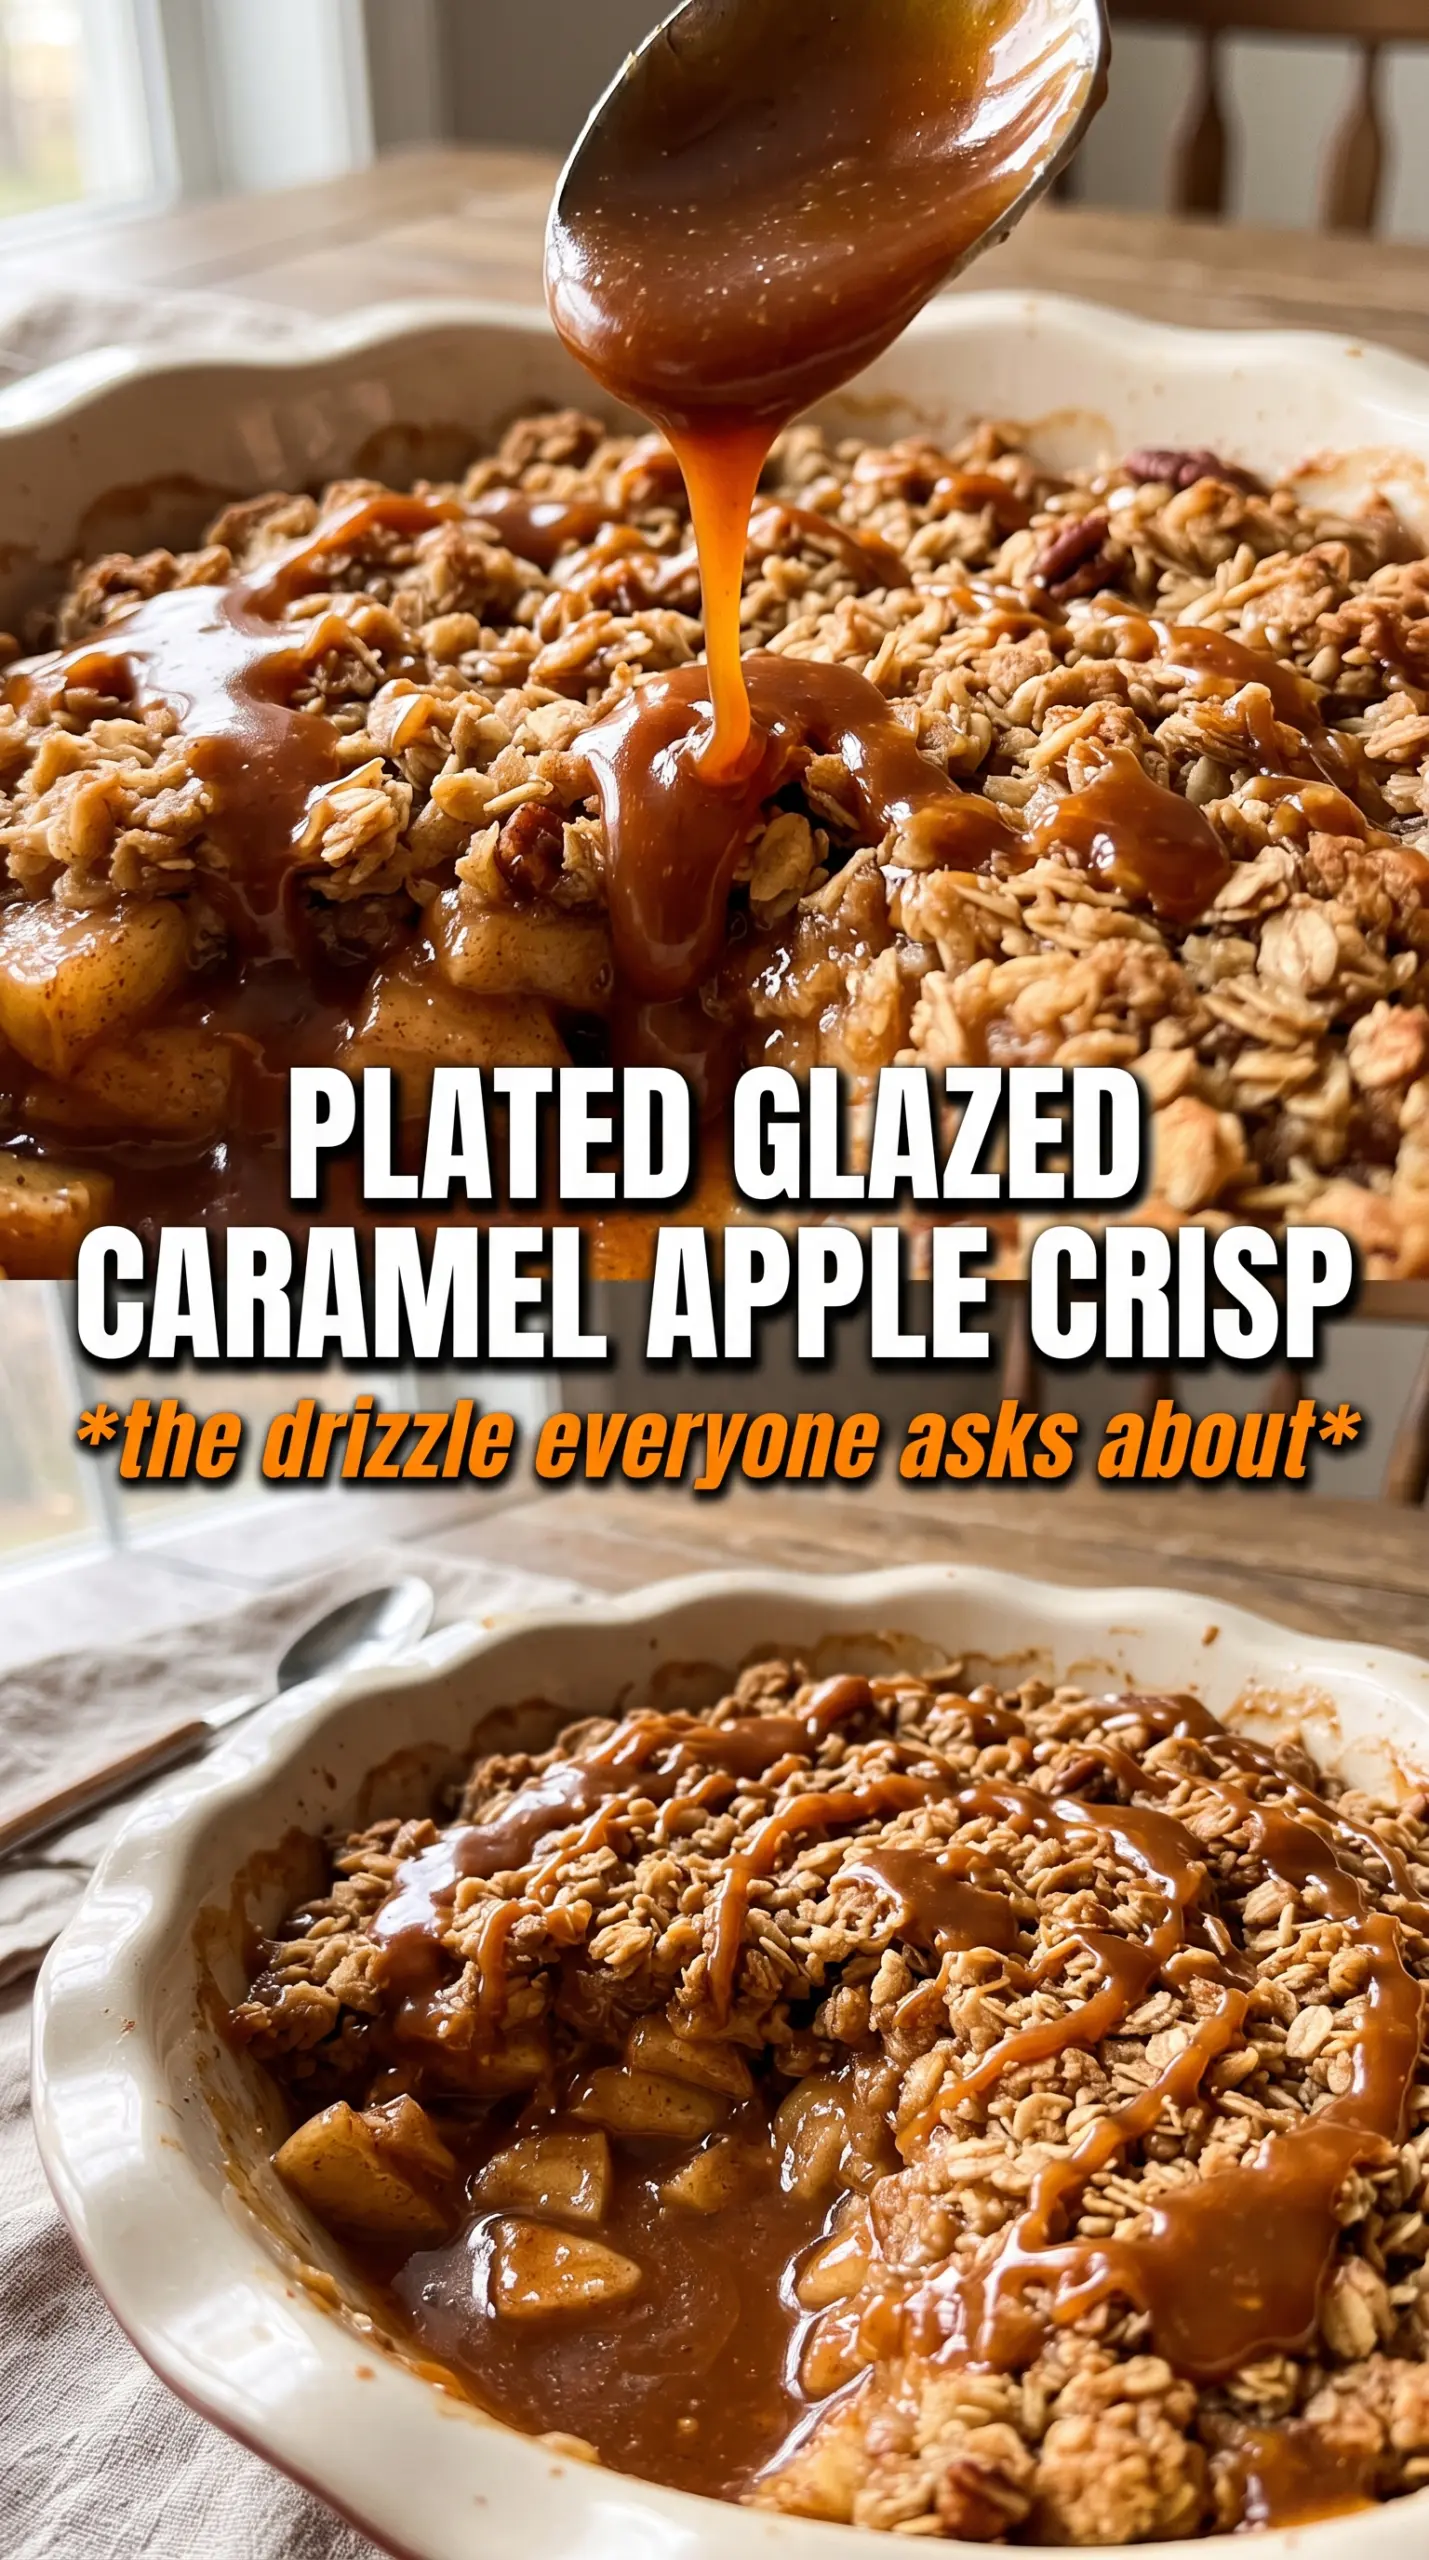
Caramel apple crisp earns its place fast: tender baked apples, a buttery oat topping, and those sticky edges where the caramel bubbles up into the crumble. The best bites have a little bit of everything at once — soft fruit, toasted oats, and enough sauce to make each spoonful taste like a proper dessert instead of just baked apples with topping.
What makes this version work is the way the filling is built to stay thick instead of watery. Cornstarch catches the juices as the apples bake, while a little lemon juice keeps the sweetness from turning flat. The caramel goes into the filling, not just over the top, so the flavor runs all the way through the apples instead of sitting on the surface.
Below, I’ll walk you through the two places this recipe can go wrong: a crisp topping that turns sandy instead of clumpy, and apples that bake up either too firm or too soft. Get those right, and the whole dish comes out with a deep golden top and bubbling edges every time.
The topping stayed crisp even after sitting for a bit, and the caramel in the filling kept the apples from tasting plain. I baked it until the edges were really bubbling, and it set up perfectly once it cooled for 10 minutes.
Save this caramel apple crisp for a bubbling caramel topping and oat crumble that stays crisp under ice cream.
The Trick to Keeping the Filling Thick Instead of Soupy
Apple crisp often turns watery because the apples release juice faster than the topping can bake. Cornstarch changes that. It thickens the liquid in the pan as it heats, which gives you a glossy filling instead of a puddle at the bottom of the dish. The other detail that matters is the caramel sauce going into the apples before baking, because that extra sugar helps the juices simmer into something richer and more concentrated.
The other mistake is underbaking the fruit. If the topping is golden but the filling isn’t bubbling at the edges, the cornstarch hasn’t fully done its job. You want steady bubbling around the perimeter before you pull it from the oven, then a short rest so the juices settle and thicken a little more.
What Each Ingredient Is Doing in the Pan
- Apples — Use a baking apple that holds its shape, like Honeycrisp, Granny Smith, or a mix. Softer apples can turn to mush before the topping finishes, while firmer ones stay intact and give you clean spoonfuls.
- Caramel sauce — This is not just for serving. It gives the filling a deeper, almost toffee-like sweetness and helps the juices in the pan taste finished instead of just sweetened. Use a thick sauce; a thin one can make the filling loose.
- Cornstarch — This is what keeps the apple juices from running everywhere. There isn’t a great substitute here if you want the same clean, spoonable texture, though arrowroot can work in the same amount if that’s what you have.
- Rolled oats — They give the topping that nubby, toasted texture. Quick oats soften too much and lose the crisp crumble effect, so stick with old-fashioned oats if you can.
- Cold butter — Cold cubes are what create clumps instead of a sandy topping. If the butter starts to melt while you mix, the crumble will bake up denser and less crisp.
Building the Crumble So It Bakes Up in Clumps
Tossing the Apple Filling
Combine the apple slices with the sugar, caramel, cinnamon, nutmeg, cornstarch, lemon juice, and salt until every slice is coated. The mixture should look glossy and a little sticky, not dry or powdery. Spread it evenly in the baking dish so the filling cooks at the same rate; if the apples are piled high in the middle, the center stays underdone while the edges overcook.
Cutting the Butter Into the Oats
Mix the oats, flour, brown sugar, cinnamon, and salt, then work in the cold butter until the mixture looks like uneven clumps with some pea-sized pieces still visible. Those chunks of butter melt in the oven and create the crisp, craggy topping. If you rub everything until it looks like sand, you’ll lose that texture and end up with a tighter crust instead of a true crumble.
Baking Until the Edges Bubble
Scatter the topping over the apples and bake until the top is deeply golden and you can see the filling actively bubbling around the edges. That bubbling is the signal that the apples are tender and the cornstarch has thickened the juices. Add the extra caramel in the last few minutes so it warms through without disappearing completely into the topping.
How to Adapt This Apple Crisp Without Losing the Good Parts
Make it gluten-free
Swap the all-purpose flour for a 1:1 gluten-free baking blend. The topping will still clump and brown well, but it may bake up a touch more delicate, so let it cool before serving if you want neat scoops.
Use pears instead of apples
Firm pears work if apples aren’t in the house, but the filling will be softer and a little more floral. Keep the cornstarch the same and check the dish early, since pears can go from tender to too soft faster than apples.
Make it dairy-free
Use a plant-based butter that bakes well and keep it cold. The topping won’t taste exactly the same, but you’ll still get the crisp finish and the butter-style richness if the substitute is solid in the fridge and not a soft spread.
Storage and Reheating
- Refrigerator: Store covered for up to 4 days. The topping will soften, but the flavor stays strong.
- Freezer: It freezes well after baking. Cool completely, wrap tightly, and freeze for up to 2 months. Thaw overnight in the refrigerator before reheating.
- Reheating: Warm in a 325°F oven until the center is hot and the topping perks back up, about 15 to 20 minutes. The microwave softens the crumble too much, so skip it if you want the top to stay crisp.
Answers to the Questions Worth Asking
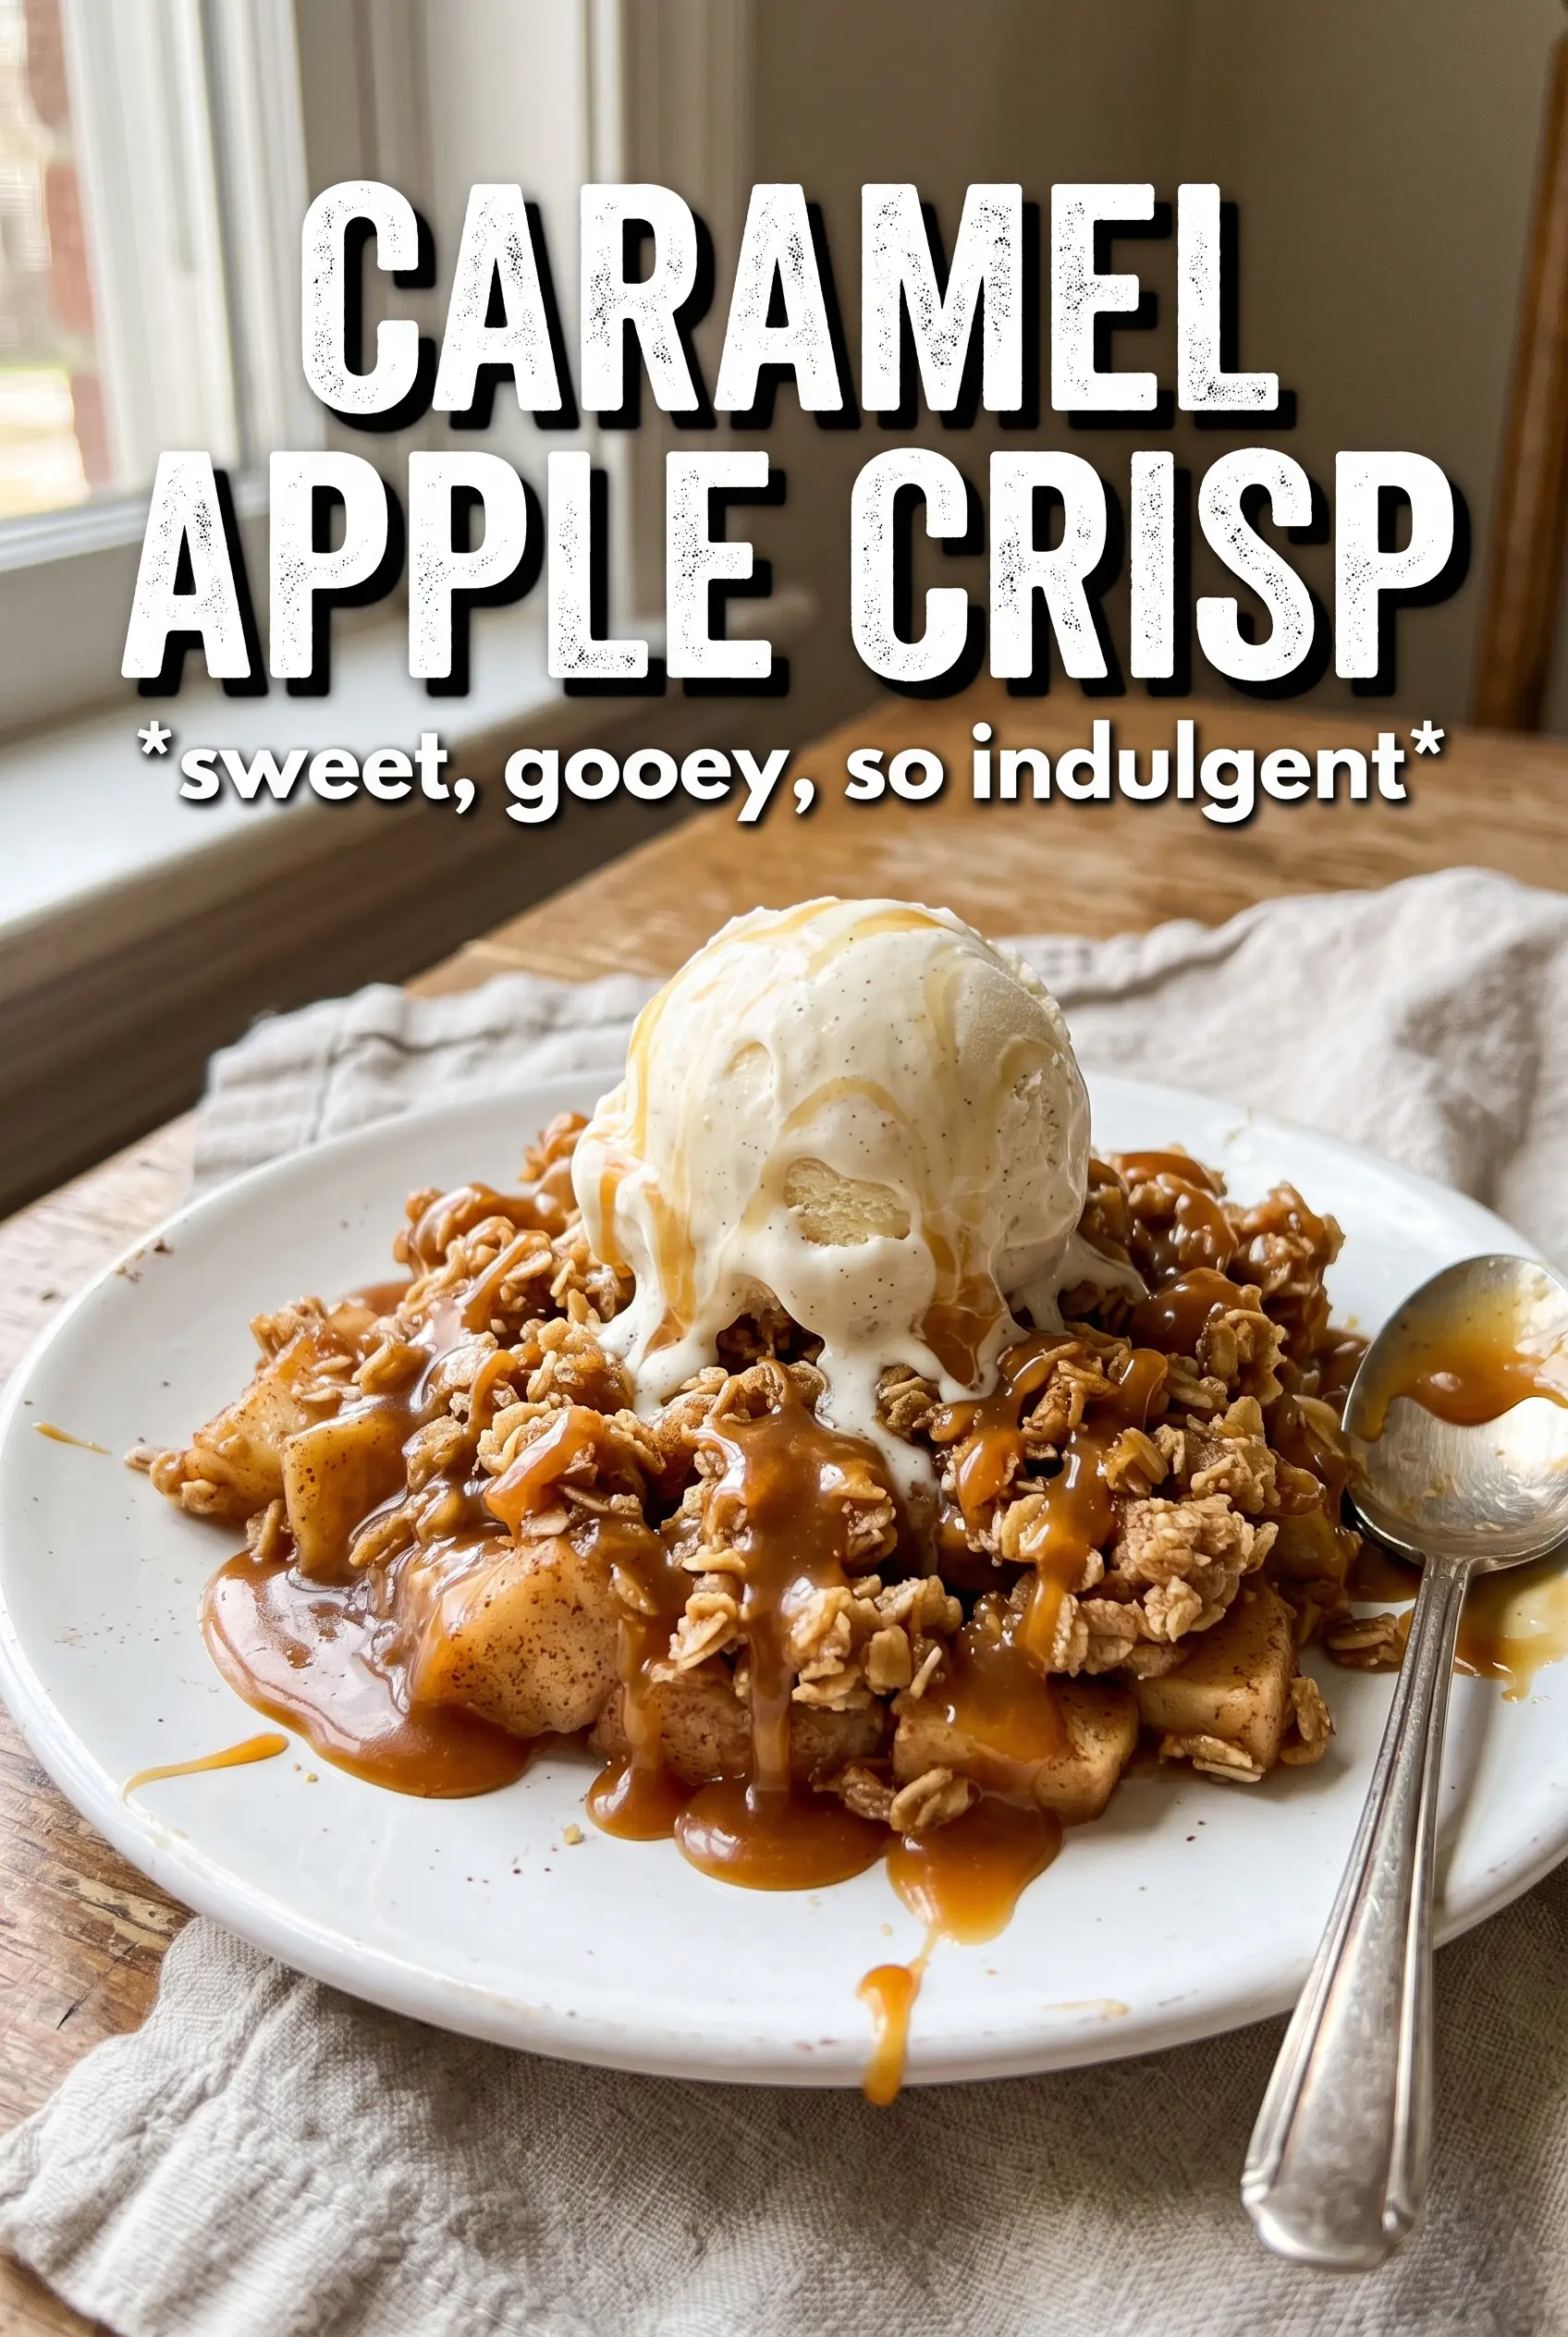
Caramel Apple Crisp
Ingredients
Equipment
Method
- Preheat the oven to 375F and grease a 9x13 baking dish.
- Toss the apple slices with granulated sugar, caramel sauce, cinnamon, nutmeg, cornstarch, lemon juice, and sea salt, then spread them evenly in the dish.
- Combine the rolled oats, all-purpose flour, brown sugar, cinnamon, and salt, then cut in the cold butter until chunky clumps form.
- Scatter the crumble evenly over the caramel apples so the topping covers the fruit.
- Bake for 40-45 minutes at 375F until the topping is deeply golden and the filling is bubbling at the edges.
- Drizzle extra caramel sauce over the top during the last 5 minutes of baking, letting it melt and turn glossy.
- Serve warm with vanilla ice cream and more caramel.


