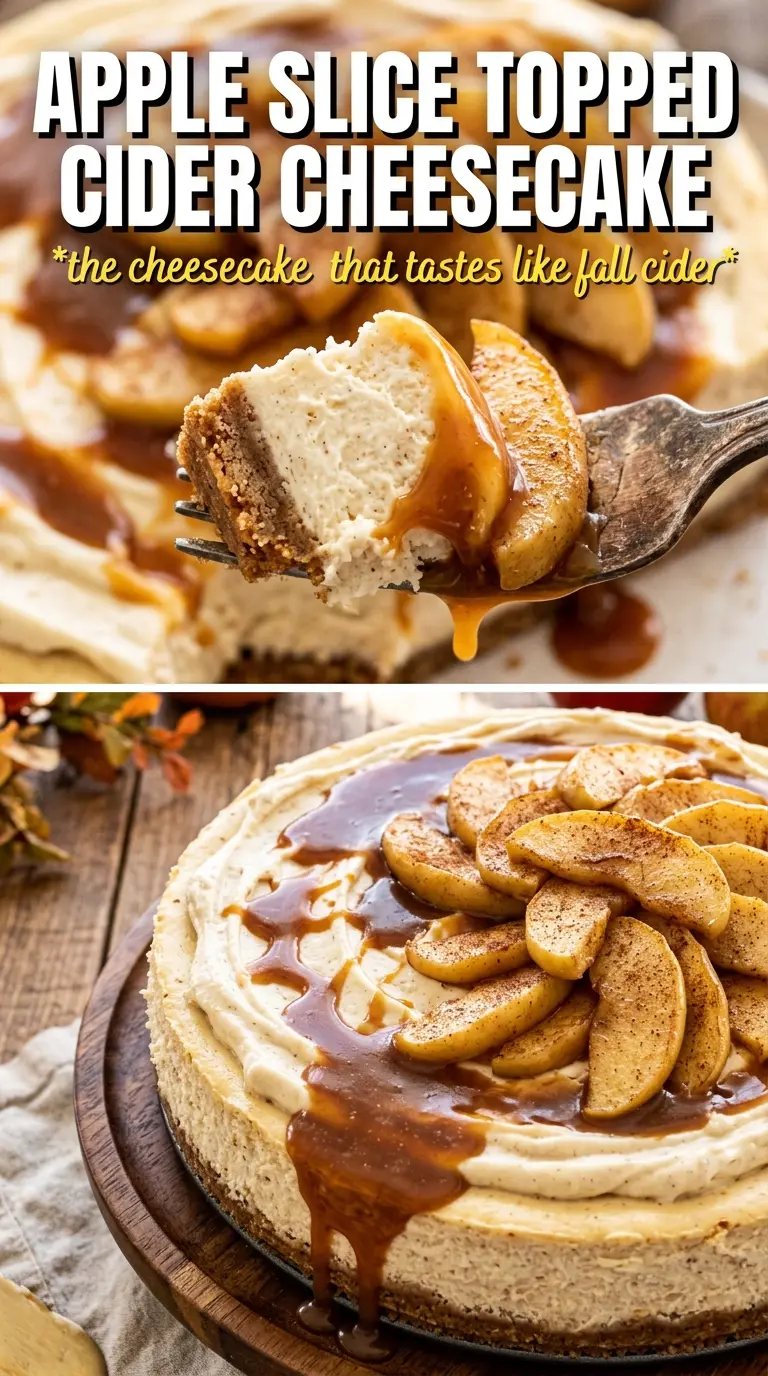
Apple cider cheesecake has that rare combination of silky filling, warm spice, and a clean apple finish that keeps each bite from feeling heavy. The crust stays crisp under the filling, the center bakes up dense but still creamy, and the cider on top gives it the kind of sharp-sweet edge that makes people go back for a second slice even when they swear they’re full.
What makes this version work is the cider reduction. Straight cider adds too much liquid and can blur the flavor, but reduced cider concentrates the apple taste and folds into the batter without thinning it out. The water bath matters here too. It keeps the cheesecake baking gently so the edges don’t overcook before the center sets.
Below, I’m walking through the parts that matter most: how to keep the filling smooth, how to avoid a cracked top, and how to get that cider drizzle glossy instead of runny.
The cider flavor came through beautifully, and the filling stayed smooth instead of grainy. I chilled it overnight and the slices held their shape perfectly with that spiced drizzle on top.
Save this apple cider cheesecake for when you want a creamy dessert with a spiced cider topping and a crust that actually stays crisp.
The Reason the Cider Goes in Reduced, Not Straight From the Bottle
If you pour unreduced cider into cheesecake batter, the texture pays for it. The extra liquid loosens the filling and makes it harder to set cleanly, which is how you end up with a soft middle that never quite slices the way you want. Reducing the cider first cooks off the excess water and leaves behind a concentrated apple flavor that tastes present in the finished cheesecake instead of faint and lost under the cream cheese.
The other thing that matters here is temperature. Softened cream cheese beats smooth; cold cream cheese stays lumpy no matter how long you mix it. Once the eggs go in, stop as soon as the batter looks uniform. Overmixing adds air, and air is what causes cheesecake to puff, crack, and sink in the center as it cools.
- Graham cracker crumbs — These give you a sturdy, familiar crust that holds up to a dense filling. If you crush whole crackers yourself, aim for fine crumbs so the crust packs tightly and doesn’t crumble when sliced.
- Reduced apple cider — This is the flavor driver. The reduction should be cooled before it goes into the batter, or it can soften the mixture too much and make the eggs cook unevenly.
- Sour cream — It adds tang and keeps the filling from tasting flat. Full-fat sour cream gives the best texture, but plain Greek yogurt can work in a pinch; expect a slightly sharper, less plush result.
- Cream cheese — This is not the place for low-fat blocks or tub-style spreadable cheese. Use the brick kind and let it soften fully so the batter turns silky instead of grainy.
What Each Ingredient Is Actually Doing in This Recipe
- Primary ingredient (the star) — Quality matters most. Choose the best you can find.
- Cooking medium (oil, butter, or broth) — This carries flavors and prevents dryness.
- Seasonings (salt, pepper, spices, herbs) — Layer flavors so nothing overpowers. Build depth gradually.
- Aromatics (garlic, onion, herbs) — Cook with fat to bloom flavors. Become the foundation.
- Supporting ingredients — Complement the main ingredient without overpowering it.
- Sauce or liquid (if applicable) — Brings flavors together. Balance richness with acid.
- Acid (lemon, vinegar, wine, or other) — Brightens and prevents flat-tasting results.
- Final finish (garnish, glaze, or sauce) — Prevents one-dimensional taste and adds visual appeal.
Building the Filling Without Overworking It
Pressing the Crust So It Bakes Cleanly
Mix the crust until the crumbs look evenly moistened, then press them firmly into the pan and up the sides just a little. A flat-bottomed measuring cup makes this easier than your fingers and gives you a tighter layer. If the crust is loose, the first slice falls apart at the base. Bake it just long enough to smell toasted and set the butter, then let it cool while you mix the filling.
Getting the Cream Cheese Smooth Before the Eggs Go In
Beat the softened cream cheese and brown sugar until the mixture looks glossy and completely free of little white lumps. Scrape the bowl well; unblended cream cheese hides on the bottom and shows up later as grainy bits in the slice. Add the reduced cider and spices next, then the eggs one at a time. Once the eggs are in, mix only until the batter turns uniform and creamy.
Baking Low and Gentle in the Water Bath
Pour the batter over the crust and set the springform pan in a larger pan with hot water. The water bath keeps the edges from cooking too fast and helps the center stay just slightly wobbly when it’s ready. If the top starts to brown aggressively or the filling puffs up high and looks dry around the edge, the oven is too hot. Pull it when the center still has a soft jiggle; it will finish setting as it cools.
Cooling Before the Chill
Cheesecake needs a slow landing. Let it cool at room temperature before refrigerating so the sudden temperature change doesn’t pull the top apart. Then chill it until fully firm, at least 6 hours, but overnight is better if you want neat slices. Warm cheesecake smears; cold cheesecake cuts cleanly.
How to Adapt It When You Want a Different Finish
Gluten-Free Crust Swap
Use gluten-free graham-style crumbs in the same amount. The filling doesn’t need any change, and the texture stays nearly identical as long as the crumbs are fine and well packed. If your crumbs are dry, add the butter a teaspoon at a time until the mixture clumps when squeezed.
Dairy-Free Version
A dairy-free cheesecake needs a plant-based cream cheese that’s formulated for baking, plus a thick dairy-free sour cream substitute. The texture will be a little softer and the tang changes, but the cider and spices still carry the dessert well. Don’t use a thin spread; it won’t set the same way.
More Spice, Less Sweet
Add a pinch of ground cloves or allspice to the filling if you want the cider to read more warmly spiced. You can also reduce the brown sugar in the topping slightly and still get a glossy drizzle. The cheesecake will taste a little sharper and less dessert-candy sweet, which I like with strong coffee.
Storage and Reheating
- Refrigerator: Store covered for up to 5 days. The crust stays best in the first 2 to 3 days, but the filling keeps well.
- Freezer: Cheesecake freezes well. Chill it fully first, then wrap slices tightly and freeze for up to 2 months. Thaw in the refrigerator so the texture stays creamy.
- Reheating: Don’t reheat the cheesecake itself. Serve it cold or let slices sit at room temperature for 15 to 20 minutes. If the cider topping was refrigerated, warm it just until loosened, not boiling, or it can turn sticky and too thick.
Answers to the Questions Worth Asking
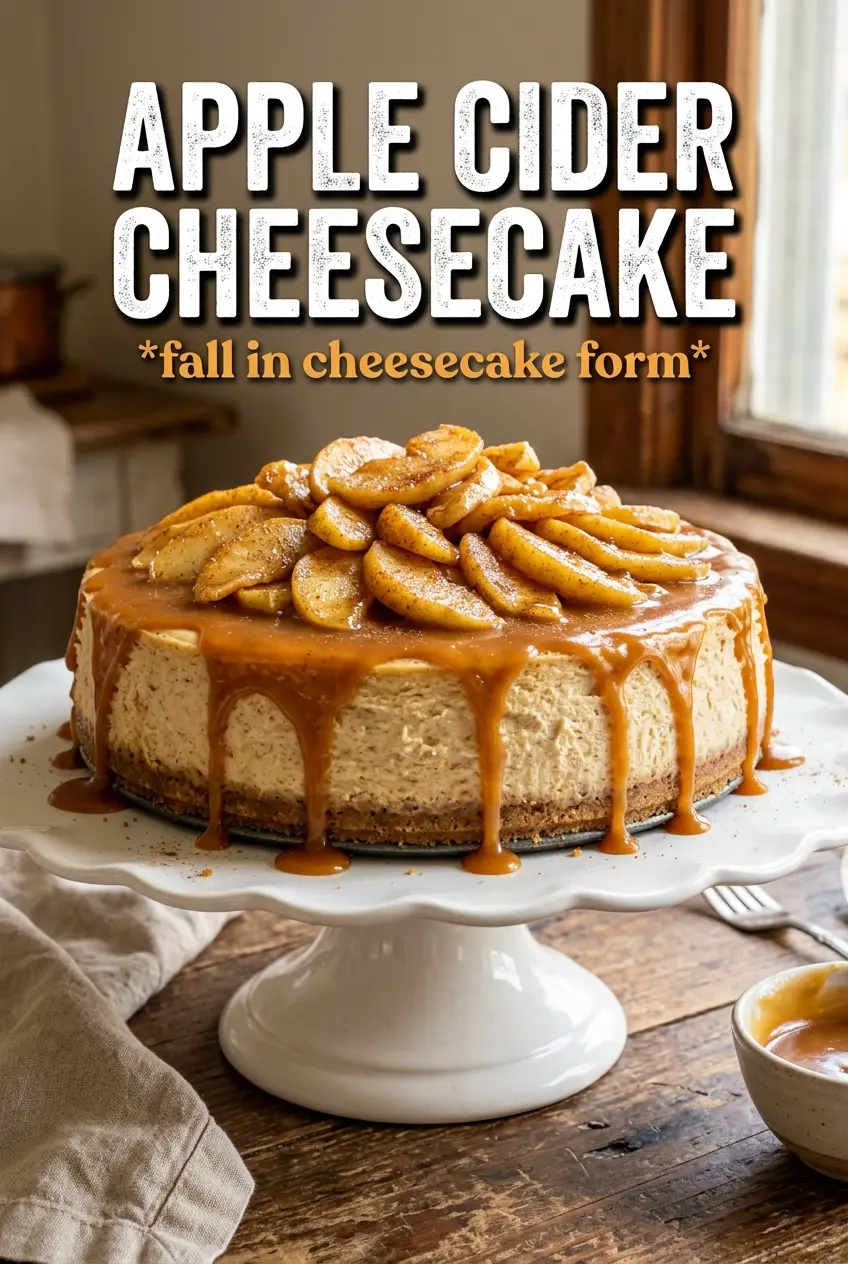
Apple Cider Cheesecake
Ingredients
Equipment
Method
- Preheat the oven to 325F. Combine graham cracker crumbs, sugar, cinnamon, and melted butter, then press firmly into a 9-inch springform pan (press up the sides slightly if you like).
- Reduce 1/2 cup apple cider in a small saucepan over medium heat until syrupy, then cool completely. The syrup should look glossy and thicker than cider.
- Beat cream cheese and brown sugar until completely smooth. Stop and scrape the sides and bottom to remove any lumps.
- Mix in the reduced apple cider. The batter should turn evenly aromatic and slightly lighter in color.
- Add eggs one at a time, mixing just until each is incorporated. Keep the mixture smooth without overmixing.
- Mix in sour cream, cinnamon, nutmeg, and vanilla extract. The batter should be thick and silky with no streaks.
- Pour the cheesecake batter over the crust. Place the springform pan in a water bath and bake 55-60 minutes at 325F until the center is just set with a slight wobble.
- Cool the cheesecake completely, then refrigerate for 6 hours or overnight. The surface should look set and firm when ready.
- Simmer the remaining apple cider with brown sugar and cinnamon until syrupy. Drizzle the warm syrup over slices when serving.


