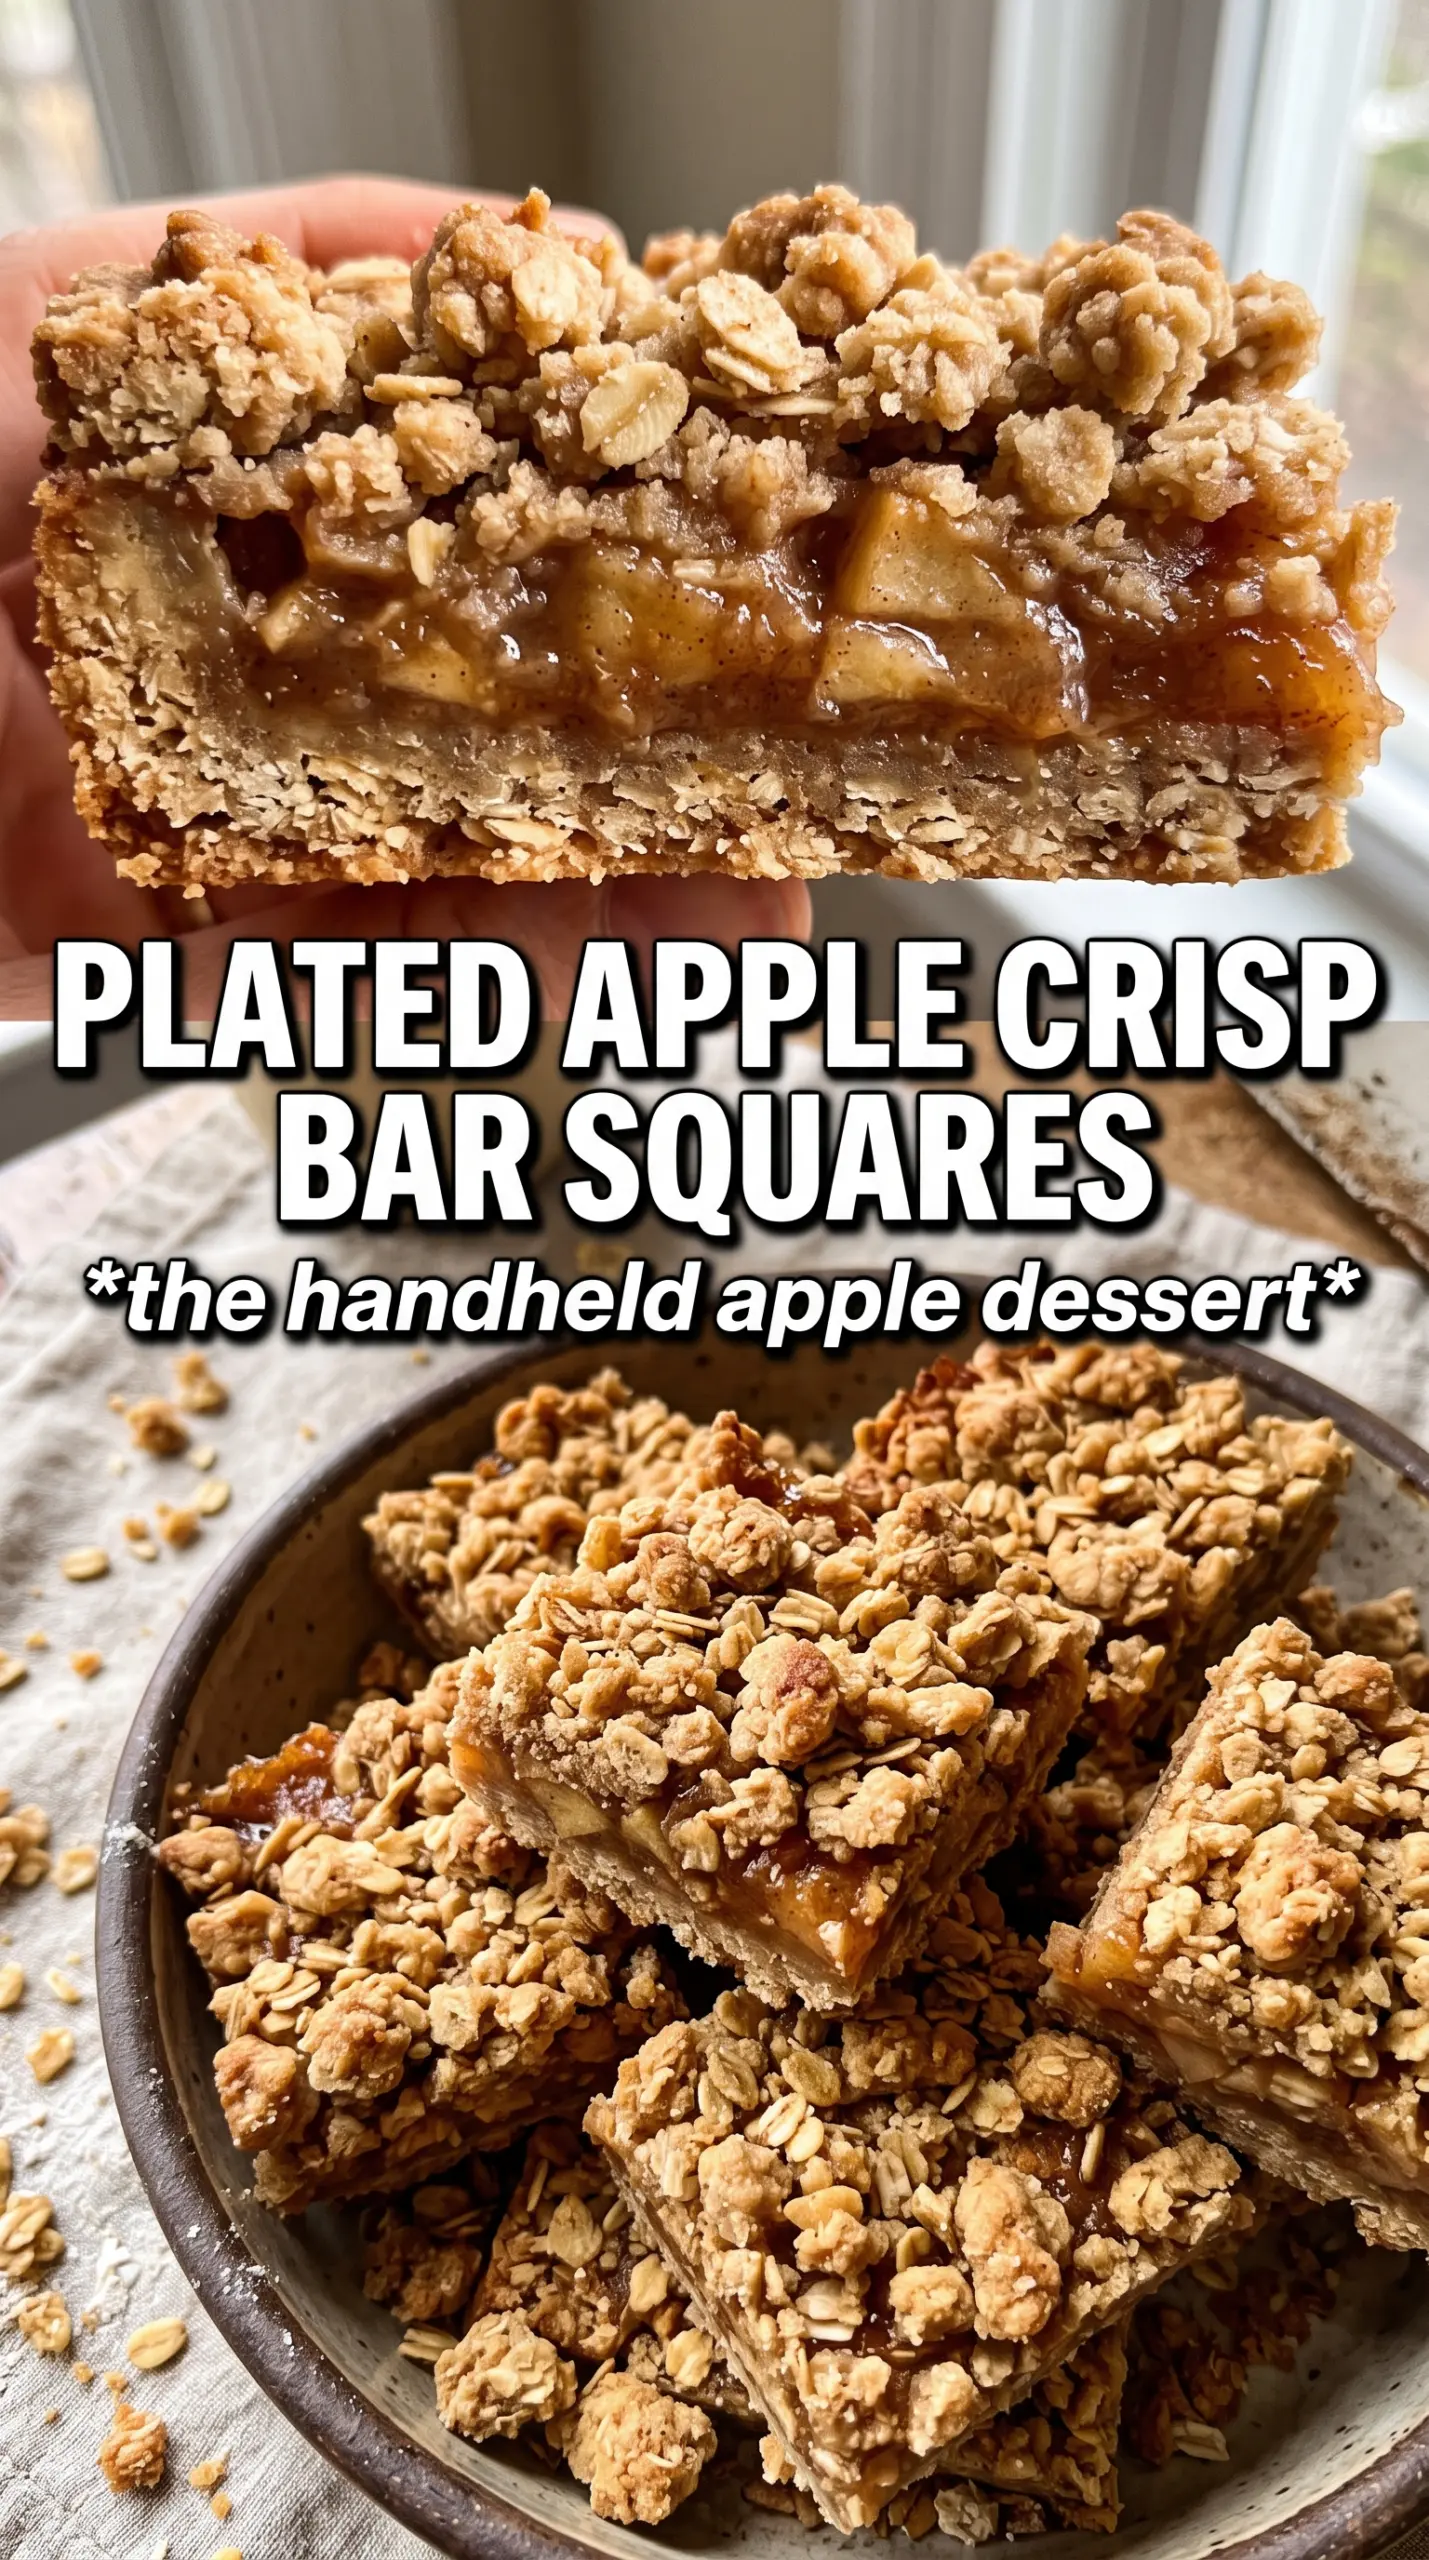
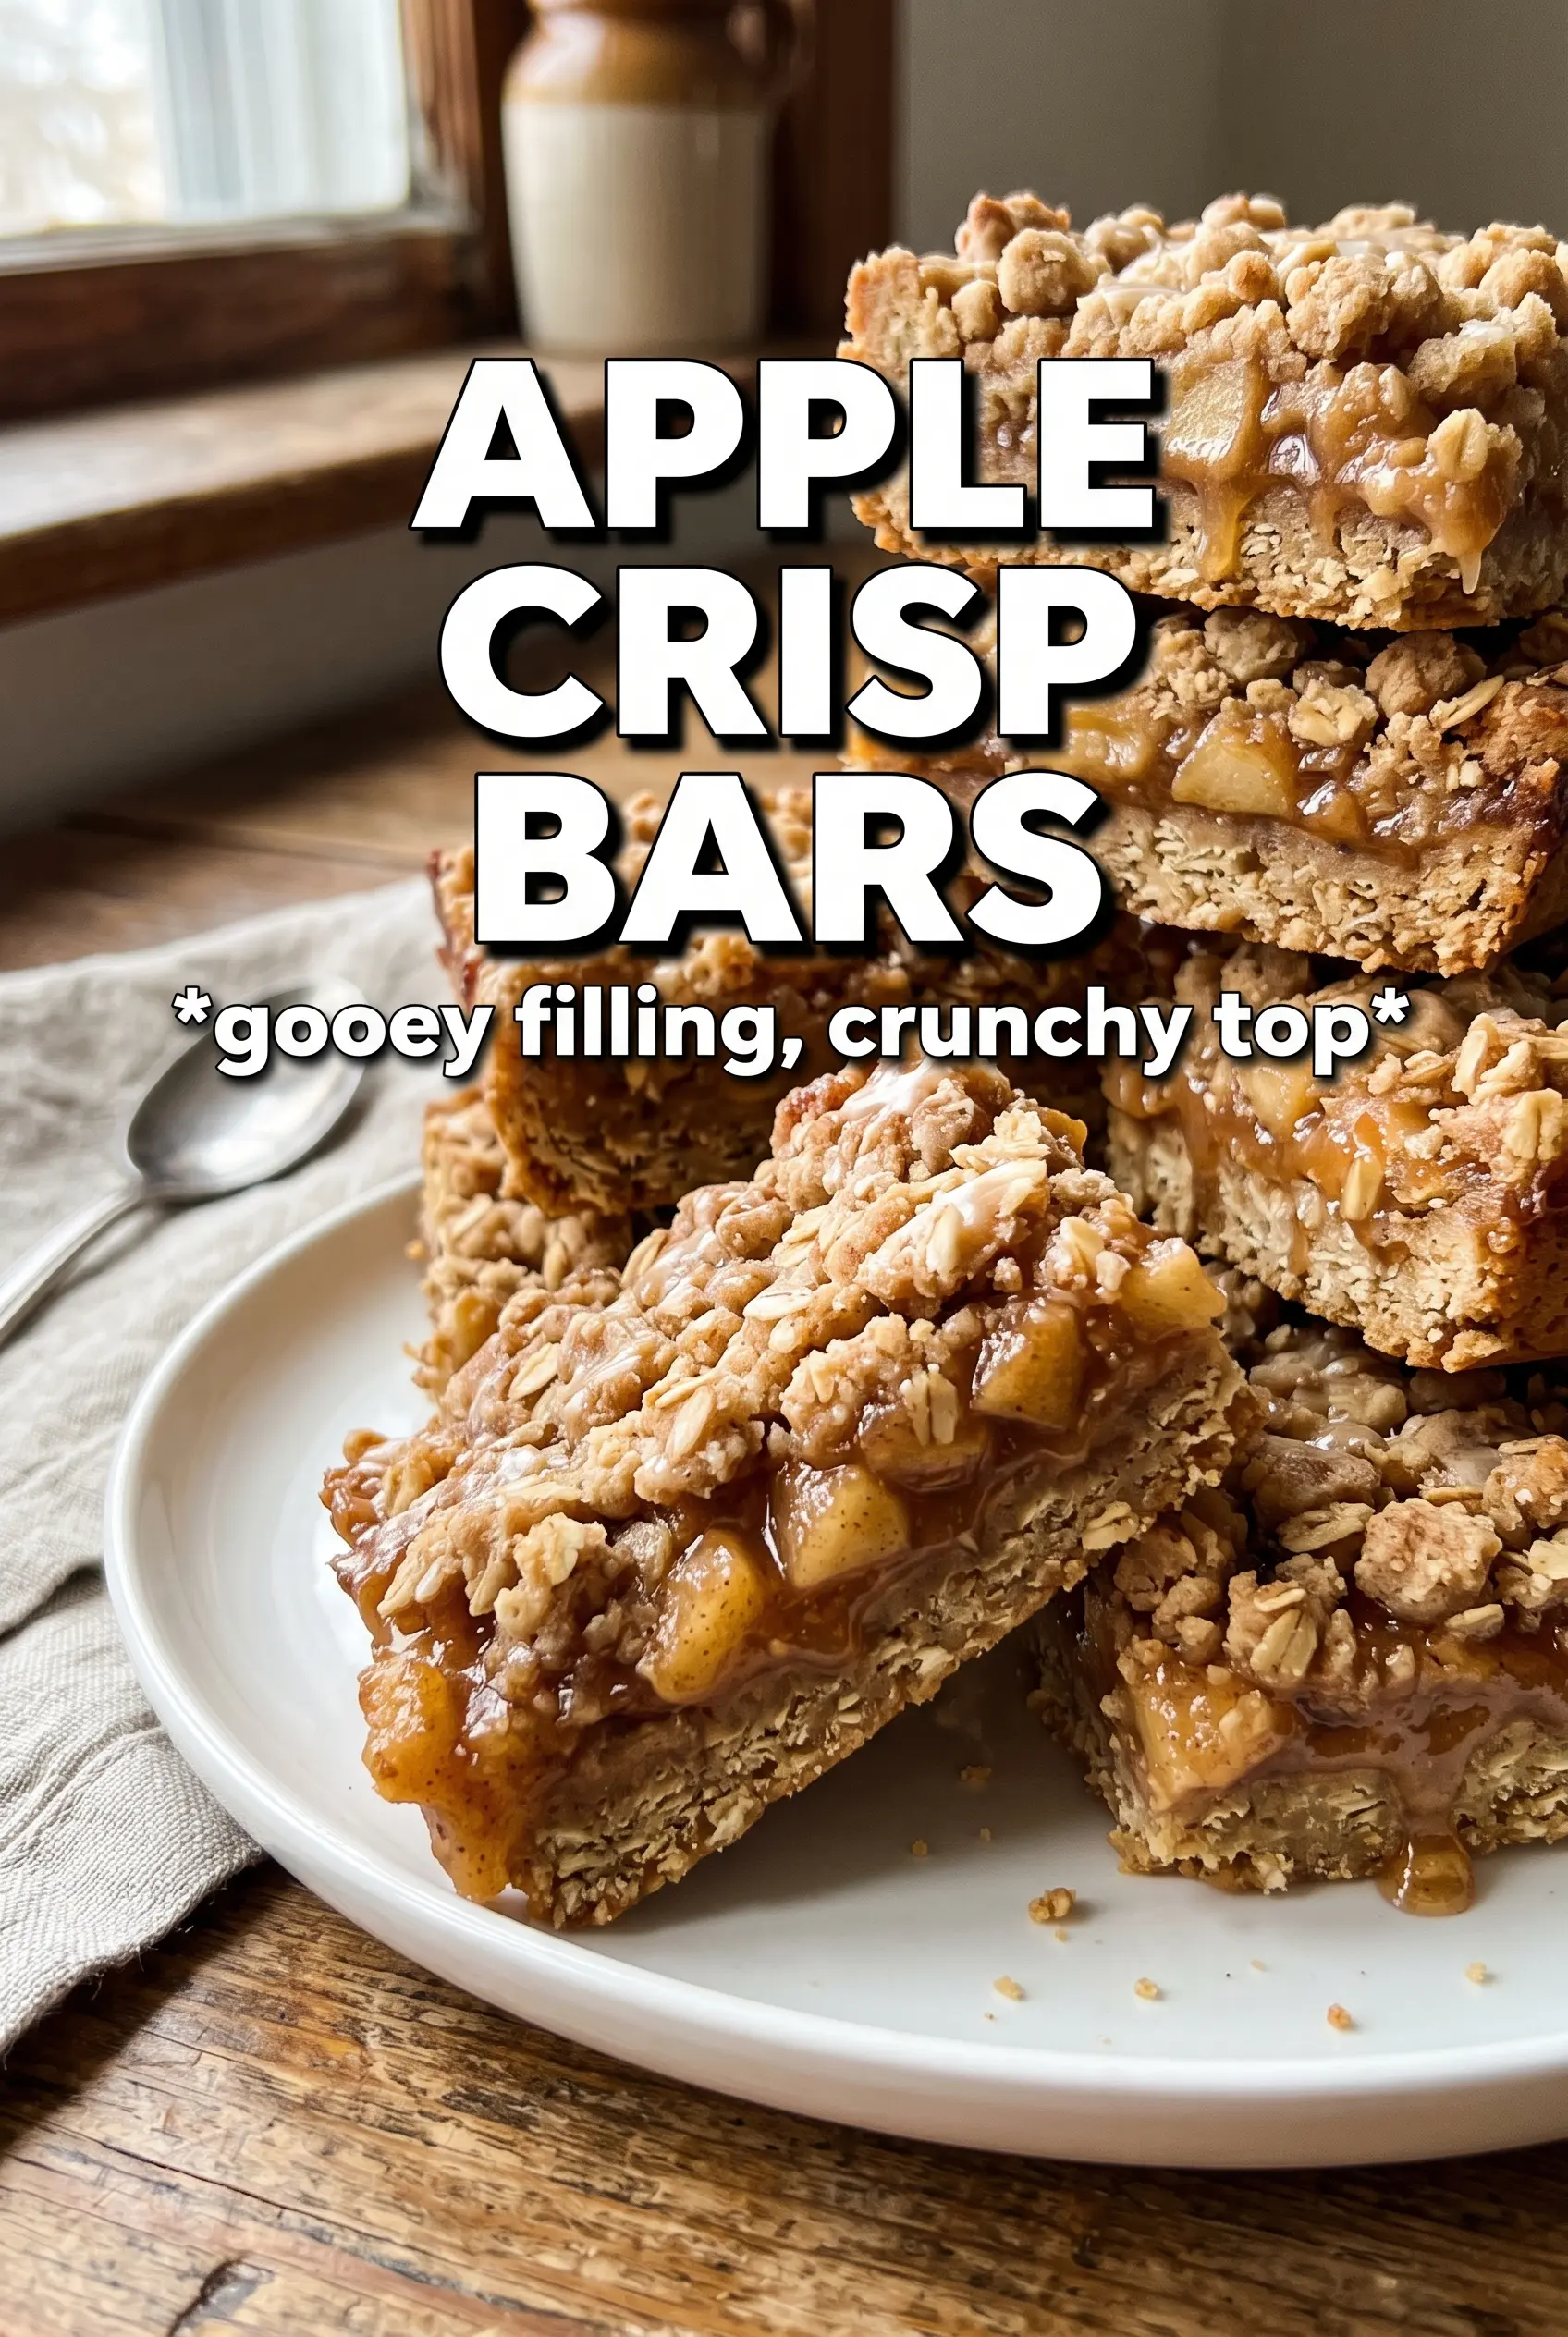
Apple crisp bars hit that sweet spot between a sturdy dessert bar and a classic baked apple crisp. You get a firm oat base, a thick layer of spiced apples, and a crumbly top that stays crisp enough to give a real bite instead of turning soggy under the filling. They slice cleanly once cooled, which makes them just as useful for a lunchbox treat or bake sale tray as they are for dessert after dinner.
The trick is building enough structure in the bottom layer before the apples go in. A quick pre-bake helps the crust set so it can stand up to the juicy filling, and cornstarch keeps the apples from leaking all over the pan. I also like dicing the apples small rather than leaving big chunks, because the bars hold together better and each square gets an even layer of fruit.
Below, I’ve included the little details that matter most: how to keep the crumble from drying out, what kind of apples work best, and the one cooling step you don’t want to rush if you want neat slices.
The bottom layer baked up sturdy and the apple center set perfectly once it cooled. I used Granny Smith and Honeycrisp, and the bars held their shape without falling apart when I sliced them.
Save these apple crisp bars for the days when you want a thick spiced filling and a buttery oat crumble that slices cleanly.
The Step Most Apple Bars Need: Pre-Baking the Bottom
Bars like this fail when the crust and topping turn into one soft layer under the apples. The short pre-bake changes that. It gives the oat mixture enough heat to set the butter and dry out the flour a little, so the base can hold the filling instead of soaking it up.
Pressing two-thirds of the crumble firmly into the pan matters more than people think. Loose crumbs look rustic, but they collapse when the apples release juice. Use the back of a measuring cup or your fingers to pack it down evenly, and watch for a pale, matte surface before you add the filling. It only needs 10 minutes in the oven, but that head start is what keeps the bars layered instead of mushy.
What Each Ingredient Is Actually Doing in These Bars
- Rolled oats — These give the bars their hearty crumble and keep the topping from tasting like plain streusel. Quick oats can work in a pinch, but they make the texture softer and less distinct.
- All-purpose flour — This is what lets the crumble bake into bars instead of turning into loose topping. There isn’t a perfect substitute here if you want the same sliceable texture.
- Brown sugar — Brown sugar brings moisture and a deeper caramel note that pairs well with apples. Light or dark both work; dark brown sugar will give you a slightly richer taste.
- Melted butter — Melted butter coats every dry bit of the crumble fast, which helps the topping bake up evenly. If you use butter that’s too hot, it can clump the mixture unevenly, so let it cool for a minute before mixing.
- Apples — Use a firm baking apple or a blend of tart and sweet apples so the filling stays textured and doesn’t dissolve into sauce. Dice them small and evenly so the bars cut cleanly.
- Cornstarch — This is the difference between a juicy filling and a runny one. It thickens as the bars bake and cool, so the center sets instead of leaking out when sliced.
Building the Layers So the Filling Stays Thick and the Top Stays Crumbly
Mixing the Crumble
Stir the oats, flour, brown sugar, cinnamon, and salt together first so the spice and sugar are evenly distributed. Then drizzle in the melted butter and toss until every dry bit looks moistened. If you see dry flour pockets, keep mixing, because those spots bake up dusty and break the texture.
Pre-Baking the Base
Press two-thirds of the mixture into the pan in an even layer, then bake until it looks set and lightly dry on top. You’re not looking for color yet; you’re looking for structure. If you skip this stage, the apple juices sink straight into the bottom and the bars lose their shape.
Spicing the Apples
Toss the diced apples with sugar, cinnamon, nutmeg, cornstarch, and lemon juice until the pieces are evenly coated and look a little glossy. The lemon keeps the filling from tasting flat, and the cornstarch should disappear into the fruit rather than sit in white streaks. Spread the apples over the hot crust while it’s still warm so the layers bond together as they bake.
Finishing the Bake
Scatter the remaining crumble over the apples, then bake until the top is deeply golden and the filling is bubbling at the edges. That bubbling matters; it tells you the cornstarch has activated and thickened the juices. If the top browns too quickly before the filling bubbles, lay a loose piece of foil over the pan for the last part of the bake.
Cooling for Clean Slices
Let the pan cool completely before cutting. The filling firms up as it cools, and warm bars will slump no matter how carefully you slice them. If you want extra neat squares, chill them briefly after room temperature cooling.
Three Ways to Adjust the Bars Without Losing the Crunch
Gluten-Free Version
Use a good 1:1 gluten-free flour blend in place of the all-purpose flour and choose certified gluten-free oats. The bars will still hold together, though the crumble may be a touch more delicate when warm.
Dairy-Free Swap
Use a plant-based butter substitute that’s meant for baking, not a soft tub spread. You’ll still get a crisp crumble, but the flavor will be a little less rich than with real butter.
Different Apple Combos
Mix tart apples with sweeter ones for a filling that tastes balanced instead of one-note. All Granny Smith gives you a sharper bite, while all sweet apples can turn soft and mellow faster.
Storage and Reheating
- Refrigerator: Store covered for up to 5 days. The crumble softens a little, but the bars still slice well.
- Freezer: These freeze well. Wrap individual bars tightly and freeze for up to 2 months; thaw in the fridge before serving.
- Reheating: Warm a bar in the microwave for 15 to 20 seconds or in a 300F oven for a few minutes. Don’t overheat them, or the filling will loosen and the topping will lose its crunch.
Questions I Get Asked About This Recipe
Apple Crisp Bars
Ingredients
Equipment
Method
- Preheat the oven to 375F and line a 9x13 pan with parchment for easy lifting.
- Combine rolled oats, all-purpose flour, brown sugar, cinnamon, and salt, then drizzle in melted unsalted butter and toss until evenly moistened.
- Press 2/3 of the oat mixture firmly into the prepared pan, then bake for 10 minutes.
- Toss apples with granulated sugar, cinnamon, nutmeg, cornstarch, and lemon juice, then spread the apple mixture over the hot base.
- Scatter the remaining oat crumble over the apples, then bake for 30 more minutes until the topping is golden and the filling bubbles.
- Cool completely before slicing into bars so the layers set cleanly.


