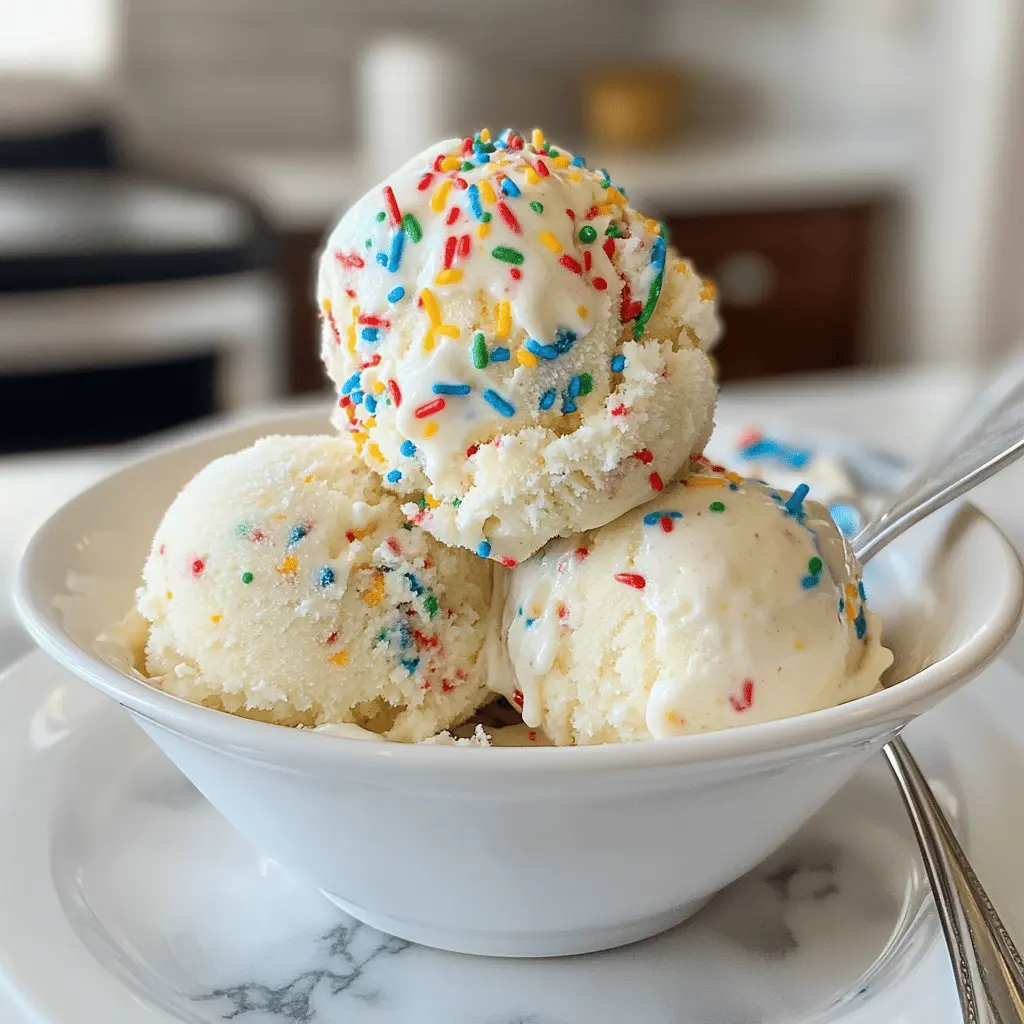
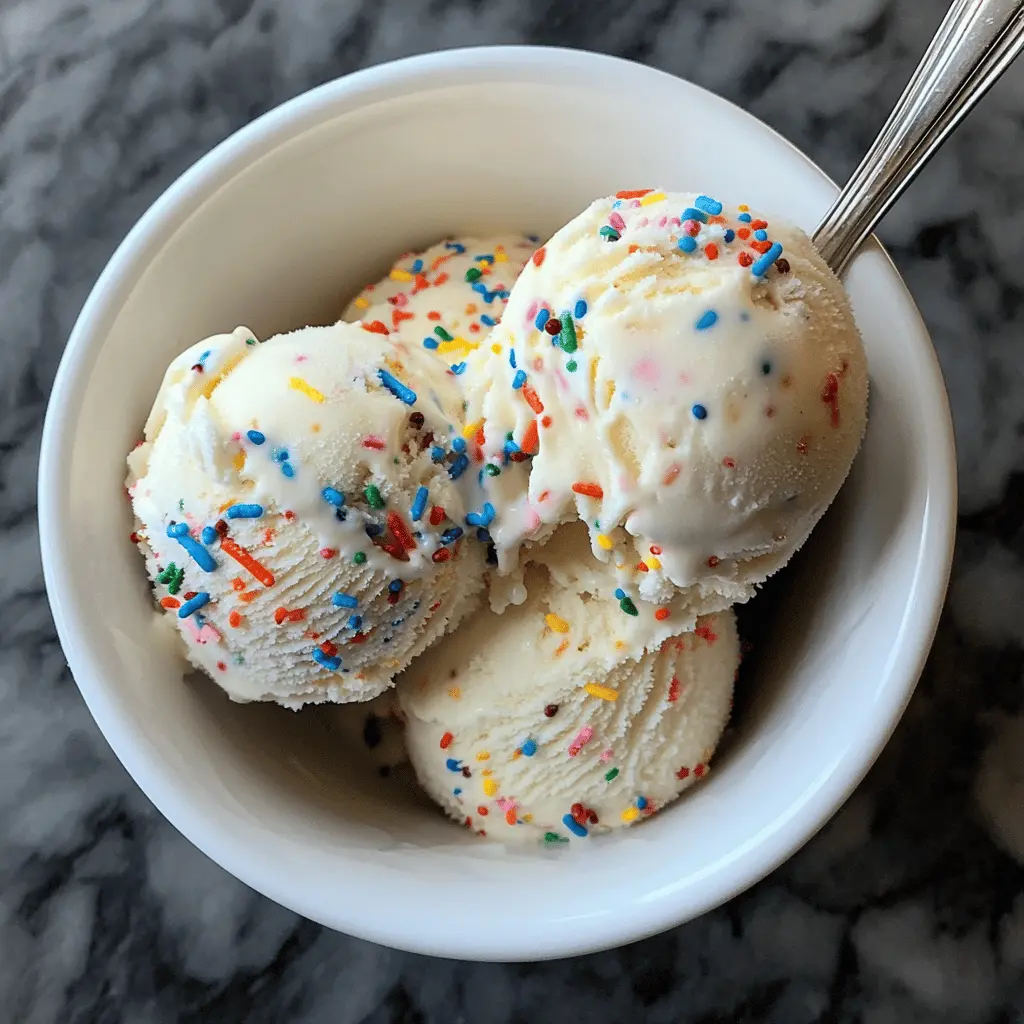
This Easy Homemade Birthday Cake Ice Cream is perfect for any celebration! It’s creamy, sweet, and packed with colorful sprinkles and cake bits, making each scoop a surprise!
Making this ice cream is a breeze! Just mix, freeze, and enjoy. I love serving it in fun cones—it’s like a mini party in every bite! 🎉 Who can resist a cake-flavored treat?
Key Ingredients & Substitutions
Heavy Cream: This is essential for a rich and creamy texture. If you want a lighter option, you could use half-and-half, though it won’t be as creamy. I always recommend using real cream for the best results.
Whole Milk: Full-fat milk gives a nice creaminess. If you’re dairy-free, you can substitute with coconut milk or almond milk, although it will change the flavor a bit.
Granulated Sugar: Sugar sweetens the ice cream. If you’re looking to reduce sugar, you might use a sugar substitute like stevia or erythritol, but be sure to check the conversion because some are sweeter than sugar.
Vanilla & Almond Extract: These extracts enhance flavor. I prefer real vanilla extract for a richer taste. If you’re out of almond extract, you can skip it; the vanilla stands strong on its own.
Yellow Cake Mix: This gives the ice cream that birthday cake flavor and texture. If you want to avoid cake mix, you can use homemade crumbled cake, cooled and cut into small bits. Just make sure it’s a plain vanilla or yellow cake!
Rainbow Sprinkles: They add a fun touch! If you’d like a healthier option, use naturally colored sprinkles or skip them altogether for a cake-batter look.
How Do I Get a Creamy Texture When Making Ice Cream?
Achieving creamy ice cream is all about the technique! Here’s how you can get it just right:
- Mix your base well before churning. Make sure the sugar is fully dissolved for a smooth texture.
- Churn the mixture in an ice cream maker according to the instructions. This incorporates air and helps it become fluffy.
- Don’t over-churn. Stop when it reaches a soft-serve consistency to prevent ice crystals from forming.
- Freeze the ice cream in a shallow container; it helps it firm up evenly.
Remember, homemade ice cream can be softer than store-bought, so let it sit out for a few minutes before scooping for easier serving. Enjoy your delicious creation!
Easy Homemade Birthday Cake Ice Cream
Ingredients You’ll Need:
- 2 cups heavy cream
- 1 cup whole milk
- 3/4 cup granulated sugar
- 1 tablespoon pure vanilla extract
- 1/2 teaspoon almond extract (optional)
- 1/3 cup yellow cake mix (store-bought or homemade, crumbled)
- 1/4 cup rainbow sprinkles (jimmies or nonpareils)
How Much Time Will You Need?
This refreshing treat takes about 15 minutes to prepare and 20-25 minutes to churn in your ice cream maker. After that, you’ll need to freeze it for at least 3 hours to let it firm up. So, total time including freezing is around 3 hours and 45 minutes.
Step-by-Step Instructions:
1. Make the Base Mixture:
In a large mixing bowl, combine the heavy cream, whole milk, sugar, pure vanilla extract, and almond extract if you’re using it. Whisk together until the sugar has completely dissolved. This step is crucial for a smooth and creamy texture!
2. Add the Cake Mix:
Next, gently fold in the crumbled yellow cake mix into the mixture. You want to mix it just enough so there are still small chunks of cake throughout the ice cream—not totally dissolved.
3. Churn the Ice Cream:
Pour your mixture into the ice cream maker. Follow the manufacturer’s instructions and churn it for about 20-25 minutes until it reaches a soft-serve consistency. If you don’t have an ice cream maker, you could pour it into a shallow dish and stir it every 30 minutes until frozen—it just takes a bit longer!
4. Add the Sprinkles:
During the last few minutes of churning, add the rainbow sprinkles. This will help to evenly distribute them through the ice cream, creating colorful bites in every scoop.
5. Freeze the Ice Cream:
Transfer your churned ice cream into a freezer-safe container. Cover it tightly and freeze for at least 3 hours (or until firm). This step is important to help it set properly.
6. Serve and Enjoy:
When you’re ready to enjoy, scoop the ice cream into bowls or cones. If you want to make it extra special, feel free to add extra sprinkles on top! Enjoy your delicious, creamy birthday cake ice cream anytime you’re in the mood for a sweet treat!
This recipe yields a fun and festive ice cream that’s perfect for birthday celebrations or just a joyful moment. Have fun making it!
FAQ About Easy Homemade Birthday Cake Ice Cream
Can I Use a Different Flavor of Cake Mix?
Absolutely! You can substitute yellow cake mix with chocolate, funfetti, or any flavor you prefer. Just remember that the essence of the ice cream may change based on the cake flavor you choose!
How Do I Store Leftover Ice Cream?
Store any leftover ice cream in an airtight container in the freezer for up to 2-3 weeks. To maintain the best texture, press a piece of parchment paper directly onto the surface before sealing the container.
What If I Don’t Have an Ice Cream Maker?
No problem! Pour the mixture into a shallow dish and place it in the freezer. Stir the mixture every 30 minutes for about 2-3 hours until it’s fully frozen. This will help break up ice crystals and keep it creamy.
Can I Make This Ice Cream Dairy-Free?
Yes! You can substitute heavy cream with full-fat coconut milk or a dairy-free cream alternative, and use almond, oat, or soy milk in place of whole milk. Keep in mind it will alter the flavor a bit, but it can still be delicious!