
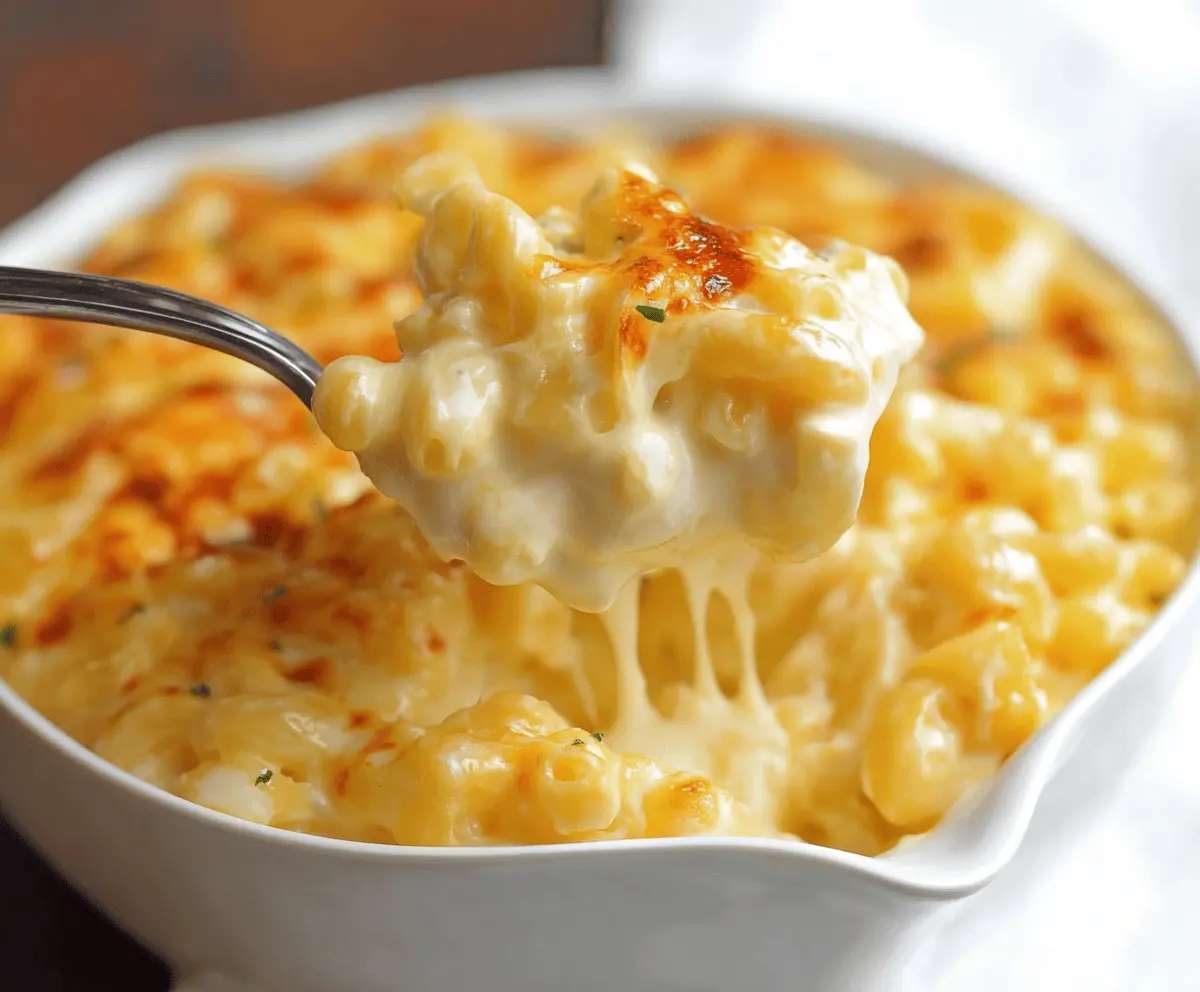
This creamy mac and cheese is a cozy dish that brings smiles to everyone’s faces. With the rich addition of cream cheese, it’s super smooth and delicious!
Honestly, who can resist that cheesy goodness? I like to throw in some crispy bacon for a tasty twist. It’s a hit every time—kids and adults alike love it! 🧀❤️
Key Ingredients & Substitutions
Elbow Macaroni: This is the classic choice for mac and cheese. If you want to switch it up, use cavatappi or shells for a fun twist. They hold the cheese sauce nicely!
Cream Cheese: Adds a wonderful creaminess. If you’re dairy-free, try vegan cream cheese or a cashew cream for a similar texture.
Cheddar Cheese: Sharp cheddar gives great flavor. If you prefer a milder taste, mild cheddar works well. You can mix in some pepper jack for a spicier kick!
Milk and Heavy Cream: Whole milk is ideal, but you can go for low-fat milk or almond milk. Just keep in mind that it might change the creaminess a bit!
Butter and Flour: These create a roux for the cheese sauce, but olive oil can be a healthier option. You can also use gluten-free flour if needed!
How Do I Make Sure My Cheese Sauce is Smooth?
The key to a smooth cheese sauce is to make a good roux. Here’s how:
- Start with melted butter and add flour, whisk constantly for a couple of minutes until it’s golden.
- Slowly pour in the milk and cream while whisking continuously. This helps prevent lumps.
- When the sauce thickens (after about 5-7 minutes), reduce the heat before stirring in the cream cheese.
Mix well until melted, then add your shredded cheeses a bit at a time. This gradual addition helps keep the sauce smooth and creamy.
Joanna Gaines Mac And Cheese With Cream Cheese
Ingredients You’ll Need:
- 1 pound elbow macaroni
- 4 cups whole milk
- 1 cup heavy cream
- 8 ounces cream cheese, softened and cut into pieces
- 4 cups sharp cheddar cheese, shredded
- 2 cups mozzarella cheese, shredded
- 1/2 cup grated Parmesan cheese
- 1/4 cup unsalted butter
- 1/4 cup all-purpose flour
- 1 teaspoon salt (adjust to taste)
- 1/2 teaspoon black pepper
- 1/2 teaspoon garlic powder (optional)
- 1/2 teaspoon onion powder (optional)
- 1/2 teaspoon smoked paprika (optional, for extra flavor)
- Cooking spray or butter for greasing the baking dish
How Much Time Will You Need?
This delightful mac and cheese requires about 15-20 minutes of prep time and an additional 30-35 minutes for cooking and baking. So, set aside a total of about an hour to make this indulgent dish!
Step-by-Step Instructions:
1. Preheat the Oven:
Start by preheating your oven to 350°F (175°C). This ensures your mac and cheese will cook evenly. Lightly grease a large baking dish with cooking spray or butter to prevent sticking later on.
2. Cook the Pasta:
Next, bring a large pot of salted water to a boil. Add the elbow macaroni and cook according to package instructions until al dente (tender but still firm). Once done, drain the pasta and set it aside.
3. Make the Cheese Sauce:
In a large saucepan over medium heat, melt the butter. Once it’s melted, whisk in the flour to create a roux. Keep whisking for about 2 minutes until it turns lightly golden and smooth. This step is key for a thick and creamy sauce!
4. Add Milk and Cream:
Gradually pour in the whole milk and heavy cream while stirring continuously to avoid lumps. Cook this mixture for about 5-7 minutes or until it begins to thicken.
5. Incorporate the Cream Cheese:
Reduce the heat to low and add the softened cream cheese pieces into the pot. Stir until the cream cheese is fully melted and well blended into the sauce—this makes it super creamy!
6. Mix in the Cheddar and Mozzarella:
Now, stir in the shredded cheddar, shredded mozzarella, and half of the grated Parmesan cheese. Keep stirring until everything is melted and the sauce is silky smooth.
7. Season the Sauce:
Add salt, black pepper, garlic powder, onion powder, and smoked paprika if you’re using it. Give it a taste and adjust the seasoning if needed.
8. Combine Pasta and Sauce:
Gently fold the drained macaroni into the cheese sauce, ensuring every piece is coated in that cheesy goodness.
9. Pour into Baking Dish:
Transfer the cheesy pasta mixture into the prepared baking dish. Spread it out evenly and sprinkle the remaining Parmesan cheese on top for a delicious crust!
10. Bake to Perfection:
Place the baking dish in the oven and bake uncovered for 25-30 minutes, or until the top is golden brown and bubbly. For an extra crispy crust, you can broil it for an additional 2-3 minutes—just keep a close eye on it!
11. Let It Rest:
Once out of the oven, let the mac and cheese sit for about 5 minutes before serving. This helps it set a bit for easy serving.
12. Enjoy!
Dish up this creamy, dreamy mac and cheese, and get ready for rave reviews! It’s comfort food at its finest!
Can I Use Gluten-Free Pasta in This Recipe?
Absolutely! You can swap the elbow macaroni for your favorite gluten-free pasta. Just keep an eye on the cooking time, as gluten-free pasta can cook faster. Follow the package instructions for the best results!
Can I Make This Mac and Cheese Ahead of Time?
Yes, you can prepare the mac and cheese up to the baking step! Assemble everything, cover it tightly, and refrigerate for up to 2 days. When you’re ready to bake, just add a few extra minutes to the baking time if it’s coming straight from the fridge.
How Do I Store Leftovers?
Store any leftovers in an airtight container in the refrigerator for up to 3 days. To reheat, simply warm it in the microwave or oven until heated through. You may want to add a splash of milk to the mac and cheese while reheating to restore some creaminess.
Can I Add Extras Like Vegetables or Protein?
Definitely! You can mix in cooked vegetables like broccoli, peas, or spinach for some added nutrition. Cooked protein such as diced chicken or crispy bacon also makes a great addition! Just fold them in before baking.