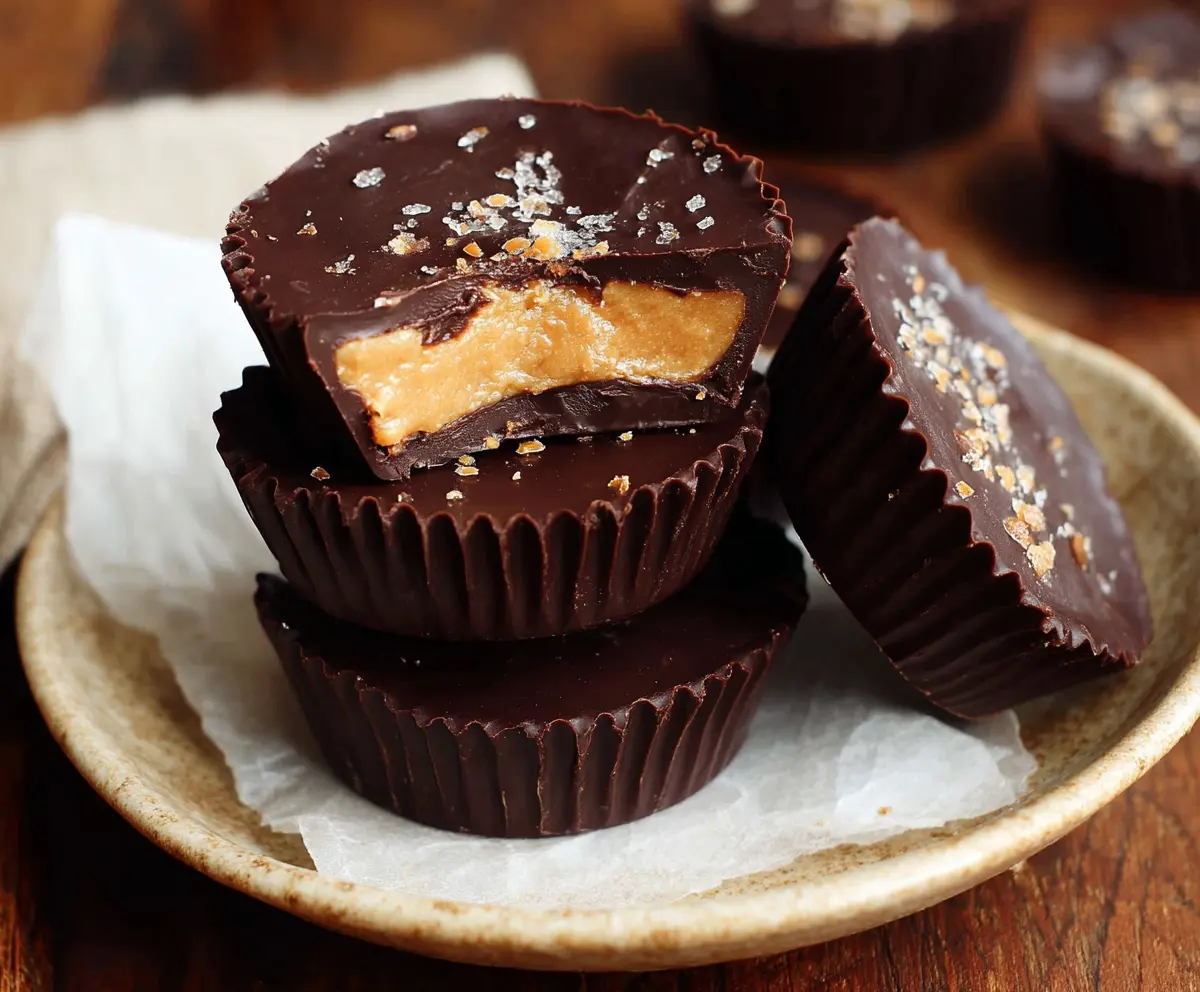
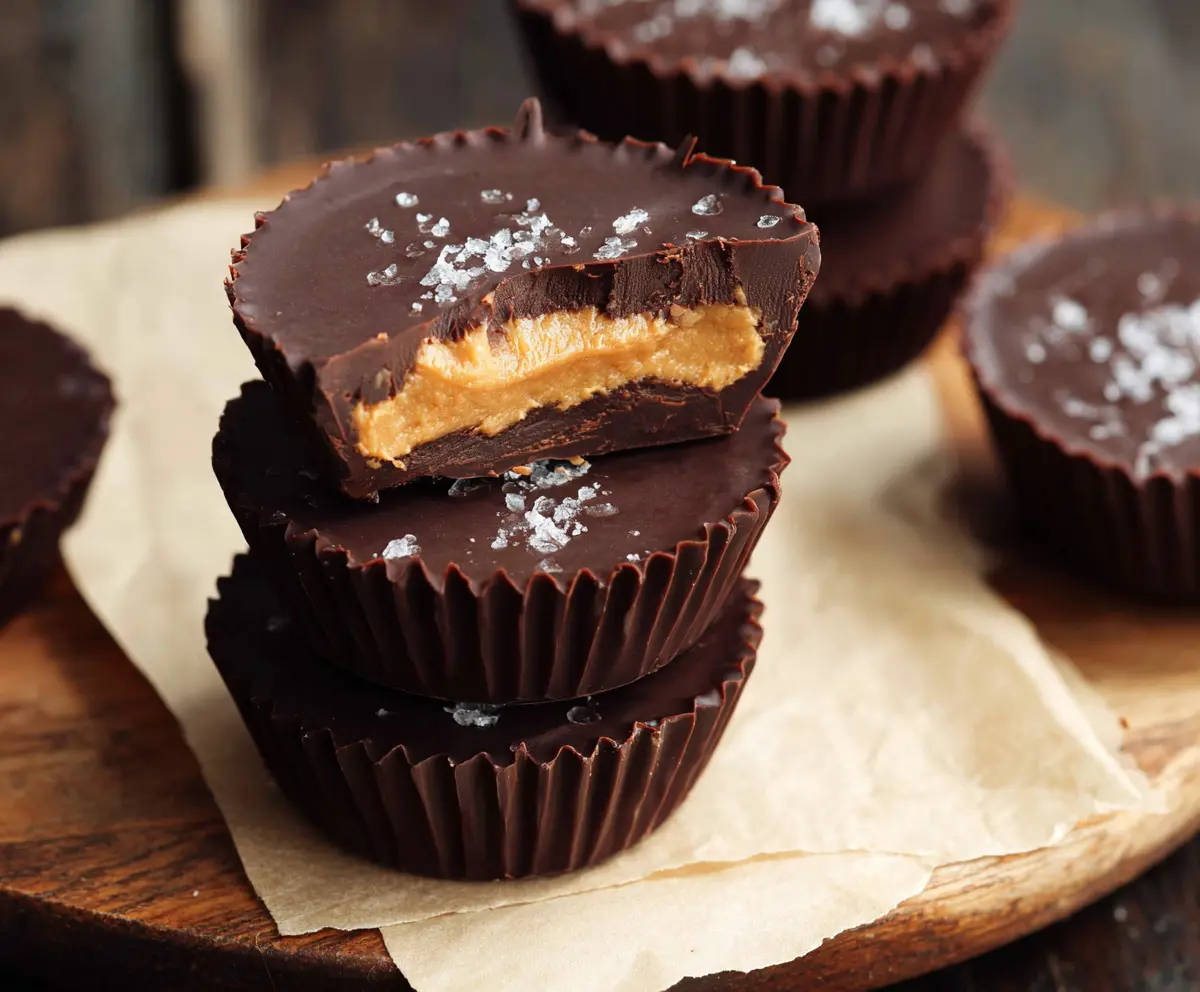
These Healthy Dark Chocolate Peanut Butter Cups are a tasty treat that’s both rich and satisfying. Made with creamy peanut butter and dark chocolate, they’re a guilt-free dessert!
Every bite feels like a little hug for your taste buds! I love whipping these up for a quick snack, especially when I need a chocolate fix. They’re easy to make and simply delicious!
Key Ingredients & Substitutions
Peanut Butter: Natural creamy peanut butter is the star here. If you have allergies or prefer a different flavor, almond or cashew butter can work great too. Just make sure they’re smooth and free of added sugars.
Sweetener: I love using pure maple syrup for a richer flavor, but honey is perfect too. If you need a sugar-free option, try using a low-calorie sweetener like agave syrup or erythritol.
Dark Chocolate: Aim for 70% cacao or higher to keep these healthy. Dark chocolate chips are convenient, but you can also chop up a bar. If you want a dairy-free option, look for dairy-free chocolate chips!
Coconut Oil: This is optional, but I recommend it for a smoother melt. If you don’t have it, you can skip it. Just make sure your chocolate melts evenly on its own.
How Do You Achieve the Perfect Chocolate Layer?
Getting the chocolate layers just right is key for those perfect peanut butter cups. Start with tempering your chocolate to ensure it sets well. Here’s how:
- Heat and stir melted chocolate in short intervals to avoid burning.
- Be sure to spread an even layer; this gives structural integrity.
- Chill briefly after the first layer, so it hardens before adding peanut butter.
- Top with another layer of melted chocolate to seal in the peanut butter!
These steps help you get a nice crunch and a smooth texture, making every bite enjoyable!
Healthy Dark Chocolate Peanut Butter Cups
Ingredients You’ll Need:
For the Peanut Butter Filling:
- 1 cup natural creamy peanut butter (no sugar added)
- 1/4 cup pure maple syrup or honey (for natural sweetness)
- 1/2 teaspoon vanilla extract
- Pinch of sea salt (plus extra for topping)
For the Chocolate Coating:
- 1 1/2 cups dark chocolate chips (70% cacao or higher for a healthier option)
- 1 tablespoon coconut oil (optional, for melting chocolate smoothly)
How Much Time Will You Need?
This recipe takes about 15-20 minutes of prep time, plus an additional 40 minutes to chill in the freezer. You’ll spend just a little time mixing and layering the ingredients before letting them set. A simple and rewarding treat!
Step-by-Step Instructions:
1. Prepare the Muffin Tin:
Start by lining a mini muffin tin with paper or silicone liners. This will help you easily remove the cups once they are set.
2. Make the Peanut Butter Filling:
In a medium-sized bowl, use a spatula or spoon to mix together the peanut butter, maple syrup (or honey), vanilla extract, and a pinch of sea salt. Mix until everything is smooth and well combined. This will be the delicious filling for your cups!
3. Melt the Chocolate:
In a microwave-safe bowl, combine the dark chocolate chips and coconut oil (if using). Microwave the mixture in 30-second intervals, stirring well after each interval. Keep doing this until the chocolate is fully melted and smooth.
4. Assemble the Base Layer:
Using a spoon, place about 1 teaspoon of the melted chocolate into the bottom of each muffin liner. Use the back of the spoon to spread it gently to cover the base evenly.
5. Chill to Set:
Carefully place the muffin tin in the freezer and let it chill for about 10 minutes, allowing the chocolate base to slightly set before adding the next layer.
6. Add the Peanut Butter Mixture:
Once the base is set, remove the tin from the freezer. Spoon about 1 teaspoon of the peanut butter mixture on top of the chocolate base in each cup. Spread it gently to flatten out the layer.
7. Top with More Chocolate:
Cover each peanut butter layer with another teaspoon of the melted chocolate, spreading it to fully cover the peanut butter layer. You want to make sure they are sealed nicely!
8. Finish with Sea Salt:
Sprinkle a small pinch of sea salt on top of each cup for that extra touch of flavor. It balances the sweetness perfectly!
9. Chill Until Set:
Return the muffin tin to the freezer and let the cups chill for at least 30 minutes, or until the chocolate is fully set and firm to the touch.
10. Enjoy Your Treats:
Once the chocolate has hardened, carefully remove the peanut butter cups from the liners. Store them in an airtight container in the refrigerator or freezer, and enjoy these rich, creamy, and naturally sweetened treats anytime you need a snack or dessert!
Enjoy your Healthy Dark Chocolate Peanut Butter Cups!
Can I Use Different Nut Butters?
Absolutely! If you’re looking for alternatives, almond butter or cashew butter work well too. Just make sure you choose a creamy variety with no added sugar for the best results.
What if I’m Allergic to Peanuts?
No problem! You can easily substitute the peanut butter with sunflower seed butter or tahini. Both options will still give you that creamy texture and delicious flavor!
How Should I Store Leftovers?
Store any leftover peanut butter cups in an airtight container. They can be kept in the refrigerator for up to a week or frozen for several months. Just make sure to separate layers with parchment paper if stacking them!
Can I Use Milk Chocolate Instead?
While dark chocolate is healthier, you can certainly use milk chocolate if you prefer a sweeter taste! Just keep in mind that this may add sugar and calories to the recipe.