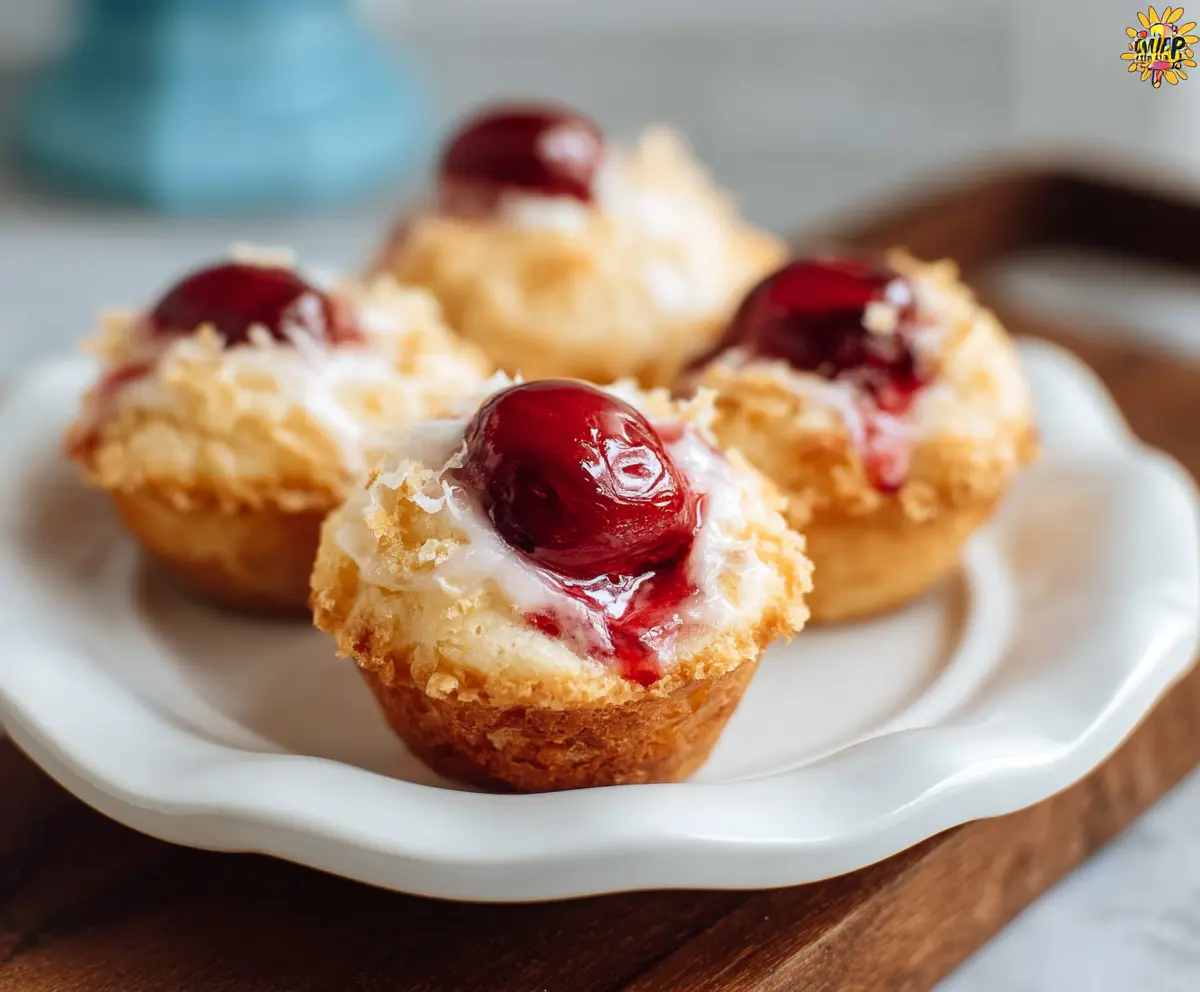
Cherry Pie Bites are tiny treats packed with sweet cherries in a flaky crust. They make a perfect snack or dessert, great for sharing or enjoying alone!
These little bites remind me of childhood picnics, where you could sneak a few without anyone noticing. I love serving them warm with a scoop of ice cream—talk about a happy moment!
Key Ingredients & Substitutions
All-Purpose Flour: This is the base for your bites. If you’re looking for a gluten-free version, try using a gluten-free flour blend, which works well in most baked goods.
Sour Cream or Cream Cheese: These ingredients keep your bites moist and rich. Greek yogurt can be a great substitute if you’re watching calories but still want that creaminess.
Cherry Pie Filling: While canned filling is convenient, fresh or frozen cherries work too! If using fresh, add a little sugar and cornstarch to thicken it up.
Butter: Unsalted butter adds great flavor, but you could use coconut oil for a dairy-free option. Just note that it might slightly change the taste.
How Do I Ensure My Cherry Pie Bites Are Moist and Fluffy?
To achieve that perfect texture in your Cherry Pie Bites, focus on your mixing technique. Start by mixing the wet ingredients thoroughly, so they’re well combined. Then, when you add the dry ingredients, mix just until you see no flour. Overmixing can lead to tougher bites.
- Be gentle when folding in sour cream or cream cheese—this keeps the batter airy.
- Letting the batter sit for a few minutes before baking can help, as it rests and allows the baking powder to activate.
Lastly, keep an eye on the baking time; check for doneness with a toothpick to avoid overbaking!
Cherry Pie Bites
Ingredients:
- 1 cup all-purpose flour
- 1/2 cup granulated sugar
- 1/4 teaspoon salt
- 1/2 cup (1 stick) unsalted butter, melted
- 1 large egg
- 1 teaspoon vanilla extract
- 1/2 teaspoon almond extract (optional)
- 1/2 cup sour cream or cream cheese (for moist texture)
- 1/2 cup crushed cornflakes or finely chopped nuts (optional, for topping)
- 1 cup cherry pie filling or sweetened pitted cherries
- Powdered sugar or glaze (optional, for garnish)
How Much Time Will You Need?
This recipe requires about 15 minutes of preparation time and 18 to 22 minutes of baking time, plus a short cooling period afterward. In under an hour, you can whip up these delightful bite-sized treats!
Step-by-Step Instructions:
1. Prepare Your Oven and Muffin Tin:
Start by preheating your oven to 350°F (175°C). Next, take a mini muffin tin and lightly grease it or line it with mini cupcake liners to prevent sticking.
2. Mix the Dry Ingredients:
In a medium bowl, whisk together the all-purpose flour, granulated sugar, and salt. This helps to ensure that everything is evenly distributed before combining with the wet ingredients.
3. Combine the Wet Ingredients:
In a separate bowl, beat the egg with the vanilla extract, almond extract (if you’re using it), and melted butter until everything is well mixed. This creates a lovely base for your batter.
4. Combine Wet and Dry Mixtures:
Pour the wet ingredients into the dry ingredients and gently stir until just combined. It’s okay if there are a few lumps—overmixing can make your bites tough!
5. Add Sour Cream or Cream Cheese:
Gently fold in the sour cream or cream cheese to keep your batter moist and tender. This added richness helps make your Cherry Pie Bites extra delicious!
6. Fill the Muffin Cups:
Spoon the batter evenly into the mini muffin cups, filling each one about two-thirds full. This allows room for the bites to rise as they bake.
7. Add Topping:
If you’d like some extra crunch, sprinkle the crushed cornflakes or chopped nuts on top of each muffin cup.
8. Add the Cherry:
Top each batter-filled cup with a spoonful of cherry pie filling or a whole cherry, gently pressing it into the batter just a bit.
9. Bake:
Bake in the preheated oven for 18 to 22 minutes. Keep an eye on them! They’re done when the tops are golden brown and a toothpick inserted into the side (not touching a cherry) comes out clean.
10. Cool:
Once baked, remove the muffin tin from the oven and let it cool for a few minutes. Carefully remove the bites and let them cool on a wire rack.
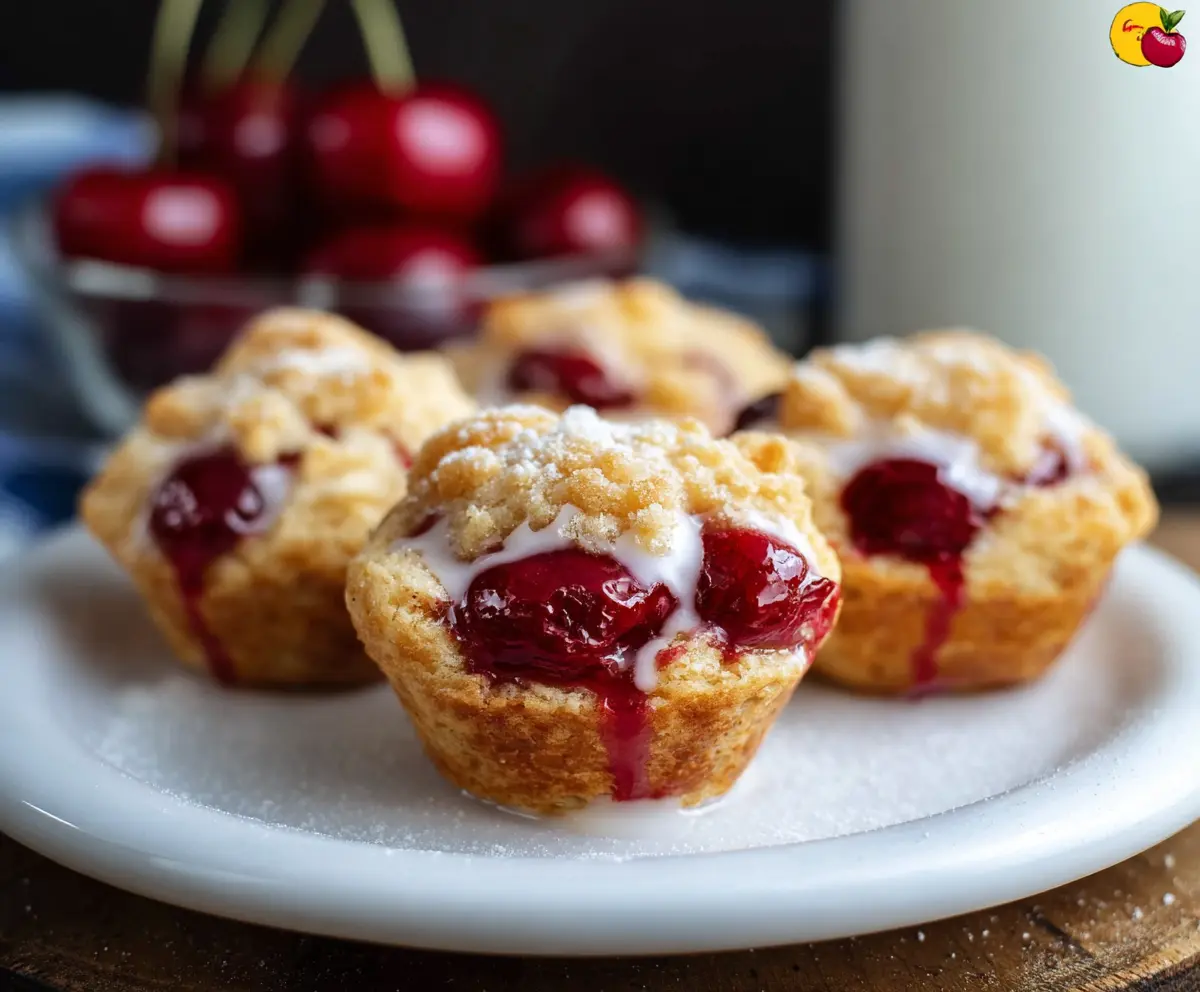
11. Serve and Enjoy:
Before serving, you can dust the bites with powdered sugar or drizzle a simple glaze made from powdered sugar mixed with a few drops of milk or lemon juice. Enjoy these sweet and tart Cherry Pie Bites warm or at room temperature!
Can I Use Fresh Cherries Instead of Cherry Pie Filling?
Absolutely! If using fresh cherries, pit and slice them, then mix with a bit of sugar and cornstarch to help thicken them as they bake. This will give a nice homemade touch to your Cherry Pie Bites!
Can I Make These Cherry Pie Bites Gluten-Free?
Yes, you can substitute the all-purpose flour with a gluten-free flour blend. Make sure to use a blend that works well for baking to ensure the bites hold together nicely and taste great!
How Long Can I Store Leftovers?
Leftover Cherry Pie Bites can be stored in an airtight container at room temperature for up to 3 days or in the refrigerator for about a week. If you’re storing them longer, consider freezing them for up to 3 months. Just thaw before enjoying!
Can I Freeze the Batter?
Yes, you can freeze the batter! Pour it into freezer-safe containers or freezer bags. When you’re ready to bake, just thaw it overnight in the refrigerator, give it a quick stir, and then follow the baking instructions as usual.