
Hot chocolate bombs are delightful little spheres filled with cocoa, marshmallows, and sometimes a surprise candy! When dropped into hot milk, they melt beautifully, creating a rich and creamy drink.
Honestly, watching them explode into chocolatey goodness is the best part! My kids and I giggle every time we make them. Perfect for cozy nights or as a fun gift for friends!
Key Ingredients & Substitutions
Chocolate Chips: Semi-sweet or dark chocolate chips work best for the shells. If you’re a milk chocolate lover, you can use that instead. I’ve tried using dairy-free chips before, and they melt nicely too!
Hot Cocoa Mix: You can use store-bought hot cocoa mix or make your own blend with cocoa powder, sugar, and a pinch of salt. This allows you to control the sweetness! Additionally, a flavored cocoa mix like mint or caramels can add a nice twist.
Mini Marshmallows: If you can’t find mini marshmallows, cut regular ones into smaller pieces. You can even replace them with freeze-dried marshmallows, which give a fun crunchy texture!
White Chocolate Chips: These are great for drizzling, but feel free to substitute with dark or milk chocolate for a different flavor. You can even skip this step altogether if you prefer a simpler bomb.
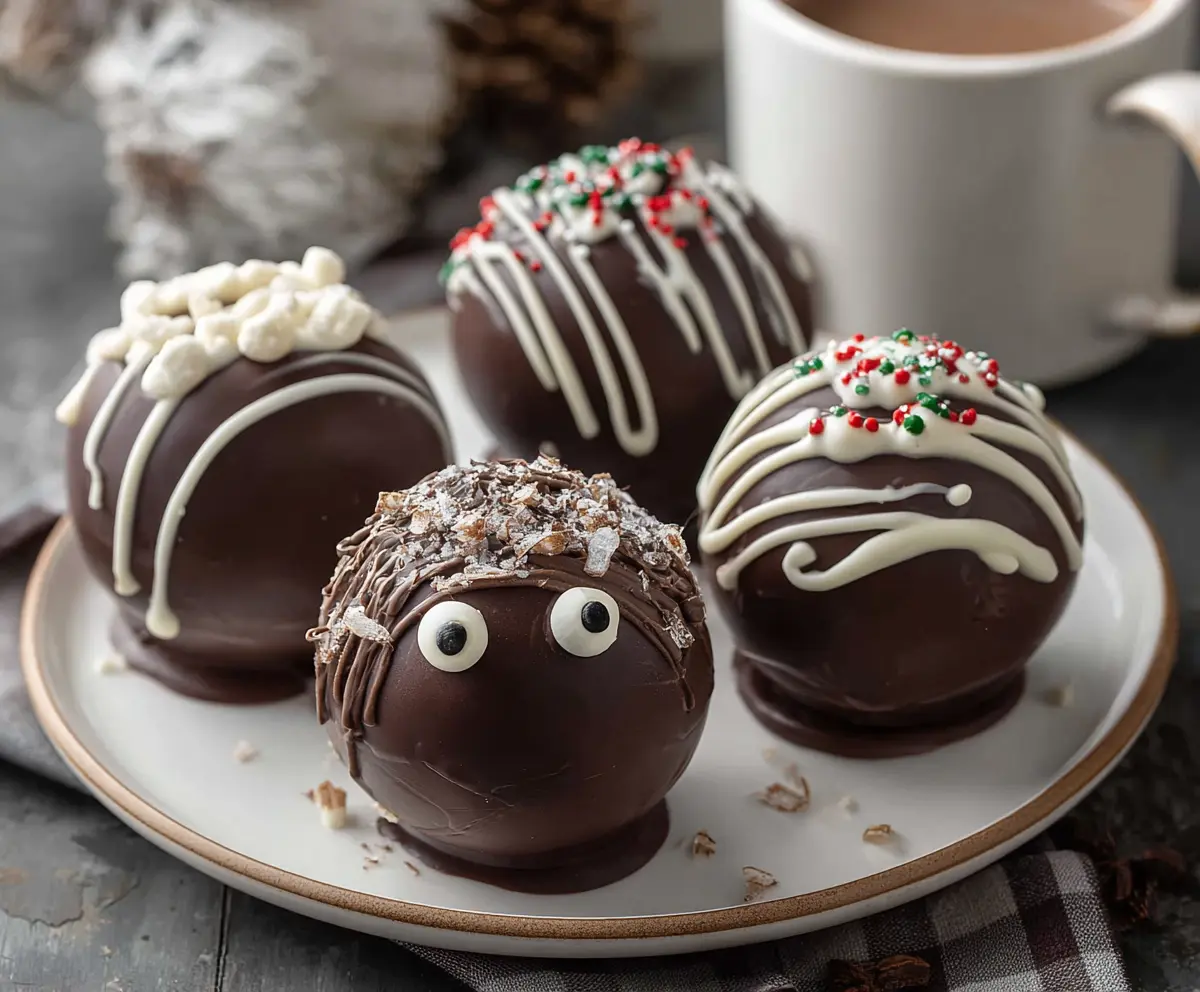
Decorative Toppings: Go wild with your toppings! If you can’t find candy eyes, you can use chocolate chips or sprinkles to decorate instead. I love using crushed peppermint during the holidays for a refreshing touch!
How Do You Accurately Form the Chocolate Shells?
Forming the shells is the most crucial step in making hot chocolate bombs. Here’s how to do it right:
- Start with melted chocolate, making sure it’s smooth. Coat the sides of a silicone mold evenly by swirling the chocolate.
- Refrigerate after the first layer to harden it before adding a second layer, which ensures a sturdier shell.
- When removing the shells, do so gently to prevent cracks. If they stick, give the mold a slight squeeze from the outside.
- To seal, use a warm plate’s surface to melt the edges before pressing two halves together. This ensures they bond well.
With practice, you’ll become a pro at forming these shells and can experiment with different shapes and flavors!
How to Make Hot Chocolate Bombs
Ingredients You’ll Need:
For the Shell:
- 12 oz (about 2 cups) semi-sweet or dark chocolate chips
For the Filling:
- 1 cup hot cocoa powder mix
- 1/2 cup mini marshmallows
- Optional: small candies or chocolate chips to add inside for extra surprise
For Decoration:
- 1/4 cup white chocolate chips (for drizzling)
- Sprinkles, crushed peppermint, candy eyes, nuts, or other decorative toppings as desired
How Much Time Will You Need?
This entire process will take about 30 minutes of active prep time, followed by about 30 minutes to an hour for chilling. It’s the perfect fun project for a cozy afternoon, and you’ll have delicious treats ready to enjoy in no time!
Step-by-Step Instructions:
1. Melt the Chocolate:
Start by placing your chocolate chips in a microwave-safe bowl. Microwave them in 30-second intervals, stirring well after each interval until the chocolate is completely smooth and melted. Be careful not to overheat!
2. Form Shells:
Once your chocolate is melted, it’s time to create the shells! Grab a silicone half-sphere mold, and using a spoon, evenly fill each cavity with the melted chocolate. Swirl it around so that it coats all sides. Place the mold in the fridge for about 10 minutes to allow it to set. If you want thicker shells (recommended), apply a second layer of melted chocolate and refrigerate again until firm.
3. Fill the Bombs:
After the chocolate shells are hardened, gently remove them from the mold. You’ll notice they pop out easily. Take half of the shells and fill them with about 1 tablespoon of hot cocoa mix, a sprinkle of mini marshmallows, and any optional candies you desire. Remember, the more the merrier!
4. Seal the Bombs:
To seal the bombs, warm a plate in the microwave for a few seconds. Take one of the empty half-spheres and place it on the warm plate for a couple of seconds until the edges melt slightly. Quickly press it onto one of the filled half-shells to create a sealed chocolate sphere. Allow them to set completely by placing them back in the fridge for a short while.
5. Decorate:
Melt the white chocolate chips in the same way you melted the dark chocolate. Drizzle the melted white chocolate over the assembled hot chocolate bombs. Don’t forget to sprinkle on your decorations—whether it’s crushed peppermint, sprinkles, or candy eyes—before the drizzle sets!
6. Serve & Enjoy:
To indulge, simply place a hot chocolate bomb into a mug and pour about 8 oz of hot milk over it. Watch as the bomb melts and reveals all its delicious contents! Stir well and enjoy a cozy cup of rich, chocolatey hot cocoa topped with marshmallows. Yum!
These hot chocolate bombs are perfect for sharing with friends or family, or even for giving as thoughtful gifts. Get creative with your flavors and decorations!
Can I Use Different Types of Chocolate for the Shells?
Absolutely! While semi-sweet or dark chocolate works best, you can also use milk chocolate or white chocolate for a sweeter taste. Just remember that the melting points vary, so adjust your melting time accordingly!
What If I Don’t Have a Silicone Mold?
No worries! You can use a muffin tin lined with cupcake liners as an alternative. Just make sure to grease the liners lightly so the chocolate pops out easily after setting.
How Should I Store Any Leftover Hot Chocolate Bombs?
Store any leftover hot chocolate bombs in an airtight container at room temperature. They’ll stay fresh for up to 2 weeks. Just avoid placing them in direct sunlight or in a humid environment to prevent melting!
Can I Make These Hot Chocolate Bombs Vegan?
Yes! Use dairy-free chocolate chips for the shells and a vegan hot cocoa mix. You can also substitute the marshmallows with vegan marshmallow alternatives for a completely dairy-free treat!