Sticky honey garlic chicken earns its spot because the glaze clings to every corner of the skin and turns glossy instead of watery. The sweet-salty sauce reduces just enough in the pan to coat the chicken with a lacquered finish, and the garlic stays bold without tasting burned. When it comes out right, the thighs are juicy underneath that deep amber shine, with crisp edges where the sauce hit the hot skillet.
The trick is building flavor in layers. Searing the chicken first gives you the browned bits that make the sauce taste rich, while the butter, honey, soy sauce, and vinegar balance each other instead of tipping into cloying sweetness. Bone-in, skin-on thighs hold up better than lean cuts here, and they keep the chicken tender through the oven finish. The skin needs direct contact with the pan at the start, then it gets a chance to crisp again when the sauce goes in around it.
Below you’ll find the exact cue I watch for when the glaze is thick enough, plus a few smart swaps if you need to work with what you have. I’ve also included the most common mistake people make with garlic in this recipe, because that’s the difference between a glossy pan sauce and a bitter one.
The sauce thickened up beautifully in the oven and the garlic stayed sweet, not burnt. I served it over rice and everyone kept spooning extra glaze from the pan.
Save this honey garlic chicken for nights when you want a sticky pan sauce and crisp-edged thighs without a long ingredient list.
The Sear Is What Keeps the Honey Sauce From Going Flat
The biggest mistake with honey garlic chicken is rushing past the sear and expecting the sauce to carry everything. It won’t. The browned skin and the fond left in the pan give the glaze depth, and they also help the sauce cling instead of sliding off the chicken like syrup on metal. If the pan isn’t hot enough, the thighs will steam, the skin will stay pale, and the finished dish will taste sweeter and less layered.
That first side should go untouched until it releases easily and looks deeply golden, not just pale tan. If it sticks, it needs another minute. Once you flip the chicken, the second side only needs a shorter sear because its job is to start the cooking, not build the crust. The oven finishes the meat gently while the sauce thickens around it.
- Bone-in, skin-on chicken thighs — These stay juicy during the oven finish and give you enough fat in the pan for a good sear. Boneless thighs work in a pinch, but they cook faster and won’t give you the same crispy skin or deep pan flavor.
- Honey — This is what makes the glaze sticky and shiny. Use regular honey, not a strongly flavored raw honey, if you want the garlic and soy sauce to stay in balance.
- Soy sauce — It brings salt and umami, which keeps the sauce from tasting one-note sweet. Low-sodium works well here if you want more control over the seasoning.
- Apple cider vinegar — A small amount keeps the glaze from tasting heavy. Rice vinegar also works if that’s what you keep on hand, but skip straight lemon juice unless you want a sharper, brighter finish.
What Each Ingredient Is Actually Doing in This Recipe

- Primary ingredient (the star) — Quality matters most. Choose the best you can find.
- Cooking medium (oil, butter, or broth) — This carries flavors and prevents dryness.
- Seasonings (salt, pepper, spices, herbs) — Layer flavors so nothing overpowers. Build depth gradually.
- Aromatics (garlic, onion, herbs) — Cook with fat to bloom flavors. Become the foundation.
- Supporting ingredients — Complement the main ingredient without overpowering it.
- Sauce or liquid (if applicable) — Brings flavors together. Balance richness with acid.
- Acid (lemon, vinegar, wine, or other) — Brightens and prevents flat-tasting results.
- Final finish (garnish, glaze, or sauce) — Prevents one-dimensional taste and adds visual appeal.
Building the Glossy Glaze Without Burning the Garlic
Season and Sear the Chicken
Pat the thighs dry, season both sides, then lay them skin-side down in the hot oil. You want an audible sizzle right away. Let them cook without moving them for 5 to 6 minutes until the skin is deep golden and most of the fat has rendered. If the heat is too high, the skin will scorch before it crisps, so keep the burner at medium-high and watch the color, not the clock alone.
Wake Up the Garlic in the Butter
Take the chicken out, add the butter, then stir in the garlic for about a minute. The garlic should smell fragrant and look just barely softened, not browned. If it starts to darken fast, pull the pan off the heat for a few seconds. Burnt garlic turns bitter and will drag the whole sauce down with it.
Let the Sauce Reduce Around the Chicken
Stir in the honey, soy sauce, vinegar, and red pepper flakes, then return the chicken skin-side up. Spoon the sauce over the thighs so the top starts to glaze before the pan goes into the oven. Bake until the chicken reaches 165F at the thickest part and the sauce looks thicker and more syrupy around the edges. If it still seems thin, give it a few extra minutes on the stove after baking, but don’t overcook the chicken just to chase a thicker glaze.
Use Chicken Breasts Instead
You can swap in boneless chicken breasts, but they need less oven time and they dry out faster. Sear them just until golden, then bake until the center reaches 165F and stop there. The sauce still works, but you’ll lose the richness that comes from the thighs and skin.
Make It Gluten-Free
Use tamari or a certified gluten-free soy sauce in place of regular soy sauce. The flavor stays close, and the glaze still reduces the same way. Check your vinegar and red pepper flakes if you’re cooking for someone with celiac disease, since cross-contact can sneak in there too.
Dial Up the Heat
Add another pinch of red pepper flakes or a small spoonful of chili garlic sauce to the glaze. That gives the honey more edge and keeps the dish from reading as purely sweet. The result is still family-friendly unless you go heavy-handed.
Storage and Reheating
- Refrigerator: Store leftovers in an airtight container for up to 4 days. The skin softens, but the sauce keeps the chicken moist.
- Freezer: This freezes well for up to 2 months, though the skin will lose its crispness. Cool completely before freezing and thaw overnight in the fridge.
- Reheating: Warm covered in a 325F oven until heated through, or use a skillet over medium-low with a splash of water to loosen the sauce. The biggest mistake is blasting it in the microwave, which tightens the chicken and can make the glaze sticky in the wrong way.
Questions I Get Asked About This Recipe
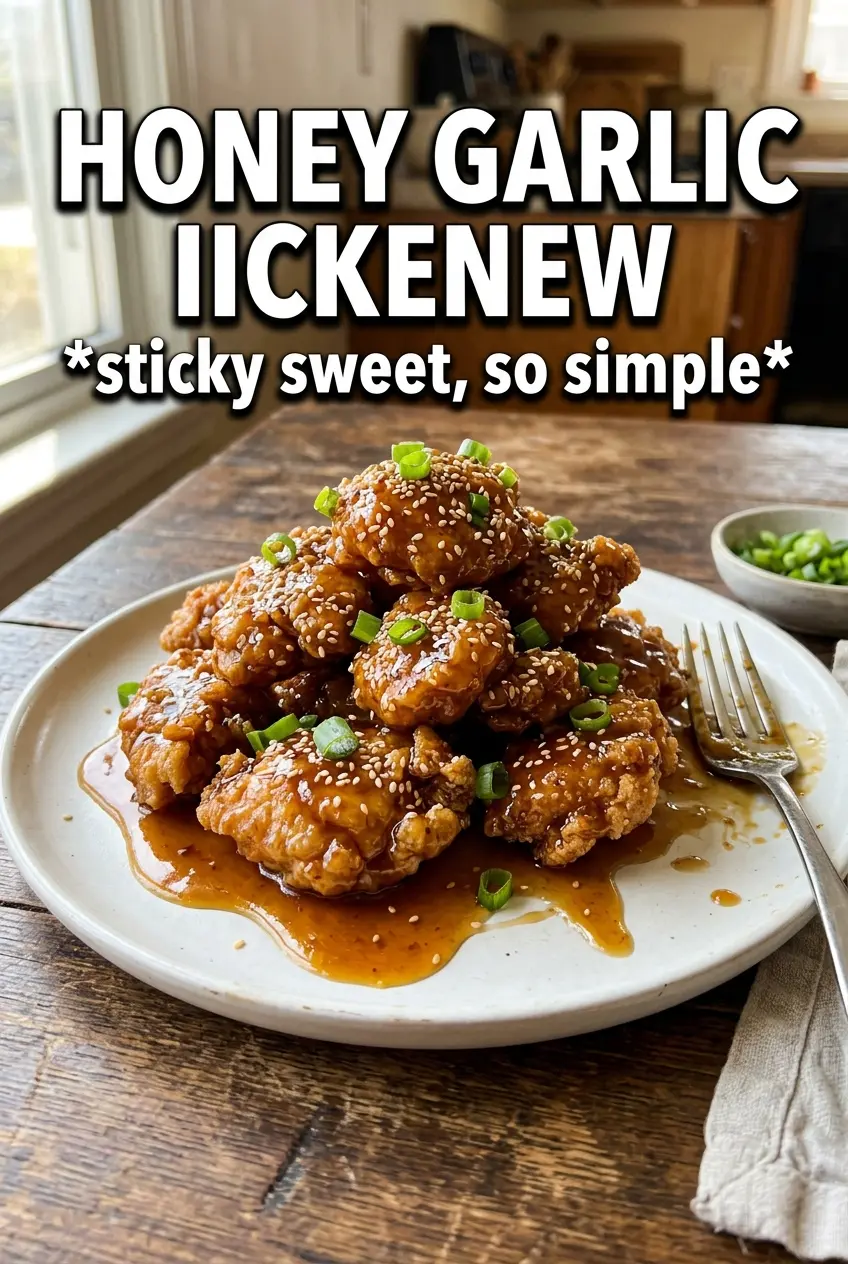
Honey Garlic Chicken
Ingredients
Equipment
Method
- Season the chicken thighs with salt and pepper on both sides.
- Heat the olive oil in a large oven-safe skillet over medium-high heat, then sear the chicken skin-side down for 5-6 minutes until deeply golden.
- Flip the thighs and sear the other side for 3 minutes, then remove the chicken and set aside.
- Add the butter and minced garlic to the pan and cook for 1 minute until fragrant.
- Stir in the honey, soy sauce, apple cider vinegar, and red pepper flakes until the mixture looks glossy.
- Return the chicken to the pan skin-side up and spoon the sauce over the top so it coats the surface.
- Transfer to a 400F oven and bake for 15-18 minutes until the internal temperature reaches 165F.
- Spoon the pan sauce over the chicken and garnish with fresh thyme and sesame seeds.