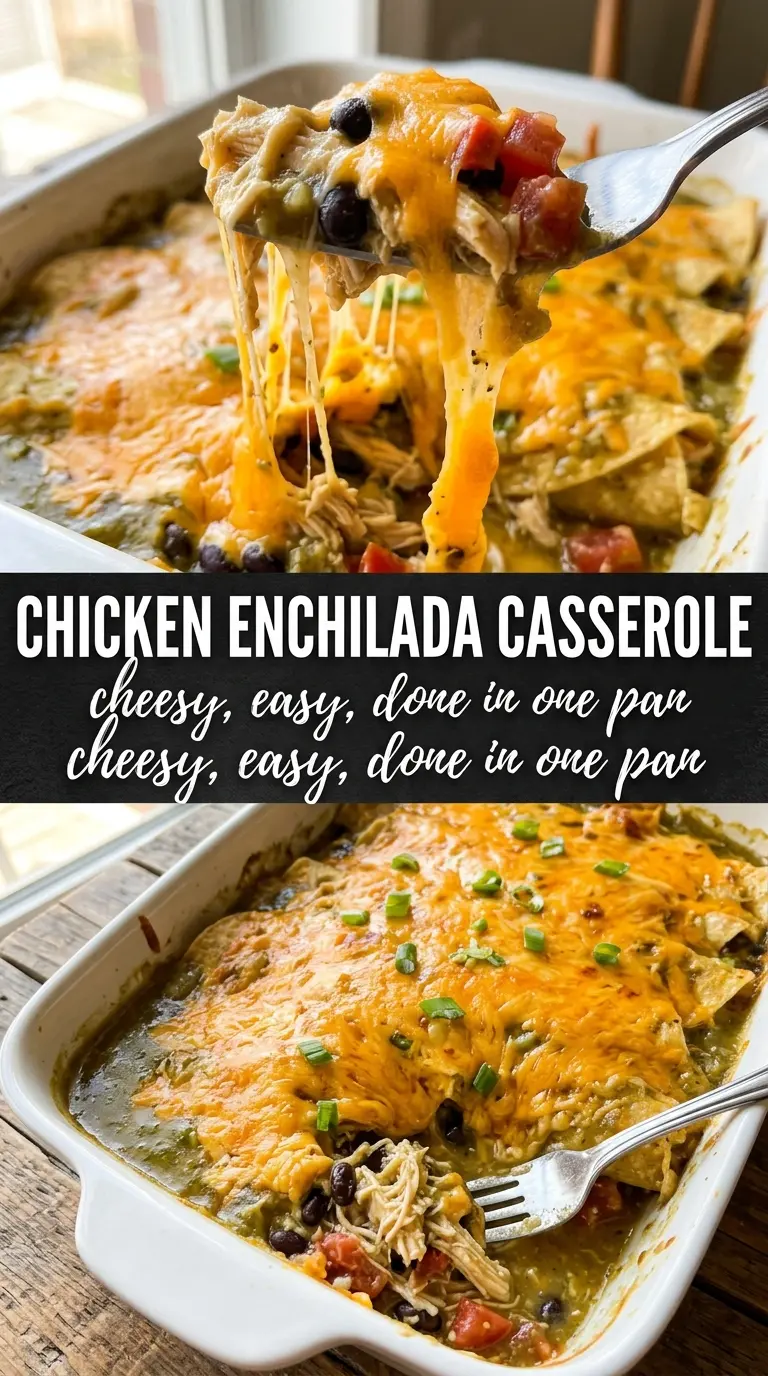
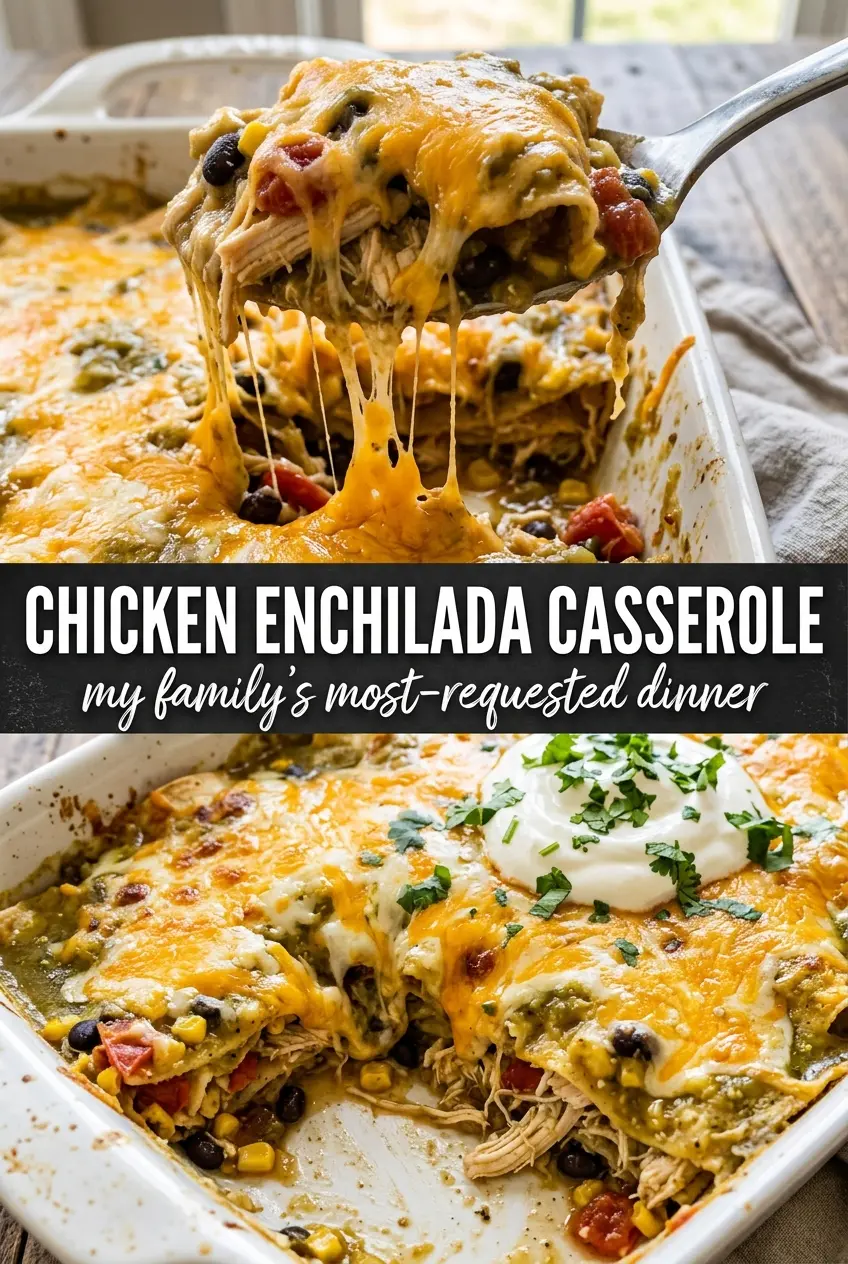
Chicken enchilada casserole bakes into the kind of dinner that disappears fast: soft tortillas underneath, a creamy chicken filling in the middle, and a bubbling top of sauce and melted cheese with a little crisp edge where it hits the pan. It’s the comfort-food version of enchiladas without the extra rolling, which makes it a regular fallback when there’s cooked chicken in the fridge and everyone wants something substantial.
The trick is keeping the layers balanced. Too much sauce and the tortillas turn mushy; too little and the casserole bakes up dry at the corners. Mixing the chicken with crema or sour cream helps the filling stay rich and cling together, while black beans and corn add enough body that every slice holds its shape when you serve it.
Below you’ll find the timing that keeps the cheese melty without overbaking the edges, plus a few smart swaps if you want to adjust the heat, make it a little lighter, or use what you already have on hand.
The layers held together beautifully and the center stayed creamy instead of watery. I used leftover rotisserie chicken and it baked up with those crispy cheese edges my family fights over.
Save this chicken enchilada casserole for the nights when you want bubbling layers, creamy filling, and a pan that feeds everyone without rolling a single tortilla.
The Layering Trick That Keeps Enchilada Casserole from Turning Mushy
Most enchilada casseroles go soft because the tortillas sit in sauce from the start and basically dissolve before the pan even reaches the oven. This version avoids that by using just enough sauce on the bottom to prevent sticking, then building the rest in deliberate layers so the tortillas soften without losing all structure.
The other thing that matters is the filling texture. Chicken alone can feel dry once baked, but when you mix it with crema, beans, corn, onion, and garlic, it turns into a mixture that stays moist and slices cleanly. That balance is what gives you a casserole instead of a heavy pile of saucy shreds.
What Each Ingredient Is Actually Doing in This Dish
- Shredded cooked chicken — This is the backbone of the casserole, and rotisserie chicken is the fastest path here. Leftover roast chicken works just as well. Cut or shred it into fairly small pieces so the layers tuck together instead of pulling apart when you serve.
- Enchilada sauce — Use a sauce you actually like eating on its own, because it sets the tone for the whole pan. Red enchilada sauce gives the most classic result, but if yours is very thin, simmer it for a few minutes first so it clings instead of soaking straight through the tortillas.
- Corn tortillas — Corn tortillas bring the right flavor and hold up better than flour tortillas in a baked casserole. If yours crack when you layer them, that’s fine; overlap them and let the sauce soften them in the oven. Stale tortillas actually work better than super fresh ones here.
- Mexican crema or sour cream — This is what keeps the chicken filling from eating dry. Crema gives a little more tang and a smoother finish, while sour cream is the easy swap if that’s what you have. Stir it in after the chicken has cooled a bit so it doesn’t thin out or break.
- Black beans and corn — These add body, sweetness, and enough texture that every bite feels full. Canned beans are fine if you drain them well. Frozen corn works too and doesn’t need thawing first; it just warms through in the oven.
- Cheddar cheese — Cheddar gives that sharp, browned top that makes the casserole feel finished. A Mexican blend melts a little more smoothly, but cheddar brings more character. Grate it yourself if you can, since pre-shredded cheese doesn’t melt quite as silkily.
Building the Pan So Every Slice Holds Together
Starting with the Sauce
Spread a thin layer of enchilada sauce across the bottom of the baking dish before anything else goes in. That keeps the first tortilla layer from sticking and gives the bottom a little steam as it bakes. Don’t pour a thick puddle down there or the base will go soft before the top has a chance to brown.
Mixing the Filling
Combine the chicken, crema, onion, garlic, black beans, and corn in one bowl so the filling is evenly coated before it hits the pan. The mixture should look creamy and spoonable, not soupy. If it seems loose, that’s usually from wet beans or too much crema, and the fix is simple: drain the beans well and keep the dairy to a coating, not a sauce.
Layering for Structure
Build the casserole in layers with tortillas, filling, cheese, then repeat. Slight overlap on the tortillas matters because it helps the slices stay intact once baked. Pour the remaining sauce over the top layer just before the cheese so the surface stays saucy but still picks up those browned spots at the edges.
Baking Until Bubbling
Bake at 350°F until the center is hot and the edges are bubbling hard enough to see little pockets of sauce breaking through the cheese. If the top is browning too fast, loosely cover it with foil for the last few minutes. Let it rest for about 5 minutes before cutting, because that short pause lets the layers settle and makes serving much cleaner.
How to Adapt This for What’s in Your Kitchen
Dairy-Free Version
Use a dairy-free crema or plain unsweetened cashew cream in the filling and top with a meltable dairy-free cheese. The casserole will still hold together, but the top won’t brown quite as deeply, so watch the color instead of waiting for the same kind of blistered cheese crust you’d get with cheddar.
Gluten-Free by Default
This casserole is already gluten-free as long as your enchilada sauce is made without flour. Check the label on canned sauce, because some brands use thickeners or flavorings that sneak gluten in. Corn tortillas are the right choice here and they give the best texture anyway.
Make It Spicier
Use a hot enchilada sauce, add a little diced jalapeño to the filling, or stir in a pinch of chipotle powder. The easiest place to add heat is the sauce, because it spreads through the whole casserole evenly. Add peppers to the filling if you want little bursts of heat in each bite.
Storing Leftovers
Refrigerator: Store covered for up to 4 days. The tortillas soften a little more as it sits, but the flavor gets even better the next day. Freezer: Freeze in tightly wrapped portions for up to 2 months; the texture is softer after thawing, but it still reheats well. Reheating: Warm covered in a 325°F oven until hot in the center, or microwave single portions in short bursts so the cheese doesn’t separate and the edges don’t dry out.
Questions I Get Asked About This Recipe
Chicken Enchilada Casserole
Ingredients
Equipment
Method
- Spread a thin layer of enchilada sauce on the bottom of a 9x13 baking dish.
- Layer 4 tortillas, slightly overlapping, over the sauce.
- In a bowl, combine shredded cooked chicken, Mexican crema or sour cream, diced onion, minced garlic, black beans, and corn kernels; season with salt and pepper.
- Spread half the chicken mixture over the tortillas and sprinkle with 1 cup shredded cheddar cheese.
- Add 4 more tortillas over the chicken and cheese layer.
- Spread the remaining chicken mixture and then add another layer of tortillas.
- Pour the remaining enchilada sauce over the top and sprinkle with the remaining shredded cheddar cheese.
- Bake at 350°F for 30 minutes, until bubbly and the edges are golden.
- Let the casserole rest for 5 minutes to set.
- Garnish with cilantro and serve.