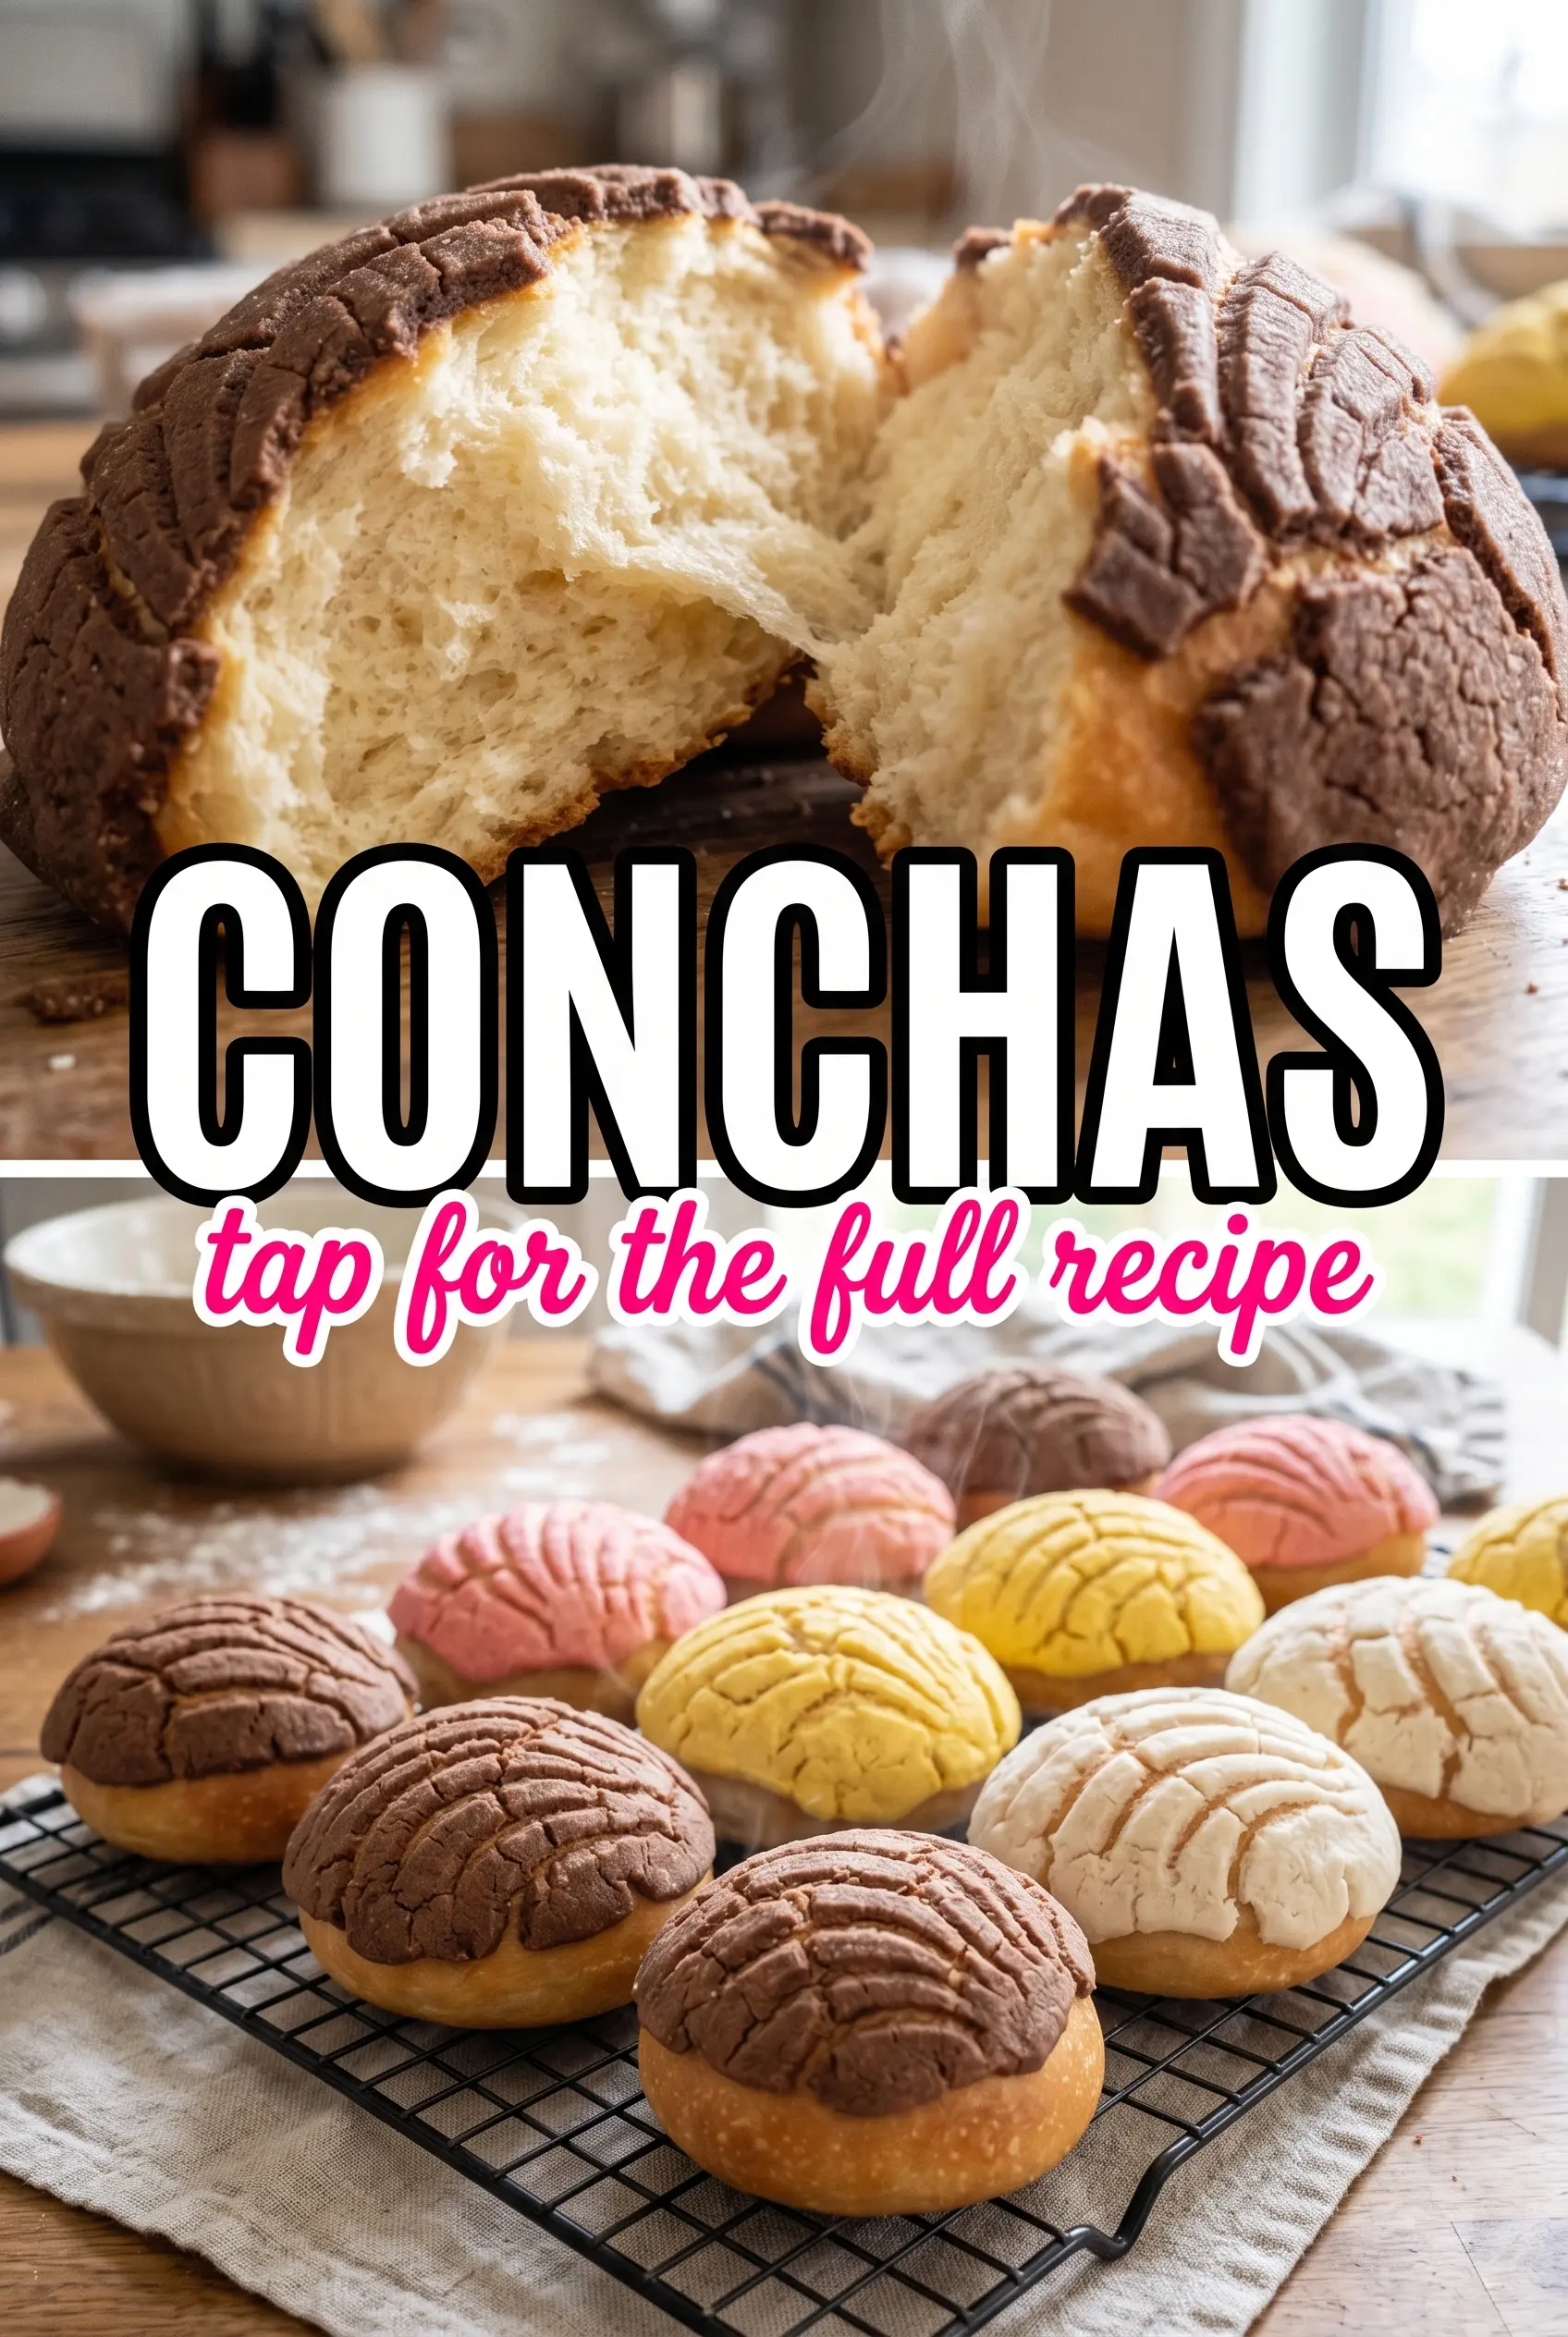
Conchas have that bakery-style pull that makes people stop mid-bite: a soft, slightly enriched bun under a crisp, sweet topping that cracks just enough when you tear into it. The shell pattern isn’t only for looks, either. It gives the sugary top a delicate crunch that contrasts with the pillowy bread underneath, which is exactly why a good concha feels special even when it’s made with straightforward pantry ingredients.
What makes this version work is the balance in the dough and the topping. The dough is enriched with milk, butter, eggs, and vanilla, so it bakes up tender instead of bready and plain. The topping is built with butter, powdered sugar, and flour, which keeps it thick enough to score cleanly without melting off the buns in the oven. The key is letting both the dough and the shaped buns rest long enough to relax and rise; rush that part and the texture turns tight.
Below, you’ll find the timing cues that matter, the easiest way to shape the topping so it actually holds the shell pattern, and a few swaps that help if you want to work with what you have on hand.
The topping held the shell pattern perfectly and didn’t slide off in the oven, and the buns came out soft with that bakery-style crust on top. We ate three while they were still warm.
Want those pastel conchas with the crisp shell top? Save this recipe to Pinterest for the next time you’re craving soft Mexican sweet buns fresh from the oven.
The topping is what gives conchas their bakery signature
The dough matters, but the topping is where most homemade conchas go sideways. If the topping is too warm, it smears and melts before it bakes. If it’s too dry, it cracks apart when you score it and the pattern blurs in the oven. You want a pliable paste that rolls cleanly between sheets of plastic wrap and holds a neat impression from the knife.
The other common problem is overbaking the bread while trying to brown the top. Conchas should come out lightly golden, not deep brown. The topping firms up as it cools, so pulling them at the right moment gives you a soft center and a crisp, sweet lid without drying out the crumb.
- Instant yeast — This keeps the schedule simple and gives the dough a reliable rise without proofing in separate water first. If you only have active dry yeast, use the same amount and expect the first rise to take a little longer.
- Butter in both components — Softened butter in the dough adds tenderness, while the butter in the topping gives it that shortbread-like texture. Margarine will change the flavor and the way the topping sets, so butter is worth keeping here.
- Powdered sugar for the topping — Granulated sugar won’t give you the same smooth paste. Powdered sugar dissolves into the butter and helps the shell pattern stay defined after baking.
- Food coloring — The color is purely decorative, so gel or liquid both work. Gel gives the strongest color with less moisture, which helps if you want bright pink or purple tops without softening the topping.
Building the dough and topping without losing the shell pattern
Mixing the enriched dough
Stir the wet ingredients into the dry just until a shaggy dough comes together, then knead until it turns smooth and stretchy. You’re looking for dough that still feels soft but no longer sticks aggressively to the bowl. If you add too much flour here, the buns bake up dense instead of fluffy, so resist the urge to chase a dry dough. The finished dough should feel supple and a little tacky, not sticky-wet.
Letting the first rise do its job
Cover the dough and let it rise until doubled, which usually takes about an hour in a warm kitchen. Don’t judge by the clock alone; look for visible puffiness and a softer, lighter feel when you touch the dough. If your kitchen is cool, the rise can take longer, and that’s fine. Underproofed dough fights you during shaping and bakes with a tighter crumb.
Shaping the buns and topping them cleanly
Divide the dough into 12 even pieces and roll each one into a smooth round. Place them with enough space to expand, then let them rise again until slightly puffy. For the topping, roll it between plastic wrap so it stays smooth instead of sticking to the counter, then cut it into rounds or oval shells and lay them over the buns. Score the shell lines gently; press hard enough to mark the topping, not so hard that you cut into the dough underneath.
Baking to the right color
Bake at 375°F until the buns are set and the tops are lightly golden, about 16 to 18 minutes. The biggest mistake here is waiting for deep color, which dries the bread before the topping finishes. Take them out when the bottoms are lightly browned and the tops still look delicate. They’ll finish setting as they cool on the pan.
Three ways to adapt conchas without wrecking the texture
Make them dairy-free with a few careful swaps
Use a neutral plant-based butter in both the dough and topping, and swap the milk for an unsweetened non-dairy milk. The buns will still rise and bake up soft, but the flavor will be a little less rich and the topping may set a touch softer. Keep the dough mixing time the same so you still develop a smooth, elastic texture.
Use natural color for a more subtle look
Skip the artificial coloring and leave the topping plain, or tint it lightly with a tiny bit of beet powder or cocoa. The shape matters more than the color, and a natural tint gives you a softer, less neon finish. Just keep any liquid add-ins minimal so the topping doesn’t get loose and lose its definition.
Turn them into smaller breakfast buns
Divide the dough into 16 pieces instead of 12 for smaller conchas. They’ll bake a little faster, so start checking a few minutes early. You’ll get a higher ratio of topping to bread, which makes them feel extra bakery-style with a stronger sweet crunch on top.
Storage and Reheating
- Refrigerator: Store in an airtight container for up to 3 days. The topping will soften a bit, but the buns stay tender.
- Freezer: Freeze baked conchas tightly wrapped for up to 2 months. Thaw at room temperature; the topping won’t stay quite as crisp, but the bread holds up well.
- Reheating: Warm in a 300°F oven for 5 to 8 minutes. Don’t microwave them if you want to keep the topping intact, since it turns sticky and the bread can gum up.
Answers to the questions worth asking
Mexican Sweet Buns (Conchas)
Ingredients
Equipment
Method
- Combine warm milk, granulated sugar, butter, eggs, and vanilla in a bowl until smooth and evenly mixed.
- Whisk all-purpose flour, instant yeast, and salt in a second bowl to distribute the yeast and salt.
- Mix the wet ingredients into the dry ingredients until a soft dough forms.
- Knead the dough for 8-10 minutes until smooth and elastic.
- Place the dough in a covered bowl and let rise for 1 hour until doubled in size.
- Divide the dough into 12 portions and shape each into a round bun.
- Arrange the buns on a baking sheet and let rise for 30 minutes until slightly puffy.
- Mix softened butter, powdered sugar, and all-purpose flour to form a thick, moldable topping dough.
- Divide the topping dough and tint each portion with food coloring to create pastel colors.
- Roll each colored topping between plastic wrap and cut into shell shapes.
- Place the shell shapes on top of the buns and use a knife to score to create the shell pattern.
- Bake at 375°F for 16-18 minutes until the buns turn golden on top, with the shell pattern set and lightly firm.