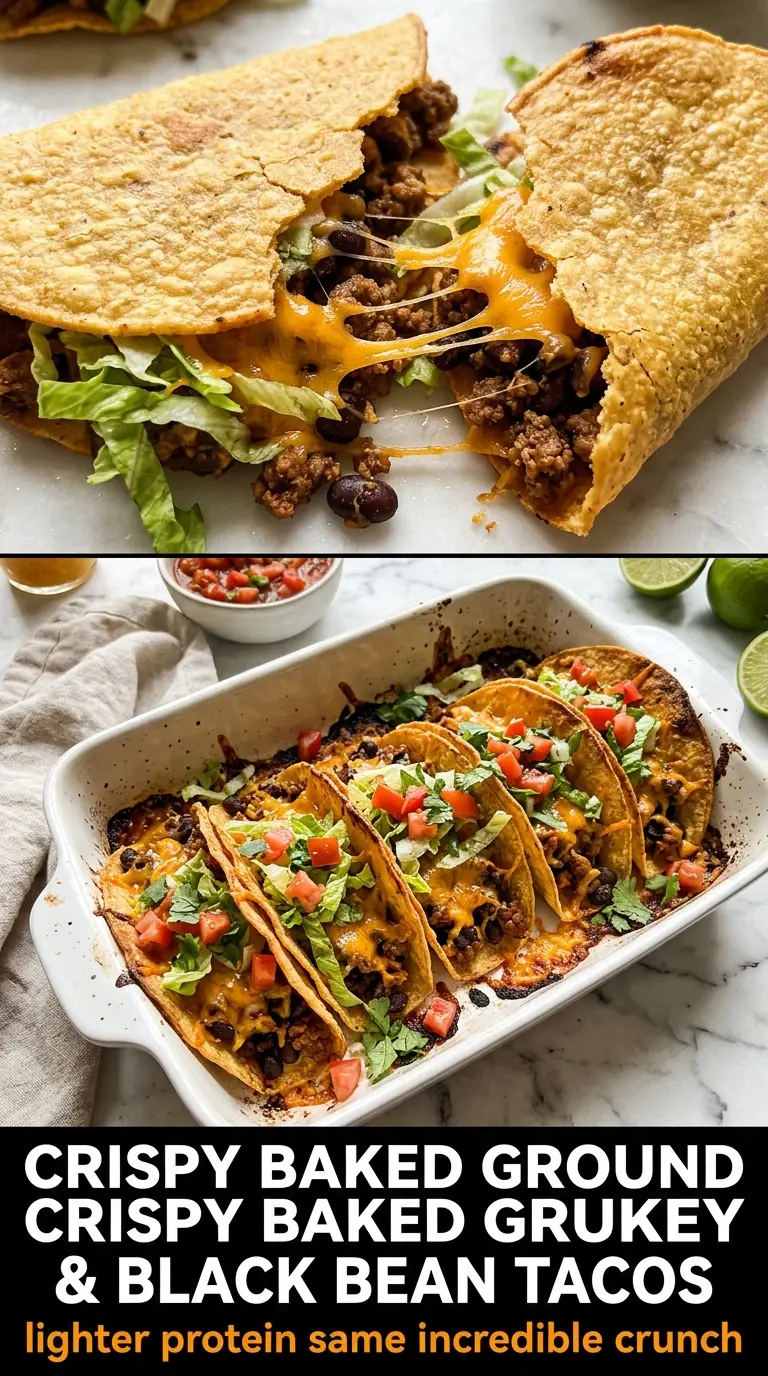
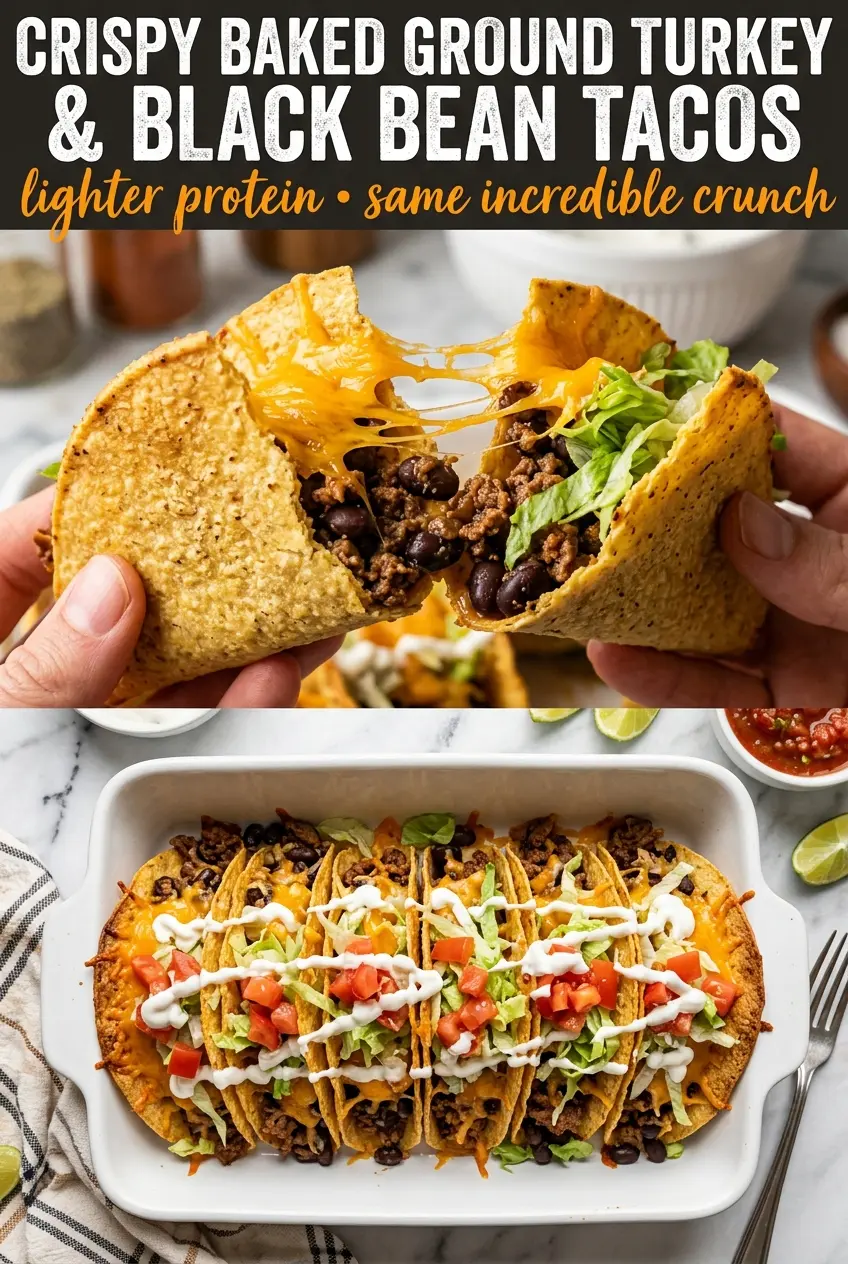
Crispy taco shells loaded with seasoned ground turkey and black beans hit that sweet spot between weeknight easy and restaurant-style satisfying. The filling stays juicy without turning soupy, the beans add body and a little creaminess, and the shells bring the crunch that makes every bite feel like a real meal.
What makes this version work is the balance in the skillet before anything touches the tortillas. The turkey gets browned first so it doesn’t steam, then the black beans and a small splash of water turn the seasoning into a coating instead of a dusty mix. That short simmer thickens just enough to hold inside the shell without leaking all over the plate.
Below, you’ll find the small details that keep the shells crisp and the filling sturdy, plus a few smart swaps if you need to work with what’s already in your kitchen.
The filling thickened up just enough to stay put in the shells, and the crispy tortilla shells held their shape even after the toppings went on. I added extra lime at the table and that was the finishing touch.
Crispy baked ground turkey and black bean tacos are worth saving for the nights when you want crunch, color, and a filling that stays tucked inside the shell.
Why the Filling Stays in the Shell Instead of Sliding Out
The biggest mistake with taco fillings is adding too much liquid and calling it sauce. That turns the meat into something that pools at the bottom of the tortilla and softens the shell before the first bite. Here, the water is just enough to wake up the seasoning and help the black beans break down a little, then it cooks off until the mixture clings to the turkey instead of running around it.
Brown the turkey hard enough to get some color before the garlic goes in. If the pan is crowded and the meat turns pale, you’ll miss that savory edge the filling needs. The black beans matter here too, because they add a mashed-in texture that helps everything hold together once the tacos are assembled.
- Let the filling simmer until it looks thick and glossy. If it still looks wet in the skillet, it’s going to leak in the taco shell.
- Don’t skip the browning. Pale turkey tastes flat, even with seasoning.
- Drain the beans well. Extra bean liquid works against the crisp shell.
What Each Ingredient Is Actually Doing in These Tacos
- Ground turkey — This gives you a lean filling that browns fast and stays light enough for crunchy shells. If you use turkey with a little more fat, drain any excess before adding the seasoning so the tacos don’t get greasy.
- Black beans — These stretch the filling and add a soft, creamy bite against the crisp tortilla. Canned beans work perfectly here, but they need to be drained well so the mixture thickens instead of turning soupy.
- Taco seasoning — This is doing the heavy lifting for smoke, chile, cumin, and salt. Homemade or store-bought both work; if yours is salt-free, taste at the end and season more aggressively than you think you need.
- Corn tortillas — Corn tortillas fry up with the best crunch and that classic taco flavor. Keep them warm for a few seconds before shaping, or they can crack when they hit the oil.
- Vegetable oil — You need enough oil to fry the tortillas evenly and set the shape. Neutral oil is best because it lets the filling and toppings stay front and center.
- Lime, cilantro, salsa, lettuce, tomatoes, cheese — These finish the tacos with brightness, freshness, and contrast. The squeeze of lime matters most right at the end because it cuts through the rich filling and wakes everything up.
Getting the Taco Shells Crispy Without Burning Them
Hot oil is what gives you that crackly shell, but the temperature has to stay steady. Around 350°F is the sweet spot: hot enough to set the tortilla quickly, not so hot that it browns before it stiffens into shape. If the oil smokes or the tortilla darkens in seconds, pull the pan off the heat for a moment and let it settle.
Shape the tortillas while they’re frying so they hold that taco curve. If you wait too long, they harden flat and won’t stay open for filling. Drain them on paper towels and fill them once they’ve cooled just enough to handle, because piping-hot shells can still soften under the weight of the meat if you stack them too early.
Building the Savory Filling
Cook the turkey in a hot skillet and break it into small pieces as it browns. Once the garlic goes in, it only needs about a minute; any longer and it can turn bitter. Stir in the seasoning, beans, and water, then keep the mixture at a gentle simmer until the liquid disappears and the filling looks cohesive. If it still sloshes in the pan, give it another minute or two.
Shaping and Frying the Tortillas
Warm the tortillas just enough to make them pliable, then fry them in hot oil using a taco mold or tongs to hold the curve. A crisp shell should feel rigid and sound brittle when tapped with a utensil. If it cracks while shaping, the tortilla was too cold or too dry; warm the next one briefly before it hits the oil.
Filling and Finishing
Spoon the turkey mixture into the shells while it’s still warm, then top with lettuce, tomatoes, cheese, cilantro, and a squeeze of lime. Don’t overfill them, even if the shells look sturdy, because too much filling makes them split at the seam. The tacos eat best right away, while the shell is still crisp and the toppings are cold and bright against the warm filling.
Three Ways to Change the Tacos Without Losing the Crunch
Make Them Dairy-Free
Skip the cheese and finish with extra lime, salsa, and cilantro. You won’t miss much because the filling already has plenty of body from the turkey and beans, and the acid from the lime keeps the tacos tasting fresh.
Use Ground Beef or Chicken Instead
Ground beef brings a richer, heavier filling, while ground chicken behaves much like turkey and needs the same browning step. Either swap works as long as you cook off the moisture first so the seasoning can coat the meat instead of disappearing into the pan.
Make Them Gluten-Free
Corn tortillas keep this recipe naturally gluten-free, but check the taco seasoning if you’re using a packaged blend. Some mixes include wheat starch or additives, so a simple spice blend you trust is the cleanest swap.
Bake the Tortillas Instead of Frying
For a lighter version, brush the tortillas lightly with oil and drape them over oven racks or taco molds until crisp. The texture is a little less shattery than fried shells, but you still get good crunch without standing over a skillet.
Storage and Reheating
- Refrigerator: Store the turkey-bean filling for up to 4 days. The shells should be kept separate because they soften fast once filled.
- Freezer: The filling freezes well for up to 2 months in an airtight container. Thaw it overnight in the refrigerator before reheating.
- Reheating: Warm the filling in a skillet over medium heat with a splash of water if needed. Re-crisp the shells in the oven for a few minutes rather than microwaving them, which turns them chewy.
Answers to the Questions Worth Asking
Crispy Baked Ground Turkey & Black Bean Tacos
Ingredients
Equipment
Method
- Brown the ground turkey in a skillet over medium-high heat, breaking it apart as it cooks until no longer pink.
- Add the minced garlic and cook for 1 minute.
- Stir in the taco seasoning, black beans, and water, then mix until evenly coated.
- Simmer for 5 minutes, stirring occasionally, until the mixture thickens.
- Season with salt and pepper to taste.
- Heat vegetable oil to 350°F.
- Fry the corn tortillas in hot oil in a taco-shaped form for 2-3 minutes, until crispy.
- Drain the fried tortillas on paper towels.
- Fill each crispy taco shell with the turkey-bean mixture.
- Top with lettuce, tomatoes, shredded cheese, and cilantro.
- Finish with a squeeze of lime juice and salsa.