Apple crisp baked apples give you the best parts of two desserts in one bite: tender, juicy fruit underneath a buttery oat crumble that turns golden and a little crunchy in the oven. The apples soften just enough to hold their shape, and the filling melts into the bottom of the dish, making every spoonful taste like baked apple crisp with less fuss and a cleaner finish.
This version works because the apples are cored from the top while the bottom stays intact, so the filling can settle inside without leaking out before the fruit has time to soften. A splash of apple cider in the baking dish keeps the apples moist and encourages a little syrupy sauce around the edges. Cold butter in the crumble matters too; it gives you those irregular clumps that brown instead of turning sandy.
Below, I’ll show you how to keep the apples tender without collapsing them, how to get the topping crisp instead of pasty, and the small swap I use when I want this dessert a little more saucy.
The apples held their shape perfectly and the oat topping got crisp, not soggy. I used Honeycrisp and the little pool of caramel at the bottom was the part everyone fought over.
Save these apple crisp baked apples for the nights when you want a warm dessert with a crunchy topping and a built-in caramel sauce.
The Trick to Keeping the Apples Intact While the Filling Bakes Through
The biggest mistake with baked apples is coring too aggressively and cutting through the bottom. Once that happens, the sugar and butter leak out early and the apple turns soft before the topping has a chance to brown. Keeping the base intact lets the fruit steam from the inside while the crumble bakes on top, which is what gives you that clean contrast between tender apple and crisp topping.
Honeycrisp and Braeburn both hold up well here because they soften without turning mealy. If you use a softer apple, shorten the bake time and watch for the skin to wrinkle and the fruit to give slightly when pressed with a spoon. You want the apples tender enough to cut with a fork, but not collapsed into the dish.
What Each Ingredient Is Actually Doing in This Dessert
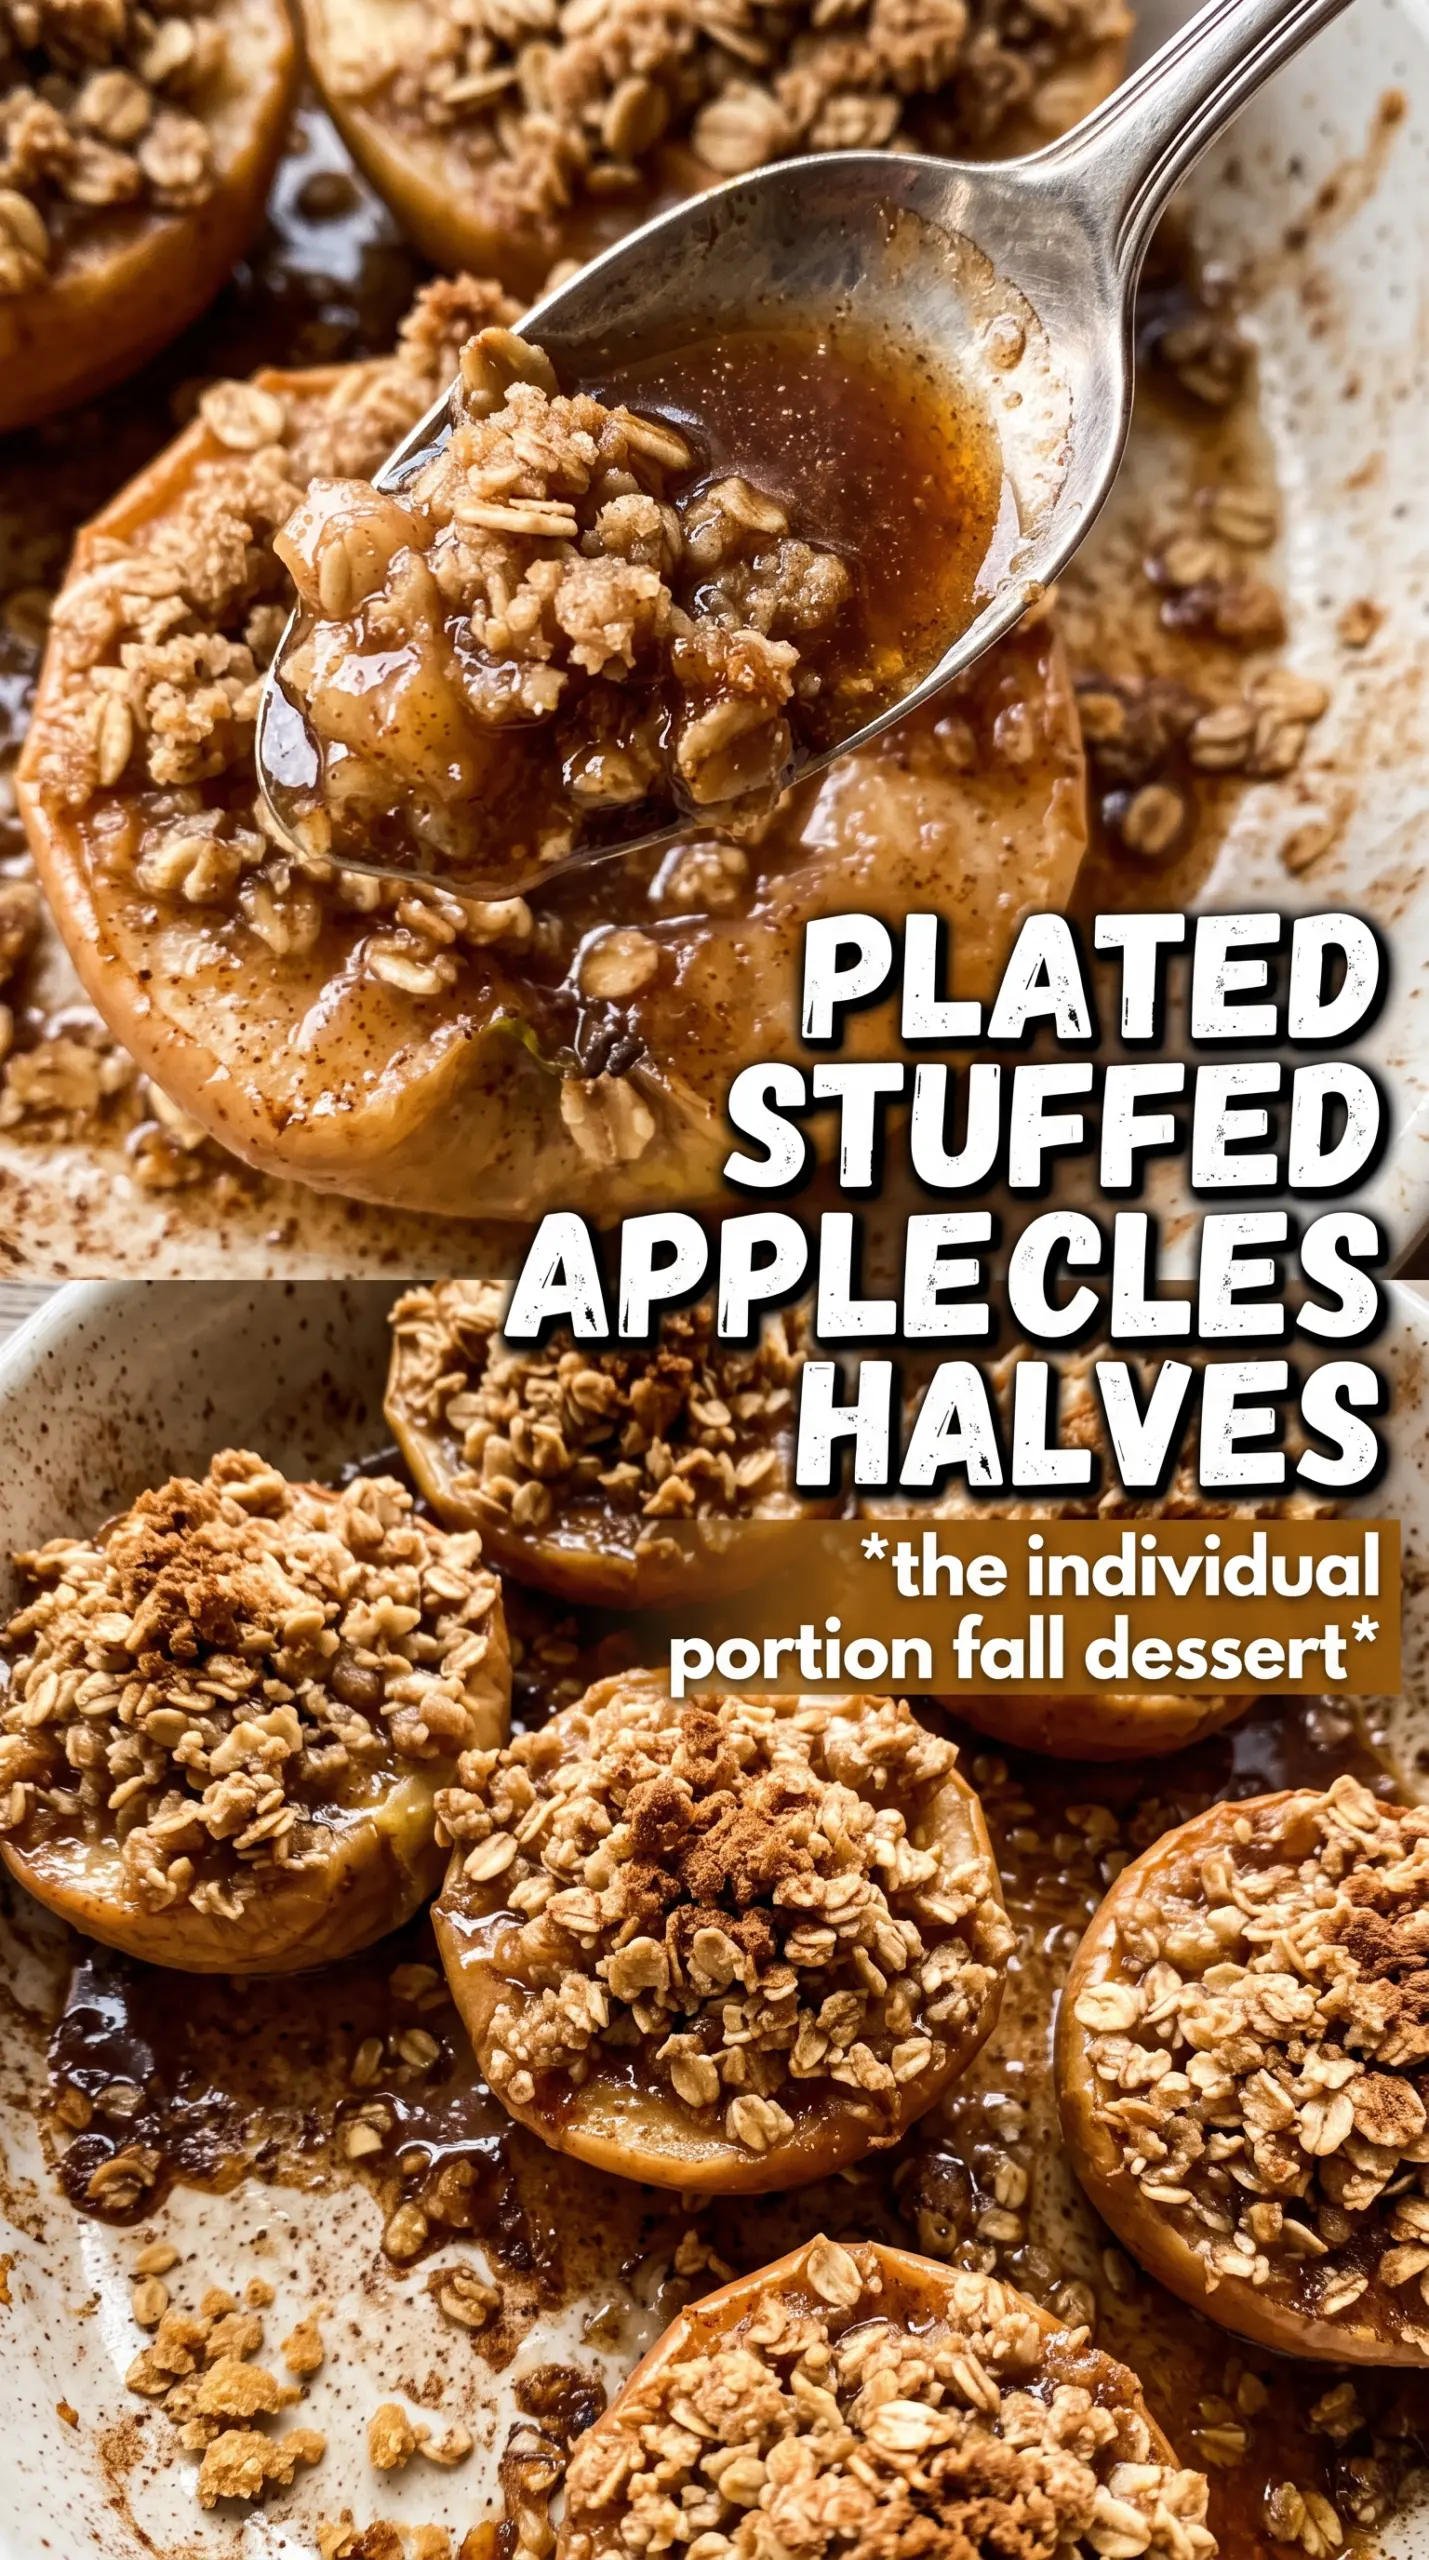
- Honeycrisp or Braeburn apples — These are sturdy enough to keep their shape through baking and still turn tender in the center. Granny Smith works if you want more tartness, but it stays firmer and the dessert tastes sharper.
- Rolled oats — Old-fashioned oats give the crumble its nubby texture and keep it from feeling like cookie dough on top of the apples. Quick oats can work in a pinch, but the topping will be softer and less crisp.
- Brown sugar — This adds molasses depth and helps the topping melt into a sandy, caramelized crust. Light brown sugar is fine; dark brown sugar gives you a deeper, richer finish.
- Cold butter — Cold butter is what creates the clumps that bake into a crisp topping. If it softens too much, the mixture turns pasty and won’t brown as well.
- Apple cider or water — Cider gives the pan juices a little extra apple flavor and makes the sauce taste fuller. Water still keeps the dish from drying out, so use it if that’s what you have.
- Vanilla ice cream and caramel sauce — These aren’t just garnish. The cold ice cream melts into the hot apples and the caramel ties the whole dessert together with a glossy finish.
Building the Crumble So It Stays Crisp, Not Doughy
Start with the apples and the pan liquid
Pour the cider into the baking dish before the apples go in so the bottoms don’t dry out as they bake. The apples should sit snugly in the dish, not swimming, with the cored tops facing straight up. If the cavity is cut too wide, the filling falls through and the apples lose the neat, stuffed look that makes this dessert work.
Mix the cavity filling first
Stir the brown sugar and cinnamon together, then add a pinch into each apple and top it with a piece of butter. That little layer melts into the center of the fruit and seasons the inside instead of leaving all the sweetness on top. Don’t overfill the cavity; a packed mound on top tends to spill over before the apple has softened.
Cut the butter into the crumble until it clumps
Combine the oats, flour, brown sugar, cinnamon, nutmeg, and salt, then work in the cold butter until the mixture looks like damp gravel with some larger pieces. Those uneven bits are what turn crisp and golden. If the butter disappears completely, the topping will bake up dense instead of crumbly.
Bake until the apples give and the top browns
Spoon the crumble into and over the tops of the apples, then bake until the fruit yields easily and the topping is deeply golden. You’re looking for bubbling juices around the base and a topping that looks set, not pale or dusty. If the crumble browns too fast before the apples are tender, tent the dish loosely with foil for the last part of baking.
How to Adapt These Apples for Different Tables and Different Sweetness Levels
Dairy-Free Version That Still Browns Well
Swap the butter for a solid plant-based butter that’s meant for baking, not a tub spread. You’ll keep the same clumpy texture in the topping and the same glossy finish in the apple cavity. The flavor shifts a little lighter, but the texture stays close to the original.
Gluten-Free Crumble
Use a 1:1 gluten-free all-purpose flour blend in place of the regular flour. The topping will still crisp, but it may be a little more delicate when you spoon it over the apples. Let it cool for a few minutes before serving so the crumble can set.
Less Sweet, More Apple Forward
Cut the brown sugar in the crumble by 2 tablespoons and use tart apples like Granny Smith or a mix of tart and sweet varieties. You’ll lose a little of the dessert-like richness, but the apple flavor gets sharper and more pronounced. The caramel sauce on top will bring back the sweetness where you want it.
Storage and Reheating
- Refrigerator: Store leftover baked apples in an airtight container for up to 3 days. The topping softens as it sits, but the flavor stays good.
- Freezer: These freeze, but the crumble loses some of its texture after thawing. Freeze in a tightly wrapped container for up to 2 months if you don’t mind a softer topping.
- Reheating: Warm in a 325F oven until heated through, about 10 to 15 minutes. The oven brings back more texture than the microwave, which tends to steam the crumble and make it limp.
Answers to the Questions Worth Asking
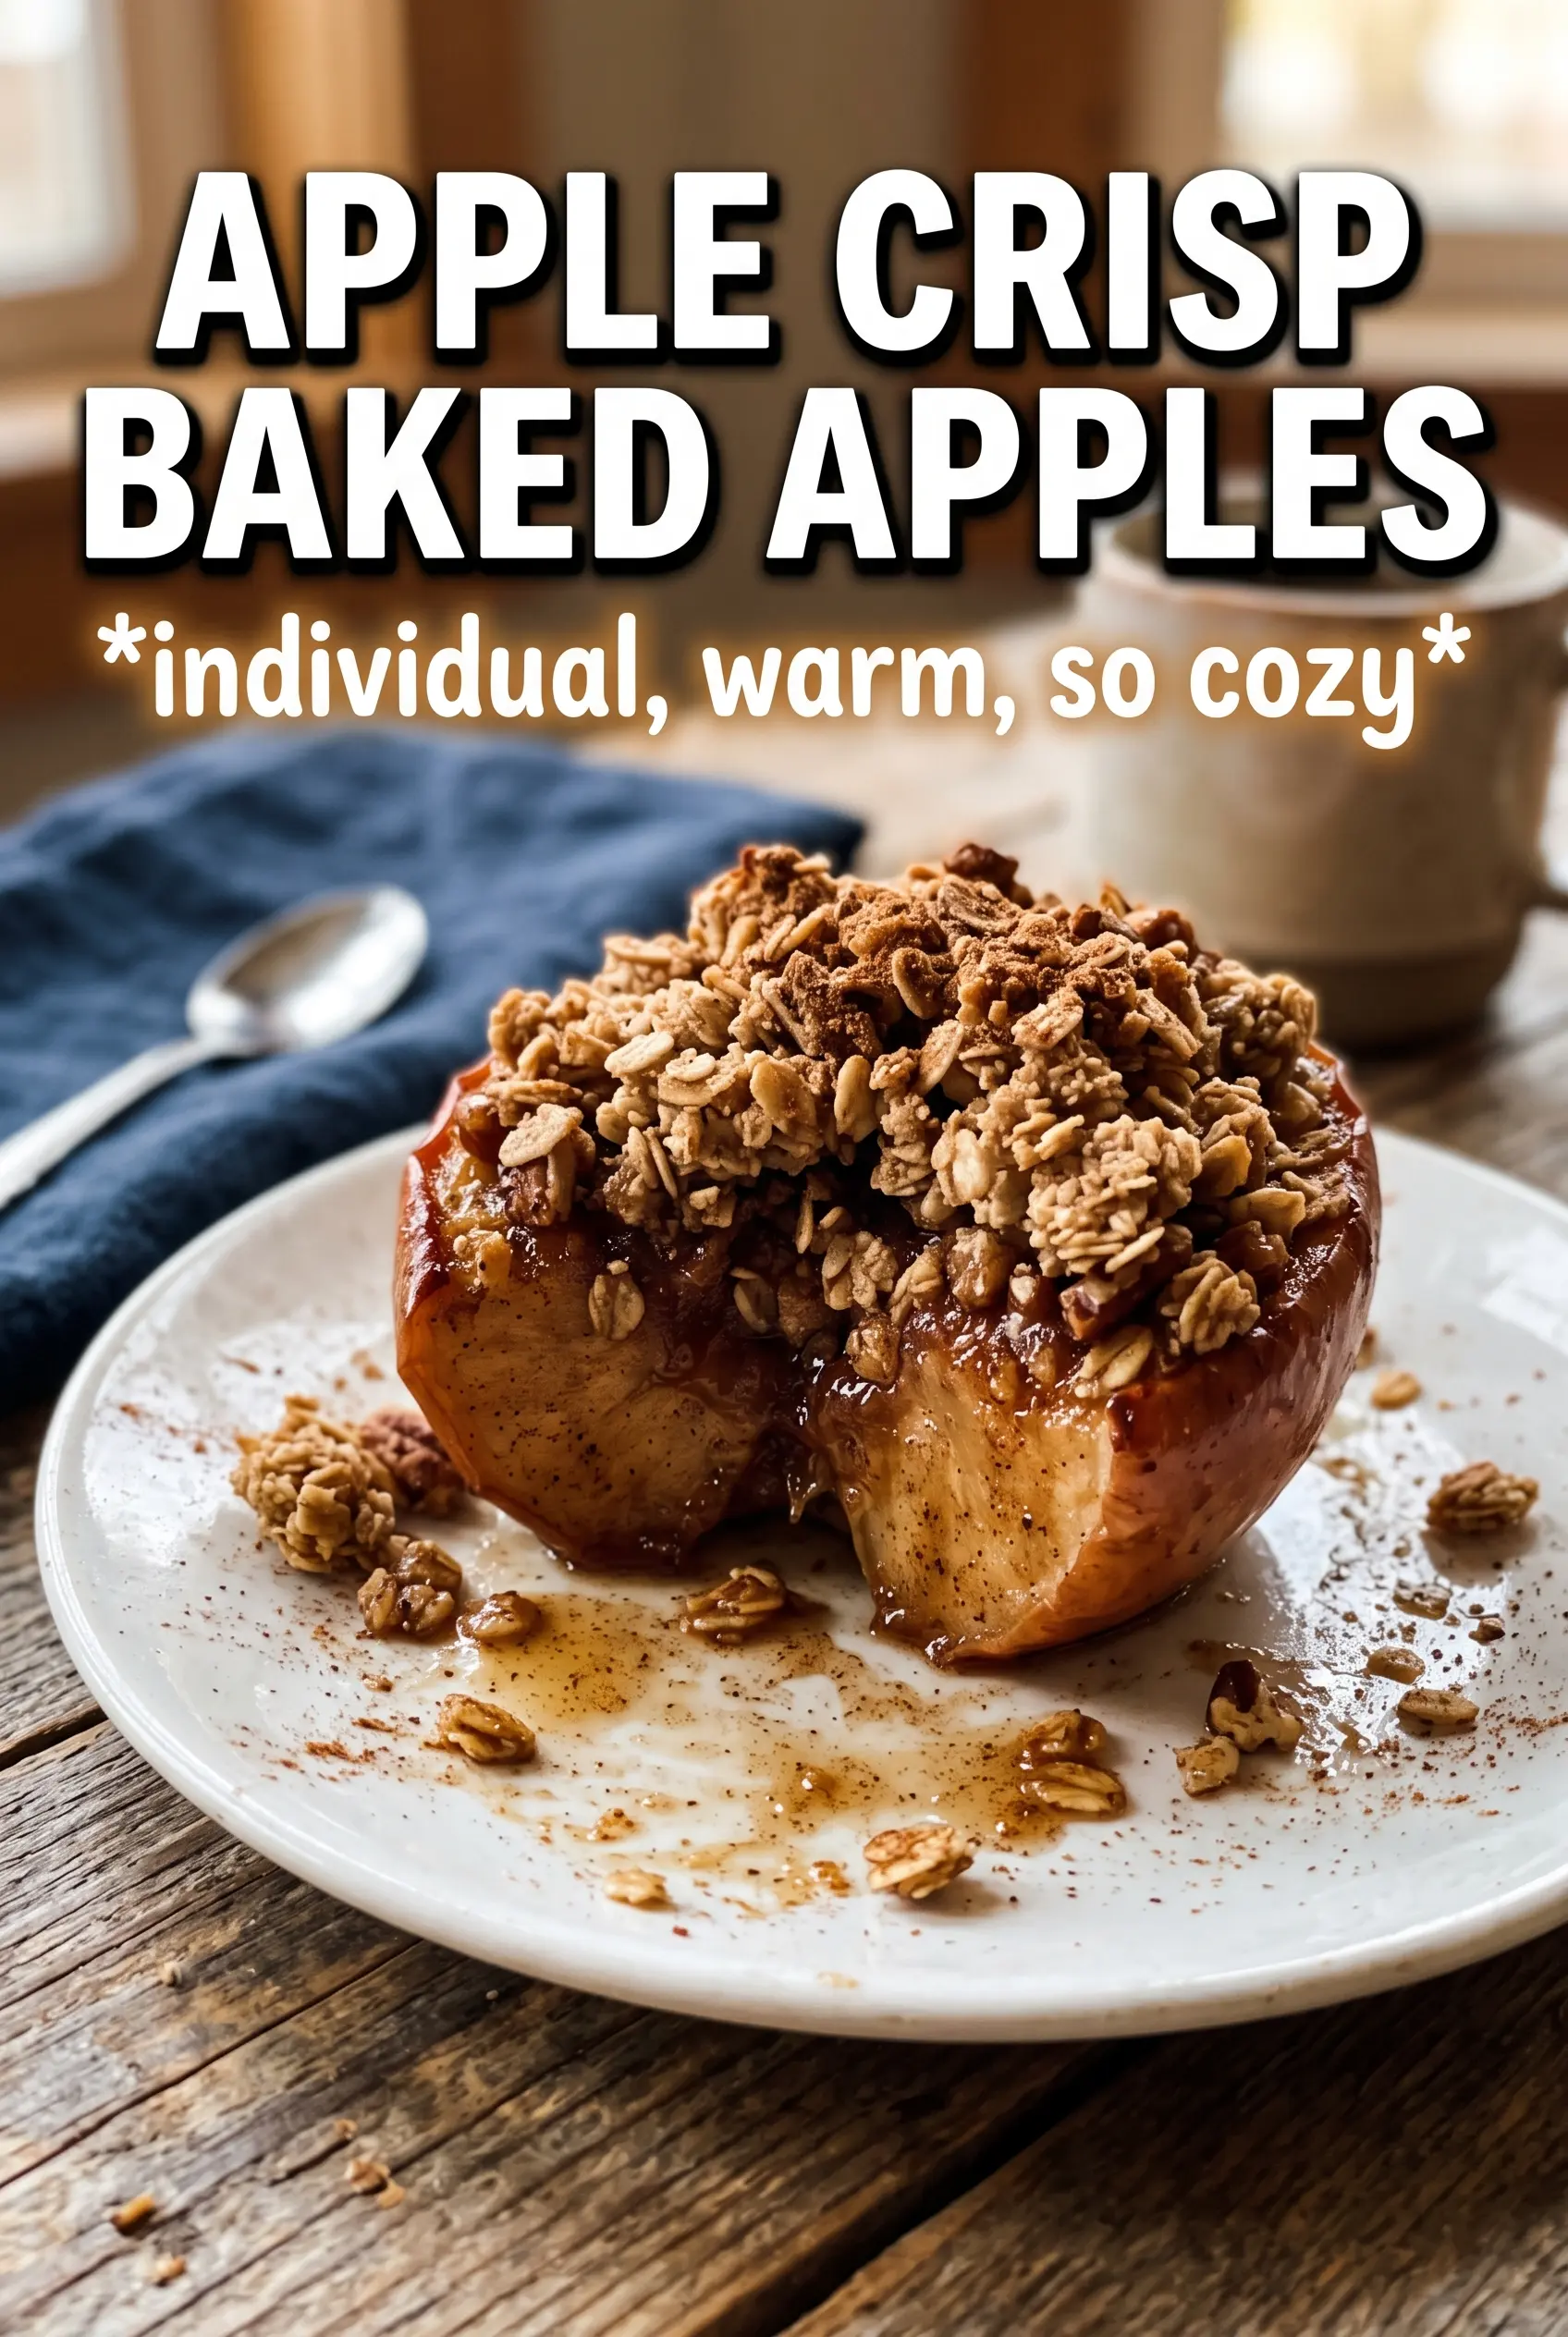
Apple Crisp Baked Apples
Ingredients
Equipment
Method
- Preheat oven to 375F. Pour apple cider or water into the bottom of a baking dish to create baking steam.
- Core apples from the top, leaving the bottom intact, to create a cavity about 1-1/2 inches wide. Keep the apple bottoms whole so they hold the filling while baking.
- Mix brown sugar and cinnamon for the cavity filling. Place a pinch into each apple, followed by a piece of butter to help the filling melt.
- Combine rolled oats, all-purpose flour, brown sugar, cinnamon, nutmeg, and salt in a bowl. Cut in cold unsalted butter until clumpy, with small buttery pieces throughout.
- Pack crumble into and over the top of each filled apple. Press lightly so the topping adheres and bakes into a golden layer.
- Bake 35-40 minutes at 375F until the apples are tender and the crumble is golden. Look for browned edges and bubbling apple filling around the crumble.
- Serve immediately with vanilla ice cream and caramel sauce. Add sauce right before eating so the topping stays crisp.


