Apple Crumble Pie brings together the best parts of two desserts: a tender, bubbling apple filling and a thick oat crumble that bakes up crisp on top instead of turning sandy. The contrast is what keeps people coming back for a second slice. You get a clean, old-fashioned pie base, but the topping gives every bite a little more texture and a lot more character.
The filling leans on cornstarch instead of a heavy flour slurry, which helps the juices thicken without turning cloudy. A splash of lemon juice keeps the apples from tasting flat and helps balance the brown sugar in the topping. The other detail that matters is the butter in the crumble: it has to stay cold long enough to form chunky clumps, because those clumps brown into the nubbly, golden top that makes this pie worth baking.
Below, I’ve included the exact point where the filling should start bubbling, how to keep the topping from overbrowning, and the little cooling window that keeps the slices from collapsing when you cut into them.
The filling set up beautifully and the topping stayed crisp even after cooling. I used tart apples like you suggested, and the pie sliced clean instead of running all over the plate.
Save this Apple Crumble Pie for the deep golden oat topping and bubbling spiced apple filling.
The Reason the Crumble Stays Crisp Instead of Going Soft
The biggest mistake with apple crumble pie is piling on a topping that melts into the filling before the apples have a chance to cook. This version avoids that by using a dry oat-and-flour mixture cut with cold butter, which forms sturdy little clumps that brown before they dissolve. The topping should look shaggy, not smooth. Those uneven pieces are what bake into a crisp, craggy crust over the fruit.
The other thing that matters is the bubbling point. If the filling hasn’t bubbled through the topping, the apples haven’t released enough juice for the cornstarch to do its job. Pulling the pie too early leaves you with glossy but loose filling. Bake until you can see the juices actively bubbling at the edges and through the gaps in the crumble.
What Each Ingredient Is Actually Doing in This Pie
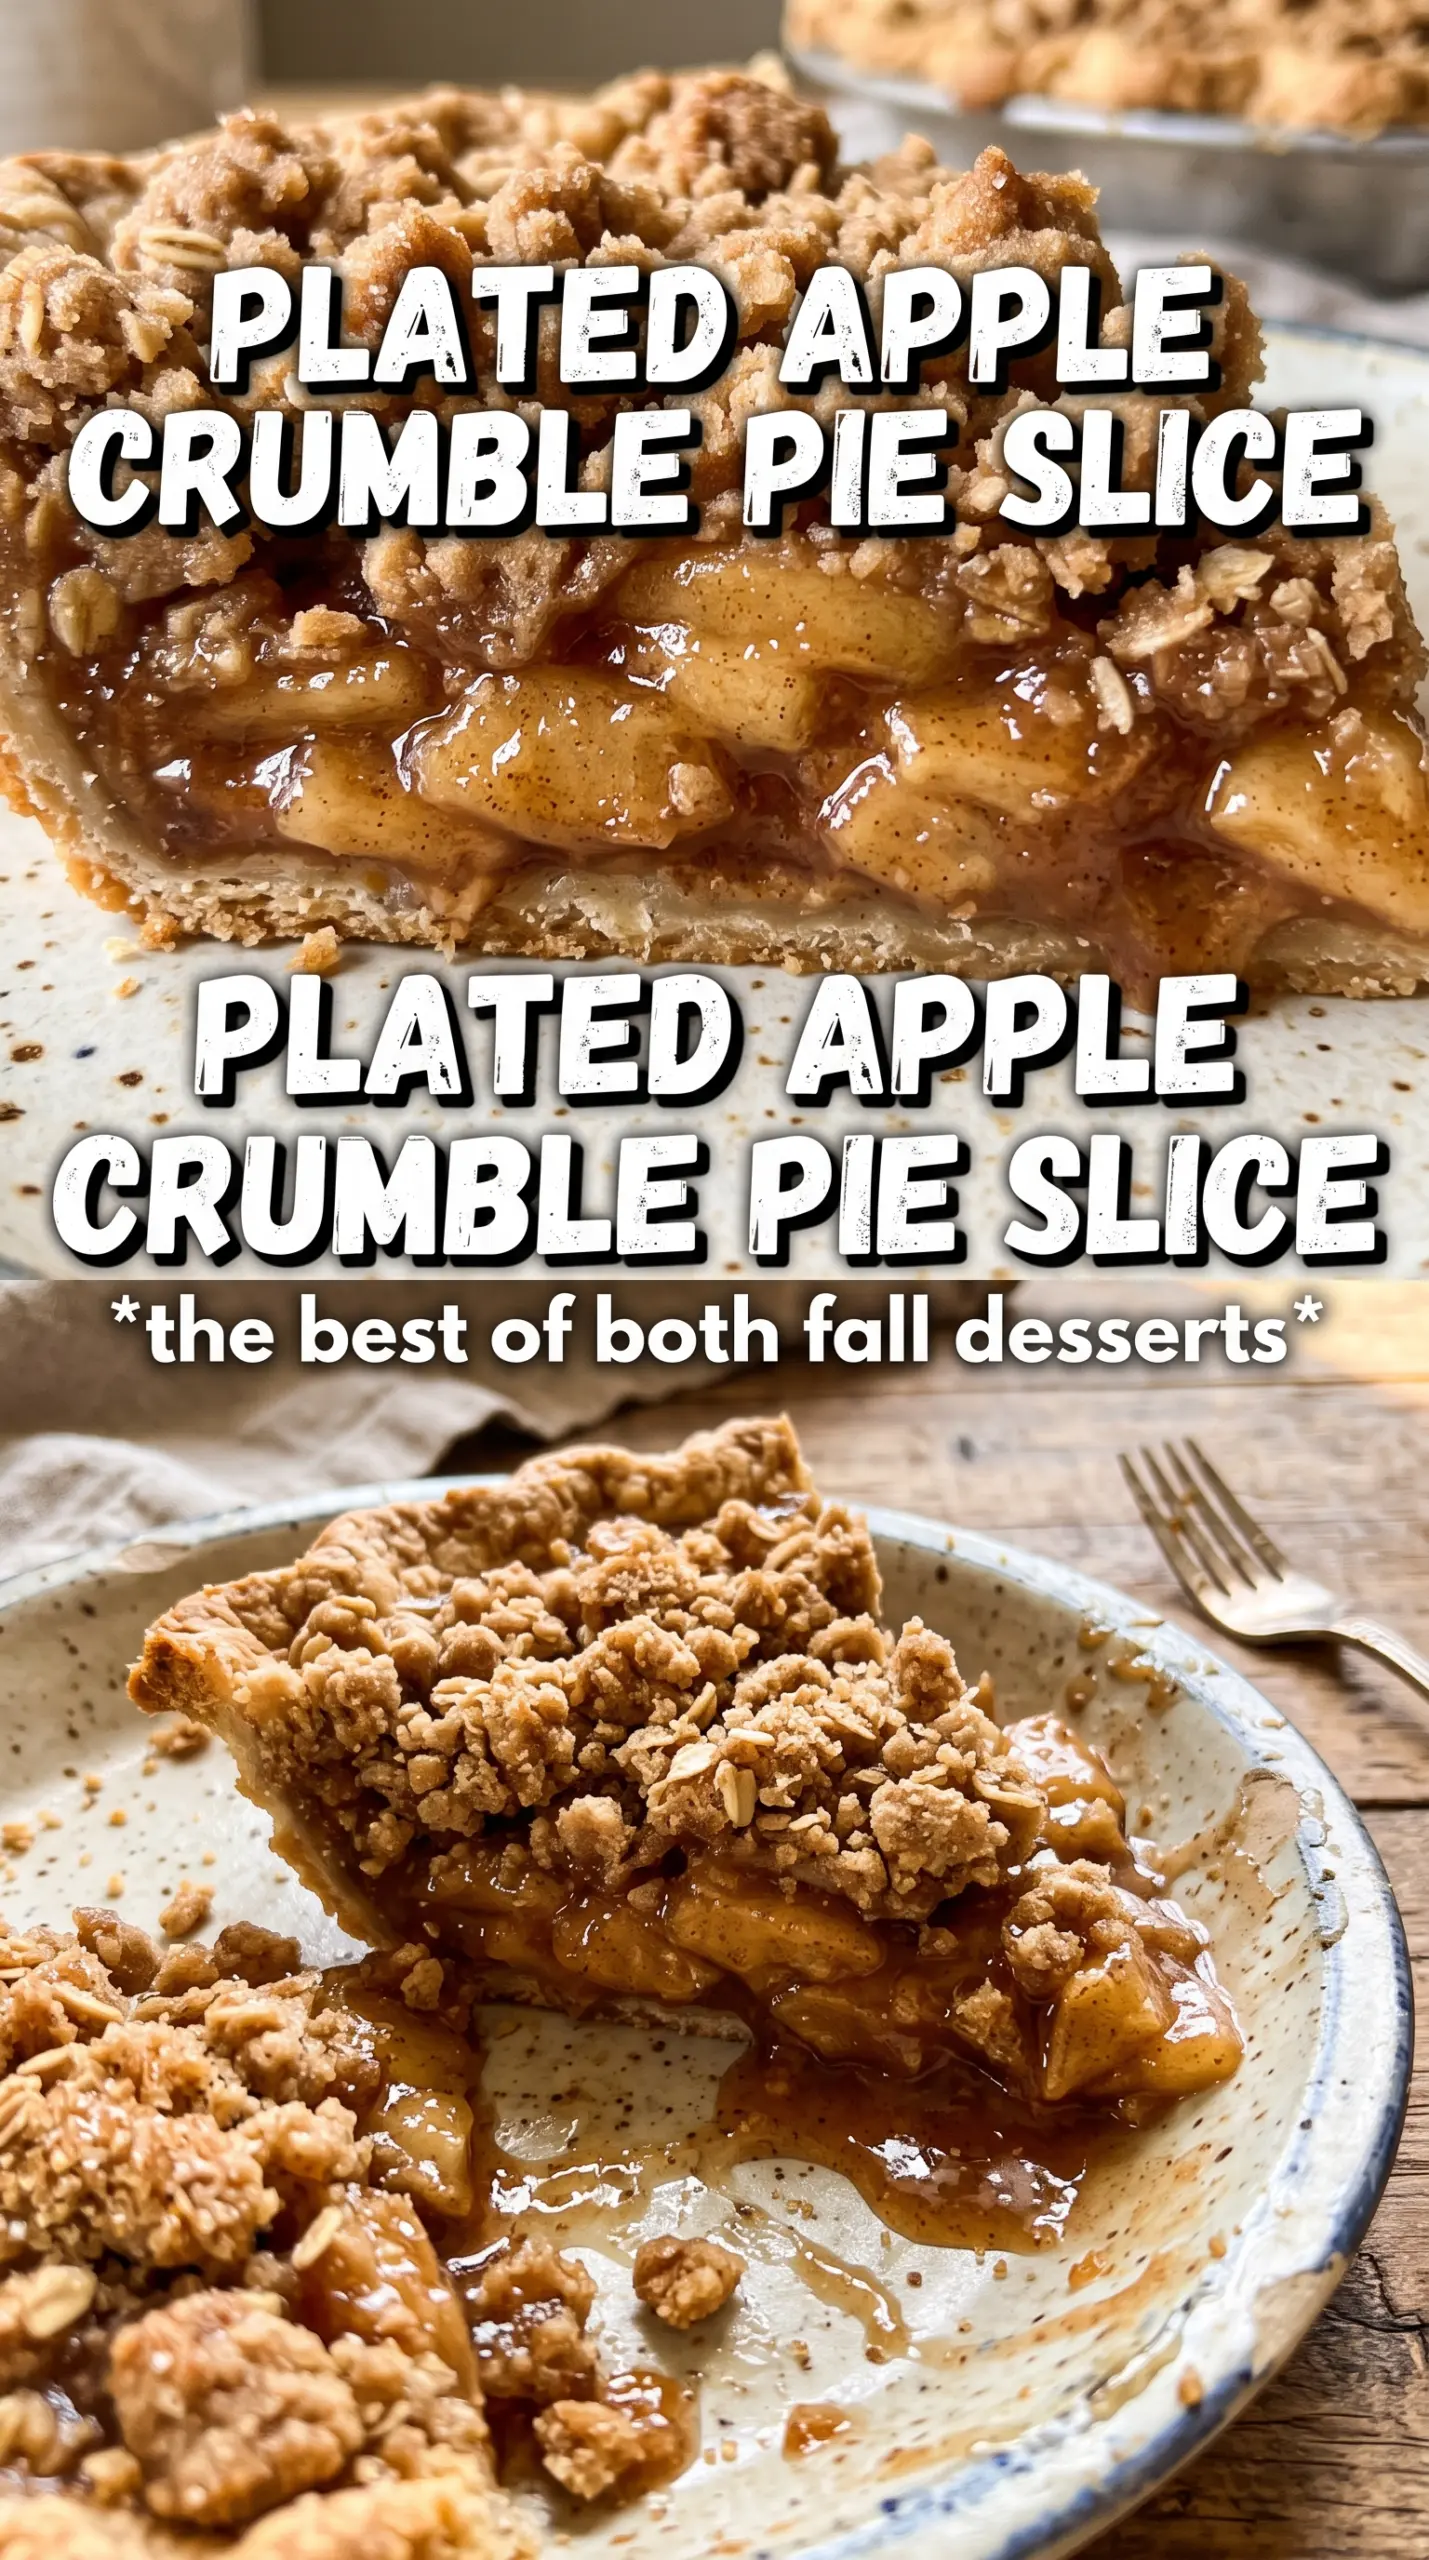
- Apples — Use firm baking apples if you can. They hold their shape and keep the filling from turning to applesauce. A mix of tart and sweet apples gives the best balance, but even a single good baking apple works better than soft snacking apples.
- Cornstarch — This is what thickens the juices into a clean slice. Flour can work in a pinch, but it usually makes the filling look duller and needs a little more baking time to lose that raw taste. If you want neat slices, cornstarch is the better call.
- Rolled oats — Old-fashioned oats give the crumble its rough, nubby texture. Quick oats will soften too much and make the topping denser. If you only have quick oats, use them, but expect a finer, less distinct crumble.
- Cold butter — Cold butter is non-negotiable here. It coats the dry ingredients in little pockets that melt in the oven and leave crisp gaps. If the butter starts softening before you mix, pop the bowl into the fridge for a few minutes before scattering it over the pie.
- Lemon juice — It keeps the apples bright and cuts through the sugar. You won’t taste lemon, but you’d notice if it were missing because the filling would lean flat and heavy.
Building the Filling and Topping Without a Soggy Bottom
Coating the Apples Evenly
Toss the sliced apples with the sugar, spices, cornstarch, and lemon juice until every piece looks lightly coated. Don’t dump everything into the shell and hope it mixes itself in the oven; uneven distribution leaves pockets that are too wet or too sweet. Pile the apples into the crust and mound them slightly in the center, because they shrink as they bake.
Mixing the Crumble Until It Clumps
Combine the oats, flour, brown sugar, cinnamon, and salt first, then cut in the cold butter until the mixture holds together in chunky clumps when you squeeze it. If it turns into fine crumbs, the topping will bake up dry and dusty instead of crisp and craggy. Stop mixing while you still see uneven pieces of butter.
Baking Until the Filling Actually Sets
Bake at 375F until the topping is deeply golden and the filling is bubbling through the edges, usually 55 to 65 minutes. If the top is browning too quickly, tent it loosely with foil after about 35 minutes. The pie needs that full bake time for the apples to soften and the cornstarch to thicken the juices, so don’t chase color alone.
Cooling Long Enough to Slice Cleanly
Let the pie cool for at least an hour before cutting into it. If you slice too soon, the filling will run because it hasn’t had time to tighten as it settles. A warm pie is still good, but a cooled pie gives you that thick, spoonable filling that stays in the slice instead of pooling on the plate.
How to Adapt This Pie for Different Pans, Diets, and Shortcuts
Gluten-Free Crumble Topping
Swap the all-purpose flour for a good 1:1 gluten-free baking blend. The topping stays crisp and crumbly, though it may brown a touch faster, so watch the last 10 minutes closely. Keep the oats certified gluten-free if that matters for your kitchen.
Using Store-Bought Pie Dough
A refrigerated crust works fine here and saves time without changing the filling at all. Let it come to room temperature just enough to fit the pan cleanly, then keep the shell chilled before filling it. A cold crust helps the bottom hold up better once the apples start releasing juice.
Making It Less Sweet
Reduce the granulated sugar in the filling by a couple of tablespoons if your apples are naturally sweet, especially with Honeycrisp or Fuji. The pie still bakes up with enough flavor because the crumble topping brings plenty of brown sugar. Go too far, though, and the filling starts tasting flat rather than balanced.
Storage and Reheating
- Refrigerator: Store covered for up to 4 days. The topping softens slightly, but the flavor stays strong.
- Freezer: Freeze baked pie slices tightly wrapped for up to 2 months. The texture of the topping changes a little after freezing, but it still reheats well.
- Reheating: Warm slices in a 325F oven until heated through. Microwaving makes the crumble soft, so use the oven if you want the topping to stay crisp.
Questions I Get Asked About This Recipe
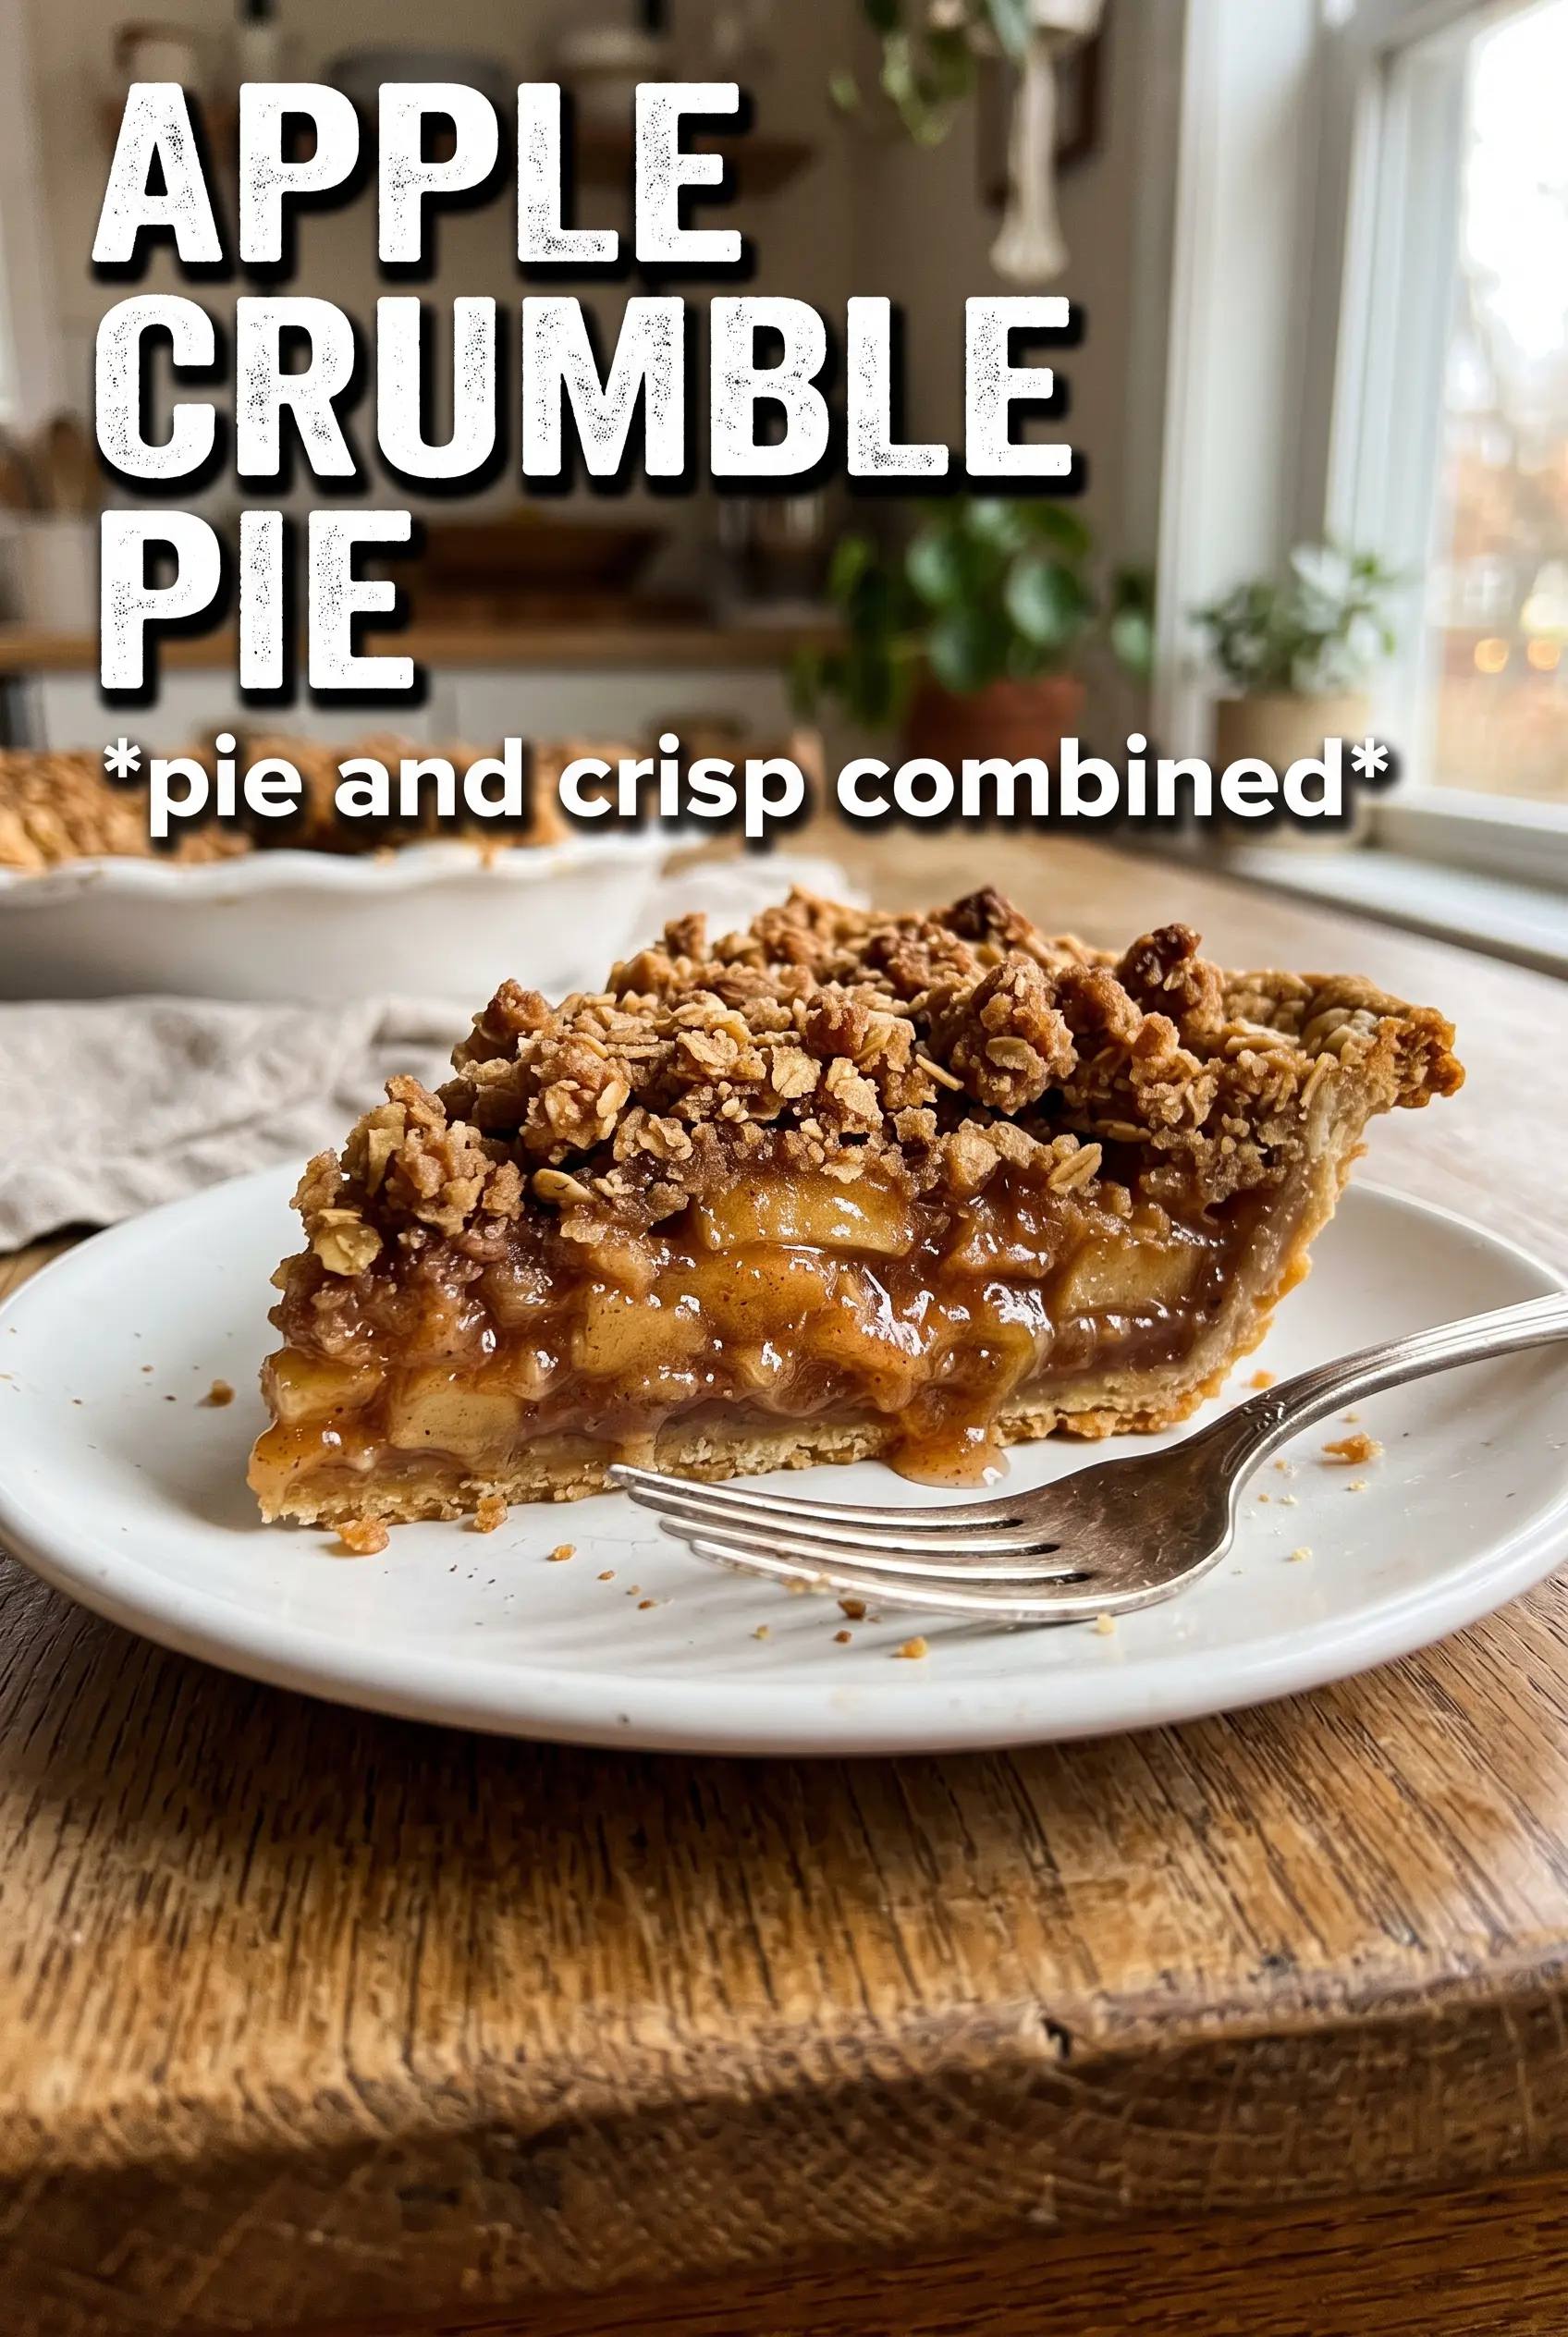
Apple Crumble Pie
Ingredients
Equipment
Method
- Preheat the oven to 375F. Fit the unbaked 9-inch pie shell into a 9-inch pie dish and crimp the edges.
- Toss the sliced apples with granulated sugar, cinnamon, nutmeg, cornstarch, and lemon juice. Pile the mixture into the unbaked shell, mounding slightly.
- Combine rolled oats, all-purpose flour, brown sugar, cinnamon, and salt in a bowl. Cut in the cold unsalted butter until chunky clumps form.
- Scatter the oat crumble topping over the apple filling. Cover generously so the apples are fully cloaked by the crumble.
- Bake at 375F for 55-65 minutes until the crumble is deeply golden and the filling bubbles through. Bake on a sheet pan for easier handling.
- Tent the pie with foil after 35 minutes if the topping browns too quickly. Continue baking until the full time is reached.
- Cool the pie at least 1 hour before slicing. This sets the filling for neat wedges and less runniness.


