Apple dump cake comes out with exactly the kind of contrast people keep coming back for: bubbling cinnamon apples underneath, and a crisp, buttery cake top that turns golden and crackly in the oven. It’s the kind of dessert that looks humble going in and disappears fast once it hits the table, especially when the spoon breaks through the top and finds that soft fruit layer underneath.
The trick is keeping the layers separate. The apple filling goes down first, the dry cake mix stays on top, and the butter slices cover as much of that surface as possible so the cake mix can bake into a proper crust instead of staying powdery. A pinch of nutmeg rounds out the apples without making the filling taste heavy, and the optional nuts add a little extra crunch if you want more texture.
Below, I’ll show you the one part that matters most if you want the top to bake evenly, plus a few smart swaps and storage notes for making this dessert work with what you already have.
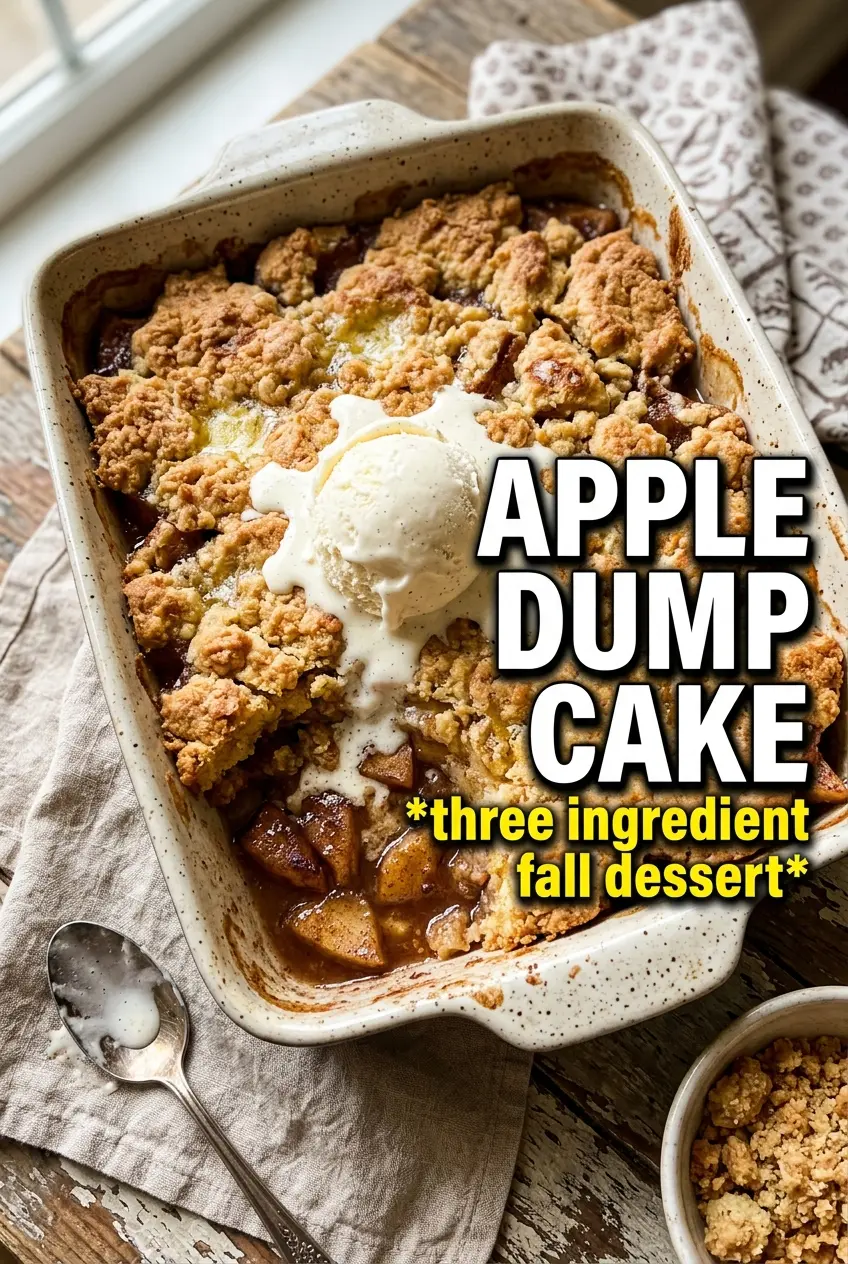
The butter slices melted across the whole top and the cake baked into a crisp layer instead of getting dry spots. I served it warm with ice cream and every bite had those bubbling apples underneath.
Save this apple dump cake for the nights when you want bubbling apple filling, a crisp buttery top, and barely any cleanup.
The Part That Keeps the Top Crisp Instead of Sandy
Dump cakes fail when the dry mix is left with bare patches. Those spots stay powdery, and the finished dessert can taste dusty instead of buttery and baked. The butter has to cover as much of the surface as possible, because it melts down through the cake mix and helps it transform into a crisp, tender topping.
Don’t stir the layers together. That’s the whole point of this dessert. If you mix the cake mix into the apples, you lose the contrast between the soft filling and the baked top, and the texture turns more like cobbler batter than dump cake. The filling should bubble around the edges before you pull it from the oven, and the top should look deeply golden with a few darker buttery spots.
What the Ingredients Are Doing in This Cake
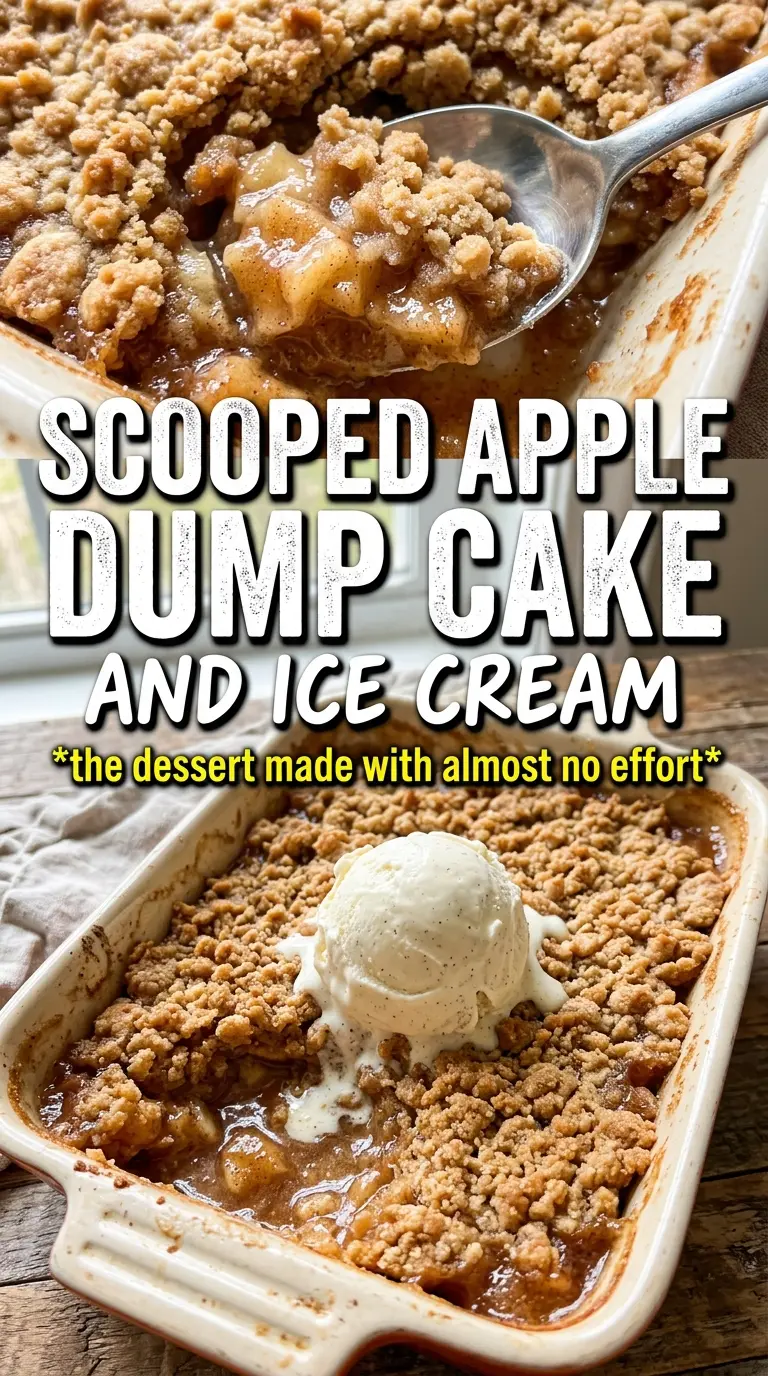
- Apple pie filling — This gives you the sweet, thick fruit base without any peeling or chopping. If you want a little more texture, stir in a handful of diced fresh apple with the filling, but the canned version is what makes this fast and dependable.
- Yellow or spice cake mix — Yellow cake mix gives a buttery, simple topping. Spice cake mix pushes the dessert further toward warm baking spices and is the better choice if you want a deeper apple-pie feel.
- Butter — Thin slices work better than pouring melted butter because they distribute more evenly over the dry mix. If you leave gaps, you’ll get dry floury patches on top, so cover the surface as completely as you can.
- Pecans or walnuts — Optional, but they add a toasted crunch that plays well against the soft apples. Chop them small so they don’t block the butter from reaching the cake mix below.
- Cinnamon and nutmeg — These sharpen the apple filling and keep it from tasting flat. A little nutmeg goes a long way; too much and it starts to overpower the fruit.
How to Layer It So It Bakes Evenly
Building the Apple Base
Spread the apple pie filling in an even layer across the bottom of a greased 9×13 baking dish, then stir in the cinnamon and nutmeg right there in the pan. That keeps the spice distributed without dirtying another bowl. The filling should cover the base from edge to edge so the topping bakes against fruit instead of bare glass, which helps prevent dry spots underneath.
Leaving the Cake Mix Alone
Pour the dry cake mix evenly over the apples and don’t stir. Use a spoon or your hands to spread it into the corners and across the entire surface, because any clumps will bake up unevenly. If you see thick piles in one area and thin patches in another, the top won’t crisp at the same rate.
Covering Every Dry Patch with Butter
Lay the thin butter slices over the dry cake mix in a single layer, overlapping slightly if needed. This is the stage that makes or breaks the texture. The butter should touch as much of the surface as possible so the cake mix absorbs moisture and turns into a crisp topping instead of staying sandy and pale. If there are obvious dry islands, tuck a few extra slices there before baking.
Baking Until the Edges Bubble
Bake at 350°F for 40 to 45 minutes, until the top is deeply golden and the apple filling is bubbling around the edges. Don’t pull it too early just because the top looks colored; the bubbling edges tell you the fruit is hot all the way through. Let it rest for about 10 minutes before serving so the filling settles slightly and doesn’t run everywhere when you scoop it.
How to Adapt This for Different Crowds and Diets
Gluten-Free Dump Cake
Use a certified gluten-free yellow cake mix and keep the rest of the recipe the same. The texture stays close to the original, though some gluten-free mixes bake a little more delicate, so watch for deep golden edges rather than relying only on time.
Spice Cake for a Deeper Apple Pie Flavor
Swap the yellow cake mix for spice cake mix if you want the dessert to taste more like apple pie filling under a crumbly streusel top. This version leans warmer and more aromatic, and you can reduce the nutmeg a touch if you don’t want the spices to compete.
Nut-Free Version
Leave out the pecans or walnuts entirely and the dessert still bakes up beautifully. If you want extra crunch without nuts, sprinkle a handful of coarse sugar on the buttered top during the last 10 minutes of baking for a little sparkle and crispness.
Storage and Reheating
- Refrigerator: Store covered for up to 4 days. The top softens in the fridge, but the flavor holds well.
- Freezer: It freezes decently, though the topping loses some of its crispness. Wrap portions tightly and freeze for up to 2 months, then thaw overnight in the fridge.
- Reheating: Warm individual portions in the oven at 325°F until heated through. The microwave works in a pinch, but it softens the topping fast, so the oven is the better choice if you want some crunch back.
Questions I Get Asked About This Recipe
Apple Dump Cake
Ingredients
Equipment
Method
- Preheat oven to 350F and grease a 9x13 baking dish. Make sure the oven reaches temperature before baking.
- Spread apple pie filling across the bottom of the dish and stir in cinnamon and nutmeg. Keep the layer even so the filling bubbles uniformly around the edges.
- Dump the dry cake mix evenly over the apple filling and do not stir. Aim for a level, dry top with no gaps in the mix.
- Arrange thin slices of unsalted butter in a single layer over the entire surface of the dry cake mix. Cover every inch so the top crisps and browns.
- Scatter chopped pecans or walnuts over the top if using. Distribute them lightly for added crunch without clumping.
- Bake for 40-45 minutes until the top is deeply golden and crispy and the apple filling is bubbling around the edges. Watch for a crisp, browned surface and active bubbling at the perimeter.
- Serve warm with vanilla ice cream. Let the ice cream melt slightly so it soaks into the cake-crumble edges.


