Apple fritter bread bakes up with the best parts of a bakery fritter without the frying: a soft, buttery crumb, pockets of cinnamon-spiced apples, and a sweet glaze that settles into the top while the loaf is still warm. The contrast is what makes it hard to stop at one slice. You get a tender quick bread with caramelized apple flavor in every bite, and the loaf holds together cleanly enough to slice thick for breakfast or snack time.
What makes this version work is the cooked apple filling. Raw apples can leak moisture into the batter and leave you with a soggy center, but a quick skillet cook drives off some of that liquid and concentrates the cinnamon-brown sugar flavor before it ever goes into the pan. The batter itself stays simple and sturdy, with butter for richness, milk for a soft crumb, and just enough leavening to lift the loaf without making it airy like cake.
Below, I’ve included the small details that matter most: how to keep the apples from sinking, why the swirl should stay gentle, and what to change if you want a dairy-free or gluten-free version that still tastes like apple fritter bread.
The apple filling thickened up perfectly, and the loaf sliced cleanly even with all that glaze on top. I made it on Sunday and it stayed moist for breakfast all week.
Save this apple fritter bread for the mornings when you want cinnamon apples, a soft loaf crumb, and a thick vanilla glaze in one slice.
The Trick Is Cooking the Apples First
The biggest mistake with apple fritter bread is folding raw diced apples straight into the batter. They release moisture as they bake, and that extra liquid can leave the center dense and the apples oddly separate from the crumb. Cooking the filling first with butter, brown sugar, and cinnamon solves that problem by softening the fruit and reducing the juices into a sticky layer that behaves like filling instead of wet fruit.
That quick skillet step also deepens the flavor. The brown sugar melts into the apples, the cinnamon blooms in the butter, and the filling tastes more like the inside of a warm fritter than a plain apple loaf. Cool it completely before layering, though, or it can melt the batter and drag the apples toward the bottom of the pan.
What Each Ingredient Is Actually Doing in This Loaf
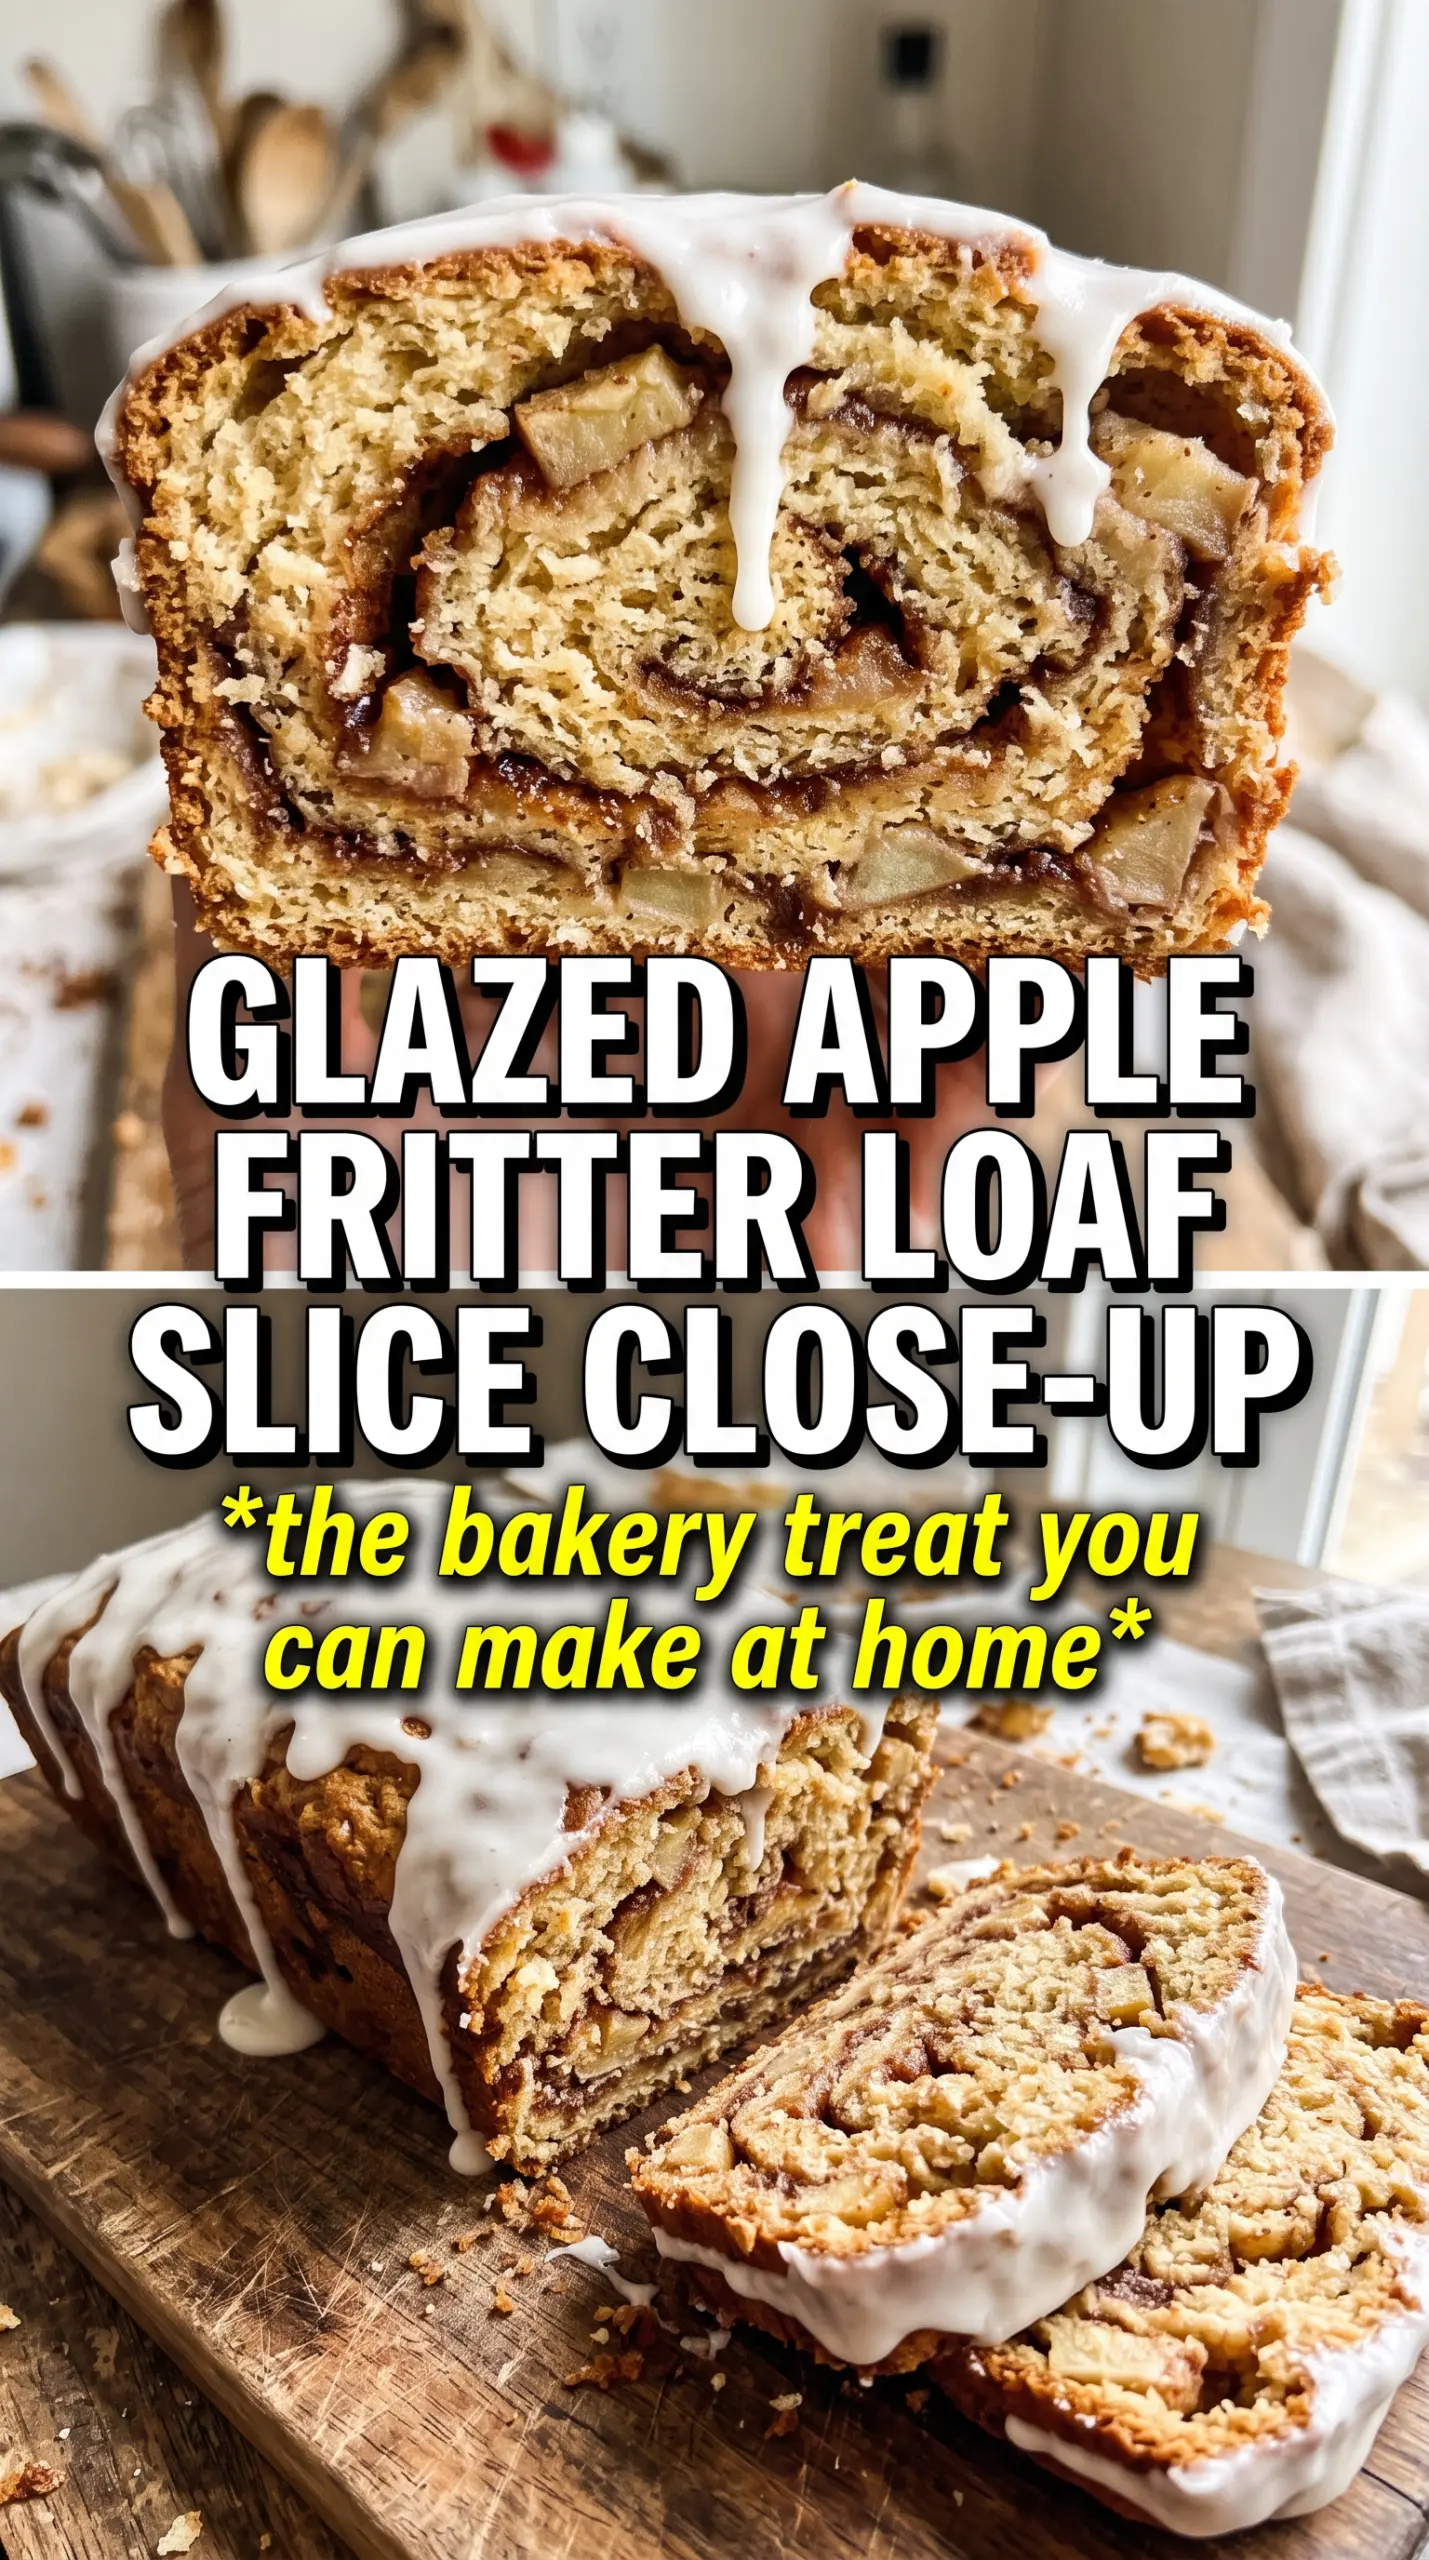
- Apples — Use a firm baking apple that holds its shape when cooked, like Granny Smith, Honeycrisp, or a mix. Softer apples can turn to applesauce in the pan and blur the filling instead of giving you distinct bits of fruit.
- Brown sugar in the filling — This gives the apples that cooked, caramel-like taste you expect from fritters. White sugar won’t bring the same depth or stickiness.
- Butter — Butter is doing two jobs here: it softens the filling and enriches the batter. If you use margarine, the loaf will lose some of that bakery-style richness and the crumb can taste flatter.
- Whole milk — The fat in whole milk helps keep the bread tender. Lower-fat milk works in a pinch, but the loaf won’t have quite the same soft, plush texture.
- Powdered sugar glaze — The glaze should be thick enough to drizzle slowly, not pour like milk. Too thin and it disappears; too thick and it sits on top in a dry layer instead of settling into the loaf.
Building the Loaf Without Losing the Swirl
Cooking the Apple Layer
Start the apple mixture in a skillet and cook it just until the apples soften and the liquid looks syrupy. You are not trying to break them down completely; the pieces should still hold their shape so the filling reads as apples, not jam. Let it cool all the way before adding it to the batter, because warm filling will thin the batter and make the layers slide together.
Mixing the Batter
Cream the butter and sugar until the mixture looks lighter in color and slightly fluffy. That step traps air and gives the loaf a better lift than stirring everything together in one bowl. Add the eggs one at a time, then alternate the dry ingredients with the milk so the batter stays smooth; if you dump everything in at once, it can turn heavy and streaky.
Layering and Swirling
Spread half the batter in the pan, then add the cooled apple mixture in an even layer before topping it with the rest of the batter. Use a knife for just a few gentle swirls; if you overdo it, the filling disappears into the loaf and you lose the pretty ribboning. The goal is distinct pockets of cinnamon apple running through a tender crumb, not a fully mixed batter.
Baking and Glazing
Bake until a toothpick comes out clean from the center, with no wet batter clinging to it. If the top browns too quickly before the middle is done, lay a loose piece of foil over the loaf for the last 10 to 15 minutes. Let it cool for about 15 minutes before glazing so the glaze clings instead of melting straight off the sides.
How to Adapt This for Different Diets and Baking Situations
Dairy-Free Version
Use a good plant butter in both the filling and the batter, then swap the milk for an unsweetened non-dairy milk with some body, like oat milk. The bread still bakes up tender, though the flavor will be a little less rich than the original.
Gluten-Free Swap
Replace the all-purpose flour with a 1:1 gluten-free baking blend that includes xanthan gum. The loaf will still be soft, but it may be a touch more delicate when warm, so let it cool fully before slicing.
Make It More Like a True Fritter Finish
For a sweeter bakery-style finish, add a second glaze drizzle after the first one sets. That gives the loaf a more obvious fritter look and a little extra sweetness on the top crust without changing the texture inside.
Storage and Reheating
- Refrigerator: Store covered for up to 4 days. The glaze will soak in a little more by day two, which actually makes the crumb taste even more apple-cake-like.
- Freezer: This bread freezes well without the glaze. Wrap the cooled loaf tightly, freeze for up to 2 months, and glaze after thawing for the freshest finish.
- Reheating: Warm slices briefly in the microwave or toaster oven until just heated through. Heat too long and the bread dries out before the glaze softens.
Questions I Get Asked About This Recipe
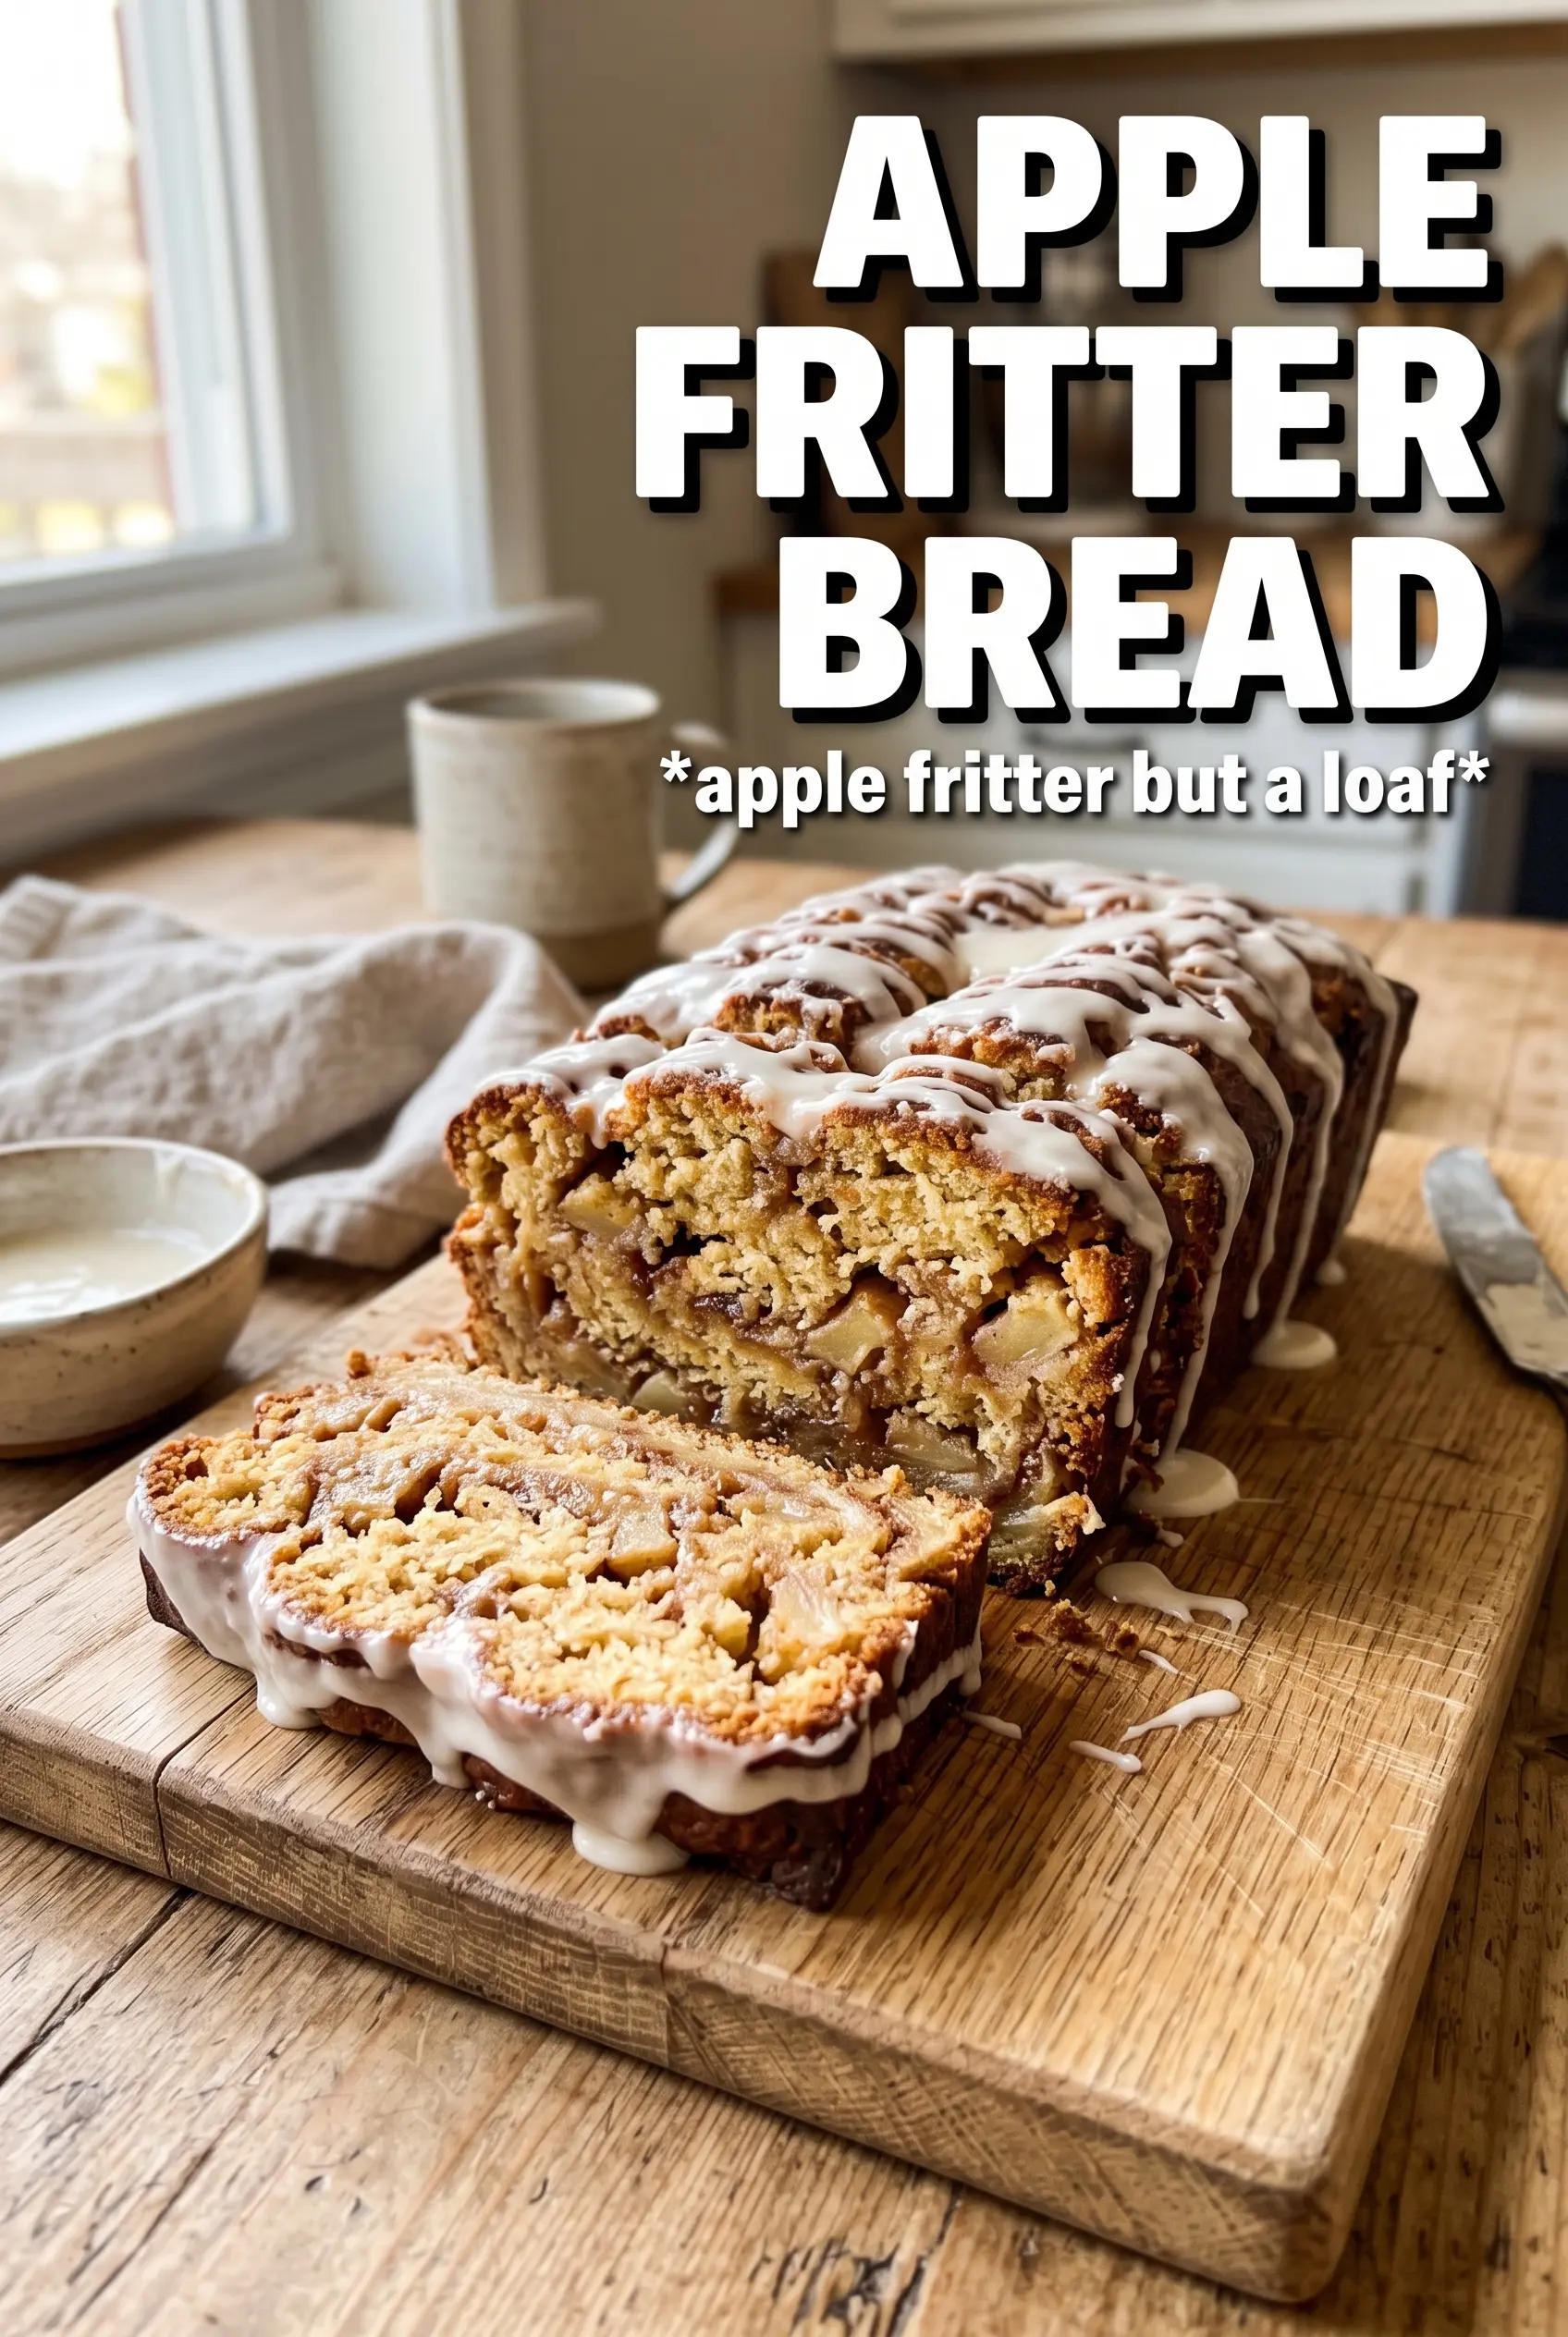
Apple Fritter Bread
Ingredients
Equipment
Method
- Preheat the oven to 350F, then grease a 9x5 loaf pan so the loaf releases easily.
- Cook the diced apples with butter, brown sugar, and cinnamon in a skillet for 5 minutes until softened, then cool completely.
- Beat the softened butter and granulated sugar until fluffy, with lighter color and a thicker texture.
- Add the eggs and vanilla extract, mixing until smooth and well combined.
- Whisk together the flour, baking powder, baking soda, salt, and cinnamon, then alternate adding the dry mixture and whole milk to the butter mixture until just combined.
- Pour half the batter into the loaf pan.
- Layer all the cinnamon-apple filling over the batter.
- Top with the remaining batter, then swirl gently with a knife to create a ribboned swirl through the loaf.
- Bake for 55-60 minutes at 350F until a toothpick comes out clean, then cool the loaf for 15 minutes.
- Drizzle generously with the vanilla glaze while the loaf is still warm enough for the glaze to soak in slightly.


