Apple slab pie is the kind of dessert that disappears fast because it gives you everything people want in a fruit pie: buttery crust, tender spiced apples, and enough slices to feed a crowd without juggling a stack of tin pie plates. The sheet-pan shape changes the whole experience. You get more crisp edges, a thinner layer of filling, and easy rectangular pieces that hold together when served.
What makes this version work is the balance between moisture and structure. The apples are tossed with cornstarch so the juices turn glossy instead of runny, and the filling stays inside the crust instead of leaking across the pan. A quick egg wash and cinnamon sugar on top gives the pastry a deep golden finish and a little crunch, while the glaze goes on after the pie cools so it sets in thin ribbons instead of soaking in.
Below, I’ve included the details that matter most: how to keep the bottom crust from going soggy, which apples hold their shape best, and the small sealing trick that keeps the top crust from slipping while it bakes.
The crust stayed crisp on the bottom and the apples baked into a soft, sliceable layer instead of turning watery. I used the glaze after it cooled and it set up perfectly for clean squares.
Save this Apple Slab Pie for the days when you need a flaky, crowd-size dessert with crisp edges and a cinnamon glaze.
The Reason the Bottom Crust Stays Crisp Instead of Soggy
A slab pie gives you a longer bake than a standard pie, but the filling is spread thinner, which helps the apples cook through before the crust overbrowns. The real trick is the fork-pricked bottom crust and the cornstarch in the filling. Those two details work together: the crust vents steam from below while the starch turns the apple juices into a thick filling instead of a puddle.
If your usual fruit pie comes out watery, the problem is usually one of two things. The apples were too juicy, or the filling went in without enough thickener to catch the liquid they release as they bake. Here, the apple layer is shallow enough to cook evenly, and the top crust seals the moisture in long enough for the cornstarch to do its job.
- Pricking the bottom crust keeps trapped air from puffing the pastry and creating weak spots.
- Cornstarch thickens the fruit juices as they heat, so the filling slices cleanly after cooling.
- Thin apple slices bake at the same pace, which prevents hard pieces from hiding inside a soft filling.
What Each Ingredient Is Actually Doing in This Pie
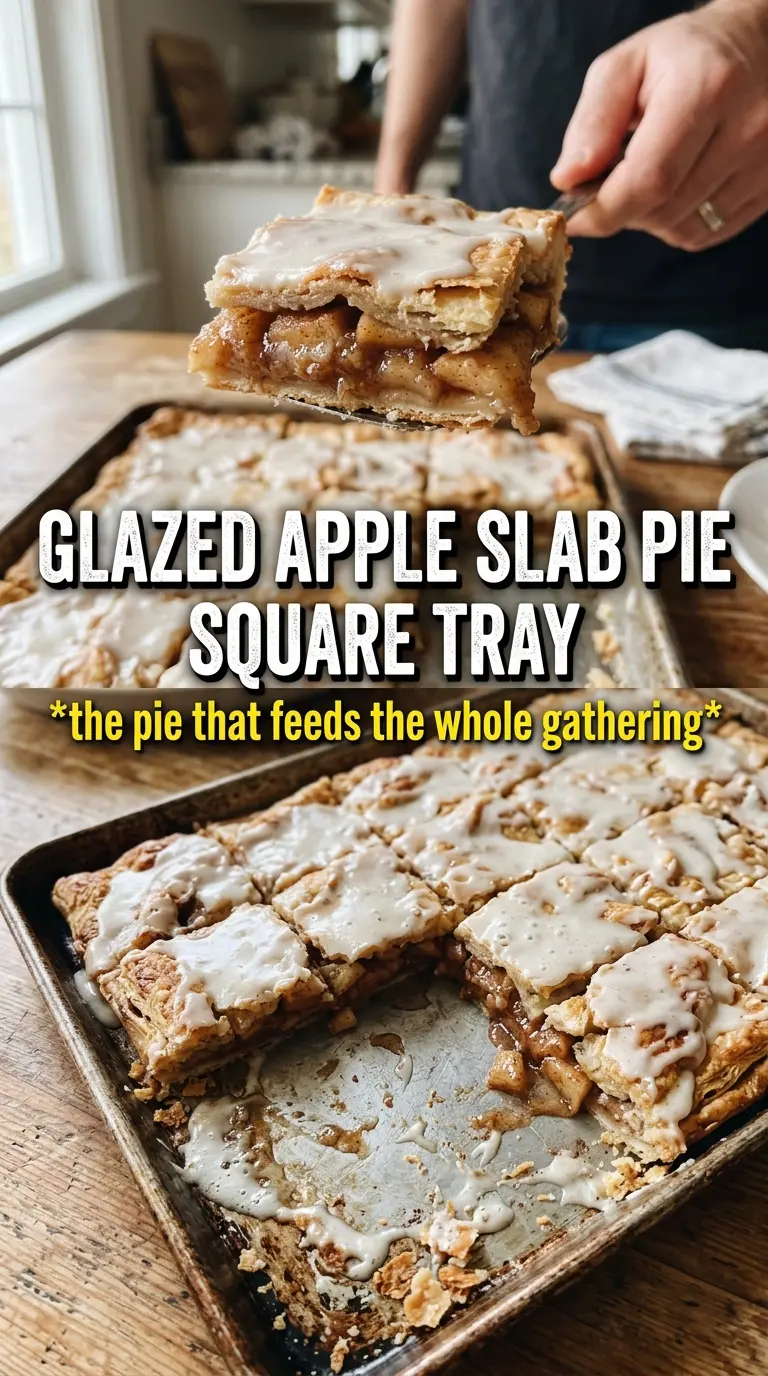
- Refrigerated pie crusts keep this practical, and they bake up beautifully in a sheet pan as long as you press the seams together firmly. Homemade works too if you want extra flavor, but chilled dough is easier to handle and less likely to shrink.
- Apples carry the whole filling, so use a mix that holds shape, like Honeycrisp, Braeburn, or Granny Smith blended with a sweeter apple. Very soft apples turn mushy and make the pie slump when sliced.
- Cornstarch is the thickener that keeps the filling from running. Flour can work in a pinch, but it gives a cloudier, heavier filling and needs more time to lose its raw taste.
- Lemon juice keeps the apples bright and balances the sugar. It also helps the fruit taste more like apples and less like sweet sauce.
- Butter melts into the fruit and adds richness in little pockets. Those diced bits help the filling taste rounder without making it greasy.
- Egg wash and cinnamon sugar create the glossy, crackly top that makes the pie look finished. Skip the wash and the crust will bake up paler and softer.
- Powdered sugar glaze gives the pie that bakery finish once it cools. Add the liquid slowly so it stays drizzle-thick instead of turning thin and disappearing into the crust.
Building the Pie So the Crust and Filling Finish at the Same Time
Pressing the Base Without Overworking It
Lay two crusts into the greased 15×10 pan and press the seam where they meet, but don’t knead them together like bread dough. You want one continuous sheet, not a tough crust. If the dough tears, patch it with a small piece and press it gently; extra handling is what makes pie crust chewy instead of flaky.
Mixing the Apples While the Oven Preheats
Toss the sliced apples with both sugars, spices, cornstarch, and lemon juice until every slice looks lightly coated. The mixture will look dry at first, then turn glossy as the sugar starts pulling moisture from the fruit. Spread it over the crust right away so the apples don’t sit and dump liquid in the bowl before they bake.
Sealing the Top and Venting the Steam
Set the remaining crusts over the apples, press the seams, and crimp the edges well enough that the filling can’t bubble out along the sides. Brush on the egg wash, then cut steam vents before the pie goes into the oven. If you forget the vents, steam will look for its own exit and usually split the top crust in the weakest spot.
Baking Until the Filling Bubbles Through
Bake until the top is a deep golden color and you can see the filling bubbling through the vents. That bubbling matters more than the timer because it tells you the cornstarch has thickened the juices. Pulling it too early leaves you with loose filling that runs when you cut the pie.
Cooling Before the Glaze Goes On
Let the pie cool before drizzling the glaze, or it will melt straight into the crust. A warm pie is still setting, and that’s how you lose the clean slice. Once it’s cool enough to handle, the glaze stays on top in bright white ribbons instead of disappearing into the sugar and butter below.
How to Adjust This Pie for Different Kitchens and Different Crowds
Use homemade crust for a richer, flakier result
Homemade pie dough gives you more butter flavor and a little more lift at the edges. It does take more chilling and rolling, so the tradeoff is time and a slightly more fragile dough to move into the pan.
Make it dairy-free without losing the structure
Swap the butter for a plant-based butter and brush the top with dairy-free milk instead of egg wash if needed. The crust still browns well, though the shine will be a little softer and less glossy than the original.
Use a gluten-free pie crust only if it’s sturdy enough for a sheet pan
A gluten-free crust can work, but it needs to be one that rolls and bakes without cracking badly when moved. Handle it cold and expect a more delicate edge, especially where the top and bottom crust are sealed together.
Bake ahead for a party and slice when fully cool
This pie is easier to cut neatly after it has cooled all the way, which makes it a strong make-ahead dessert. If you need perfect rectangles for serving, bake it earlier in the day and glaze it once the surface is no longer warm.
Storage and Reheating
- Refrigerator: Store covered for 3 to 4 days. The crust softens a little, but the filling stays sliceable.
- Freezer: Freeze baked slices tightly wrapped for up to 2 months. Thaw in the fridge so the crust doesn’t turn soggy from condensation.
- Reheating: Warm slices in a 325F oven for about 10 minutes. The microwave works, but it softens the crust and makes the glaze sticky instead of set.
Questions I Get Asked About This Recipe
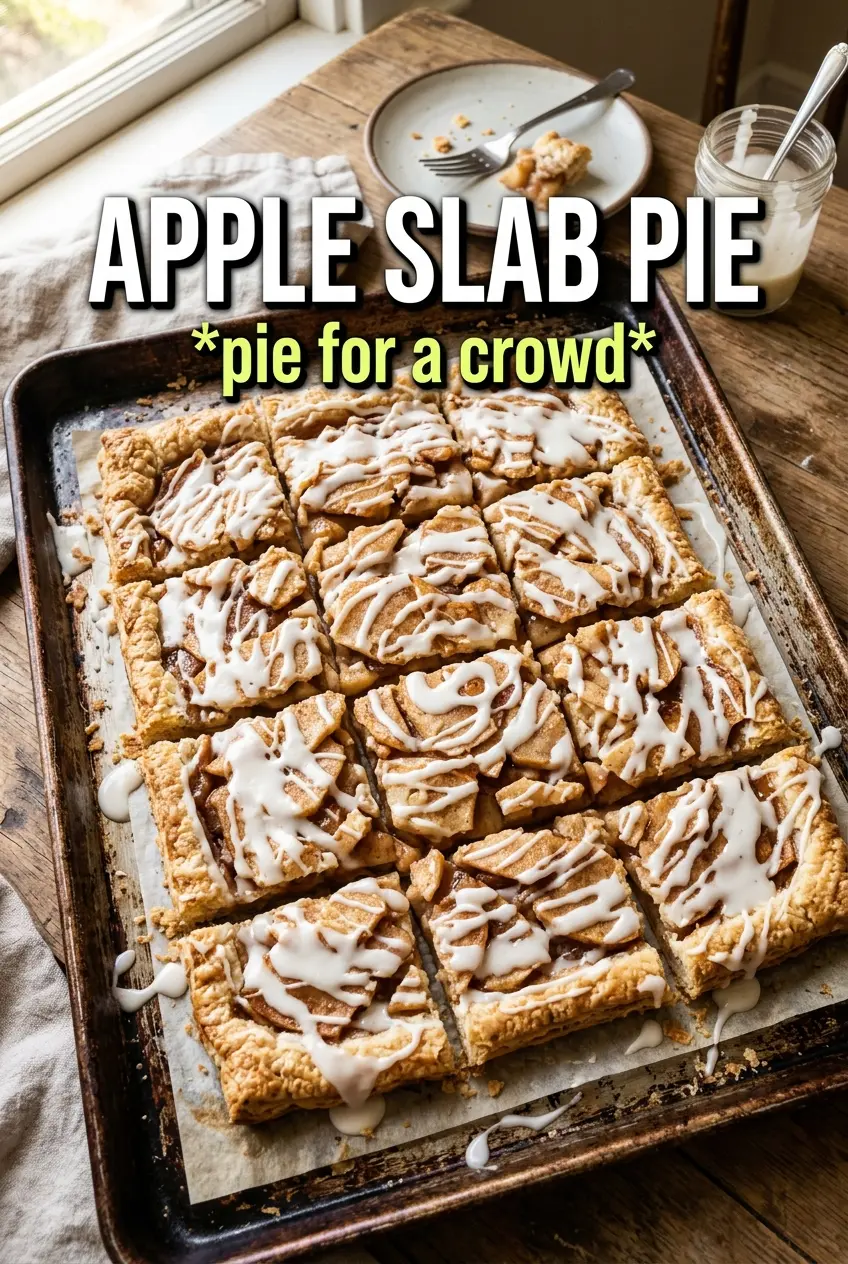
Apple Slab Pie
Ingredients
Equipment
Method
- Preheat the oven to 400°F and line up a 15x10 rimmed baking sheet so it’s ready to bake the slab pie.
- Lightly grease the 15x10 rimmed baking sheet, then press two pie crusts together to fit and prick the bottom all over with a fork.
- In a large bowl, toss the apple slices with granulated sugar, brown sugar, cinnamon, nutmeg, allspice, cornstarch, and lemon juice until evenly coated.
- Spread the apple filling over the crust in an even layer, then dot the top with the diced butter.
- Press the remaining two pie crusts together to cover the filling, crimp the edges to seal, and form a closed slab pie.
- Brush the top with the beaten egg, sprinkle with the cinnamon sugar, and cut a few steam vents so the filling can bubble through.
- Bake for 40-45 minutes at 400°F until the crust is golden and the filling is visibly bubbling through the vents.
- Let the slab pie cool, then drizzle with the powdered sugar glaze once cool for clean slices.


