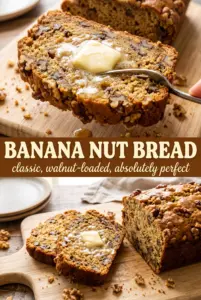
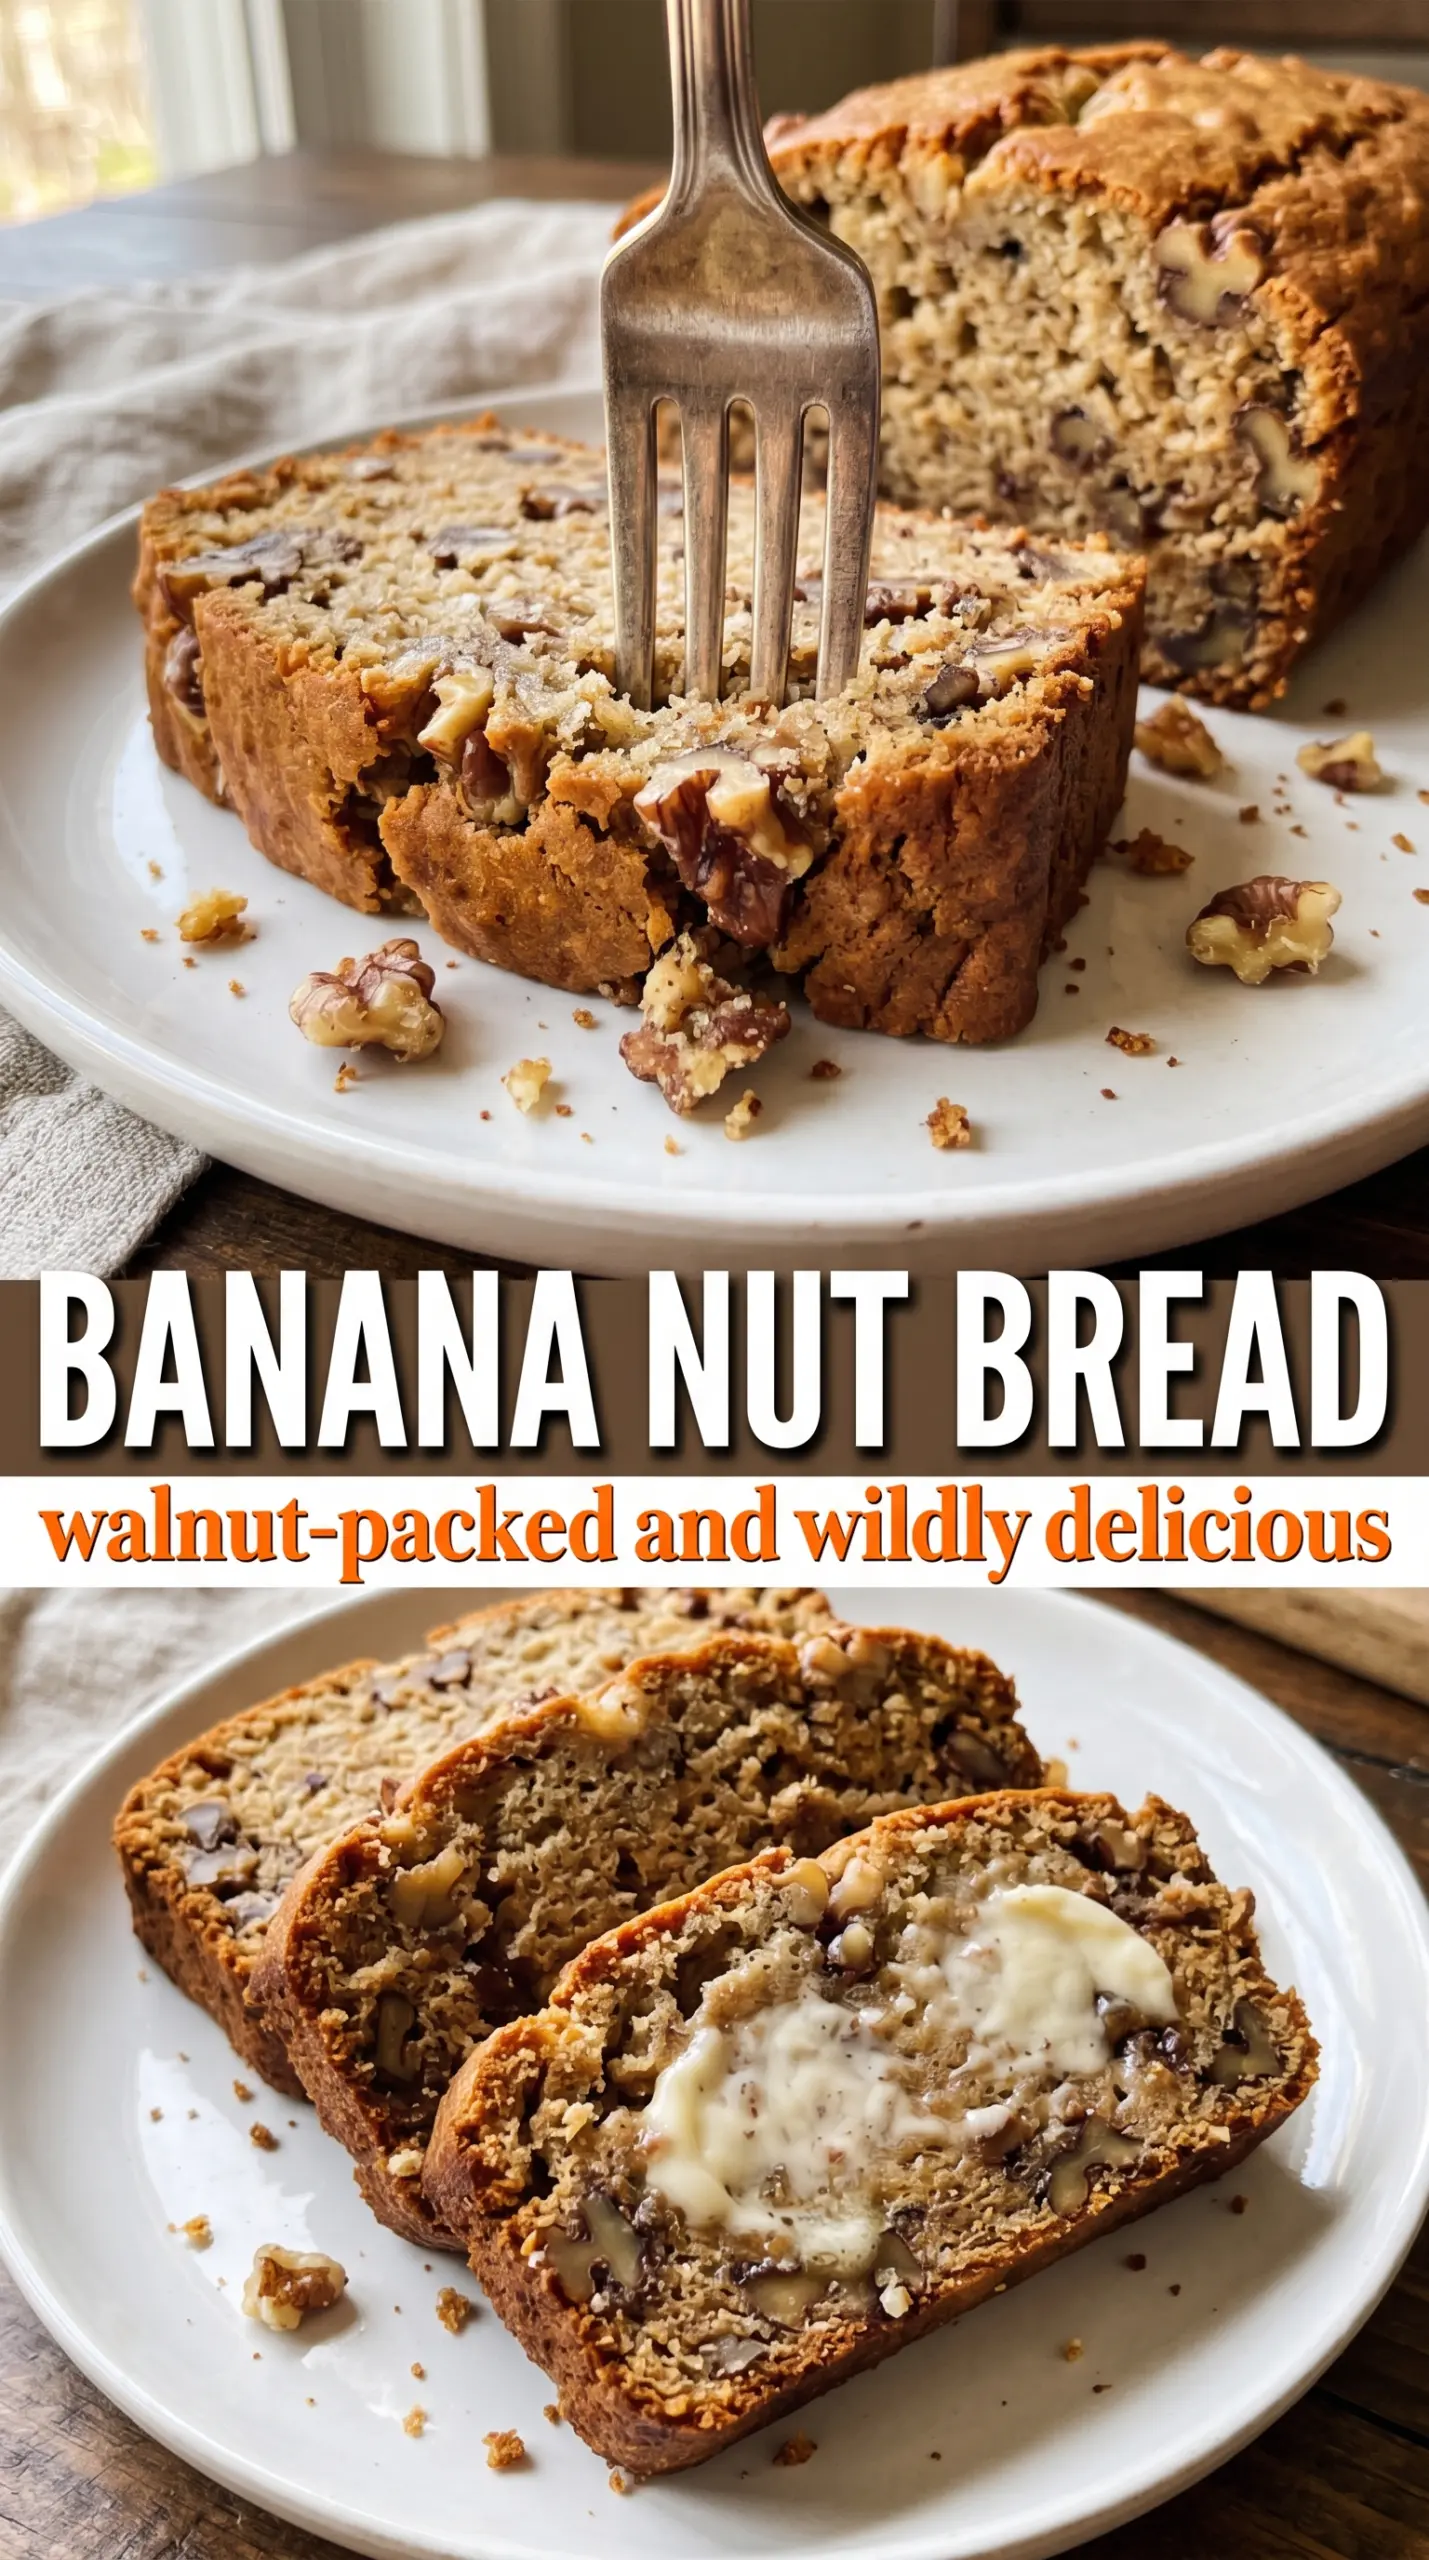
Banana nut bread earns its place because it stays moist for days, slices cleanly, and gives you that deep banana flavor without tasting heavy or gummy. The walnuts do more than add crunch; they keep each bite moving between soft crumb, toasted edges, and those caramelized pockets on top that make a loaf worth reaching for before it’s fully cool.
The trick is using bananas that are past the pretty stage, the kind with dark spots and soft centers that mash almost into a puree. Melted butter keeps the crumb tender, while a short mix after the flour goes in prevents the loaf from turning dense. If you’ve ever had banana bread that sank in the middle or baked up wet, it was usually because the batter was overmixed or the loaf came out before the center had a chance to set.
Below, I’ve included the one step that matters most for getting a moist loaf with a proper rise, plus a couple of ways to adapt it depending on what you have on hand. The small details make this kind of simple baking turn out like something you’d happily make again the next week.
The loaf came out with a soft, moist crumb and the walnuts stayed crunchy on top instead of sinking. I baked it for 63 minutes and the center set perfectly without drying out.
Save this banana nut bread for the days when you want a moist loaf with a caramelized top and crunchy walnuts in every slice.
The Secret to Banana Bread That Stays Moist Instead of Heavy
The difference between a tender loaf and a squat, damp one usually comes down to two things: how ripe the bananas are and how long the batter gets mixed. Bananas should be soft enough that they mash without resistance, because that extra ripeness brings sweetness, moisture, and a stronger banana flavor without needing a lot of added sugar. If the bananas are still firm, the loaf can taste flat and bake up dry at the edges before the center is done.
Once the flour goes in, stop as soon as the dry streaks disappear. Overmixing wakes up the gluten in the flour, which gives you a tougher crumb and can make the middle bake up dense instead of plush. The walnuts also help here because they break up the batter just enough to keep the texture interesting, especially if you leave some pieces on top for a toasted finish.
What Each Ingredient Is Actually Doing in This Banana Nut Bread
- Bananas — Use bananas with deep brown speckles or even mostly black skins. Those are softer, sweeter, and mash into the kind of thick puree that gives the loaf its moisture. If yours aren’t ripe enough, you’ll taste it in the finished bread.
- Melted butter — This keeps the crumb tender and gives the loaf a richer, more bakery-style flavor than oil alone. You can swap in neutral oil if that’s what you have, but the bread will taste a little less round and buttery.
- Sugar — It sweetens the loaf and helps the top caramelize into that golden crust. If you cut it too far, the bread bakes up paler and less tender.
- Eggs — They bind the batter and help the loaf rise into a sliceable crumb. Room temperature eggs mix in more smoothly, but cold eggs still work here.
- All-purpose flour — This gives the loaf structure without making it cakey. Spoon it into the measuring cup and level it off so you don’t accidentally pack in too much, which is one of the fastest ways to end up with a dry loaf.
- Baking soda — It reacts with the acidity in the bananas and helps the bread rise. Don’t swap it for baking powder; the loaf won’t brown or lift the same way.
- Cinnamon — Just enough to warm the flavor without turning this into spice bread. It works quietly in the background and makes the bananas taste more banana-y.
- Walnuts — Chop them roughly so you get both little bits and bigger crunchy pieces. Toasting them first deepens the flavor, but even raw walnuts work if you’re in a hurry.
How to Mix, Fill, and Bake the Loaf So the Center Sets Properly
Building the Banana Base
Start by whisking the melted butter, sugar, eggs, and vanilla into the mashed bananas until the mixture looks glossy and loose. A few small banana lumps are fine, but the batter should feel cohesive before you add the dry ingredients. If the butter is too hot, it can scramble the eggs, so let it cool for a minute or two after melting.
Adding the Flour Without Toughening the Crumb
Sprinkle in the flour, baking soda, salt, and cinnamon, then fold gently until the last dry streak disappears. The batter should look thick but still soft enough to pour. This is the point where people usually overwork it, especially if they’re trying to smooth out every lump, and that’s how banana bread turns rubbery.
Finishing with Walnuts and Pan Time
Fold in most of the walnuts, then scatter the rest over the top so they toast in the oven and give the crust a little texture. Bake until the loaf is deeply golden and a toothpick in the center comes out clean or with just a few moist crumbs. If the top browns before the middle is done, tent it loosely with foil for the last 10 to 15 minutes rather than pulling it early.
Cooling Before You Slice
Let the loaf sit in the pan for 10 minutes, then turn it out onto a wire rack. That short rest helps it set so it doesn’t break apart, but leaving it in the pan too long traps steam and softens the crust. Slice only after it’s cooled enough that the crumb stops steaming, or the texture will seem gummy even when it’s baked through.
Three Ways to Adjust This Banana Nut Bread Without Ruining the Texture
Make It Dairy-Free
Swap the butter for melted coconut oil or a neutral oil. Coconut oil adds a light sweetness, while neutral oil keeps the flavor closer to classic banana bread. The crumb will still be moist, though butter gives the loaf a slightly richer finish.
Make It Gluten-Free
Use a 1:1 gluten-free baking flour that includes xanthan gum. The loaf will still rise and slice nicely, but don’t expect the exact same chew as regular flour. Mix only until combined, since gluten-free batters can get gummy fast if they’re overworked.
Swap the Nuts
Pecans work just as well as walnuts and give the loaf a softer, sweeter crunch. If you want a nut-free version, leave them out and add an extra 2 to 3 tablespoons of flour so the batter doesn’t bake up too loose. The bread will still be moist, just a little simpler in texture.
Storage and Reheating
- Refrigerator: Store tightly wrapped for up to 5 days. The crumb firms up a little in the fridge, but the flavor holds well.
- Freezer: This freezes well. Wrap the whole loaf or individual slices in plastic, then foil, and freeze for up to 3 months.
- Reheating: Warm slices in a toaster oven or low oven until just heated through. Microwaving for too long makes the crumb rubbery, so use short bursts if that’s your only option.
Answers to the Questions Worth Asking

Banana Nut Bread
Ingredients
Equipment
Method
- Preheat the oven to 350°F and grease a 9x5 loaf pan.
- Set the loaf pan on a sheet pan so it bakes evenly and catches any overflow.
- Whisk the melted butter, sugar, eggs, and vanilla into the mashed bananas until well combined.
- Fold in the all-purpose flour, baking soda, salt, and cinnamon until just combined.
- Fold in 3/4 cup of the walnuts, leaving streaks of batter so you don’t overmix.
- Pour the batter into the prepared pan and scatter the remaining walnuts across the top.
- Bake for 60–70 minutes until deeply golden and a toothpick inserted in the center comes out clean.
- Cool in the pan for 10 minutes before turning out onto a wire rack.