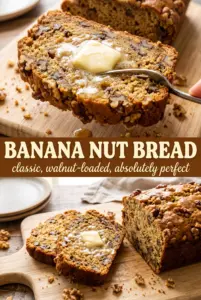
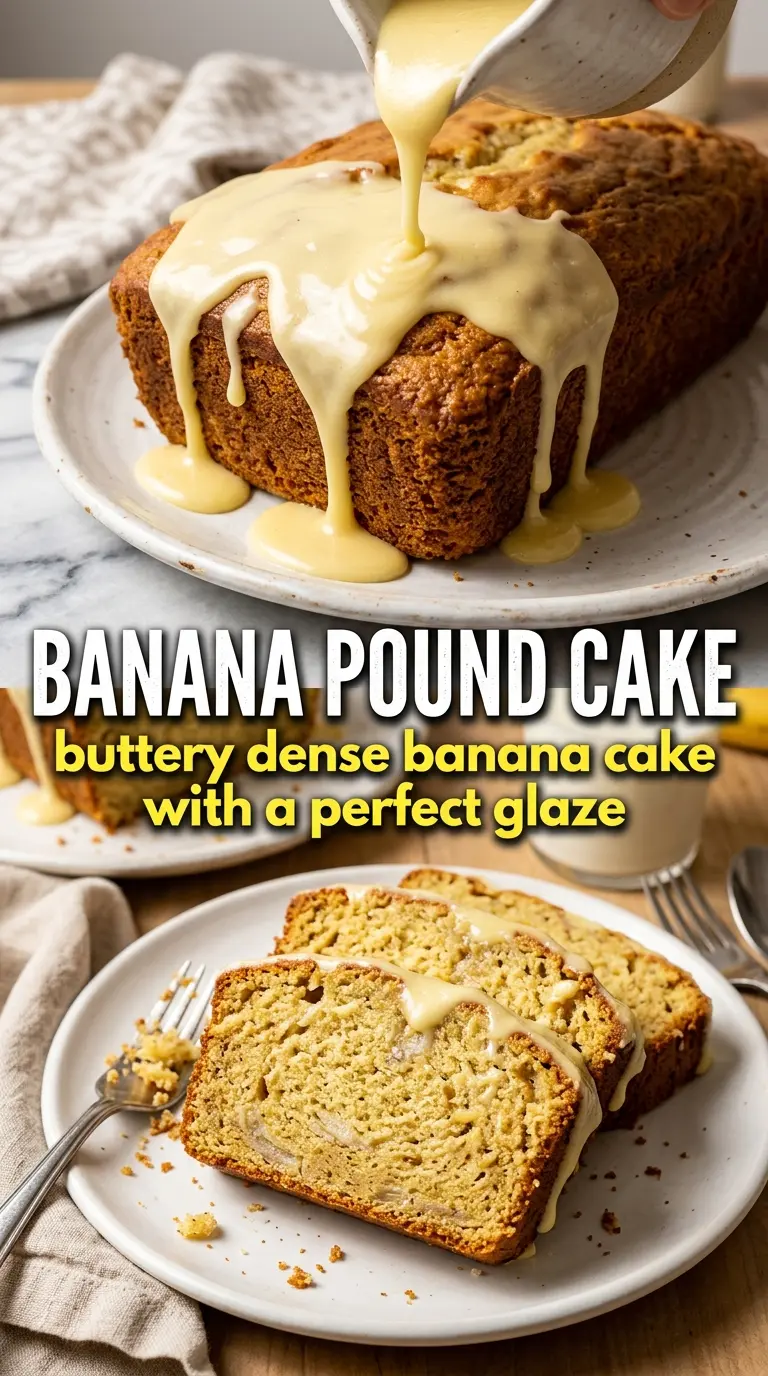
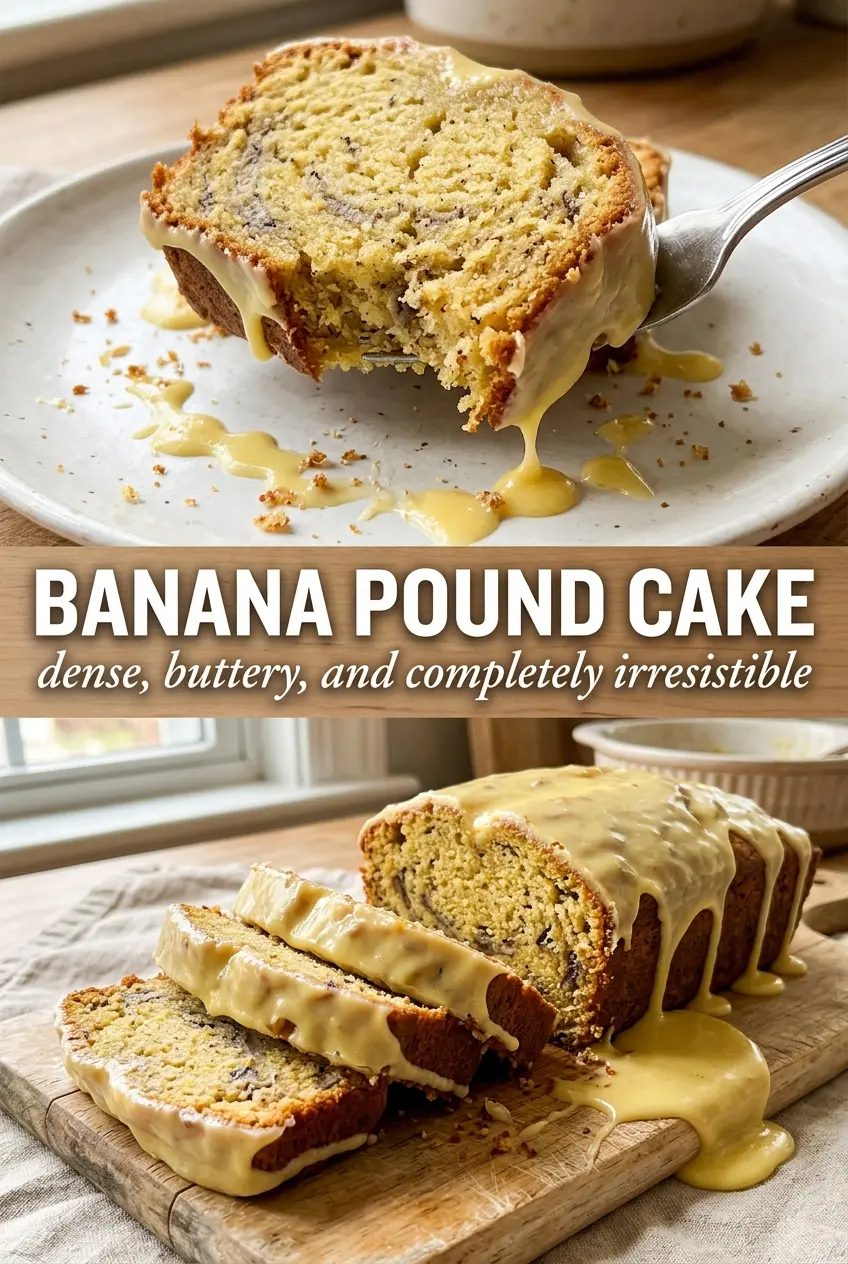
Banana pound cake has a way of disappearing faster than a standard loaf because it lands right in the middle of two good things: the deep, buttery crumb people expect from a true pound cake and the mellow sweetness of ripe bananas. The outside bakes up with a caramelized crust, while the center stays dense and velvety, almost like a cross between a classic loaf cake and a rich bundt. Sliced cold, it holds together cleanly. Served a little warm, the vanilla glaze melts into the top and makes every bite taste finished.
The key here is restraint. Too much banana and the cake turns gummy; too little and you lose the point. Three ripe bananas give enough flavor without flooding the batter, and the sour cream keeps the crumb tender while the butter-and-sugar base builds that fine, tight texture pound cake is known for. The long mix time on the butter and sugar matters too. That’s where the cake gets its lift before the eggs and bananas go in.
Below, I’ve included the part that matters most when baking this style of cake: how to avoid a dense center that sinks, how to tell when it’s baked through, and a few smart ways to adjust it if you want to bake it as a loaf, bundt, or freezer-friendly dessert.
The crumb came out so tight and buttery, and the banana flavor was there without making the center heavy. I baked it in a bundt pan and the glaze set up just enough that every slice looked neat and clean.
Save this banana pound cake for the days when you want a dense, buttery slice with a caramelized crust and a simple vanilla glaze.
The Butter-and-Banana Balance That Keeps This Cake From Turning Heavy
Banana pound cake fails when the batter gets overloaded with fruit or undermixed before the eggs go in. Bananas add moisture, which is welcome up to a point, but too much and the crumb turns wet and pasty instead of velvety. The goal is a cake that tastes clearly of banana without baking up like banana bread in pound cake clothing.
The long creaming step is doing more than just mixing. Five full minutes with the butter and sugar whips in air, which gives the cake structure before the bananas and sour cream add weight. If you rush that step, the cake will still taste fine, but it won’t have that close, elegant crumb that slices cleanly.
- Bananas: Use ripe bananas with plenty of brown spots. They should mash easily and smell sweet, but don’t use bananas that are leaking liquid; that extra moisture works against the pound-cake texture.
- Sour cream: This is what keeps the crumb tender without thinning the batter. Plain full-fat Greek yogurt works in a pinch, but sour cream gives a softer, richer finish.
- Butter: Softened butter matters here because it needs to trap air during creaming. Melted butter won’t build the same structure, and the cake will bake up denser in a less pleasant way.
- Flour: All-purpose flour is the right choice. Cake flour makes this too delicate, while bread flour pushes it toward chewy.
What Each Ingredient Is Actually Doing in This Banana Bread
- Bananas (the moisture and sweetness) — Use very ripe bananas for maximum sweetness and moisture. Overripe bananas are actually better here.
- Flour (the structure) — Don’t overmix or the bread becomes tough. Mix just until dry ingredients are incorporated.
- Sugar (the sweetness) — Ripe bananas are already sweet, so you might reduce sugar slightly. Adjust to taste.
- Butter or oil (the richness) — This creates tender crumb and carries flavors. Room temperature butter creams better.
- Eggs (the binder and lift) — These hold everything together and help the bread rise. Use room temperature eggs.
- Leavening (baking soda or powder) — This creates rise. Too much makes it taste bitter.
- Vanilla extract (the flavor enhancer) — This brings out the banana flavor. Use quality vanilla extract.
- Optional mix-ins (nuts, chocolate, or dried fruit) — These add texture and prevent the bread from being one-dimensional.
Building the Batter So the Crumb Stays Tight and Velvety
Whipping the Butter and Sugar
Start with butter and sugar in a large bowl and beat them until the mixture turns pale and fluffy, about five minutes. You’re not just combining ingredients here; you’re creating the structure that keeps the cake from collapsing under the weight of the bananas. If the mixture still looks grainy and dense, keep going until it holds soft ridges on the beaters.
Adding the Eggs and Bananas
Add the eggs one at a time and beat well after each one so the batter stays smooth. Once the vanilla and mashed bananas go in, the batter may look slightly curdled, and that’s normal. If it looks broken before the flour is added, don’t panic; the dry ingredients will pull it back together.
Folding in the Dry Ingredients and Sour Cream
Alternate the flour mixture and sour cream in three additions, starting and ending with flour. Mix only until the streaks disappear. Overmixing at this point develops too much gluten, and that’s how a cake like this turns tough instead of tender.
Baking Until the Center Sets
Pour the batter into a well-greased and floured loaf pan or bundt pan and bake at 325°F until the top is deeply golden and a toothpick comes out clean, usually 65 to 75 minutes. The center should spring back lightly when touched, not sink under your finger. If the top browns before the middle is done, lay a loose piece of foil over it for the last stretch of baking.
Three Ways to Bake, Slice, and Serve It Without Losing the Texture
Bake It as a Bundt for a More Dramatic Finish
A bundt pan gives this cake a deeper crust and a more bakery-style look. Grease every curve well and dust it with flour so the cake releases cleanly, because a banana cake with this much sugar loves to cling to decorative pans.
Make It Dairy-Free With a Smart Swap
Use a good plant-based butter and plain dairy-free yogurt in place of the sour cream. The cake will still bake up tender, but the crumb will be slightly less rich and the glaze may need an extra spoonful of milk to reach a pourable consistency.
Turn It Into Thick Slices for Coffee Cake Style Serving
Skip a heavy glaze and dust the cooled cake with powdered sugar instead. That keeps the crust a little drier and gives you cleaner slices, which works well if you want to serve it alongside coffee or tea.
Storage and Reheating
- Refrigerator: Store covered for up to 5 days. The crumb firms up in the fridge, which is normal for a butter-heavy cake.
- Freezer: Freeze whole or in slices, wrapped tightly, for up to 2 months. Thaw overnight in the refrigerator so the glaze doesn’t weep.
- Reheating: Warm individual slices for 10 to 15 seconds in the microwave or a few minutes in a low oven. If you heat it too long, the cake dries out fast and loses that dense, buttery texture.
Answers to the Questions Worth Asking
Banana Pound Cake
Ingredients
Equipment
Method
- Preheat the oven to 325°F, then grease and flour a large loaf pan or bundt pan.
- Beat the butter and sugar together for 5 minutes until very light and fluffy.
- Add the eggs one at a time, beating well after each, then mix in the vanilla extract and mashed bananas.
- In three additions, alternate folding in the flour mixture (with baking soda, baking powder, and salt) and the sour cream.
- Pour the batter into the prepared pan.
- Bake for 65–75 minutes, until a toothpick comes out clean and the top is deeply golden.
- Cool the cake for 20 minutes in the pan, then unmold.
- Drizzle the vanilla glaze over the cooled cake so it runs down the sides.