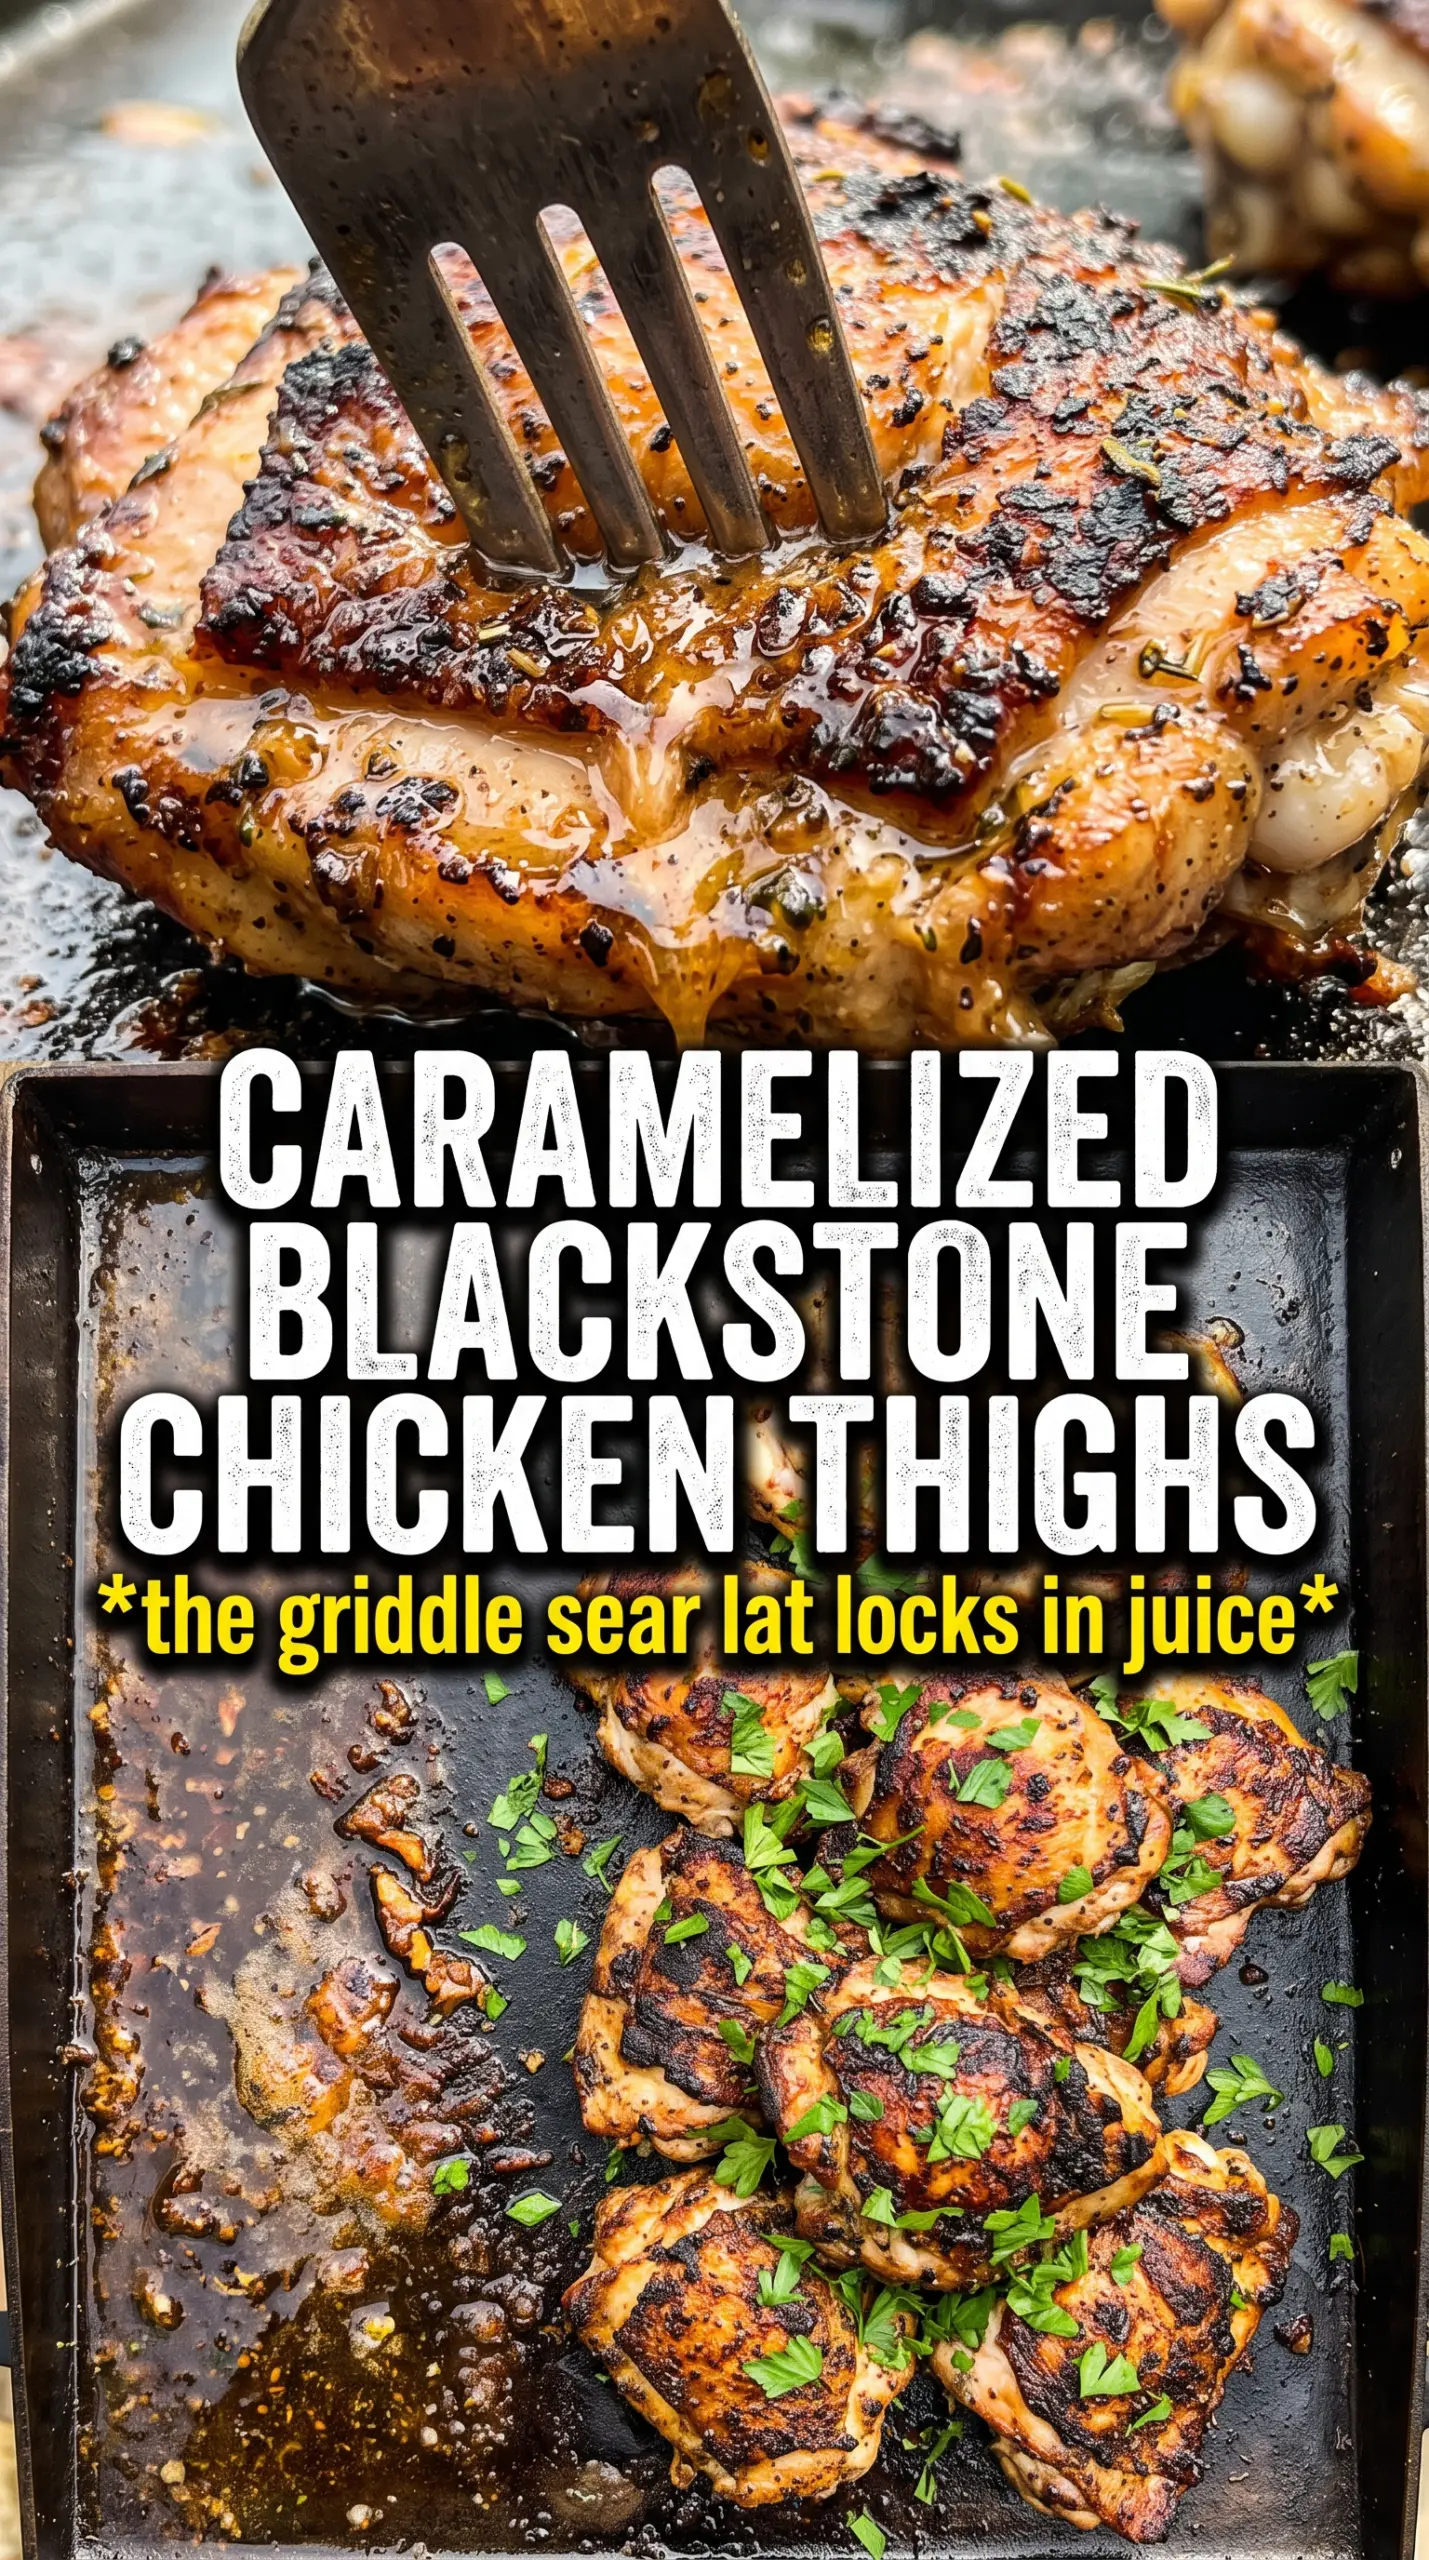
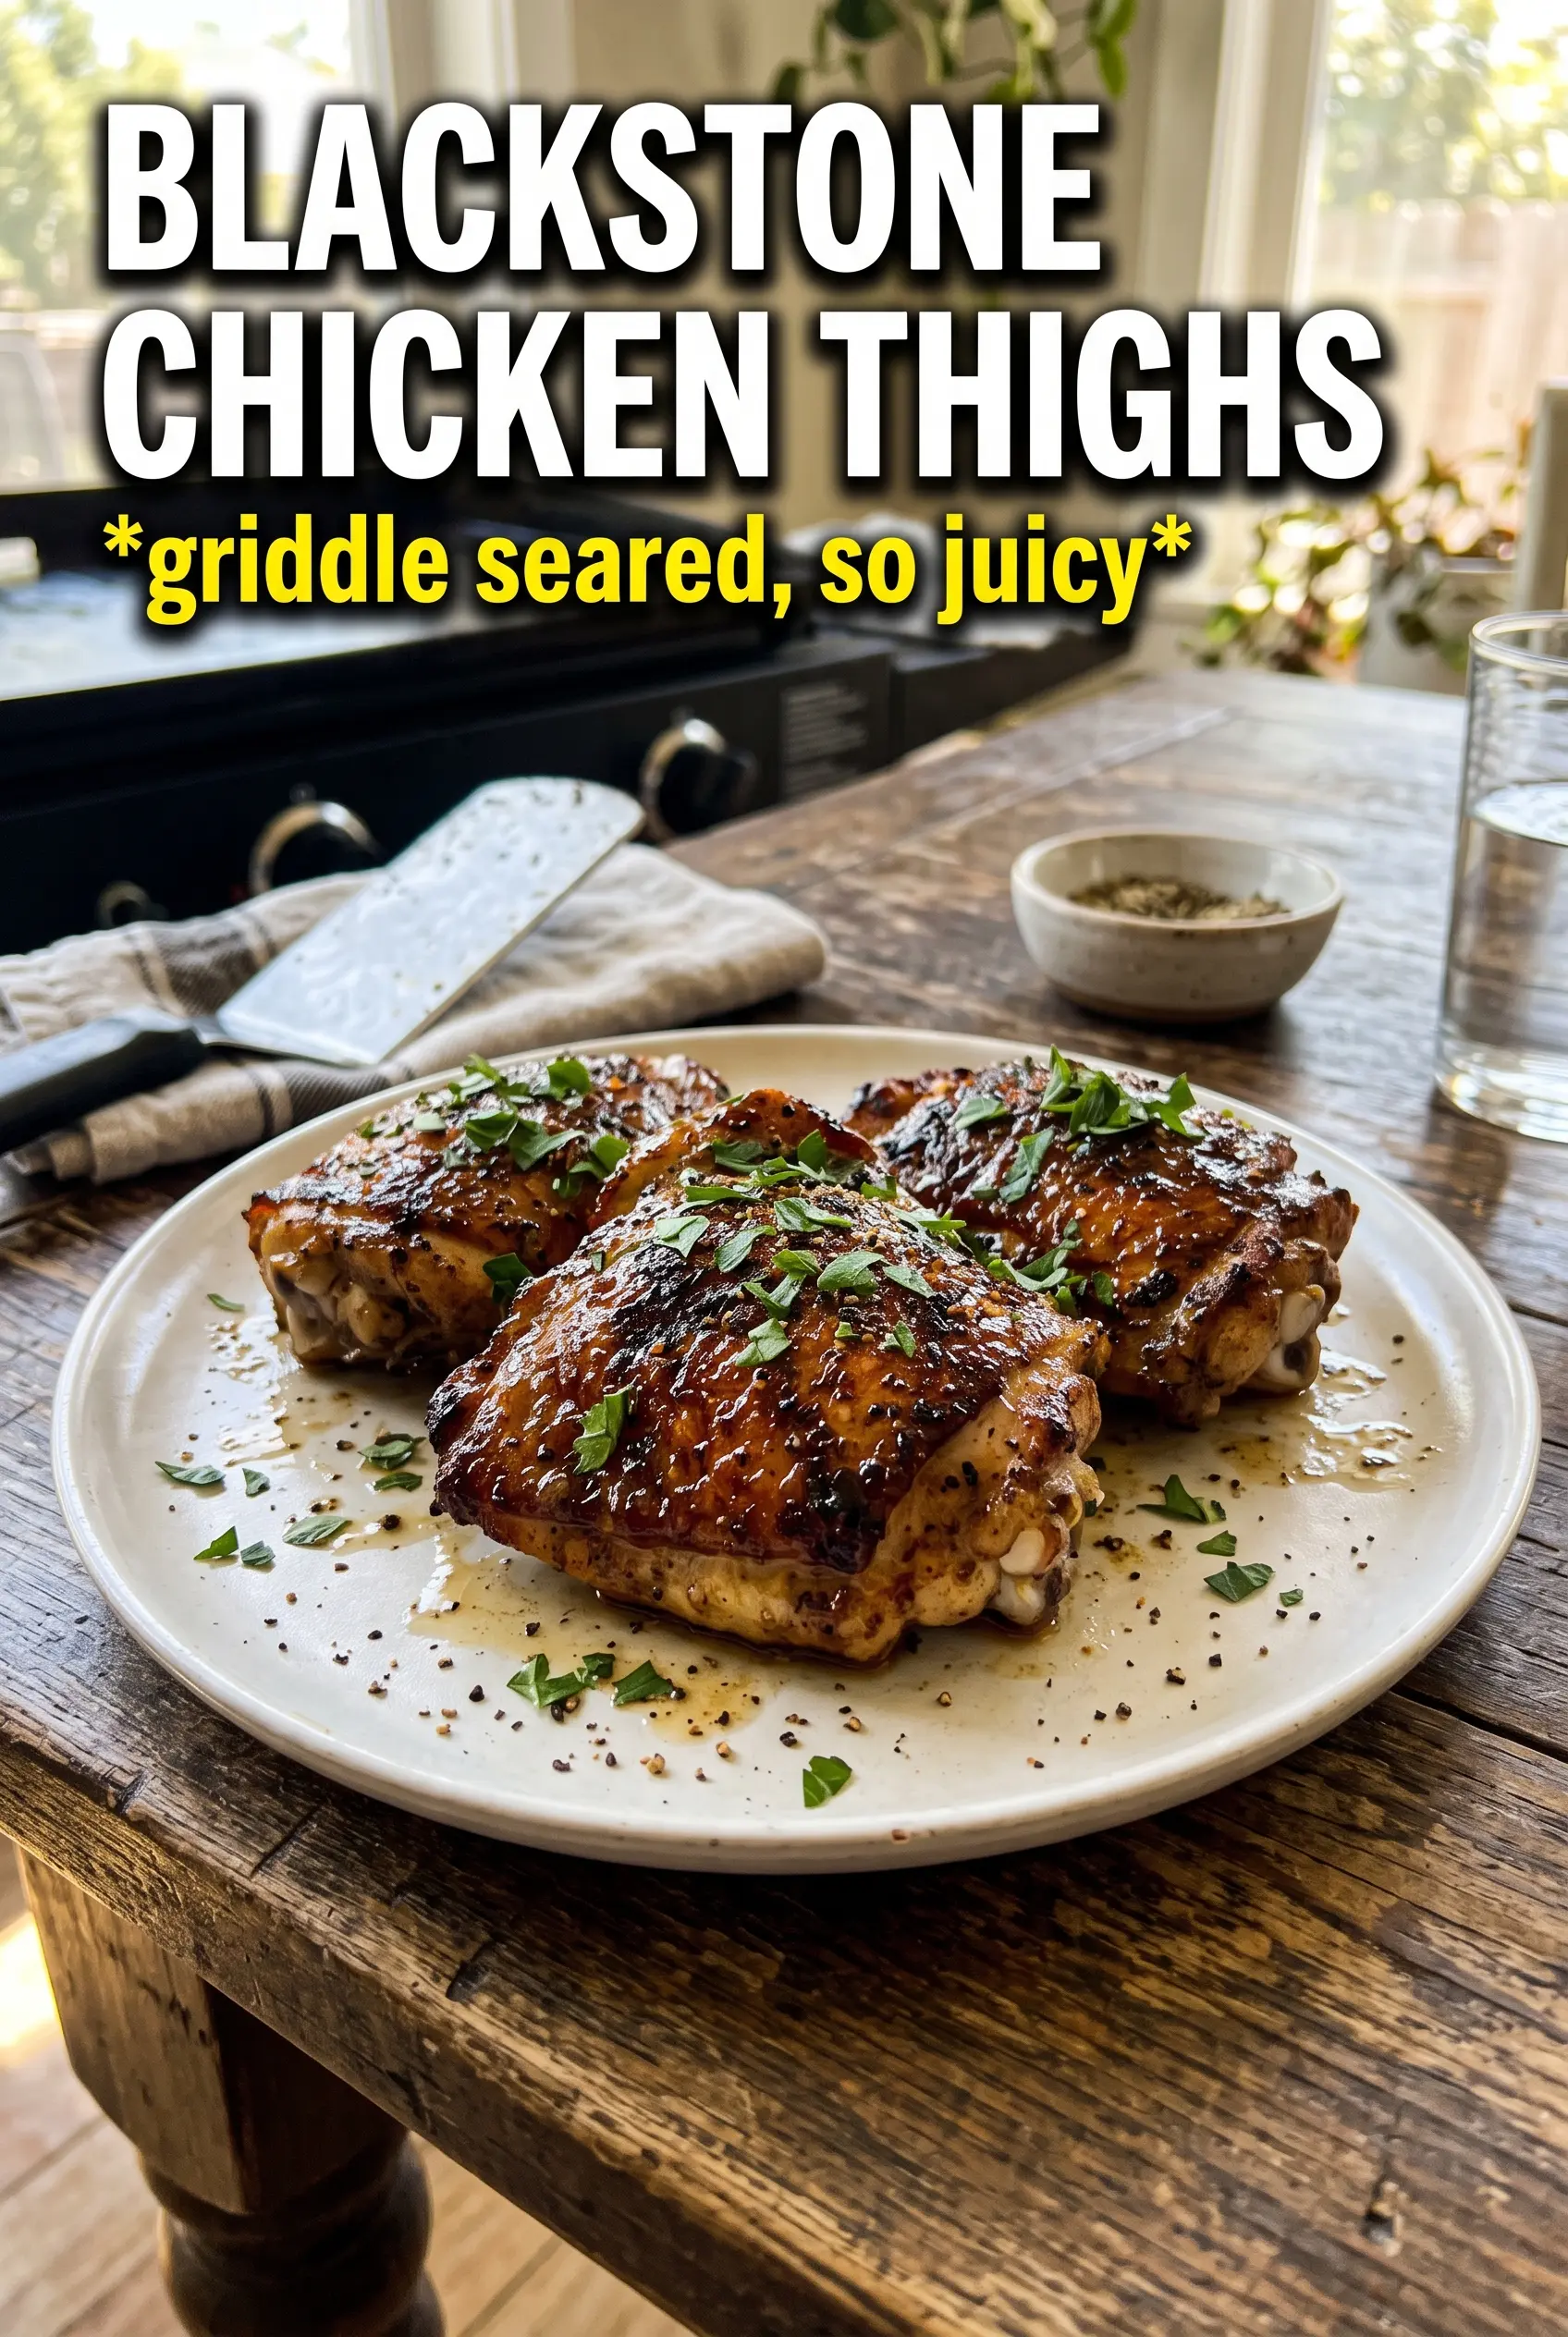
Blackstone chicken thighs hit the griddle with a deep golden crust, juicy centers, and just enough garlic butter to coat every bite without drowning the chicken. The high, even heat of the flat-top gives you the kind of caramelized surface that’s hard to get in a skillet, and thighs stay forgiving even if your timing is a minute off. The result is weeknight dinner with actual texture, not just another pan of pale chicken.
The seasoning here is simple on purpose. Smoked paprika and garlic powder build a savory crust that browns well on the griddle, while a short marinate gives the surface time to absorb the spices before the heat hits. Butter and minced garlic go in at the end, not at the start, so they turn fragrant instead of scorched. That last toss on the griddle pulls all the flavor together and leaves the chicken glossy, not greasy.
Below, I’m walking through the parts that matter most: how to get that flat-top sear without sticking, which ingredient swap actually changes the outcome, and what to do if you want to make these ahead for an easy dinner later.
The chicken got that crisp, caramelized edge on the Blackstone without drying out, and the garlic butter at the end made it taste like I’d done a lot more work than I actually did.
Save these Blackstone chicken thighs for the nights when you want crispy edges, juicy centers, and garlic butter in under 30 minutes.
The Part That Keeps Chicken Thighs Juicy on a Hot Griddle
Chicken thighs handle high heat better than breasts, but the griddle still rewards patience. The first side needs time to set before you flip it; if you move it too early, the seasoning sticks to the metal instead of forming a crust. You’re looking for a deep golden brown bottom that releases on its own. That’s the signal that the surface is ready.
Temperature matters here more than fancy technique. Medium-high on a Blackstone gives you enough heat for browning without burning the garlic powder and paprika in the seasoning blend. If the griddle is smoking hard before the chicken goes on, it’s too hot and the exterior will darken before the thighs cook through.
- Boneless skinless chicken thighs — These stay juicy and tender on a flat-top, which makes them much easier to cook evenly than breasts. If yours are very thick, press them lightly so they make better contact with the surface.
- Vegetable oil — This gives you a clean, high-smoke-point base that helps the chicken sear instead of stick. Olive oil works in a pinch, but it won’t tolerate the heat quite as well.
- Smoked paprika — This is what gives the chicken that darker, grill-style flavor without needing a smoker. Regular paprika will work, but the result is flatter.
- Italian seasoning — It adds herb depth that keeps the seasoning from tasting one-note. If you don’t have it, use a mix of dried oregano and thyme.
- Butter and garlic — These go in at the end because garlic burns fast on a hot griddle. Adding them too early turns the butter bitter and takes away the clean, savory finish.
What Each Ingredient Is Actually Doing in This Recipe
- Primary ingredient (the star) — Quality matters most. Choose the best you can find.
- Cooking medium (oil, butter, or broth) — This carries flavors and prevents dryness.
- Seasonings (salt, pepper, spices, herbs) — Layer flavors so nothing overpowers. Build depth gradually.
- Aromatics (garlic, onion, herbs) — Cook with fat to bloom flavors. Become the foundation.
- Supporting ingredients — Complement the main ingredient without overpowering it.
- Sauce or liquid (if applicable) — Brings flavors together. Balance richness with acid.
- Acid (lemon, vinegar, wine, or other) — Brightens and prevents flat-tasting results.
- Final finish (garnish, glaze, or sauce) — Prevents one-dimensional taste and adds visual appeal.
Getting the Sear Before the Garlic Butter Goes In
Seasoning the Chicken Evenly
Pat the thighs dry first, then coat them with the spice mix on both sides. Dry chicken takes a better crust, and even seasoning keeps one side from tasting heavy while the other tastes bland. Letting the seasoned thighs sit for about 30 minutes gives the salt time to pull a little moisture to the surface and then reabsorb it, which helps the flavor stay in the meat instead of just on top.
Heating the Blackstone the Right Way
Preheat the griddle to medium-high and spread the oil into a thin, even layer. You want the surface hot enough that the chicken sizzles as soon as it lands, but not so hot that the spices scorch in seconds. If the oil is shimmering and the chicken immediately starts to hiss, you’re in the right range.
Leaving the First Side Alone
Put the thighs down and don’t move them for 6 to 7 minutes. That undisturbed time is what builds the crust; poking, sliding, or flipping too soon tears the surface and leaves you with patchy browning. When the edges look opaque and the bottom has that deep golden color, the chicken should release cleanly.
Finishing with Garlic Butter
After the second side cooks through, add the butter and garlic beside the chicken, not directly on top of it at first. Stir until the garlic smells fragrant, then toss the chicken through the butter for about a minute. If the garlic starts to brown hard, pull it off the hot spot immediately; burnt garlic will take over the whole dish.
How to Adapt These Blackstone Chicken Thighs
Make It Dairy-Free
Skip the butter and finish with an extra tablespoon of oil plus a squeeze of lemon. You’ll lose the round, creamy finish from the butter, but the chicken still tastes bright and savory, and the lemon keeps the griddle flavor from feeling heavy.
Swap the Herbs for a Spicier Profile
Replace the Italian seasoning with 1/2 teaspoon cayenne and 1/2 teaspoon chili powder if you want more heat. The chicken will still brown the same way, but the finish becomes sharper and less herbal, so it pairs best with a cool side like slaw or rice.
Use Chicken Breasts Instead
You can swap in boneless skinless breasts, but pound them to an even thickness first and pull them as soon as they hit 165F. Breasts dry out faster than thighs, so the margin for error gets much smaller and the griddle needs a slightly gentler touch.
Storage and Reheating
- Refrigerator: Store leftovers in an airtight container for up to 4 days. The crust softens a little, but the chicken stays moist.
- Freezer: These freeze well for up to 2 months. Wrap tightly and freeze flat, then thaw overnight in the refrigerator before reheating.
- Reheating: Reheat gently in a skillet over medium-low heat with a splash of water or broth and a lid. High heat dries out the thighs and makes the garlic butter taste harsh.
Questions I Get Asked About This Recipe
Blackstone Chicken Thighs
Ingredients
Equipment
Method
- Season the chicken thighs with garlic powder, smoked paprika, onion powder, Italian seasoning, salt, and black pepper, coating all sides evenly. Rest 30 minutes to marinate in the fridge so the seasoning clings and deepens in flavor.
- Preheat the Blackstone griddle to medium-high heat, then add the vegetable oil and spread it evenly across the cooking surface. Wait until the oil is shimmering before placing the chicken down.
- Place the chicken thighs on the griddle and cook undisturbed for 6-7 minutes, until the bottom is deeply golden and caramelized. Keep the heat steady so you build a crust without scorching the spices.
- Flip the chicken thighs and cook for 6-7 more minutes until cooked through to 165°F. Look for a consistent golden-brown crust on the second side as the center finishes.
- Add the unsalted butter and minced garlic to the griddle beside the chicken and cook for 1 minute until fragrant. The garlic should sizzle gently, not brown too quickly.
- Toss the chicken in the garlic butter on the griddle and cook for 1 more minute. Continue to move the thighs briefly so the butter coats the crust evenly.
- Garnish with fresh parsley and serve with lemon wedges. Squeeze a little lemon over the chicken right before eating for bright balance.


