Brown butter banana bread bakes up with a darker crust, a softer crumb, and that deep nutty note that makes an ordinary loaf taste bakery-level. The bananas bring the moisture, but the browned butter is what changes the whole thing. It adds a hazelnut-caramel depth that sits under the banana instead of fighting it, so every slice tastes rounder and richer than standard banana bread.
The trick is giving the butter time to go past melted and into genuinely browned. Once the milk solids turn amber and smell toasty, the loaf picks up a warmth that makes the whole kitchen smell like toasted nuts and caramel. Cooling the butter for a few minutes before mixing matters too, because hot butter can scramble the eggs and change the texture before the batter even hits the oven.
Below, you’ll find the small details that keep this loaf moist without turning gummy, plus the one visual cue I watch for so I know the center is cooked through without drying out the edges.
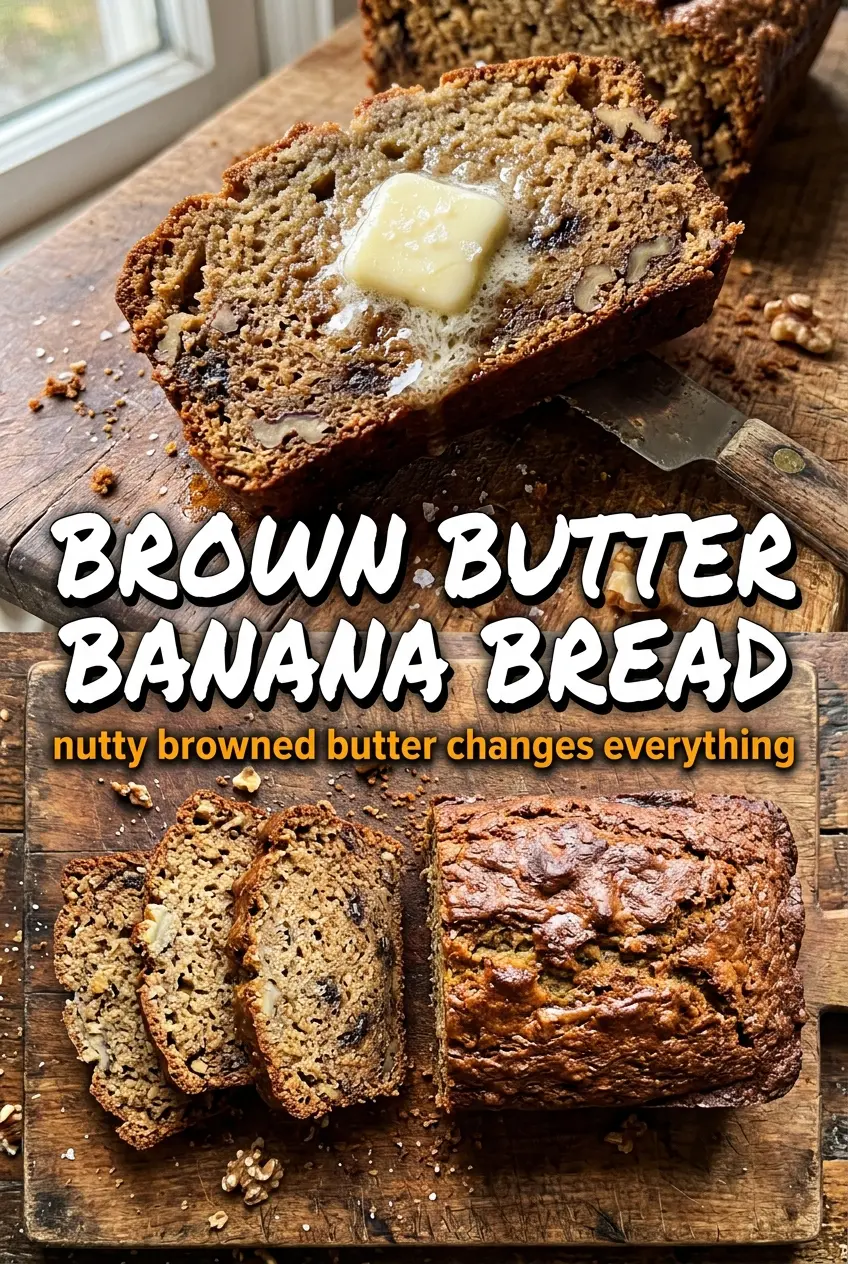
The browned butter made the loaf taste almost caramelized, and the top baked up with that deep golden crust I never get from regular banana bread. Mine was done right at 63 minutes and sliced clean after cooling.
Save this brown butter banana bread for the loaf with the deep golden crust and nutty caramel flavor.
The Part That Makes Brown Butter Banana Bread Taste Bakery-Style
Most banana bread problems start with one of two things: bland fat or overmixed batter. Brown butter fixes the first problem by adding toasted milk solids, which give the loaf a nutty depth plain melted butter can’t touch. The second problem matters just as much. Once the flour goes in, the batter should look a little rough, not glossy and elastic. If you keep stirring, the crumb turns tight and bready instead of tender.
The other detail worth respecting is the cooling time on the browned butter. Hot butter can make the eggs look streaky or partially cook them, and that changes the texture in a way no amount of extra banana can repair. Let it cool until warm, not cold, so it still mixes smoothly with the brown sugar.
- Brown butter — This is the flavor engine. A light-colored pan helps you see when the milk solids turn golden brown. If you use plain melted butter instead, the loaf still works, but it loses that deep nutty edge that makes this version stand out.
- Very ripe bananas — You want bananas with plenty of brown spots, or even nearly black skins. They mash smoothly and bring sweetness plus moisture. Under-ripe bananas make the loaf dull and less fragrant.
- Brown sugar — This reinforces the caramel note from the browned butter and helps the crust bake up darker. White sugar will sweeten the loaf, but it won’t give the same depth.
- Walnuts or chocolate chips — These are optional, but both add contrast. Walnuts echo the toasted note of the butter, while chocolate chips turn the loaf into a more dessert-like slice.
Building the Batter Without Losing the Tender Crumb
Browning the Butter Properly
Set the butter in a light-colored saucepan over medium heat and swirl it often once it melts. The foam will rise, then the sound will quiet down as the milk solids begin to toast. Keep watching the bottom of the pan; when those solids turn amber and the butter smells like hazelnuts, take it off the heat right away. If you let it go too far, the flavor turns bitter fast.
Mixing the Wet Ingredients
Whisk the cooled browned butter and brown sugar until the mixture looks thick and grainy, then whisk in the eggs and vanilla. The bananas go in after that and should blend in completely before the flour is added. If the butter is still hot, the eggs can seize or curdle, and the batter won’t come together with the same smooth, even texture.
Finishing the Batter Gently
Fold in the flour, baking soda, cinnamon, and salt just until the dry streaks disappear. That last bit matters more than people think. Overmixing builds structure you don’t want here, and it’s the fastest way to get a loaf that slices neatly but eats dry. If you’re adding walnuts or chocolate chips, fold them in at the very end with only a few turns of the spoon.
Baking to the Right Center
Scrape the batter into the greased loaf pan and bake until the top is deeply golden and the middle tests clean with a toothpick. The loaf should rise with a crack along the center, and the edges should look set and a little darker than the middle. If the top browns before the center is done, lay a loose piece of foil over it for the last 10 to 15 minutes. That keeps the crust from overbaking while the middle finishes.
How to Adjust This Loaf Without Losing the Brown Butter Character
Make it dairy-free
Use a plant-based butter that browns well, but watch it closely because some versions contain more water and can go from foamy to dark very quickly. You’ll keep a toasted note, though it won’t taste exactly like dairy brown butter. The loaf still bakes up moist and fragrant.
Make it nutty and extra textured
Add the chopped walnuts for a more pronounced toasted flavor and a little crunch in every slice. I like them best lightly toasted first, because that keeps them crisp after baking. Chocolate chips work too, but they shift the loaf toward dessert and cover some of the subtle brown butter flavor.
Make it gluten-free
A 1:1 gluten-free baking blend can work here, but the loaf may be a touch more delicate and crumbly. Let it cool completely before slicing so it has time to set. If your blend already contains xanthan gum, use it as written.
Storage and Reheating
- Refrigerator: Keeps well for 4 to 5 days wrapped tightly. The crumb gets a little denser in the fridge, but the flavor deepens.
- Freezer: Freezes well. Wrap the cooled loaf or individual slices tightly, then freeze for up to 3 months. Thaw at room temperature before reheating.
- Reheating: Warm slices in a toaster oven or a low oven until just heated through. Microwaving too long can make the crumb rubbery, especially around the edges.
Questions I Get Asked About This Recipe
Brown Butter Banana Bread
Ingredients
Equipment
Method
- Brown the butter in a light-colored saucepan over medium heat, swirling frequently, until the milk solids turn golden brown and smell nutty; remove from heat. Cool for 10 minutes.
- Preheat the oven to 350°F and grease a 9x5 loaf pan.
- Whisk cooled browned butter and brown sugar together until smooth.
- Whisk in the eggs and vanilla until the mixture looks glossy and combined.
- Stir in the mashed bananas until fully combined.
- Fold in the all-purpose flour, baking soda, cinnamon, and salt until just combined, then fold in any mix-ins.
- Pour the batter into the prepared loaf pan and bake at 350°F for 60–70 minutes. Bake until the top is deeply golden and a toothpick comes out clean.


