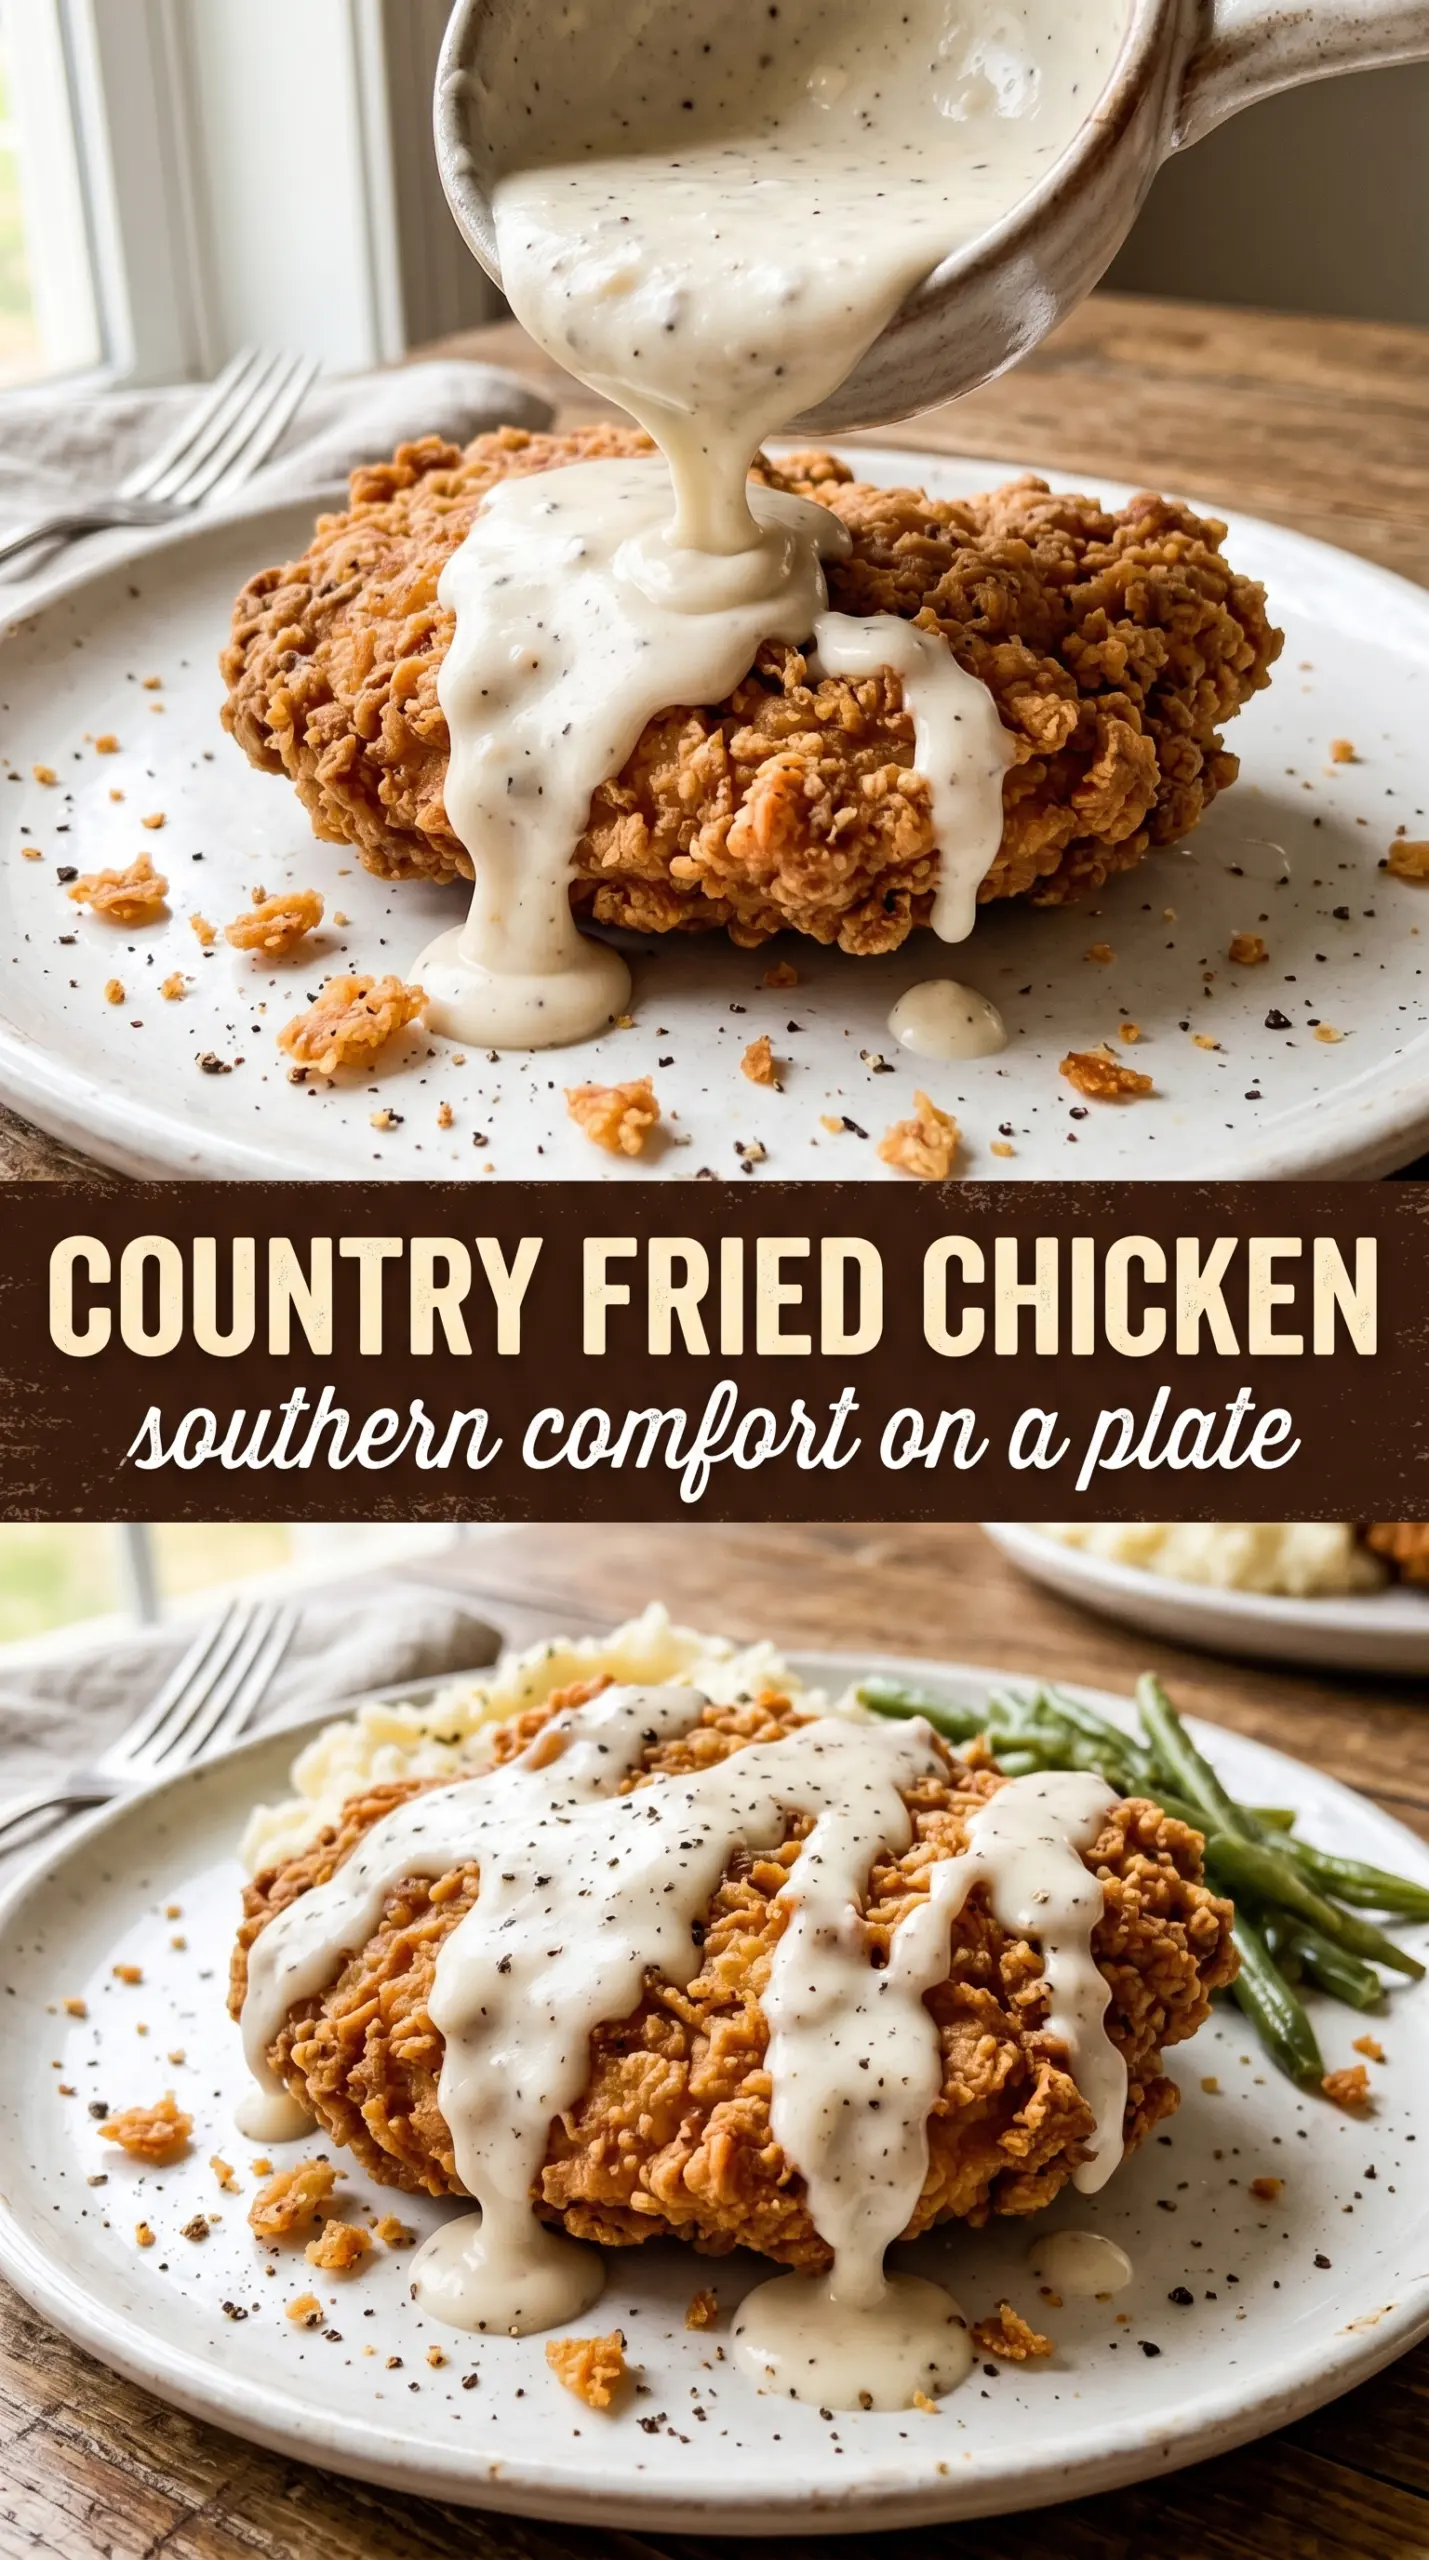
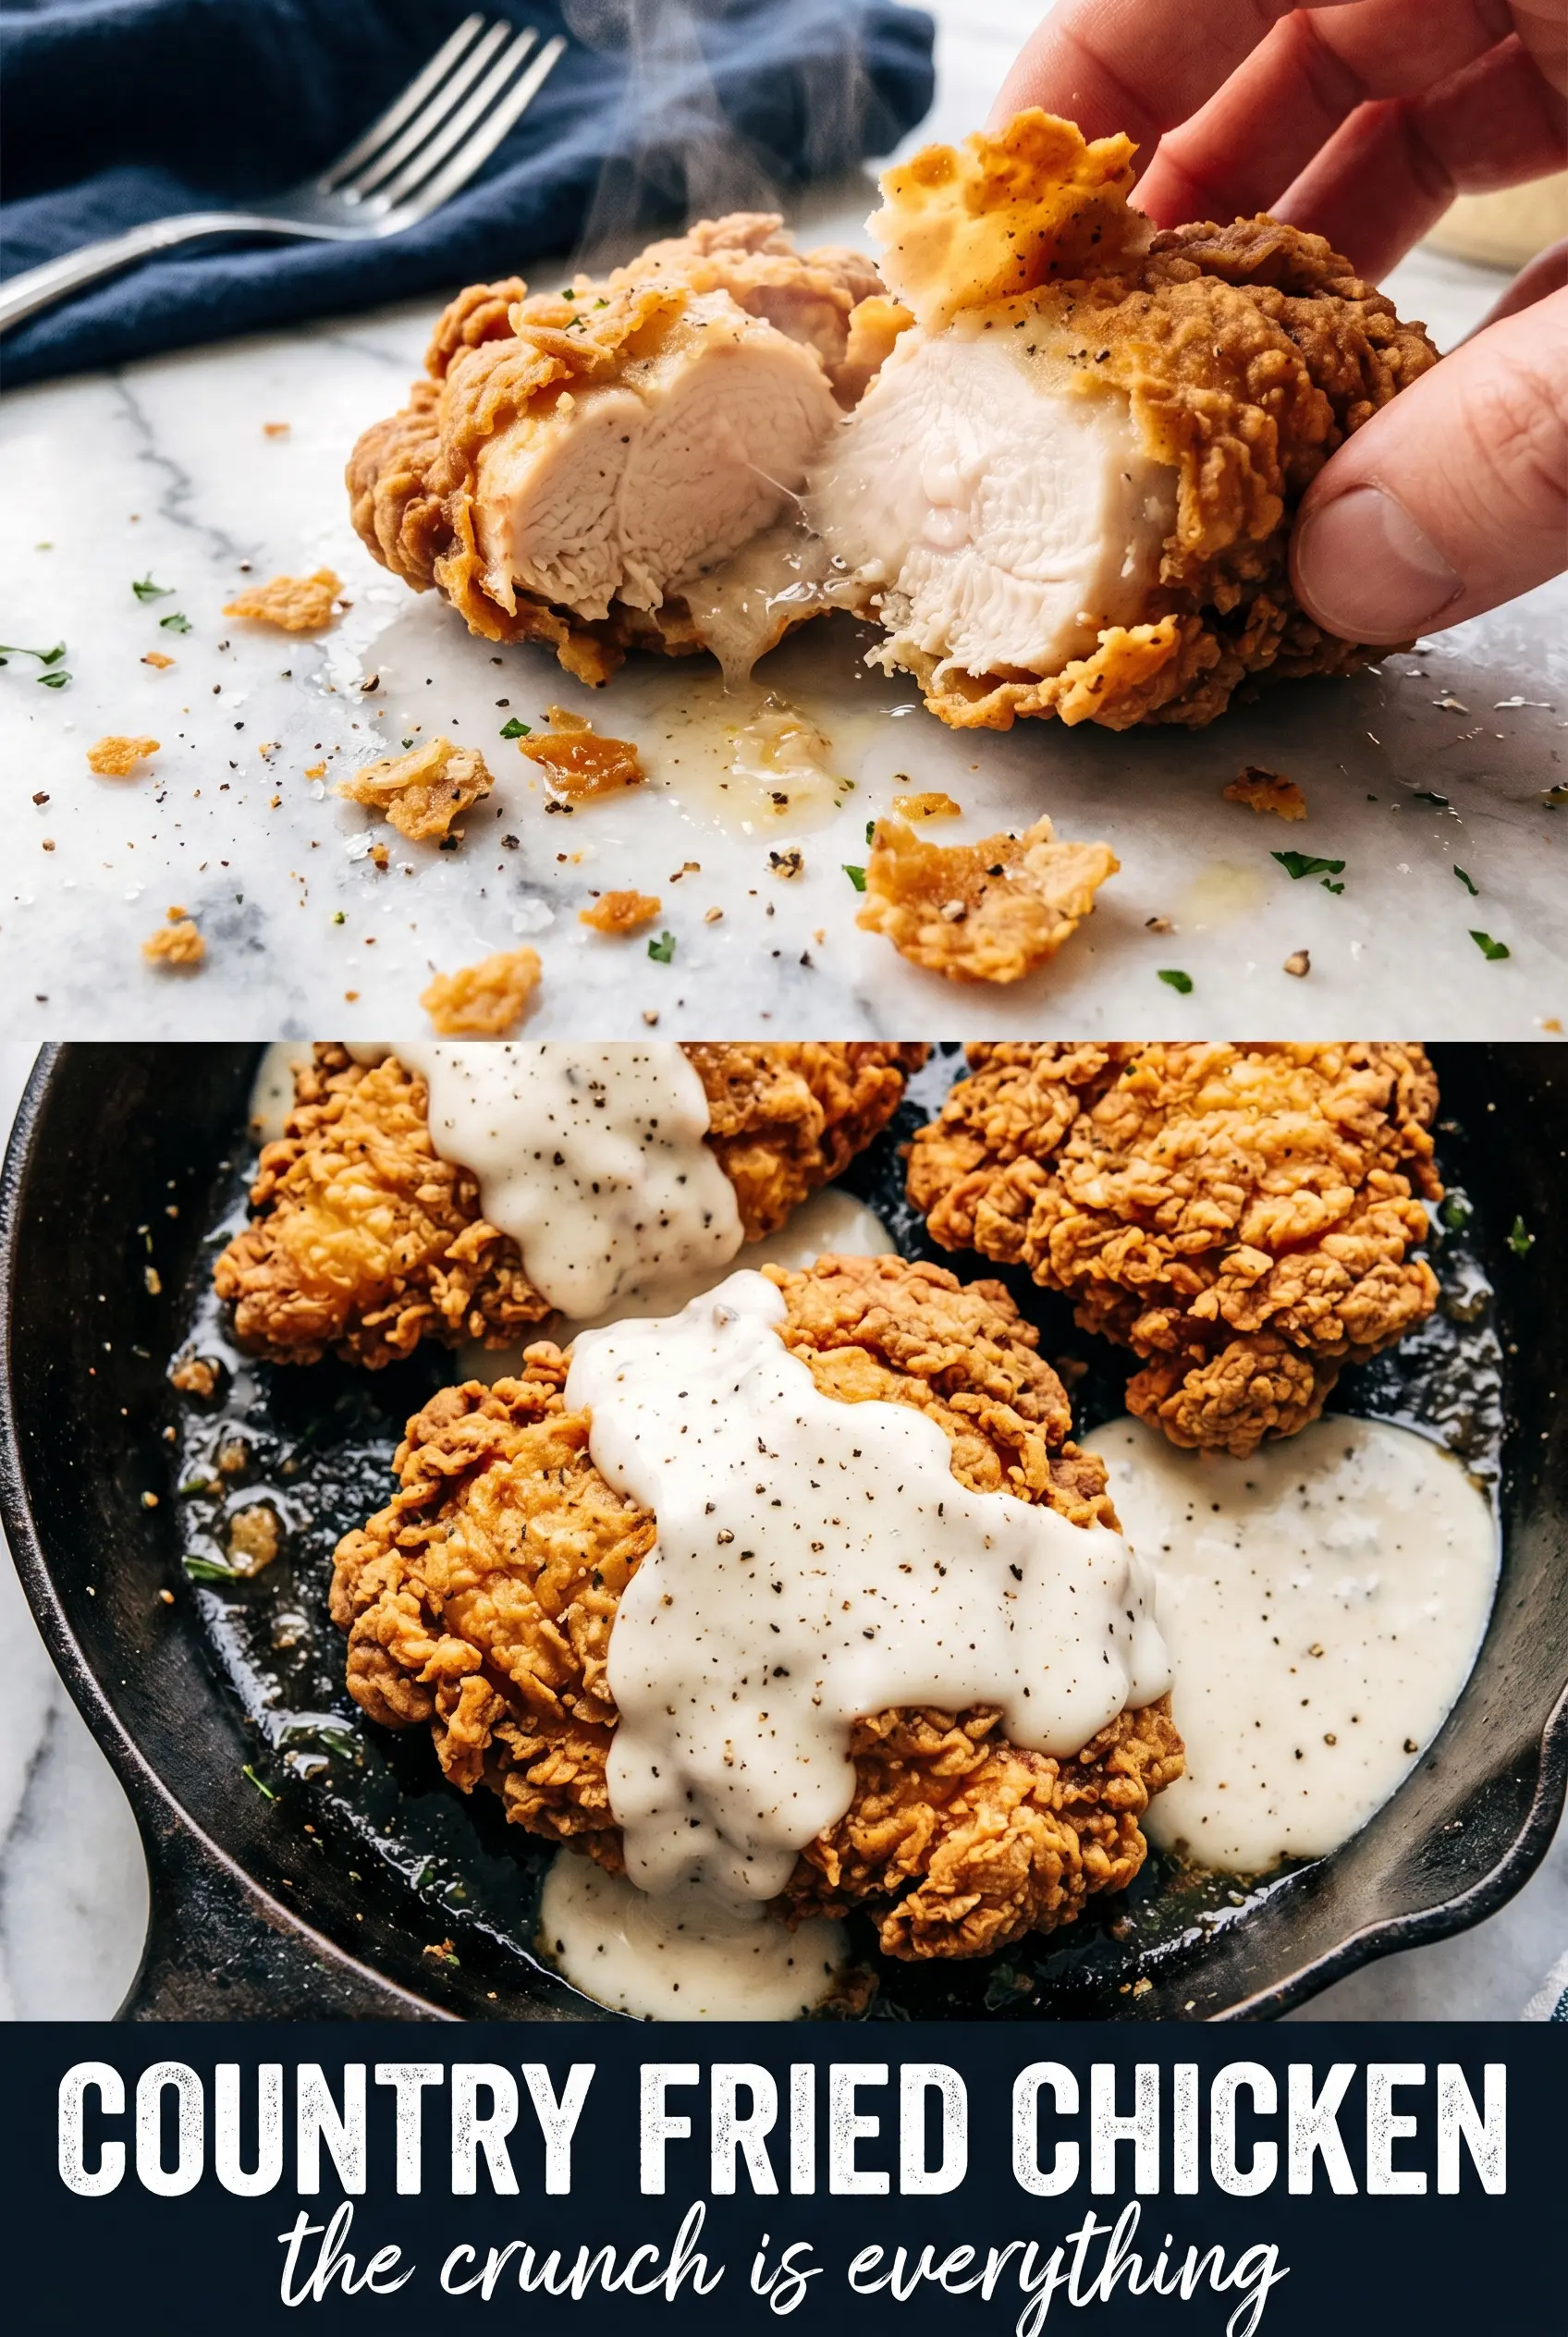
Country fried chicken lands with that deep, craggy crust that crackles when you cut into it, then gives way to juicy meat underneath. The coating stays substantial enough to hold up under white gravy, which is exactly what you want here: crisp edges, tender chicken, and a peppery sauce pooling around the base instead of softening everything into mush.
The trick is in the soak and the double dredge. Buttermilk seasons the chicken all the way through and helps the flour cling, while a second pass through the coating builds those rough little shards that fry up into the best kind of crunch. A cast iron skillet and steady 350°F oil do the rest. Too cool and the chicken drinks up grease; too hot and the crust burns before the meat cooks through.
Below, I’m walking through the part that matters most for real country fried chicken: how to keep the crust loud and crisp, how to build the gravy from the pan drippings, and what to do if you only have thighs or want to skip the gravy altogether.
The crust stayed crunchy even after I added the gravy, and the chicken was cooked through right on time. The double dredge made all those craggy bits my husband kept stealing off the platter.
Save this country fried chicken recipe for the nights when you want shatteringly crisp chicken and peppery white gravy on the same plate.
The Buttermilk Soak That Keeps the Crust from Sliding Off
The biggest failure with fried chicken is a crust that looks gorgeous in the skillet and slips off at the first bite. That usually happens when the coating doesn’t have anything to grip, or when the chicken goes into the flour wet in one spot and dry in another. Buttermilk solves both problems. It lightly tenderizes the meat and leaves a thin coating that turns tacky enough for the flour to cling.
Hot sauce doesn’t make this taste spicy-hot; it adds depth and wakes up the seasoning in the flour. Thirty minutes is enough if you’re in a hurry, but overnight gives you a more seasoned bird and a slightly more relaxed texture. Don’t skip the drip-off step before dredging. Too much liquid in the flour makes gummy patches, and gummy patches fry up pale instead of crisp.
What Each Part of the Coating Is Actually Doing
- All-purpose flour — This is the backbone of the crust. It browns steadily and gives you that rough, craggy shell. A low-protein flour isn’t necessary here; regular flour works best because it fries up sturdy without getting heavy.
- Smoked paprika, garlic powder, onion powder, cayenne, black pepper — These season the crust itself, which matters because once the chicken is fried, the outside needs enough flavor to stand on its own under gravy. If you want less heat, cut the cayenne in half, but keep the black pepper for the classic country fried chicken finish.
- Buttermilk — This is the one ingredient I wouldn’t swap casually. Plain milk won’t cling the same way, and the coating won’t set as well. If that’s all you have, stir 1 tablespoon of lemon juice into 2 cups of milk and let it sit for 5 minutes, but expect a thinner crust.
- Vegetable oil — Use a neutral oil with a high smoke point. Peanut oil is excellent too if you keep it in the pantry. Olive oil is the wrong choice here; it smokes before the chicken is done and leaves the crust tasting off.
- Pan drippings and whole milk — These build the gravy with the flavor left in the skillet after frying. Whole milk gives the right body. Lower-fat milk will work in a pinch, but the gravy will taste thinner and may need a little more time to thicken.
Frying the Chicken Without Losing the Crunch
Building the Rough Coating
Whisk the flour and spices thoroughly so every bite tastes seasoned, not just the first one off the plate. Pull a piece of chicken from the buttermilk, let the excess drip off for a few seconds, then press it firmly into the flour. The second dip-and-dredge matters because it creates those uneven ridges that fry into the best crunch. If the coating looks smooth and tidy, it won’t have the same texture once it hits the oil.
Keeping the Oil at the Right Heat
Heat 2 to 3 inches of oil to 350°F and hold it there. A cast iron skillet keeps the temperature steadier than a thin pan, which means less greasiness and better browning. If the oil drops too far when the chicken goes in, wait for it to climb back instead of crowding in more pieces. Crowding traps steam, and steam is what turns a crisp crust soft.
Knowing When the Chicken Is Done
Fry for 10 to 12 minutes per side, depending on thickness, until the crust is deep golden and the center reaches 165°F. The chicken should sound lively in the oil, not quiet and soggy. If the outside browns too fast, the oil is too hot; lower it and finish the chicken a little longer. Drain it on paper towels for a minute, but don’t leave it there for ten, or the bottom crust will start steaming itself soft.
Turning the Drippings into Gravy
Pour off most of the oil and keep 2 tablespoons of the flavorful drippings in the skillet. Whisk in the flour and cook it for a full minute so the gravy doesn’t taste raw. Then add the milk gradually while whisking. If you dump it all in at once, the flour can clump before it has a chance to dissolve. The gravy should thicken enough to coat a spoon, with plenty of black pepper and enough salt to sharpen it.
How to Adapt This for a Bigger Crowd or a Different Plate
Gluten-Free Country Fried Chicken
Use a cup-for-cup gluten-free flour blend with a little cornstarch mixed in if the blend doesn’t already include it. The crust will still get crisp, but it may be a touch more delicate when you turn the chicken, so handle it gently and let one side set before flipping.
Thighs Instead of Breasts
Bone-in thighs give you richer flavor and are a little more forgiving if the oil temperature drifts. They usually need the same frying time, but check the thickest part near the bone. The skin, if present, will crisp nicely under the flour coating.
No-Gravy Version
Skip the gravy and finish the chicken with a little flaky salt right after it drains. That keeps the crust bold and dry in the best way. It’s the better choice if you’re serving it with biscuits, slaw, or a sharp pickle-heavy side.
Storage and Reheating
- Refrigerator: Store the fried chicken for up to 3 days. The crust will soften a bit in the fridge, which is normal.
- Freezer: Freeze the fried chicken without gravy for up to 2 months. Wrap pieces individually so the coating doesn’t get knocked off.
- Reheating: Reheat on a wire rack over a sheet pan in a 375°F oven until hot and crisp again. The microwave will make the coating limp, and that’s the fastest way to lose what makes this dish worth making.
Answers to the Questions Worth Asking
Country Fried Chicken
Ingredients
Equipment
Method
- Soak the chicken pieces in buttermilk and hot sauce for at least 30 minutes or overnight in the refrigerator.
- Let the chicken sit covered so the coating sticks and the meat stays juicy after frying.
- Whisk together all seasoned flour coating ingredients in a shallow dish until evenly combined.
- Remove chicken from buttermilk, letting excess drip off, then dredge firmly in the seasoned flour.
- Dip and dredge again for extra crunch so the coating shatters when fried.
- Heat 2-3 inches of oil to 350°F in a large cast iron skillet.
- Fry chicken for 10-12 minutes per side until deeply golden, then drain on paper towels.
- Verify doneness by checking the internal temperature reaches 165°F before serving.
- For the gravy, whisk pan drippings and flour in a skillet over medium heat for 1 minute.
- Gradually whisk in whole milk and cook until thickened, stirring to prevent lumps.
- Season the gravy with salt and pepper to taste.
- Serve the fried chicken immediately with white gravy poured over the top so it pools around the base.