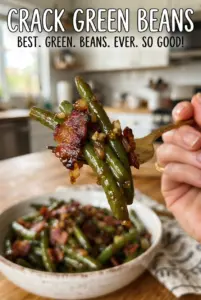
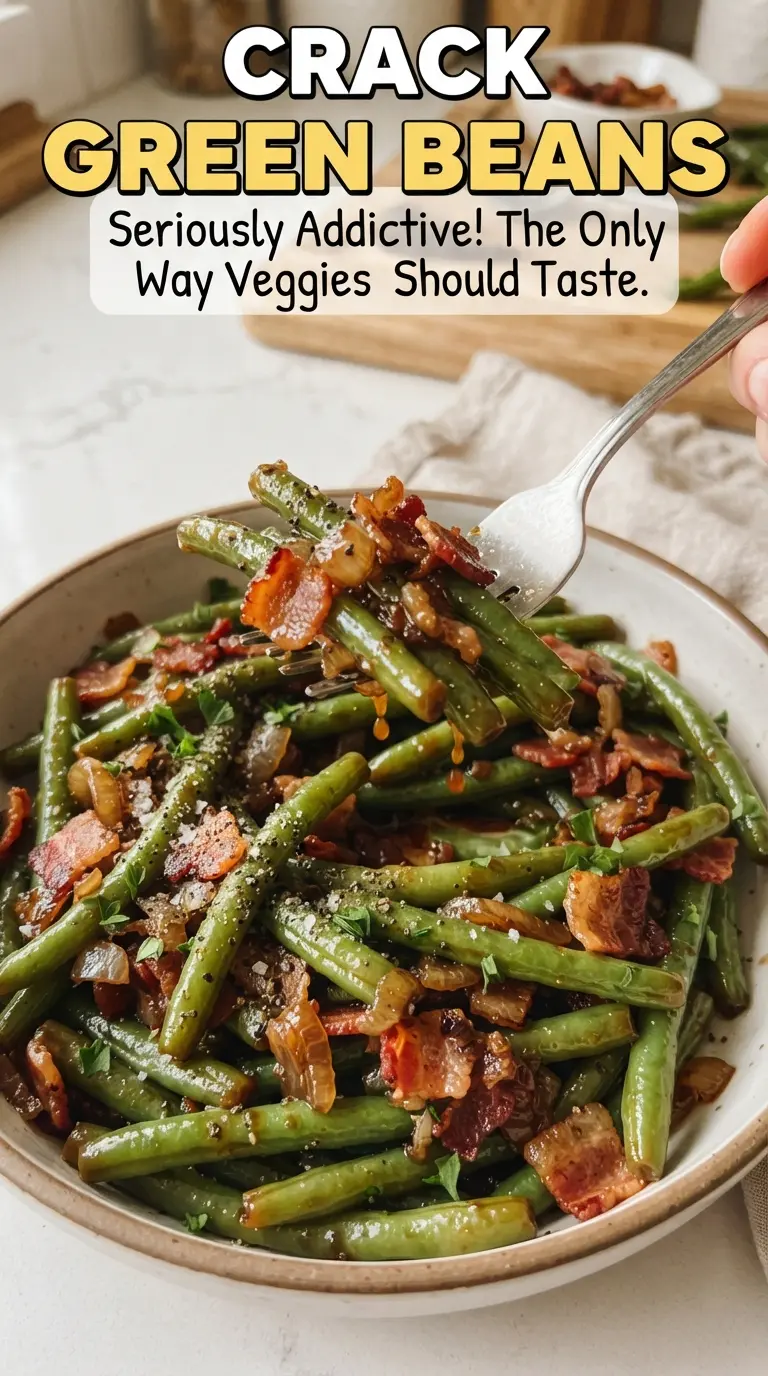
Sticky, salty-sweet green beans with crisp bacon and a glossy caramelized glaze earn their place on the table fast. The beans stay bright and just tender, the bacon gives each bite a little crunch, and the sauce settles into that spot between savory and candy-like without turning cloying. It’s the kind of side dish people hover over before the main course even makes it to the table.
The trick is giving the green beans a quick blanch first so they finish in the oven without going limp. That short boil keeps them vibrant and cuts down the bake time, which matters because the sauce only needs enough heat to thicken and cling. The bacon goes in mostly crisp, not fully done, so it can finish in the oven without drying out.
Below, you’ll find the small timing details that keep the glaze sticky instead of runny, plus a few smart swaps if you need to adjust the dish for a different crowd.
The glaze turned sticky and shiny in the oven, and the green beans still had a little bite instead of turning mushy. My husband went back for seconds before I even sat down.
Love the sticky brown sugar glaze and crispy bacon on these Crack Green Beans? Save them to Pinterest for your next holiday side or weeknight dinner.
The Reason These Beans Stay Crisp Under a Sticky Glaze
The biggest mistake with glazed green beans is skipping the blanch. Raw beans need too long in the oven to soften, and by the time they’re tender, the sauce has either burned or dried out. A three-minute boil gets the beans halfway there, so the oven can focus on caramelizing the glaze instead of rescuing the vegetable.
The other thing that matters is the bacon stage. Cook it until it’s mostly crisp, not brittle. It keeps some life in the final dish, and it also leaves enough rendered fat behind for flavor if you want to fold a spoonful of it into the baking dish before the glaze goes in.
What Each Ingredient Is Actually Doing In This Dish
- Fresh green beans — Fresh beans hold their snap through the bake and give you that clean bite under the glaze. Frozen beans turn softer and can release too much water, which loosens the sauce.
- Bacon — This brings salt, smoke, and texture. Thick-cut bacon works if that’s what you have, but cut it smaller so it distributes evenly and doesn’t dominate the dish.
- Brown sugar — This is what makes the glaze sticky and caramelized. Packed brown sugar gives the right density; granulated sugar won’t melt into the same glossy coating.
- Soy sauce — It balances the sweetness and deepens the glaze. Use low-sodium if you’re sensitive to salt, but don’t skip it; without it, the dish tastes flat.
- Butter and garlic — Butter carries the glaze and helps it cling, while garlic keeps the sweetness from taking over. Melt the butter first so the sugar mixture pours evenly instead of clumping.
How to Bake the Beans So the Glaze Clings Instead of Pooling
Blanching the Beans First
Drop the trimmed beans into boiling water for about three minutes, then drain them well. They should still be bright green and slightly firm, not fully tender. If you skip this step, the beans stay tough unless you overbake them, and that’s where the sauce starts to suffer.
Coating the Baking Dish Evenly
Spread the beans in a 9×13-inch dish and scatter the cooked bacon over the top. The beans need room for the glaze to move around them; a crowded pan traps steam and gives you soft beans instead of caramelized edges. Keep the layer loose and even so every piece gets coated.
Building the Sticky Glaze
Whisk the brown sugar, melted butter, soy sauce, garlic, and black pepper until the mixture looks smooth and glossy. Pour it over the beans before the dish goes into the oven, then stir once during baking so the sugar doesn’t settle in one spot and scorch. The sauce is ready when it bubbles thickly around the edges and looks shiny, not watery.
Finishing Until Caramelized
Bake uncovered at 350°F for 30 to 35 minutes. You’re looking for a glaze that clings to the beans and bacon, with browned edges around the pan and no loose liquid at the bottom. If it still looks thin at the end, give it another few minutes uncovered so the moisture can cook off.
How to Adapt These Green Beans for Different Tables
Make It Without Bacon
Skip the bacon and add a tablespoon of olive oil plus a pinch of smoked paprika for depth. You’ll lose the crisp meaty bites, but the beans still get a savory-sweet glaze that works well as a vegetarian side.
Lower-Sugar Version
Cut the brown sugar to 1/3 cup if you want a less sweet finish. The glaze will be a little looser and less sticky, but it still clings once it reduces in the oven.
Gluten-Free Swap
Use tamari or a certified gluten-free soy sauce in place of regular soy sauce. The flavor stays the same, and the rest of the recipe doesn’t need to change.
Storage and Reheating
- Refrigerator: Store leftovers in an airtight container for up to 4 days. The glaze will thicken as it chills.
- Freezer: It freezes, but the beans soften a bit after thawing, so I only freeze it if I need to. Cool completely first and freeze in a flat, airtight container for up to 2 months.
- Reheating: Warm it covered in a 325°F oven until heated through, then uncover for a few minutes to bring back the glaze. The main mistake is blasting it in the microwave, which turns the beans soft and makes the bacon chewy in the wrong way.
Answers to the Questions Worth Asking
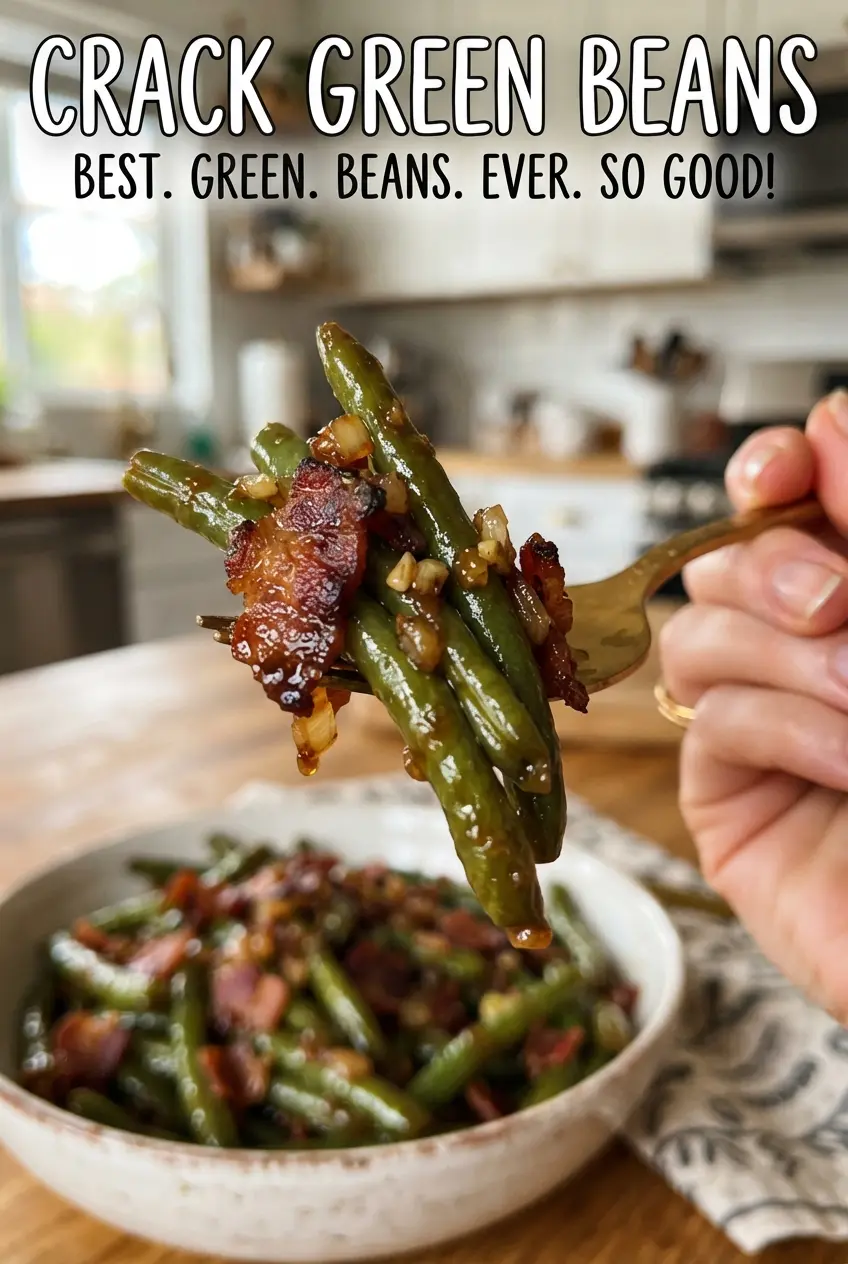
Crack Green Beans
Ingredients
Equipment
Method
- Preheat the oven to 350F. Blanch the trimmed green beans for 3 minutes in boiling water, then drain and set aside.
- Cook the chopped bacon until mostly crisp, then drain on paper towels.
- Place the drained green beans in a 9x13-inch baking dish and top with the mostly crisp bacon. Scatter the bacon evenly so it browns while the glaze bakes.
- Whisk together the packed brown sugar, melted butter, soy sauce, minced garlic, and black pepper until smooth, then pour over the beans. Make sure the beans are coated across the top layer.
- Bake uncovered for 30-35 minutes, stirring once during baking, until the glaze is sticky and caramelized. Look for a dark glossy sheen and lightly thickened sauce clinging to the beans.