Double Crunch Honey Garlic Chicken Breasts land with that rare combination everyone wants from fried chicken: a craggy, shattering crust and a sticky glaze that clings instead of sliding off. The first bite gives you salt, garlic, and smoke from the coating, then the honey garlic sauce comes in with a glossy finish that hits every ridge of the breading.
The double-dip matters here. The first flour coating gives the egg something to grab, and the second flour pass builds the uneven, crunchy shell that stays crisp longer under the sauce. Pounding the chicken to an even thickness keeps the breasts juicy and stops the coating from burning before the center cooks through. The sauce is kept short and simple on purpose: honey for body, soy sauce for depth, vinegar for balance, and butter for a little shine.
Below you’ll find the exact frying cues that keep the crust from going greasy, plus the one sauce step that keeps the garlic from tasting sharp instead of rounded. There’s also a practical swap for making this work with what you already have in the pantry.
The coating stayed on beautifully and turned out extra crunchy, even after I poured the sauce over it. I was nervous about the double dredge, but it made the crust thick and craggy just like takeout.
Love that shattering double crunch? Save these honey garlic chicken breasts for the next time you want crispy chicken with a sticky, glossy finish.
The Double Dredge That Keeps the Crust Rough, Not Soggy
The biggest mistake with breaded chicken is stopping at one coat and expecting a thick, crunchy shell. A single dredge gives you a thin layer that can steam loose once it hits the pan. The second flour pass builds those uneven little ridges that fry up into the kind of crust that crackles when you cut through it.
The other key is letting the chicken rest a minute after the first flour coating and after the egg dip. That pause helps the surface hydrate and grab onto more flour on the second pass. If the flour starts clumping on its own, that’s a good sign here; those clumps become the craggy bits that make this chicken stand out.
What Each Ingredient Is Actually Doing in the Coating and Sauce
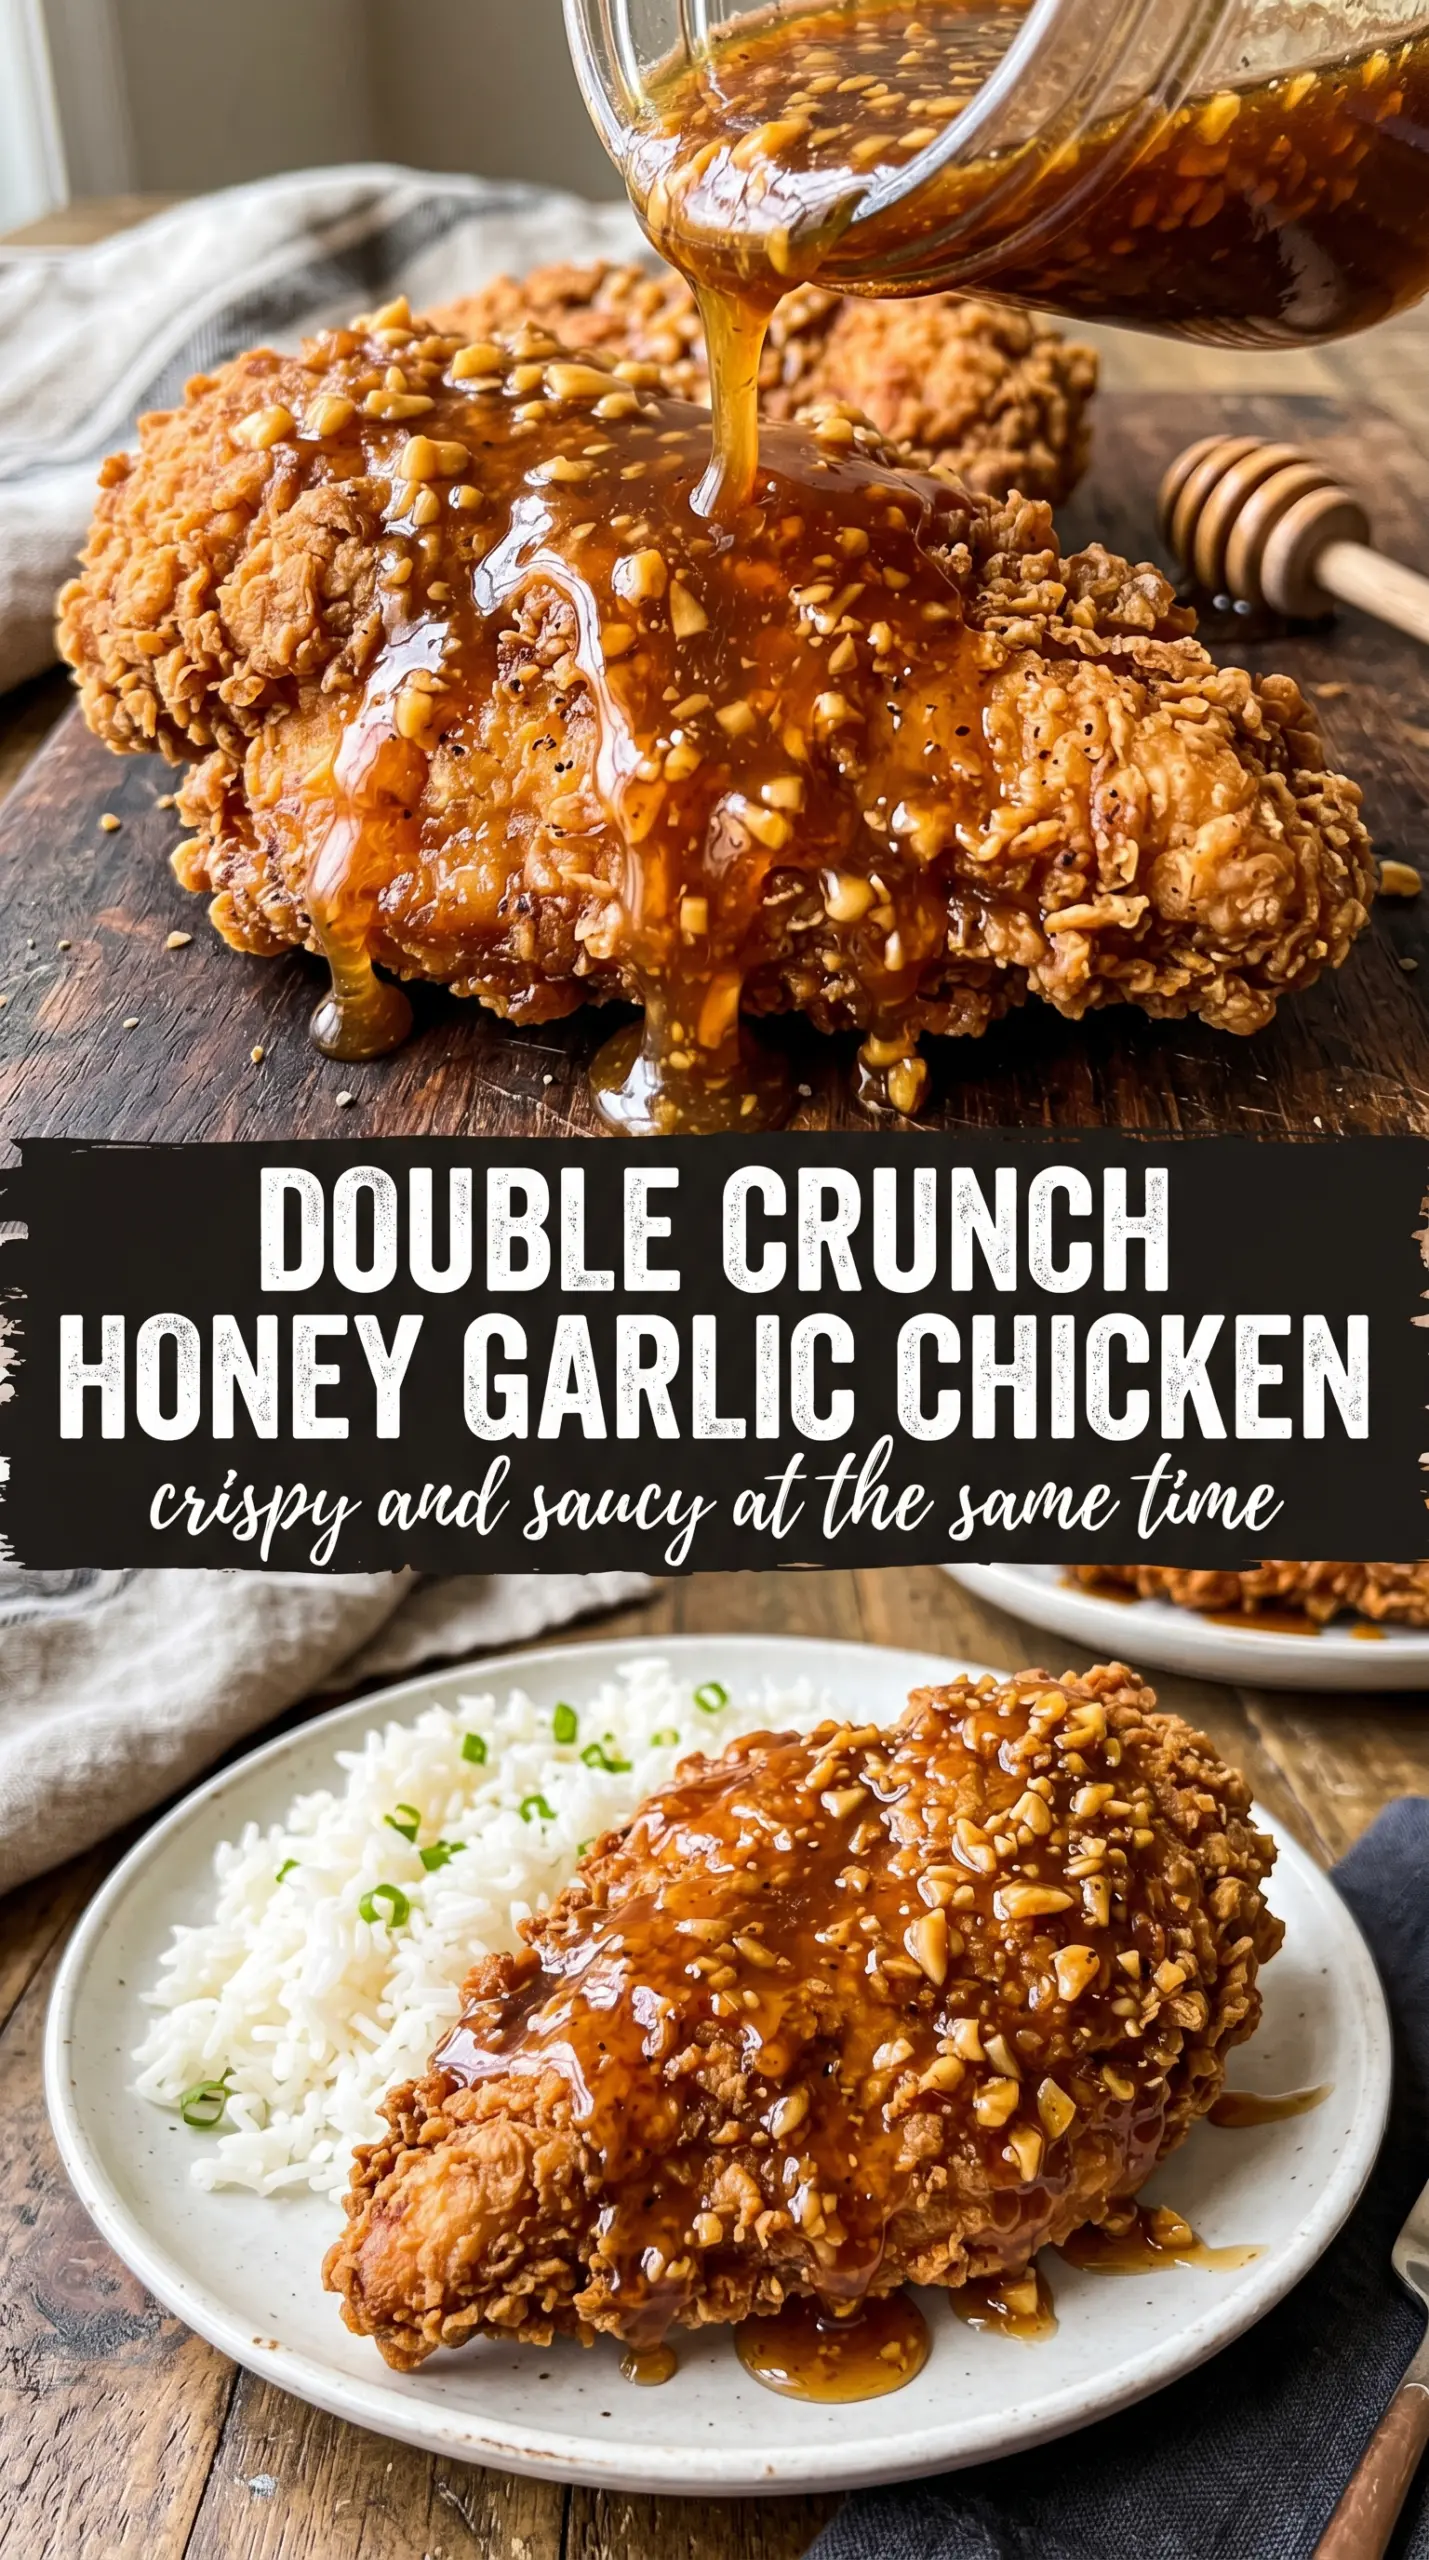
- Chicken breasts — Pounding them to an even thickness keeps the cutlets cooking at the same rate, which matters more here than using a fancy cut. If one end is thick and the other is thin, the coating on the thin end will overbrown before the center is done.
- All-purpose flour — This is the backbone of the crust. It fries up lighter and crispier than breadcrumbs here, and it gives the egg enough structure to create a second, rough coat.
- Eggs — The egg layer is what binds the second flour coat to the chicken. Beat them until smooth, but don’t add water; thinning them makes the coating slide around instead of clinging.
- Smoked paprika, garlic powder, and onion powder — These season the crust itself, which is why the chicken tastes good even before the sauce goes on. Smoked paprika adds a little color and warmth without turning the breading bitter.
- Honey — Honey gives the sauce its sticky body and glossy finish. A thin honey substitute won’t cling the same way, so the glaze will feel looser and less lacquered.
- Soy sauce — This keeps the sweetness in check and adds salt in a way plain salt can’t. Low-sodium soy sauce works fine if that’s what you keep on hand; just don’t skip it or the sauce tastes flat.
- Butter and apple cider vinegar — Butter rounds out the sauce, while vinegar sharpens it enough to cut through the fried coating. That little hit of acid is what keeps the glaze from tasting like candy.
Frying and Saucing Without Losing the Crunch
Building the Coating
Mix the flour with the seasonings first so every bite of crust tastes seasoned, not just the top layer. Dredge the chicken in flour, press off the excess, dip it in egg, then back into the flour and press lightly so the coating forms little ridges instead of a smooth paste. If the breading looks wet and pasty, it will fry up dense; you want it dusty, uneven, and shaggy.
Frying to a Deep Golden Shell
Heat the oil to 350°F and keep it there. Too cool, and the coating drinks oil before it crisps; too hot, and the outside burns before the center reaches 165°F. Fry the chicken in batches if needed, and listen for a steady active sizzle when it hits the pan. If the sound dies down fast, the oil is dropping and the crust won’t stay crisp.
Turning the Sauce Glossy
Simmer the honey, garlic, soy sauce, butter, and vinegar together just until it thickens slightly and smells mellow, not raw. Garlic burns fast, so keep the heat at medium and don’t walk away from the pan. You want a sauce that coats a spoon in a thin layer, not a hard candy syrup. Pour it over the chicken while both are hot so it settles into the crust instead of sitting on top in a slick pool.
How to Adapt This When You Need a Different Finish
Make It Gluten-Free
Use a 1:1 gluten-free flour blend in place of the all-purpose flour and swap in tamari for the soy sauce. The crust won’t be exactly the same as wheat flour, but it still fries up crisp if you keep the coating light and the oil at the right temperature.
Use Chicken Thighs Instead
Boneless, skinless thighs work well if you want a juicier bite and a little more forgiveness in the pan. They usually need a minute or two longer than breasts, and the thicker coating will still hold up, but the finished dish will taste richer and a bit less lean.
Bake Instead of Frying
You can bake the breaded chicken on a greased rack at 425°F, but the crust will be drier and a little less rugged than the pan-fried version. Brush or spray the top well with oil so the flour coating browns instead of turning chalky.
Storage and Reheating
- Refrigerator: Store leftovers for up to 3 days. The crust softens in the fridge, but the chicken stays flavorful.
- Freezer: Freeze the cooked chicken without sauce for the best texture. Wrap pieces tightly, then thaw in the fridge before reheating and saucing.
- Reheating: Reheat on a wire rack in a 375°F oven until hot and crisp again. The common mistake is microwaving, which turns the breading limp before the center even warms through.
Answers to the Questions Worth Asking
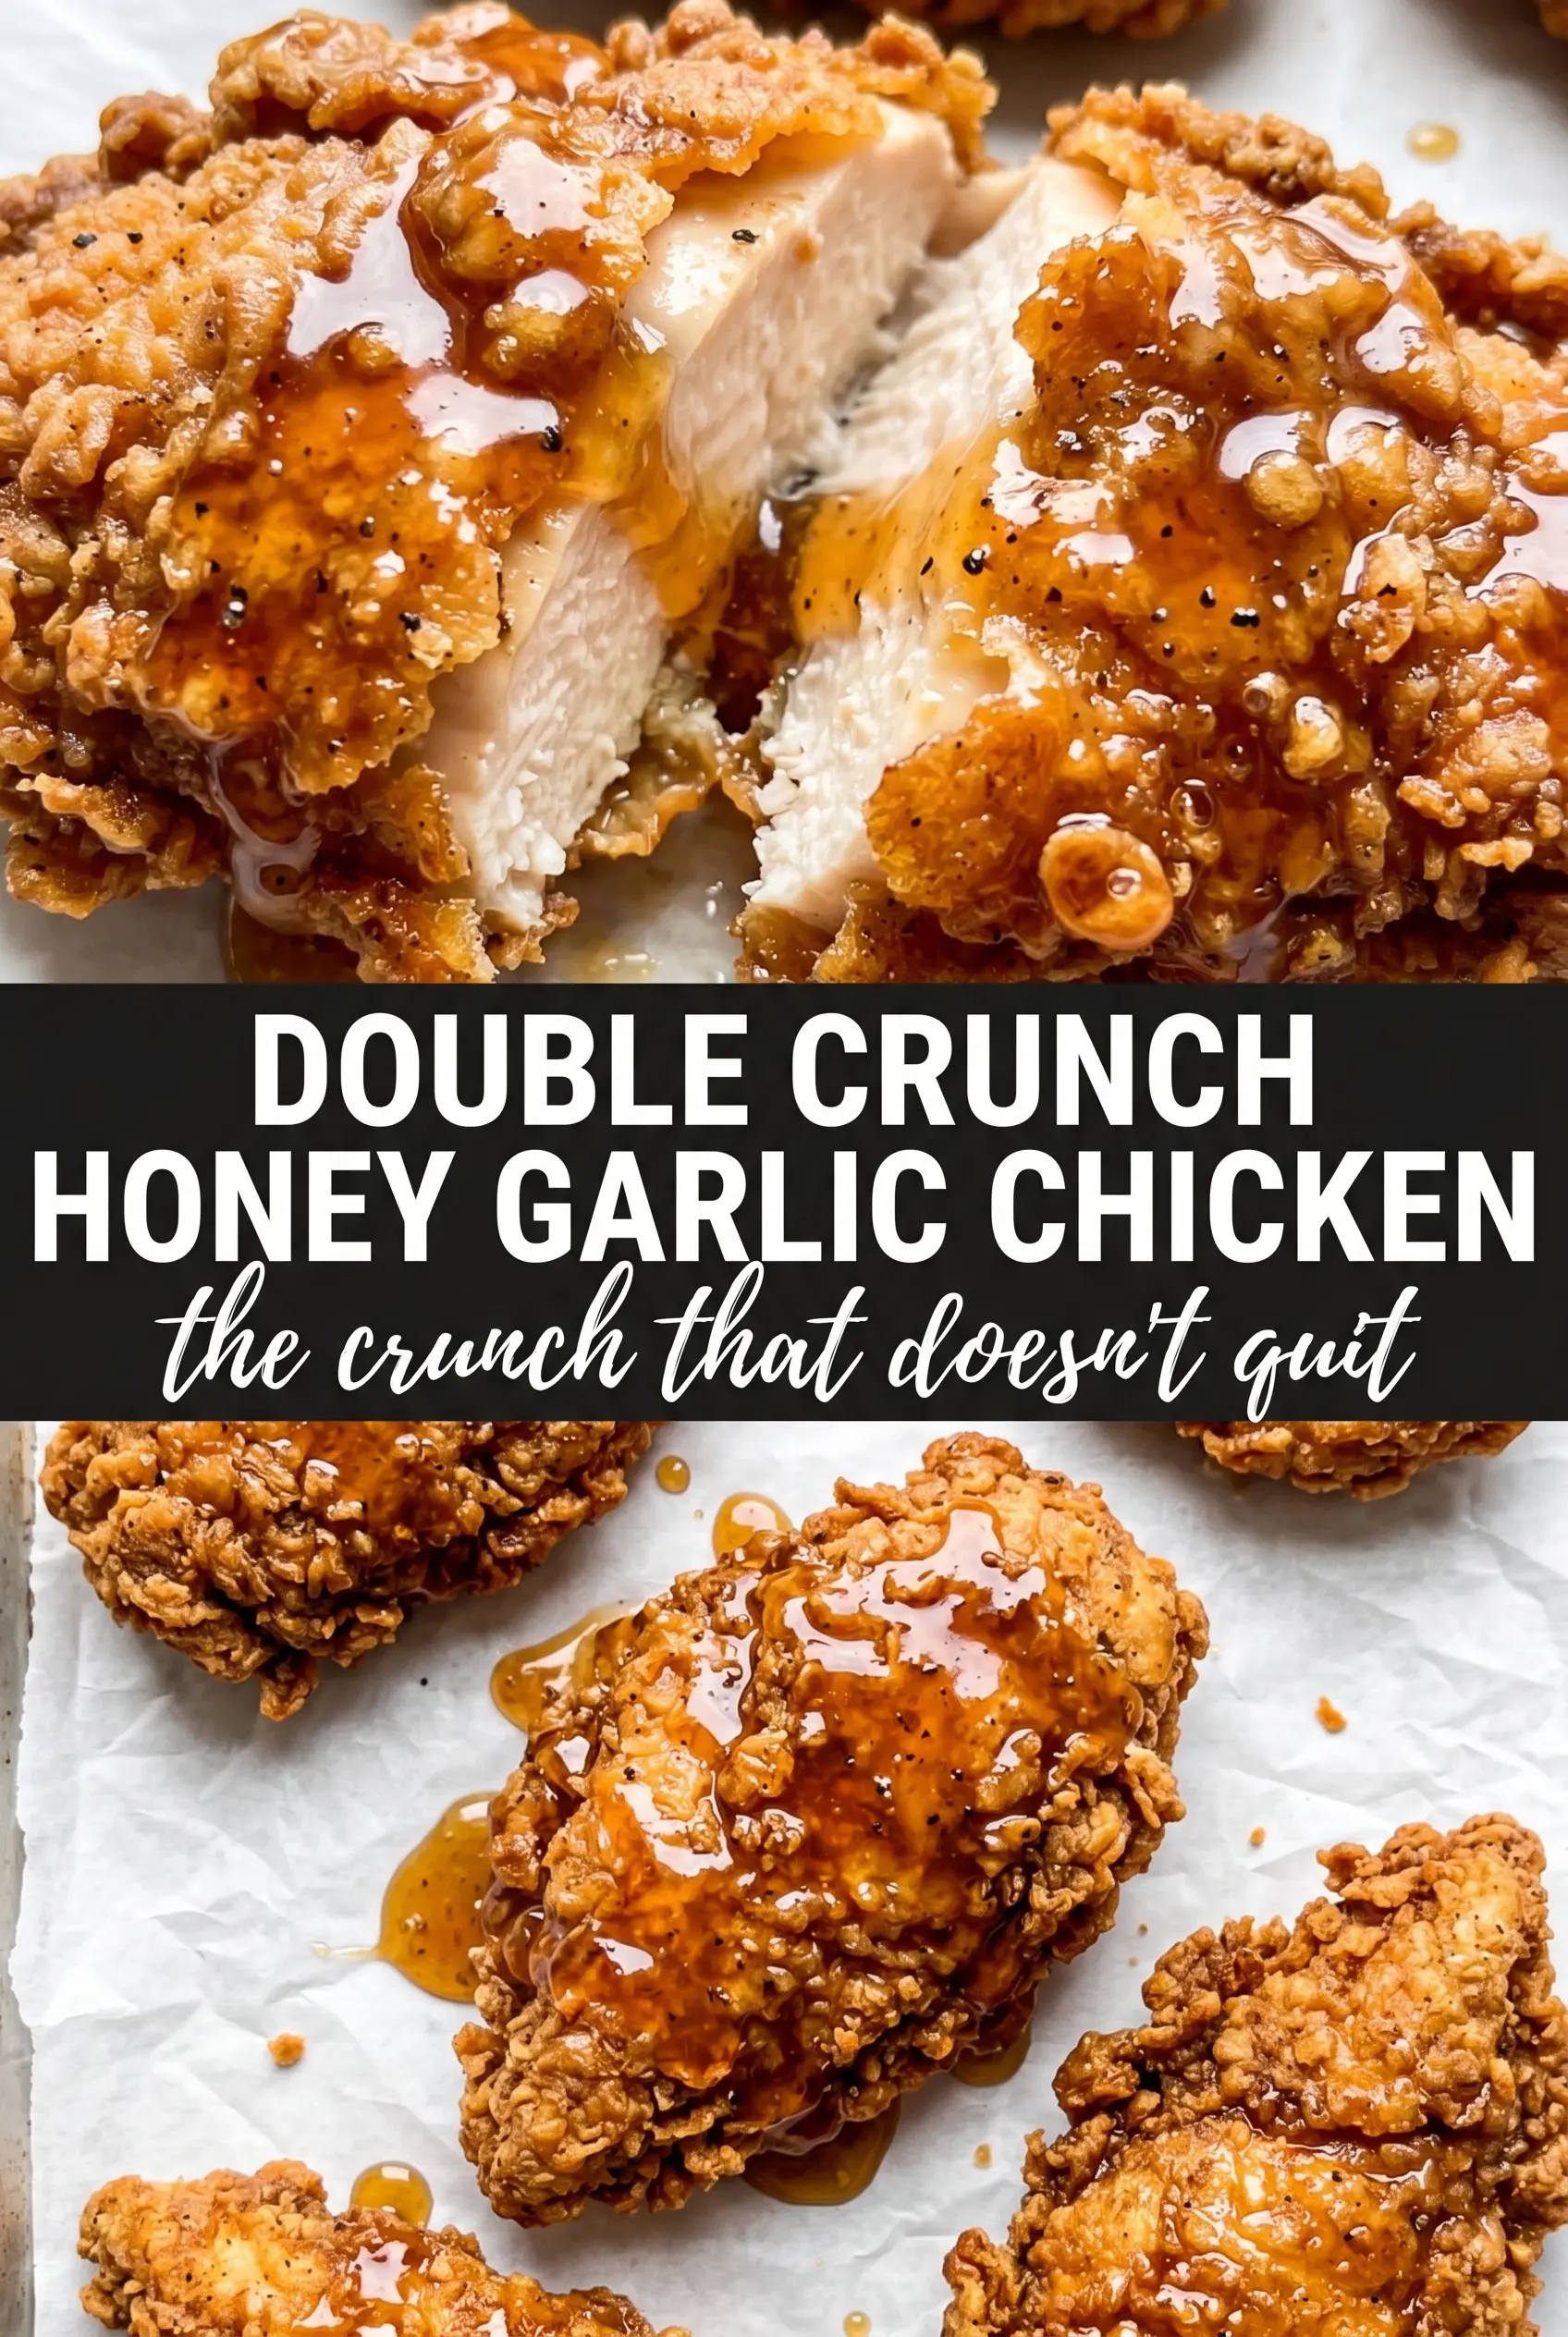
Double Crunch Honey Garlic Chicken Breasts
Ingredients
Equipment
Method
- Mix all-purpose flour with garlic powder, onion powder, smoked paprika, salt, and pepper in a dredging bowl. Coat the chicken breasts in the seasoned flour for the first layer.
- Dip each chicken breast into beaten large eggs, letting excess egg drip back into the bowl. Press the chicken into flour again for the second coat to build crunch.
- Heat about 1/2 inch of vegetable oil in a large cast iron skillet over medium-high heat to 350°F. Pan-fry the chicken for 5-6 minutes per side until golden and crunchy.
- Check for doneness with an instant-read thermometer and cook until the internal temperature reaches 165°F. Drain the chicken on a rack or paper towels after frying.
- Simmer honey, minced garlic, soy sauce, butter, and apple cider vinegar in a saucepan over medium heat for 3-4 minutes until slightly thickened. Keep it warm so it glazes the hot chicken.
- Pour the honey garlic sauce over the hot crispy chicken so it coats and clings. Garnish immediately with sesame seeds and sliced green onions.
- Serve the double crunch honey garlic chicken breasts immediately over rice while the coating stays crisp. Add extra sauce from the pan if desired.


