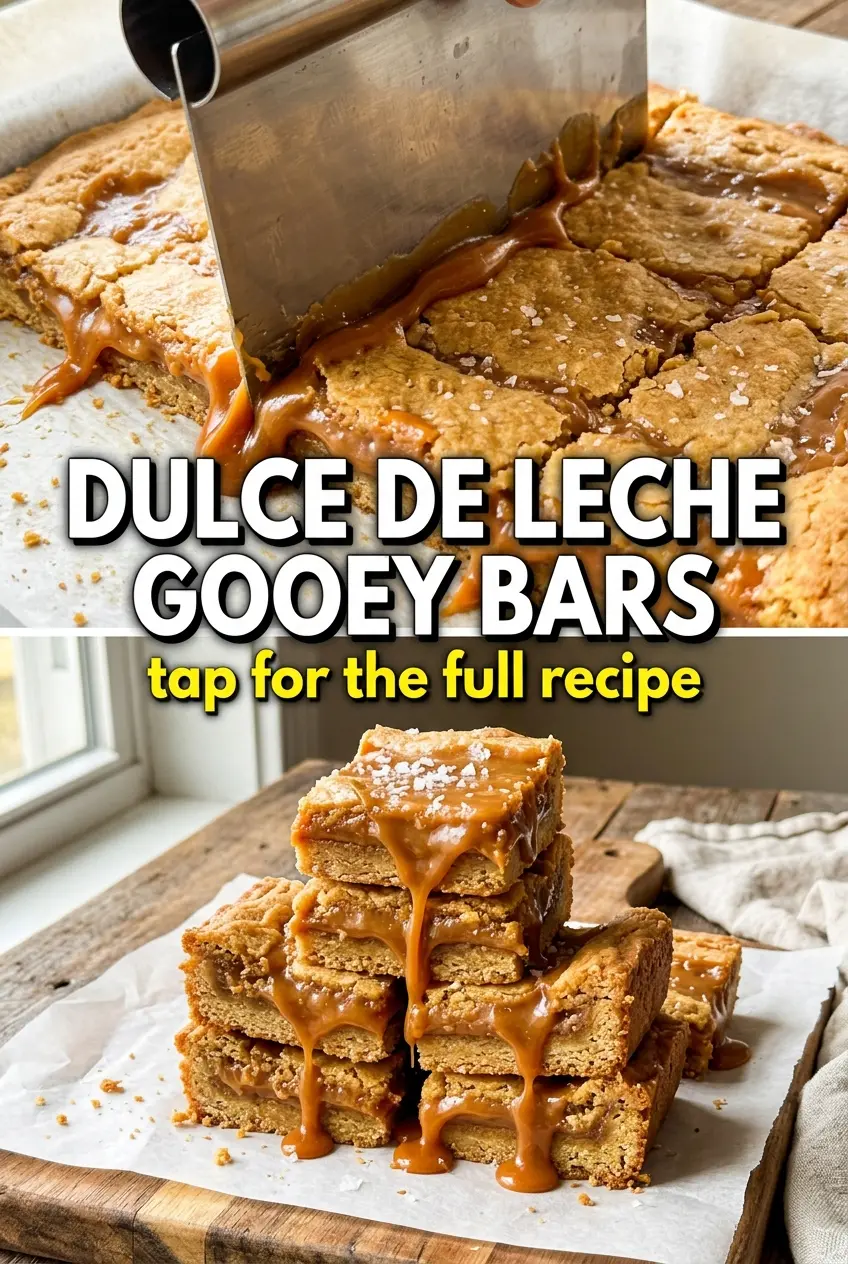
Golden shortbread, glossy caramel, and a thin layer of dark chocolate make these bars the kind of dessert people hover over with a plate in one hand and a napkin in the other. The crust stays buttery and tender, but it still holds its shape under all that filling, so every square gives you a clean edge and a soft, gooey center instead of collapsing into a sticky mess.
What makes this version work is the contrast. The base bakes first, so it sets up enough to carry the dulce de leche without turning soggy. Then the filling goes on warm crust, which helps it spread into an even layer, and the chocolate tops it off with just enough bitterness to keep the bars from tasting flat. A little fleur de sel at the end sharpens every bite.
Below, you’ll find the small details that matter most: how firm the crust should feel before you add the filling, why the bars need that short chill before cutting, and the easiest way to get neat squares with that glossy caramel layer intact.
The crust baked up buttery and crisp, and the dulce de leche stayed perfectly thick instead of running everywhere. I chilled them like you said and got clean squares with that chocolate layer snapping on top.
Love the glossy caramel pull and dark chocolate finish? Save these dulce de leche gooey bars to Pinterest for the dessert nights when you want something rich, neat to slice, and worth every crumb.
The Crust Has to Hold Up Before the Filling Goes In
These bars live or die on the base. If the crust is too pale or too loose, the dulce de leche softens it and the whole square turns messy when you cut it. A short bake gets the butter and sugar working together so the bottom sets into a firm, shortbread-like layer with enough structure to support the topping.
The other mistake is rushing the filling onto a crust that hasn’t settled. You want it warm, not raw, with the edges just turning golden and the center set enough that a gentle press doesn’t leave a dent. That little bit of structure is what keeps the bars layered instead of blended together.
What Each Ingredient Is Actually Doing in This Dish
- All-purpose flour — This gives the crust its tender, sandy texture. Cake flour would be too soft, and a cup-for-cup gluten-free blend can work, but the bars may crumble a little more when cut.
- Butter — Softened butter binds the crust, and the extra butter melted with the chocolate helps the top spread smoothly. Use real butter here; it’s what gives the shortbread that rich, clean bite.
- Granulated sugar — A small amount sweetens the crust and helps it brown at the edges. Don’t increase it much or the base starts to taste more cookie-like than shortbread-like.
- Dulce de leche — This is the center of the recipe, so the quality matters. A thick canned version spreads best and stays creamy after baking; if yours is stiff, warm the unopened can in a pot of simmering water first, then stir it smooth before using.
- Dark chocolate chips — The dark chocolate keeps the bars from becoming one-note sweet. Chips are fine, but chopped dark chocolate melts even more smoothly if you want a thinner, glossier top.
- Fleur de sel — This isn’t decoration. Those flaky crystals wake up the caramel and chocolate right before serving, so don’t swap it for fine table salt.
Building the Layers Without Losing the Gooey Center
Mixing the Shortbread Base
Stir the flour, softened butter, sugar, and salt until the mixture looks like damp crumbs that hold together when squeezed. If it turns into a smooth dough, the butter was too warm and the crust can bake up dense. Press it firmly and evenly into the pan, especially into the corners, because thin patches brown too fast and turn brittle.
Baking the Crust to a Light Gold
Bake the base until the surface looks set and the edges are just starting to color. You’re not looking for deep browning here; once it goes much past pale gold, it gets hard instead of tender. Let the crust stay warm when you spread on the dulce de leche, because that warmth helps the caramel glide into an even layer.
Melting the Chocolate Layer
Melt the chocolate chips with the butter until the mixture is smooth and glossy, then spread or drizzle it over the caramel. If the chocolate seizes or looks grainy, the heat was too high or the bowl caught a drop of water. Keep the heat low and stop as soon as the last chips melt, because overcooking chocolate makes it thick and dull.
Cooling for Clean Cuts
These bars need time to set all the way through before you cut them. A full cool-down at room temperature, followed by a short chill, firms the caramel enough to give you neat squares instead of sticky wedges. Use a sharp knife wiped clean between cuts if you want the chocolate layer to stay smooth on top.
Three Ways to Make These Bars Fit Your Kitchen
Gluten-Free Shortbread Base
Swap the all-purpose flour for a good 1:1 gluten-free baking blend. The texture will be a little more delicate, but pressing the crust firmly into the pan and chilling the finished bars before slicing helps keep the squares intact.
Extra Dark, Less Sweet Finish
Use chopped 70% chocolate instead of chips and keep the fleur de sel. The bars taste deeper and less candy-like, which is a good move if you like the caramel to stay center stage without losing richness.
Dairy-Free Version
Use a plant-based butter with a high fat content and choose a dairy-free dulce de leche-style spread if you can find one. The bars will still slice well, but the flavor won’t be as round or caramel-rich as the original because dairy caramel brings a deeper note.
Making a Bigger Batch
Double the recipe and bake it in a 9×13-inch pan, watching the crust closely for color. The bake time may need a few extra minutes, but the visual cues stay the same: a pale gold base, smooth caramel layer, and chocolate that looks set on top.
Storage and Reheating
- Refrigerator: Store in an airtight container for up to 5 days. The caramel firms up in the fridge, so expect a denser bite straight from cold.
- Freezer: These freeze well. Wrap the cut bars individually, then store them in a sealed container for up to 2 months; thaw in the fridge so the chocolate doesn’t sweat.
- Reheating: You don’t need to reheat them, but letting them sit at room temperature for 15 to 20 minutes brings back the gooey center. Microwaving makes the chocolate soft too fast and can turn the caramel slippery.
Answers to the Questions Worth Asking
Dulce de Leche Gooey Bars
Ingredients
Equipment
Method
- Preheat the oven to 350°F and line an 8x8 baking dish if desired for easy lifting.
- Mix all-purpose flour, softened butter, granulated sugar, and salt until the mixture looks crumbly, then press firmly into the bottom of an 8x8 baking dish.
- Bake at 350°F for 12-15 minutes until the crust turns golden at the edges and set in the center.
- Spread the dulce de leche evenly over the warm crust so it reaches the corners.
- Melt the dark chocolate chips with 2 tablespoons butter, then drizzle or spread it over the dulce de leche for a thick, even layer.
- Bake again at 350°F for 8-10 minutes until the chocolate is set and looks glossy on top.
- Cool the bars completely to room temperature so the caramel thickens and the layers hold together.
- Refrigerate for at least 30 minutes so the bars firm up for clean cuts.
- Cut into 16 squares, then sprinkle with fleur de sel and serve at room temperature or chilled.