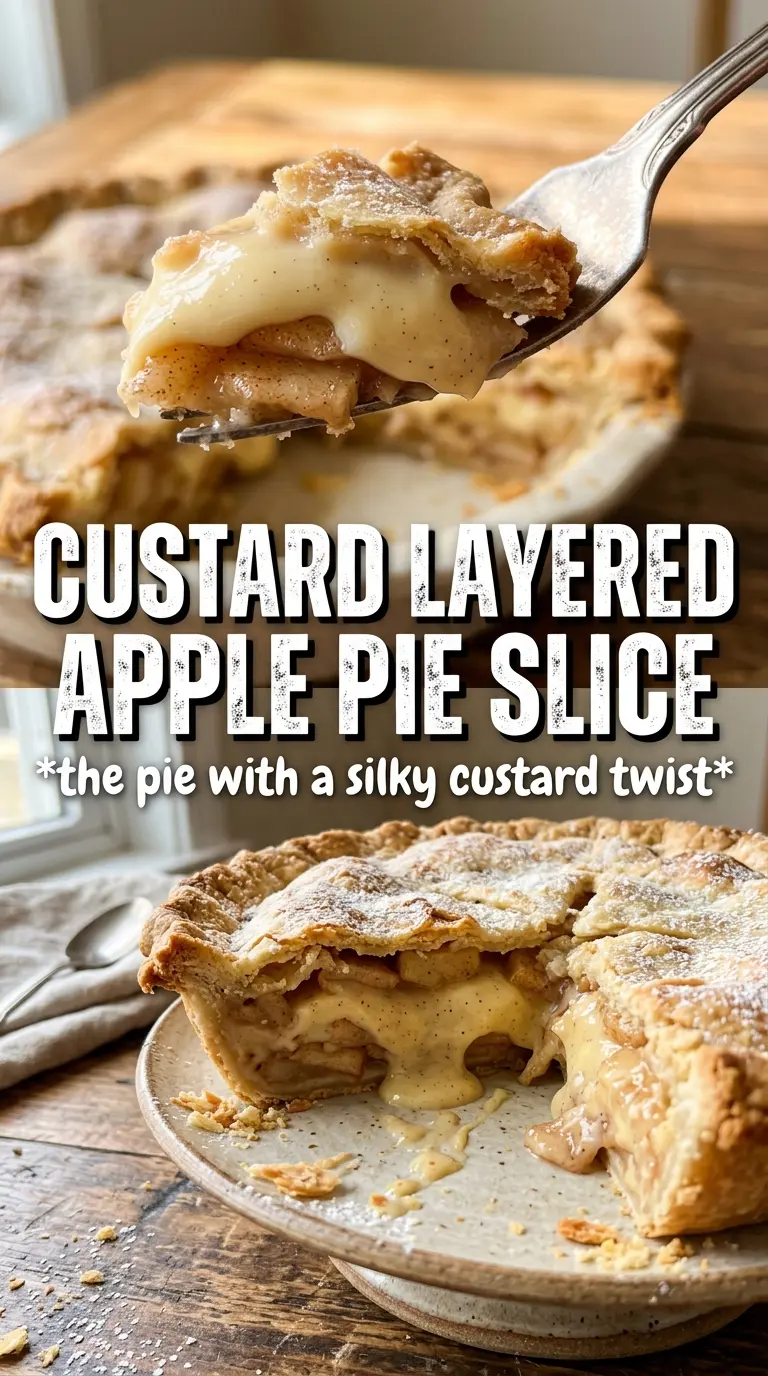
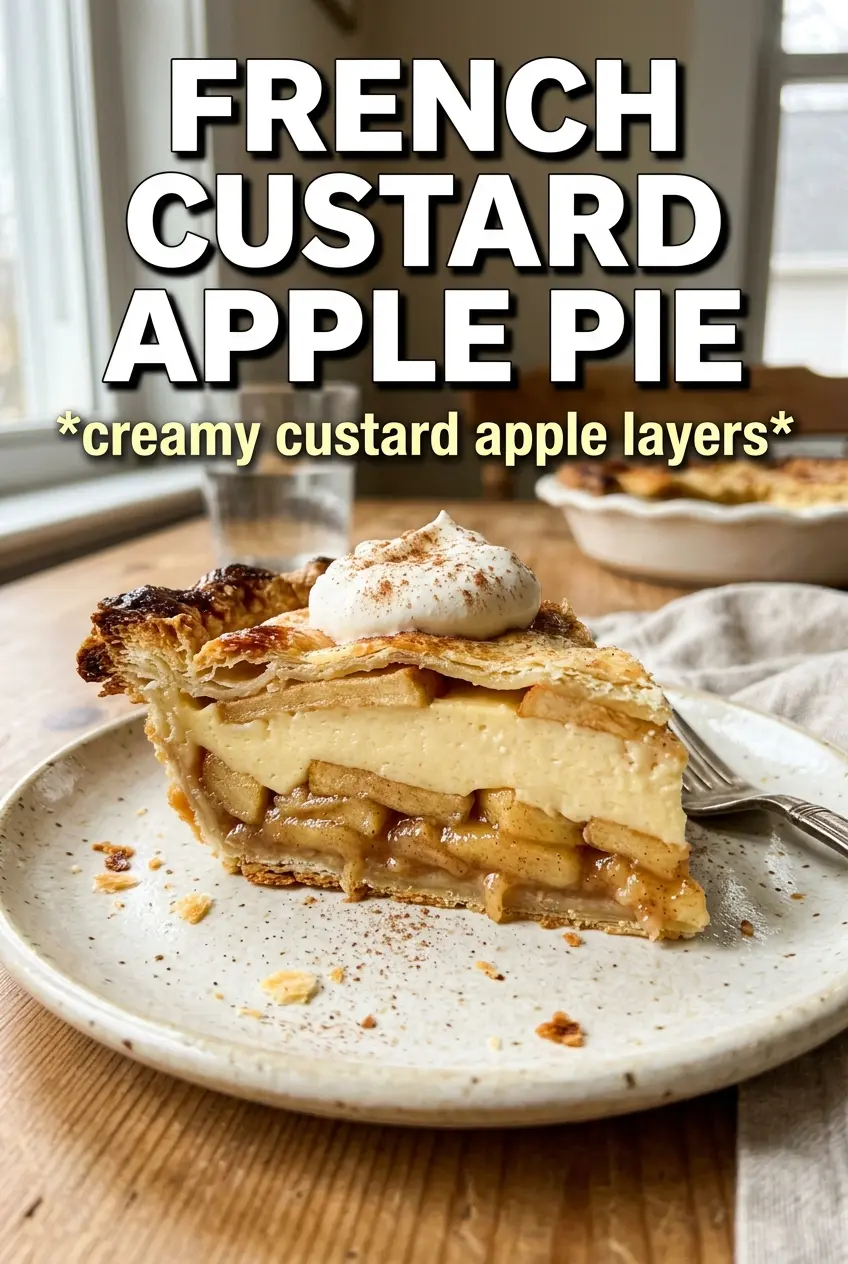
French custard apple pie lands somewhere between a classic apple pie and a silky baked custard, and that middle ground is exactly why it earns a repeat bake. The apples keep their shape, the filling sets into a soft sliceable cream, and the top turns lightly bronzed with just enough cinnamon to smell like you’ve been baking all afternoon.
What makes this version work is the ratio. The custard is rich enough to coat the apples, but it’s not heavy or eggy because the flour gives it a little structure and the cream keeps it tender. Arranging the apples in overlapping circles matters too; it gives the custard places to settle instead of pooling in one dense layer at the bottom.
Below, I’ve included the details that keep the pie from turning watery or slipping apart when you slice it, plus a few useful variations if you want to use a different crust or skip the brandy.
The custard set up beautifully and sliced clean after a short cool-down. I loved how the apples stayed layered instead of sinking, and the cinnamon sugar on top gave it that bakery-style finish.
Save this French Custard Apple Pie for the slice that bakes up creamy, layered, and just firm enough to cut cleanly.
The Custard Needs Room to Move Around the Apples
The biggest mistake with this style of pie is packing the apples in too tightly and expecting the custard to fix it later. It won’t. The filling needs gaps between the slices so it can flow downward and set in the cracks, which is what gives you that custardy interior instead of a dry layer on top and raw fruit underneath.
The other thing that matters is bake time. Pulling it too early leaves the center loose and sloshy, but pushing it until it looks fully firm in the oven usually means overbaked edges by the time it cools. The pie should jiggle slightly in the center when you tap the pan, with the top set and lightly golden. That carryover heat finishes the custard as it rests.
- Apples — Use a firm baking apple that holds its shape, like Honeycrisp, Braeburn, or Granny Smith mixed with something sweeter. Soft apples collapse into the custard and muddy the texture.
- Heavy cream — This is what gives the filling its lush, French-style texture. Half-and-half can work in a pinch, but the pie will taste lighter and the custard won’t feel as silky.
- Flour — Just a small amount helps the custard set cleanly once it bakes. Skip it and the filling is more likely to slice softly or leak juice after cooling.
- Apple brandy or calvados — Optional, but it adds a gentle apple depth that plain vanilla can’t match. If you use it, keep the amount small so it supports the pie instead of turning it boozy.
What Each Layer Is Doing in the Oven
- Refrigerated pie crust — A good store-bought crust saves time and still bakes up flaky if it stays cold. Homemade works too, but the real priority is a sturdy shell that can hold a wet filling without turning soggy.
- Eggs — They set the custard into a sliceable filling. Whisk them until fully smooth so you don’t get little streaks of egg white in the baked pie.
- Granulated sugar — This sweetens the custard and helps it brown lightly on top. The cinnamon sugar sprinkle gives the surface a little sparkle and prevents the pie from looking pale after baking.
- Cinnamon and nutmeg — These spices should smell warm, not heavy. Nutmeg adds depth, but too much can take over the pie fast, so the small amount here is enough.
How to Build the Pie So the Custard Sets Cleanly
Setting Up the Crust
Press the crust into a 9-inch pie dish and crimp the edges before anything else so it’s ready for the filling while the apples are still neat and dry. A cold crust bakes more cleanly, so if your kitchen is warm or the crust feels soft, chill the lined pie dish for a few minutes before assembling. That little pause helps the bottom stay flaky instead of greasy.
Layering the Apples
Arrange the apple slices in overlapping circles, starting from the outer edge and working inward. You want visible layers, not a jumble, because that pattern helps the custard thread between the slices. If the apples are sliced too thick, the pie can bake unevenly; thin, even slices soften at the same rate and give you a tighter, prettier slice.
Whisking the Custard
Mix the eggs, cream, sugar, flour, vanilla, spices, and brandy if you’re using it until the mixture looks completely smooth. Any flour lumps left here will stay in the finished pie, so whisk long enough to dissolve them fully. Pour slowly over the apples and watch for the custard to settle between the slices and around the edges of the crust.
Baking to the Right Set
Sprinkle the cinnamon sugar over the top and bake until the surface is golden and the center has just a slight wobble, usually 50 to 55 minutes. If the crust starts to darken too quickly, shield the edges loosely with foil, but don’t rush the bake by cranking the heat. The pie needs that full time for the custard to set without scrambling.
Cooling Before the First Slice
Let the pie cool for at least 30 minutes before dusting with powdered sugar and slicing. If you cut it too soon, the custard will run and the apples will shift. Once it rests, the filling firms up enough to hold a clean wedge while staying soft in the middle.
Small Changes That Still Keep the Pie Honest
Dairy-Free Version With Coconut Cream
Use full-fat coconut cream in place of the heavy cream. The custard will set, but it will taste a little coconut-forward and less classic-French, so this works best if you like that flavor playing alongside the apples.
Gluten-Free Swap for the Crust and Thickener
Use a gluten-free pie crust and replace the all-purpose flour with a 1:1 gluten-free baking blend. The filling still sets, but the crust needs to be sturdy and fully chilled so it doesn’t crumble when sliced.
Skipping the Brandy Without Losing the Pie
Leave out the calvados if you don’t want the extra step or don’t keep it on hand. The pie still tastes complete because the vanilla, cinnamon, and baked apples carry the flavor on their own.
Storage and Reheating
- Refrigerator: Store covered for up to 4 days. The custard firms up more in the fridge, so slices will feel a little tighter after chilling.
- Freezer: This pie freezes better after baking than before. Wrap slices well and freeze for up to 2 months, though the custard can turn slightly less silky once thawed.
- Reheating: Warm slices in a 300°F oven until just heated through. Microwaving can make the custard weep and soften the crust, so use the oven if you want the best texture.
Answers to the Questions Worth Asking
French Custard Apple Pie
Ingredients
Equipment
Method
- Preheat the oven to 375F and fit the pie crust into a 9-inch pie dish, then crimp the edges.
- Arrange the sliced apples overlapping in the crust in concentric circles.
- Whisk together the eggs, heavy cream, granulated sugar, all-purpose flour, vanilla extract, cinnamon, nutmeg, and apple brandy or calvados (if using) until smooth.
- Pour the custard mixture over the apples so it fills around and between the slices.
- Sprinkle the top evenly with the cinnamon sugar topping.
- Bake for 50-55 minutes at 375F until the custard is set and the top is golden.
- Cool the pie for 30 minutes, then dust with powdered sugar before serving.


